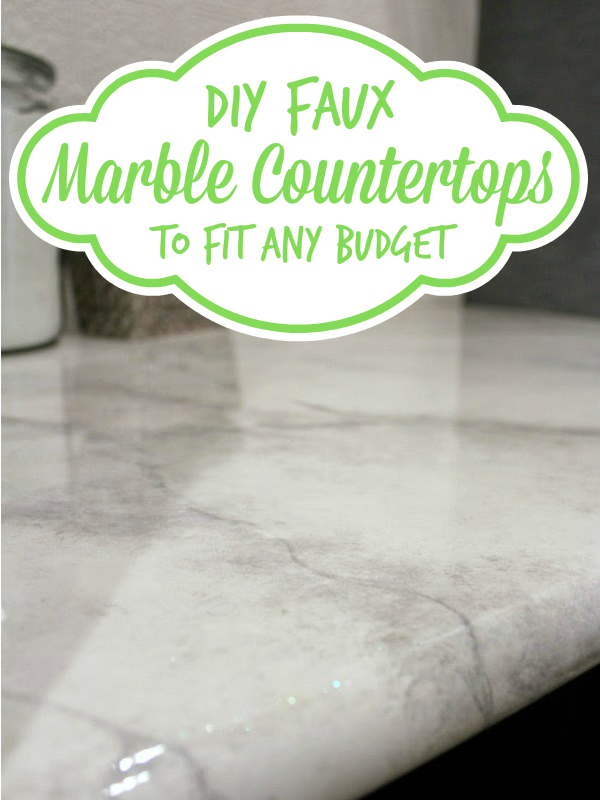
$30 DIY Faux Marble Countertops
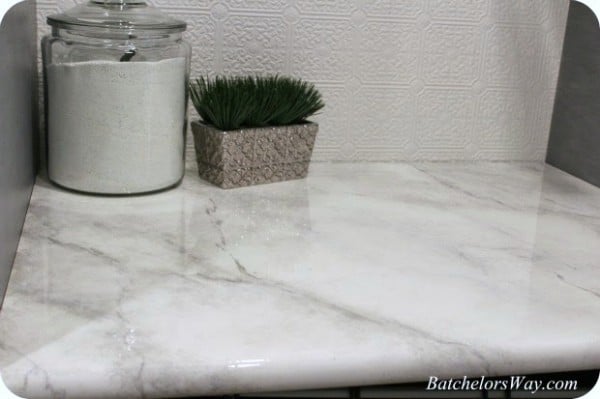
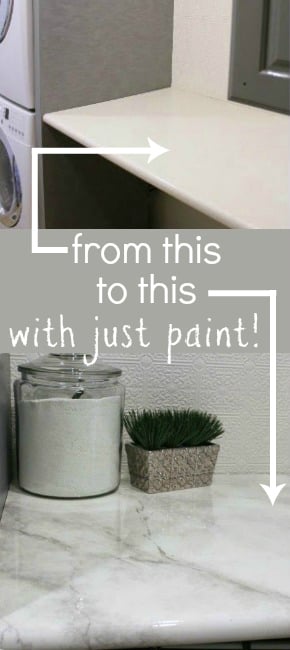
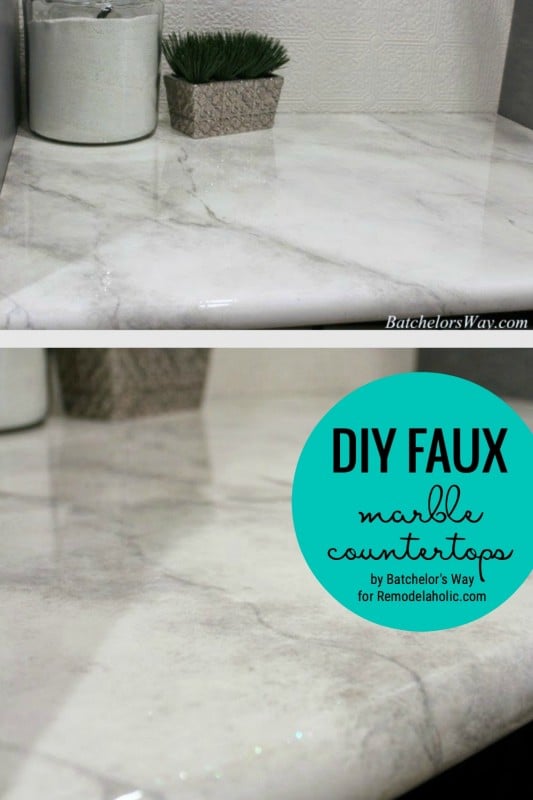
Instead of paying $650 for Carrera marble or even over $200 for marble-look laminate, Ronda picked up a countertop from the ReStore and some leftover paint and made her own faux marble countertop for just $30! Here’s how:
DIY Faux Marble Countertops
by Ronda of Batchelor’s Way
This post contains some affiliate links for your convenience. Click here to read our full disclosure policy.
Supplies:
To create your own faux marble countertops, you’ll need:
- the countertop (we got our 36″ deep, rounded edge countertop at the ReStore for $5!)
- white primer for glossy surfaces (I used Valspar Contractor Primers/Bonding Primer)
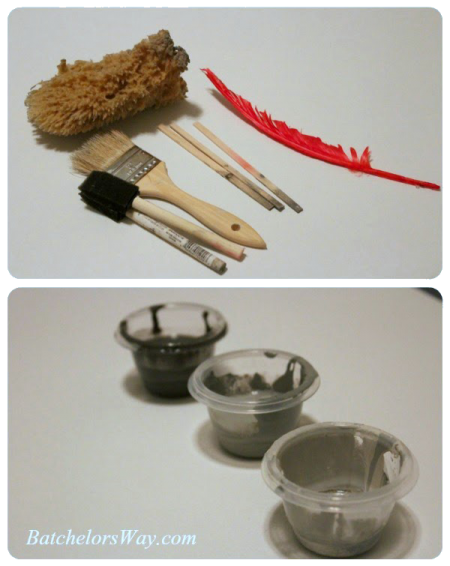
- gray paint (mine was leftover latex paint, but you could use craft paint, too)
- white iridescent glitter (I bought mine at Michael’s)
- sea sponge
- feather
- small stir sticks
- sponge paint brushes
- cheap bristle paint brush
- SuperGlaze or EnviroTex Lite
- disposable putty knives or a large spreader
- a drop cloth
- painter’s tape
- wood filler (if your countertop has a tiny hole or two like mine did)
- a radial saw and/or jig saw to cut the countertop to size (if it’s not already)
1. Cut Counters to Size
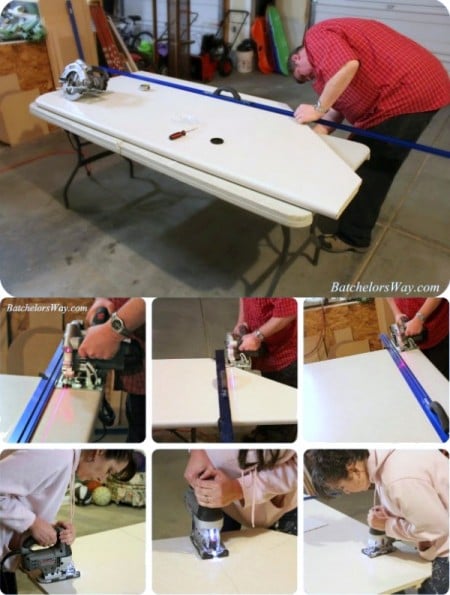
FIRST, if your countertop isn’t already fit to the space you’re putting it in, cut it to size. Ours was an odd L shape, so my husband used a radial hand saw and straight edge to cut the rectangle and then I used a jig saw to cut out the arm at the end. We scribed the “L” shaped area to get a really close fit — very important since nothing was really square.
Note: We have lots of questions asking if you could paint your already-installed countertops in place — yes you can! See more about the finishing process in this glossy painted countertop tutorial, and read more tips for painting countertops here.
2. Repair Any Holes
Next, fill in any holes or blemishes in the countertop so you have a nice surface to start painting on. I just used wood filler (Dry Dex Spackling by DAP) and sanded it smooth.
3. Prime the Countertop
Prime with a white primer for glossy surfaces. I used two coats. Once the primer is dry, lightly sand the whole surface.
4. Paint the Faux Marble Look
Mix your paint. I just used leftover paint to mix up three different colors of gray: a very dark gray, a medium gray, and a light gray. Now you can start painting! I suggest painting a couple of sample boards to get comfortable with the technique and learn what look you like.
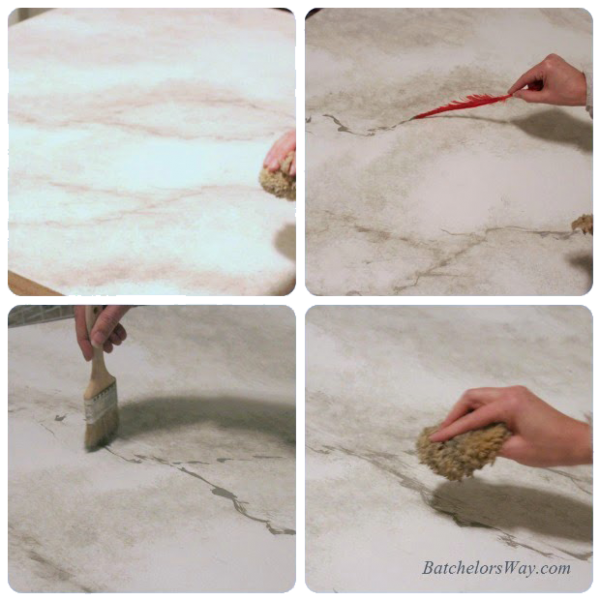
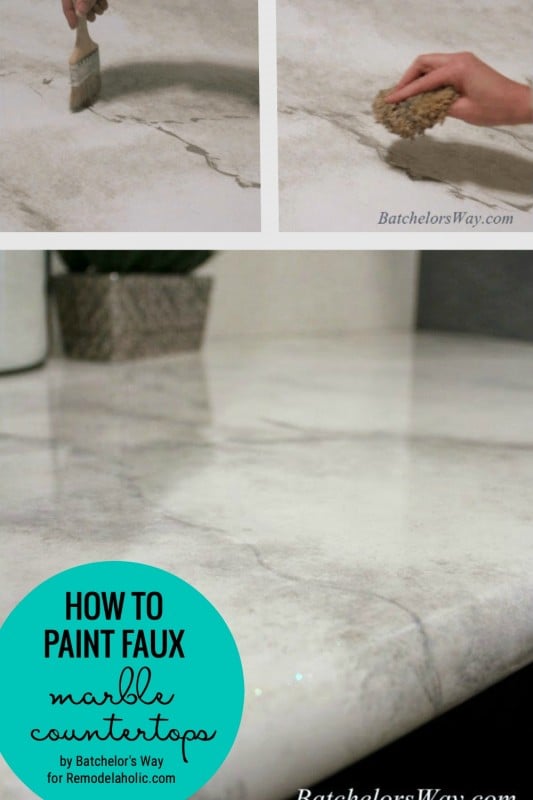
Start painting by dipping the sea sponge into the lightest gray paint and dabbing it on to create the light/dark marble variations.
Add the marble veins by dipping the tip of the feather into the darker gray paints and dragging and wiggling it across the countertop. Occasionally flip and push the feather (rather than pulling it) to create natural looking veins. Then lightly dry brush the vein with your cheap bristled brush to soften it.
Sponge over any of the veins with the lighter colors to soften the vein or create a feeling of depth.
5. Step Back and Check Out Your Work
Stand back often to look at the countertop and see how it looks from a distance. Be sure to place it under the lighting that it will be under — when I put it in place, I decided that mine was too dark, so I used white paint and sponged over the whole thing. I even sponged out nearly the whole middle section with white paint since I felt that there were too many similar veining patterns. Sponging over areas actually works to your advantage, as it makes the veins look deeper and more natural. (That’s called a happy accident.)
6. Glitter Time
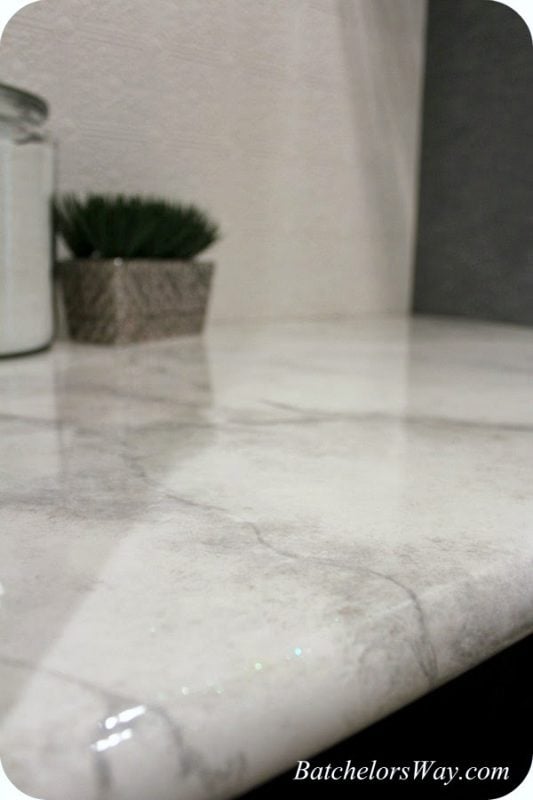
To give your countertops a truly remarkable faux marble finish, you need glitter! Not large pieces of glitter like I was originally picturing when I read about putting glitter on faux finish countertops (duh moment!) — use a very fine glitter, the kind that looks like sand or dust. I used the white iridescent glitter from a Creatology brand glitter pack from Michael’s.
You should dust the countertop with glitter while the paint is still wet, but I just sponged white paint wherever I wanted the glitter and then sprinkled it with fine iridescent white glitter. It really does look like natural mineral deposits on your faux marble!
7. Sealing the Countertop
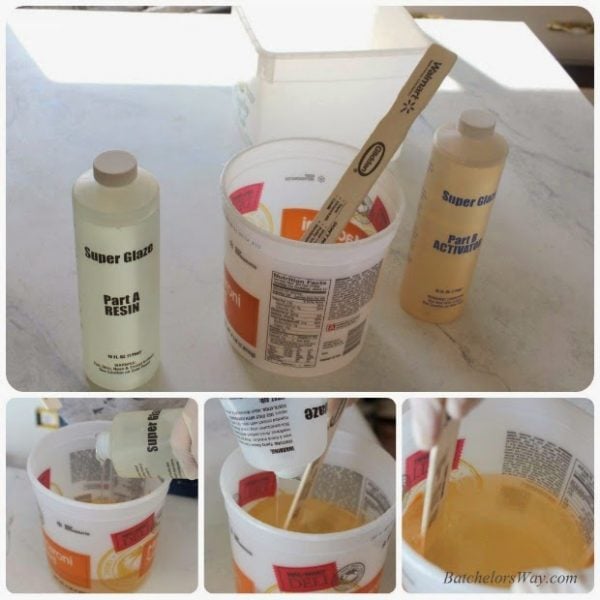
Most of the faux granite/stone countertop tutorials I read used a product called EnviroTex Lite to seal their countertops. You can buy it at Hobby Lobby or online. I didn’t want to drive to the other end of the valley to Hobby Lobby or pay shipping to order online, so I looked around a bit and found that I could get a similar product at Home Depot, which was a much shorter drive. It’s called Super Glaze, and it is a two-part epoxy that pours on and is the equivalent of using 60 coats of varnish. I bought two boxes ($25 each) based on the information on the package, but I only ended up using one (and had a lot left over) to cover my counter of approximately 6 square feet.
8. Prep the Edges and Area
First, tape off the raw edges of your countertop. You don’t want any epoxy build-up on them or the countertop might not fit back into place.
Place a good drop cloth beneath the project to catch all the runoff — the resin will not come off anything it comes in contact with. Level the counter; the Super Glaze self-levels and you’ll want it to spread out evenly.
9. Mix the Epoxy
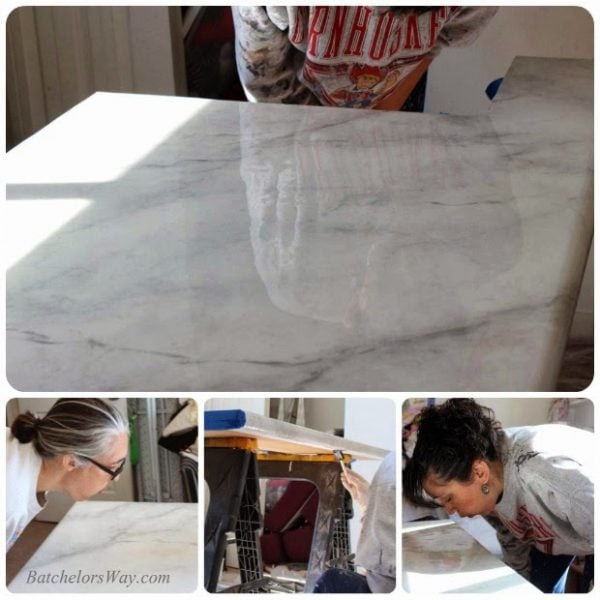
Next comes the scary part: mixing the epoxy! Read the directions on the box and follow them very closely. I mixed part A and part B in a bucket and stirred for the required time, even having my sister time me so it was exact!
Following the directions, I poured the mixture into another bucket and stirred for the required time again. Then, it’s ready to pour!
10. Pour on the Epoxy
Once you pour some epoxy on the countertops, start spreading it out. Anything you use to spread it will have to be thrown away, so use something disposable. Bigger spreading tools will make it easier! I used plastic putty knives I had on hand, but I wish I had listened to my mother and picked up the $2 giant disposable spreader at the store.
Smooth out the mixture as best you can and let it run right off the edges. It looks like glass. It will level as it sits, and you have to work quickly to get it spread before it begins to set up.
Be sure to check all the edges and so everything is covered. (After mine dried, I found two tiny spots on the front edge that we missed, which I touched up with clear fingernail polish.)
11. Allow It To Cure
After you get all the bubbles out, let it sit for 3 days to dry and cure (according to the package directions) and then you can install it. YAY!!
________________
If this process still makes you a little nervous, we’ve heard really great things about this gray granite/marble contact paper that sticks directly to counter tops. It’s supposed to be very easy to work with and looks very real. It may be a great solution for countertops that don’t take too much abuse and/or smaller DIY projects like coffee tables, etc.!
________________
Faux Marble Countertop Update 1/11/16
Yael, one of our readers, followed this tutorial and sent us this message:
Amazing job, Yael! It looks beautiful! Thank you for sharing!
For more details, visit her blog at Jewish Latin Princess.
Other amazing and affordable DIY countertop tutorials:
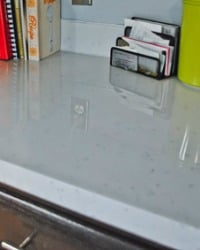 glossy painted countertops glossy painted countertops |
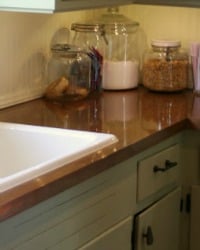 copper countertops copper countertops |
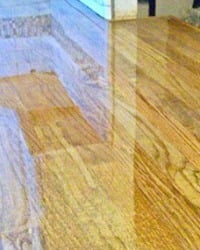 butcherblock countertops butcherblock countertops |
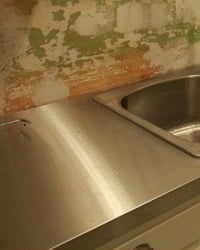 stainless steel countertops stainless steel countertops |
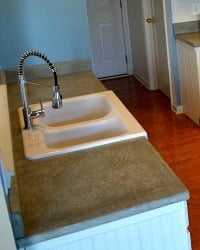 concrete countertops concrete countertops |
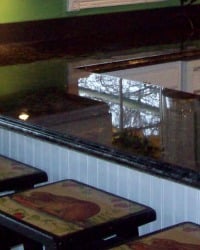 faux granite countertops faux granite countertops |
Lorene has been behind the scenes here at Remodelaholic for more than a decade! She believes that planning projects and actually completing them are two different hobbies, but that doesn't stop her from planning at least a dozen projects at any given time. She spends her free time creating memories with her husband and 5 kids, traveling as far as she can afford, and partaking of books in any form available.




I am wanting to know the same as many have asked. Can you do the sink too? I have a one piece sink and countertop. And would love to do this technique.
Looks beautiful! I love the touch of glitter. Will this work for kitchen counters?
Yes! We have lots of info about painting kitchen countertops here: https://www.remodelaholic.com/diy-painted-countertop-reviews/
(One important thing to remember is that you’ll want a food-safe finish for the kitchen.)