Creating a Festive Dollar Tree Pumpkin Patch Wreath: DIY Fall Craft


Looking for an easy yet gorgeous fall project? Try our Dollar Tree Pumpkin Patch Wreath tutorial! Perfect for adding a touch of autumn charm to your front door, on a budget, using mini Dollar Tree pumpkins.
You’ll also want to check out our viral Dollar Tree Pumpkin Wreath with Sunflowers and this darling Fall Gnome Dollar Tree Wreath. Plus, see more DIY Dollar Tree wreath ideas here.

As the leaves change colors and the air becomes crisp, it’s the perfect time to embrace the spirit of fall by crafting a beautiful and budget-friendly wreath. If you’re looking for a creative way to decorate your home this season without breaking the bank, we have just the project for you: the Dollar Tree Pumpkin Patch Wreath.
In this step-by-step tutorial, we’ll show you how to transform simple materials from the Dollar Tree into a stunning wreath that will add a touch of autumn charm to your space. If you’ve ever seen the aisles full of these mini pumpkins at Dollar Tree and wanted to buy them but weren’t sure how to use them — here’s the craft for you!
Dollar Tree is a great place to get seasonal decor and inexpensive craft supplies. Check out all of these great DIY dollar store wreath ideas, for any season.


Dollar Tree Pumpkins Make a Great Fall Craft
This wreath is made with a handful of dollar tree pumpkins and other supplies, and it’s a great fall craft!
Budget-Friendly Fun: Fall is a season filled with expenses, from back-to-school shopping to preparing for the upcoming holidays. Crafting a Dollar Tree Pumpkin Patch Wreath allows you to embrace your creative side without draining your wallet. With materials that cost just a few dollars, you’ll have a fabulous fall decoration that rivals store-bought wreaths in beauty and style.

Personalized Decor: One of the joys of crafting your own wreath is the ability to personalize it to match your unique style and home decor. Whether you prefer a classic fall color palette or want to experiment with different hues, you have the freedom to make this wreath truly yours. Plus, you can add extra embellishments like ribbons or signs to fit your vision perfectly.
This post contains affiliate links. Learn more and read our full disclosure policy here.
How to Make the Wreath: Step-by-Step Tutorial

Supplies
- 2 – 14-inch Dollar Tree wire wreath forms
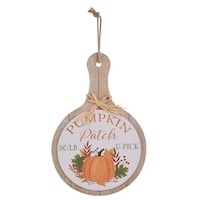
- Dollar Tree Pumpkin Patch faux wood cutting board sign (optional)
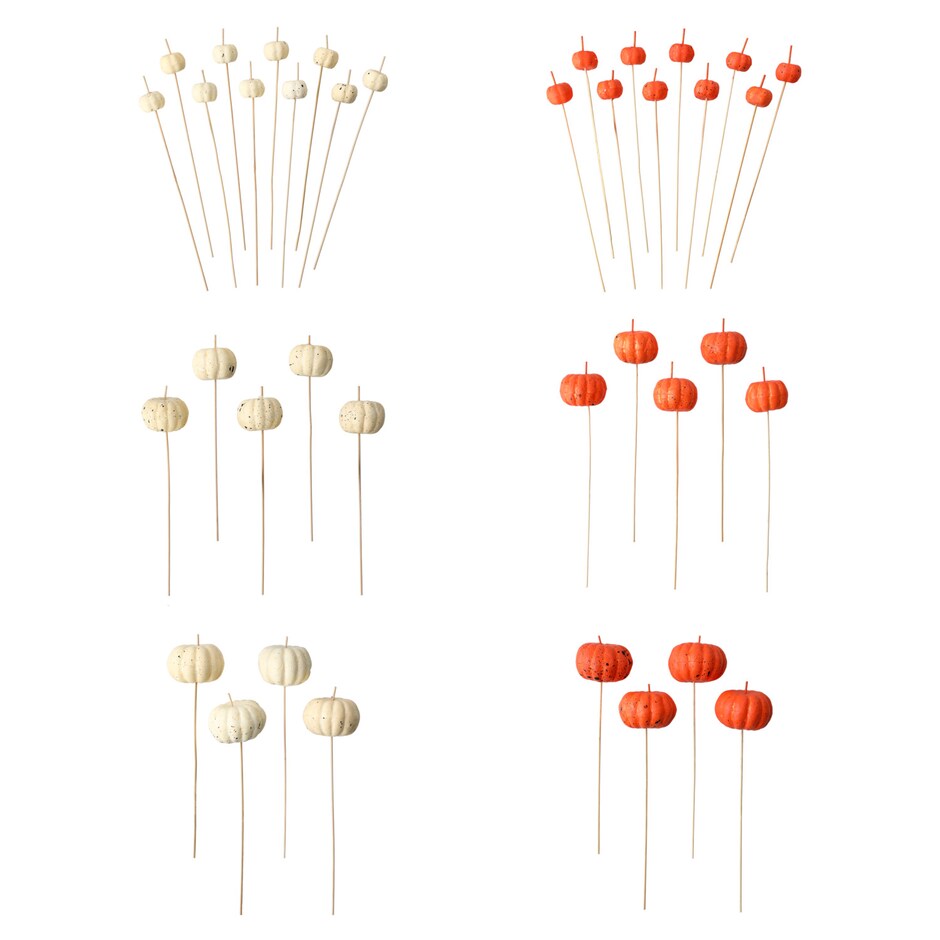
- 2 packages of small pumpkins (I used orange and white pumpkin picks which are also available as clips or mini tie-on pumpkins — check your local dollar tree and see some more mini pumpkin wreath options below)
- 1 package of Dollar Tree decorative paper shred (brown or fall mix) or spanish moss or other greenery
- 1 pre-made wreath bow (optional, available at various retailers)
- 4 black zip ties
- Hot Glue Gun

More mini pumpkin wreath options
There are so many options for this pumpkin patch wreath! Depending on your style and store availability, you could also purchase
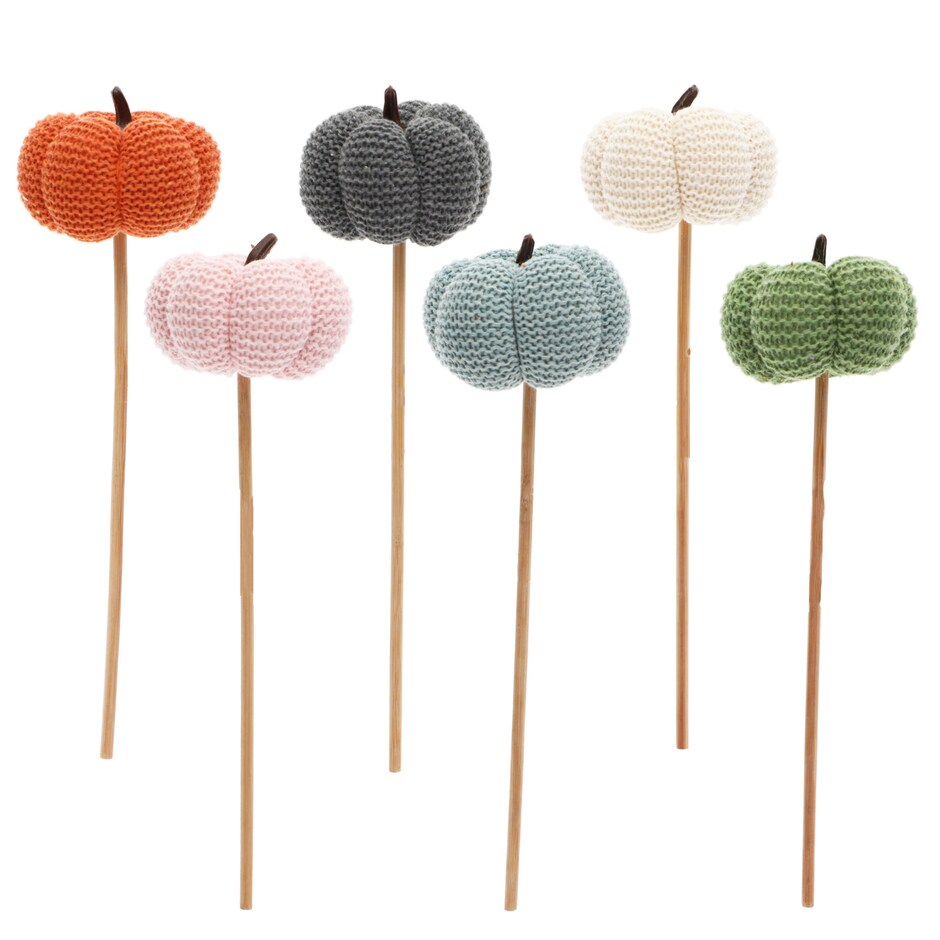
- knitted sweater pumpkin picks or clips
- velvet pumpkin clips or picks or individual mini pumpkins
- burlap pumpkin clips
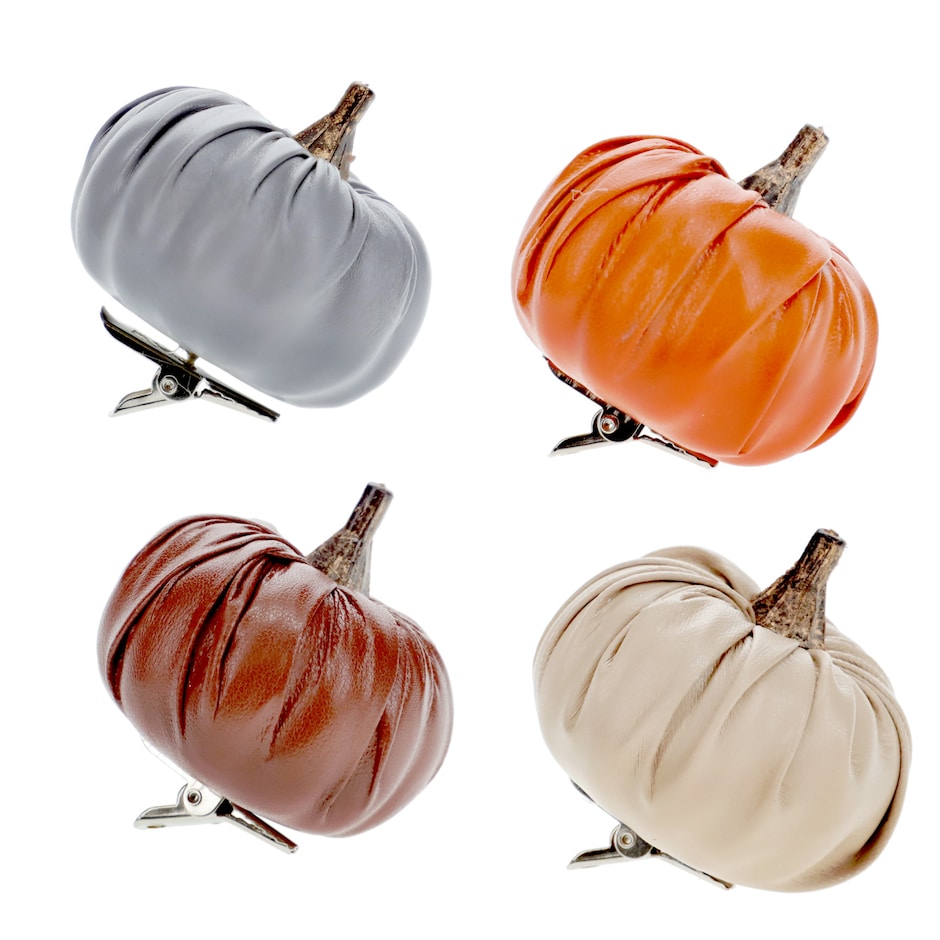
- faux leather pumpkin clips or mini pumpkins
- farmhouse pumpkin decor clips
- rattan natural rope pumpkin picks
- faux wool felt mini pumpkins


Instructions
Step 1: Set up the wreath base
Begin by flipping one of the wire wreath forms over so that the rounded top section is facing downwards. This will create a cage-like structure for your wreath.
Step 2: Add moss or paper shred
Add a layer of the Dollar Tree decorative shred to the wreath form. You won’t need the entire bag, so save the leftovers for another project.

Step 3: Prep and place pumpkins
Carefully remove the pumpkins from their skewers or clips. Place the pumpkins on top of the decorative shred, alternating between orange and white for a visually appealing look. If you are going to add a bow, you can leave a gap in the pumpkins so you don’t need as many.

Step 4: Secure the wreath form
Position the second wire wreath form on top of the first one, enclosing the pumpkins. (Now is a good time to add more filler if you want.)
Secure the wreath forms together using the black zip ties. Place zip ties at the top, bottom, and both sides, pulling them tight to ensure the pumpkins are held securely within the wire wreath forms. Trim the zip ties using scissors or wire cutters.
At this point, the pumpkin patch wreath could make a great centerpiece for your table! Place candles or other decor inside the pumpkin frame.

Step 5: Add a bow
If you’d like to add a pre-made bow, use the twist tie that comes with it to attach it to your wreath. This step can add an extra touch of elegance and color.

Step 6: Finish it with a sign (optional)
For an additional decorative element, you can enhance your wreath with the Dollar Tree Pumpkin Patch faux wood cutting board sign.

If the sign is too large, simply trim it with scissors and attach it to the backside of the wire wreath forms using hot glue.

You can also add a traditional rectangle sign to the front of the wreath for added style. See how to make your own wood farmhouse sign (the easy way) here.

Variations for the Craft
While the Dollar Tree Pumpkin Patch Wreath is already a delightful fall decor piece, there are several variations you can explore to make it even more unique:
- Seasonal Swaps: Swap out the pumpkins for other seasonal elements like acorns, leaves, florals, or even small gourds to transition your wreath seamlessly from fall to Thanksgiving.
- Ribbon and Bow Variations: Experiment with different ribbons and bows to change the overall look of your wreath. Use burlap for a rustic touch or satin for a more classic appearance, in different colors to match your decor.
- Custom Signs: Instead of the Pumpkin Patch sign, create your own custom sign to reflect your personal style or sentiments. Personalization adds a special touch to your wreath.
Want an extra pumpkin-y variation? Use 3d pumpkin wreath forms to hold the mini pumpkins together instead!

Common Questions About the Dollar Tree Pumpkin Patch Wreath
Can I use a different type of decorative shred?
Absolutely! While we recommend the Dollar Tree decorative shred for its affordability, you can use any decorative material that suits your taste. Moss, raffia, tinsel, or even fabric strips can work beautifully.
Where can I find pre-made wreaths if I don’t want to make one?
Pre-made wreaths are commonly available at craft stores, home decor shops, and even online marketplaces. Walmart, Michaels, and Hobby Lobby are good places to start your search.

How long does it take to complete this craft?
Crafting the Dollar Tree Pumpkin Patch Wreath typically takes around 30-45 minutes, making it a quick and enjoyable project for a cozy autumn afternoon.
Decorate every door with these dollar store fall wreath tutorials!


Easy Dollar Tree Pumpkin Patch Wreath DIY Fall Craft

Ingredients
- 2 14-inch Dollar Tree wire wreath forms
- 1 package of Dollar Tree decorative paper shred brown or fall mix or spanish moss
- 1 pre-made wreath bow optional, available at various retailers
- 4 black zip ties
- 2 packages of small pumpkins I used orange and white pumpkin picks which are also available as clips or mini tie-on pumpkins — check your local store and see some more mini pumpkin wreath options below
- Hot Glue Gun
- Dollar Tree Pumpkin Patch faux wood sign optional
Instructions
- Begin by flipping one of the wire wreath forms over so that the rounded top section is facing downwards. This will create a cage-like structure for your wreath.
- Add a layer of the Dollar Tree decorative shred to the wreath form. You won’t need the entire bag, so save the leftovers for another project.
- Carefully remove the pumpkins from their skewers. Place the pumpkins on top of the decorative shred, alternating between orange and white for a visually appealing look.
- Position the second wire wreath form on top of the first one, enclosing the pumpkins. Secure the wreath forms together using the black zip ties. Place zip ties at the top, bottom, and both sides, pulling them tight to ensure the pumpkins are held securely within the wire wreath forms.
- If you’d like to add a pre-made bow, use the twist tie that comes with it to attach it to your wreath. This step can add an extra touch of elegance and color.
- For an additional decorative element, you can enhance your wreath with the Dollar Tree Pumpkin Patch faux wood sign. If the sign is too large, simply trim it with scissors and attach it to the backside of the wire wreath forms using hot glue.
Notes
More mini pumpkin wreath options
There are so many options for this pumpkin patch wreath! Depending on your style and store availability, you could also use- knitted sweater pumpkin picks or clips
- velvet pumpkin clips or picks or individual mini pumpkins
- burlap pumpkin clips
- faux leather pumpkin clips or mini pumpkins
- farmhouse pumpkin decor clips
- rattan natural rope pumpkin picks
- faux wool felt mini pumpkins
Variations for the Craft
While the Dollar Tree Pumpkin Patch Wreath is already a delightful fall decor piece, there are several variations you can explore to make it even more unique: Seasonal Swaps: Swap out the pumpkins for other seasonal elements like acorns, leaves, or even small gourds to transition your wreath seamlessly from fall to Thanksgiving. Ribbon and Bow Variations: Experiment with different ribbons and bows to change the overall look of your wreath. Use burlap for a rustic touch or satin for a more classic appearance. Custom Signs: Instead of the Pumpkin Patch sign, create your own custom sign to reflect your personal style or sentiments. Personalization adds a special touch to your wreath.
Lorene has been behind the scenes here at Remodelaholic for more than a decade! She believes that planning projects and actually completing them are two different hobbies, but that doesn't stop her from planning at least a dozen projects at any given time. She spends her free time creating memories with her husband and 5 kids, traveling as far as she can afford, and partaking of books in any form available.