Creating a Calming And Serene Master Bedroom


")
The first thing I tackled before the carpet was ripped up was painting ALL my bedroom furniture white. I painted a large armoire, 2 nightstands and a large chest of drawers. I also distressed the furniture and then waxed it. My first time waxing instead of using poly and I’m loving it!!!
The furniture was then removed from the room, the carpet ripped up {oh what a glorious day!} and the room was painted Benjamin Moore Silver Gray on top and Behr White in a Satin Finish on the bottom. In the meantime I had measured the room and gone to Home Depot to purchase the sheets of MDF. I had Home Depot cut all the MDF for me.

With the help of a handy friend with a compound miter saw and a nail gun {great people to know!} we had all the boards up in about 4 hours! He left and I tackled filling nail holes, calking and painting it all….tedious…but so worth it!!!


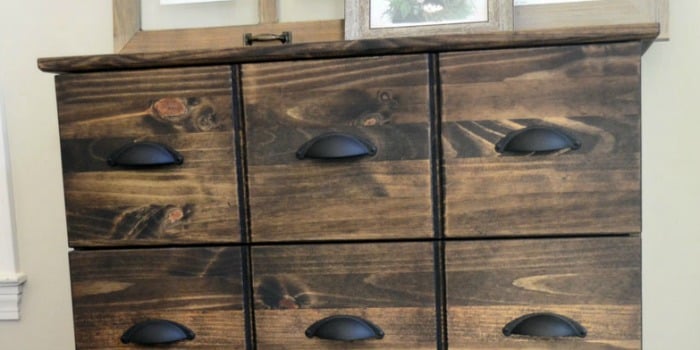
This is the painted and distressed dresser! I kept the same hardware except for the top knobs. They are precious brown birds I ordered of E-bay. I repurposed some lighthouse photos that were in cherry frames by painting the frames white. I added elements of sand, glass, silver, blue and of course a few more starfish!!

I painted the fronts of the nightstands Woodlawn Blue to change it up a bit. I splurged on Pottery Barn lamps and tied a starfish around them with jute string. They lamps are fillable, so I may add some coastal elements inside them at some point.


I’m sure the room will continue to evolve, like all rooms in my house….it takes time! For now I am just smitten every time I wake up!

Cassity Kmetzsch started Remodelaholic after graduating from Utah State University with a degree in Interior Design. Remodelaholic is the place to share her love for knocking out walls, and building everything back up again to not only add function but beauty to her home. Together with her husband Justin, they have remodeled 6 homes and are working on a seventh. She is a mother of four amazing girls. Making a house a home is her favorite hobby.


How did you tackle the base boards and the strips meeting? I’m trying to avaoid taking off the base boards. Looks great!
Some people cut the bottoms of the strips at an angle to meet up with the baseboards better, or you can use a board that is the same thickness (or thinner) than your baseboard like Cassity used here: https://www.remodelaholic.com/board-and-batten-wall-tutorial/