Rustic Scrap Wood Wreath

Christmas is right around the corner, and this year, I’m craving the feeling of a rustic country cottage! I love the feeling of coming home to a cozy atmosphere filled with woodland elements and natural holiday smells! Last year was all about the bling and tons of my homemade glitter in glass ornaments! A few weeks ago, I was working on a bar cart build and noticed that my scrap wood bin was getting pretty full. Most of the pieces weren’t really big enough to use on any of my upcoming projects, but I wanted to do something with them. That’s when I got the idea for this fabulous rustic scrap wood wreath! I could see it in my head so clearly, and am so happy that I decided to try it out! It was so easy to make…you are definitely going to want to grab your wood scraps and make your own!
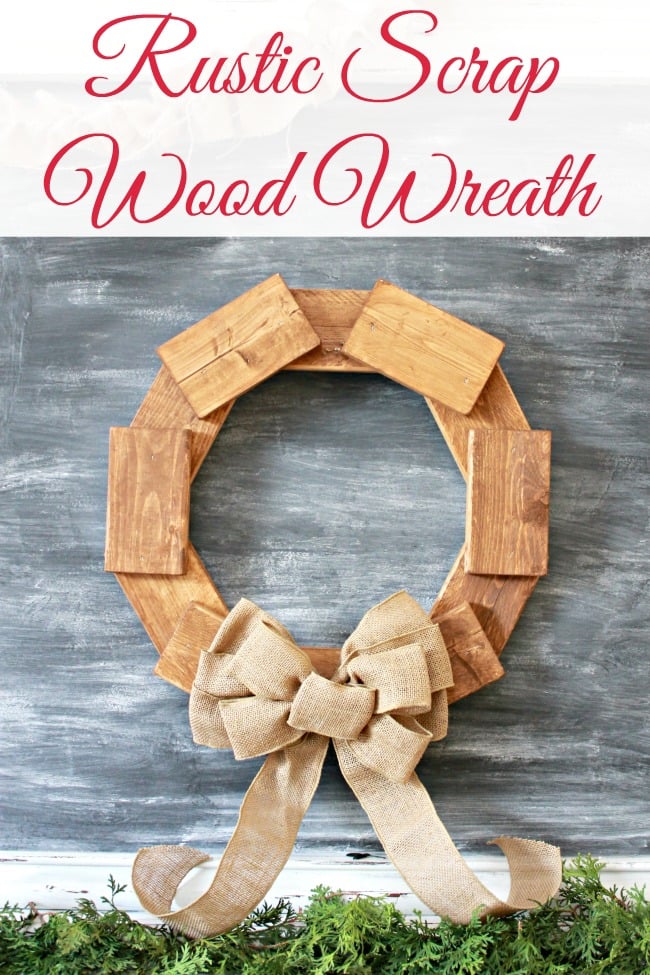
How to Make a Scrap Wood Wreath

You will want to grab your scraps and decide on the length you want each piece to be. It doesn’t really matter what length you choose, just as long as all of the scrap pieces are the same size. I used 1 X 4 scrap pieces.

I used my miter saw to cut 6 inch pieces.

For my wreath, I cut 12 of them!

Once I had all of my pieces cut, I sanded around the edges and stained them using some Minwax stain cloths. Theses things are so easy to use and you can just toss them when you are finished!

Once the stain was dry, I used my Ryobi AirStrike Stapler to staple each top piece to the bottom pieces…one staple on each side. I used a bit of wood glue under the edge of each piece to be sure my wreath really stayed together.

Thistlewood, Inspired by Charm, Funky Junk, Shanty 2 Chic and Songbird Blog
 |
 |
 |
 |
 |
 |


Clever and I love the rustic look. We just finished building a table and I’ve been scratching my head trying to figure out a way to use to the scraps!
So do you have a tutorial on making the scrap wood wreath? Maybe I’m just not very smart but I can’t figure the angles for each piece to make it come out symmetrical. If you just have the angles, can you give them to me?
Hi Scott – the tutorial is in the post. This is just 12 pieces of 1×4 scraps cut at 6 inches long, then laid out to form the wreath, 6 on bottom and 6 on top overlapping. So no angles needed! Hope that helps.