Easy Homemade Christmas Stocking Pattern
Looking for an easy homemade Christmas stocking pattern? Look no further. This free stocking pattern and tutorial will show you how to whip up a batch of matching stockings quickly with just a bit of fabric and your sewing machine.
You’ll also love this tip for how to hang stockings without a mantel and how to decorate an easy Christmas mantel (with a free printable, too).
Easy Homemade Christmas Stockings Free Pattern
I made these no knit-knit sweater stockings a couple years ago. I really like them, but this year I wanted us to have all matching stockings.
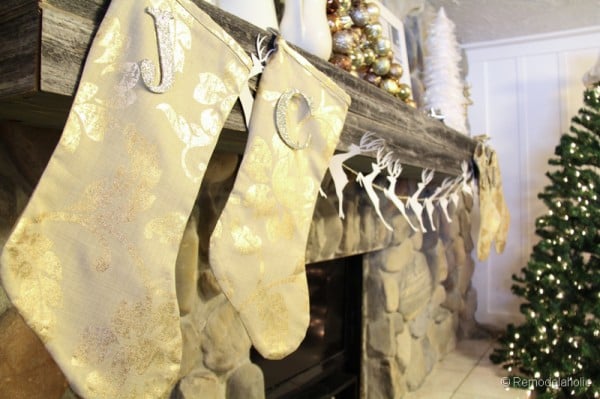
So I went looking for the perfect fabric to make stockings with. I had a white, paisley mattelasse in mind… but apparently that was a pipe dream, sad for me. Instead, I decided to keep it silver and gold..
Truthfully, I went to about 4 fabric stores, and I bought way too many options to admit…. wait did I just admit that I bought 6 different types of fabric? Uh, yeah I did.
Anywho, finally at my last stop, Hobby Lobby, I found the PERFECT fabric, and I bought that too, and used it, sorry I don’t have a name for the fabric.
It only took me about an hour and a half to make 5, and that included making the pattern and figuring it out.
I made a test one to get the pattern down… so since you guys now have the steps down, it should be pretty fast.


Homemade Christmas Stockings
Free Stocking Pattern and Tutorial
Stocking Supplies:
- Fabric: amount will depend on the number of stockings you are making. The sock is approximately 20′ tall by 12′ wide x 2 pieces. Print out the free pattern (below) before shopping and you can get an idea of how much you need.
- Sewing machine and thread
That’s it! No bias tape or anything fancy, just a quick and easy basic Christmas stocking pattern to sew.
Get the free Christmas stocking pattern
Become a newsletter subscriber and get the stocking pattern right in your inbox! Just fill out the form below. (If you’re already receiving our awesome newsletters, don’t worry — you won’t get them twice. Just confirm in the email to get the pattern PDF download.)
DIY Stocking Instructions
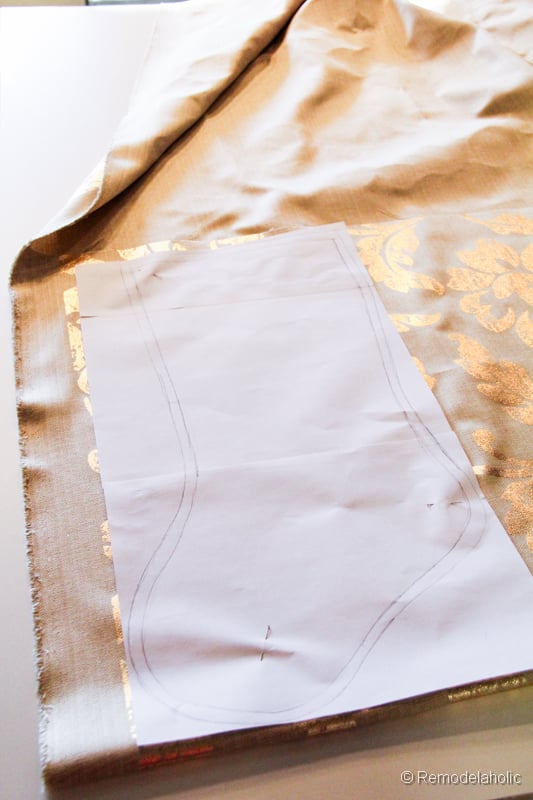
1. Print the pattern.
Use the email form above to get the pattern by email. Be sure to print the PDF at 100% scale for the correct size.
Tape the 3 pages together to create the stocking pattern.

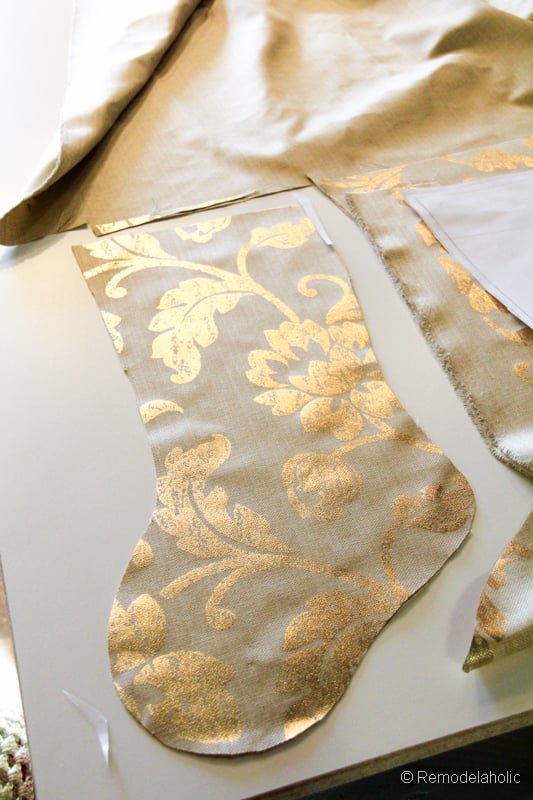
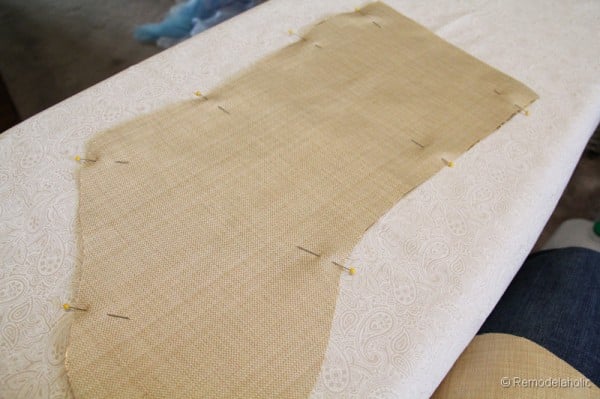
2. Cut out the fabric.
Once your pattern is printed and taped together, lay out your fabric, so that you have two layers with the back (wrong) side of both pieces in the middle (good front sides facing out).
If you can see the pattern of your fabric, you can try and place the sock so that the cutest print shows.
 |  |
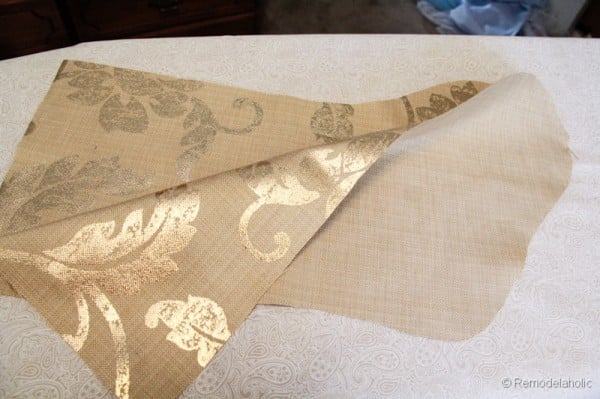
3. Sew sock
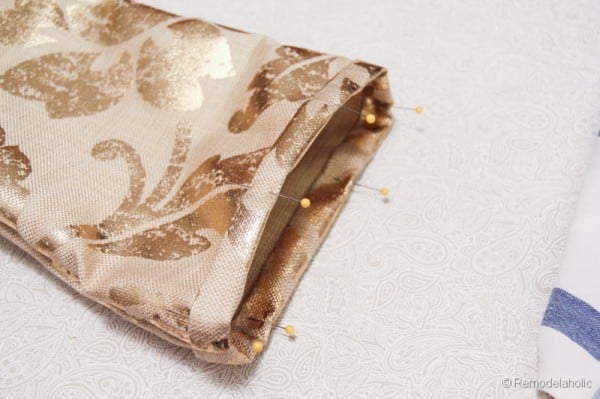
With the good sides of the fabric together, pin the edges and sew around the shape of the sock with about a 3/8 inch seam allowance.
 |  |
4. Bind the top, 2 options:
A. Double fold the top and secure. Fold 1/2 inch to the inside of the sock, iron the edge so that is stays in place. Now fold it over itself to the inside one more time to hide the raw edge, and pin in place and sew down with a single stitch around the top of the whole sock.
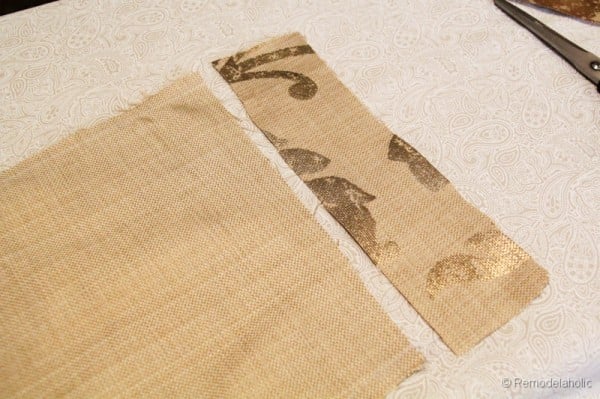
B. Bind it with a strip of fabric, to add a little bit of dimension. Follow the pictures for instructions.
a. Cut a strip of fabric, twice the width of the top of the sock + seam allowance and about 1 1/2 ” wide. Put the fabric right side to right side and sew up the side seams to match the width of the sock as close as you can. (I did this with each sock since it will change slightly with each one.)
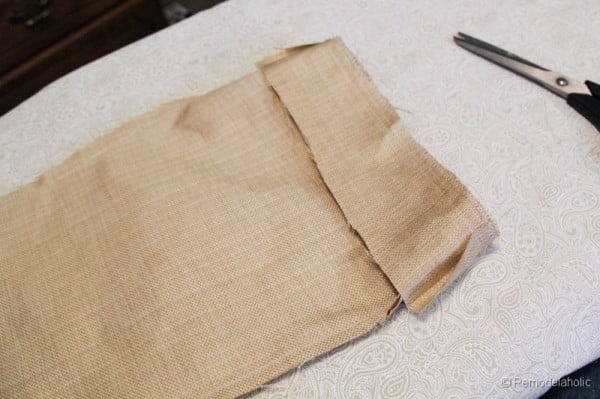
b. Now with the good side of the sock on the inside, pull the binding down over the top of the sock, with the good side of the binding on the inside. Line the top two edges together, pin the top two edges together and sew around the top with a 3/8 ” seam.
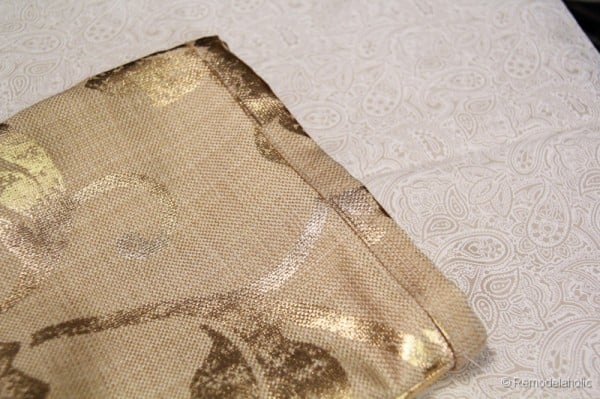
c. Now flip the whole sock right side out, and pull the binding up, it should look like the image below. Now you are going to fold over the raw binding edge 1/2 an inch. Then fold it again over itself and the top raw edge of the sock. Pin to hold it in place and sew a straight line at the bottom of the fold to secure.
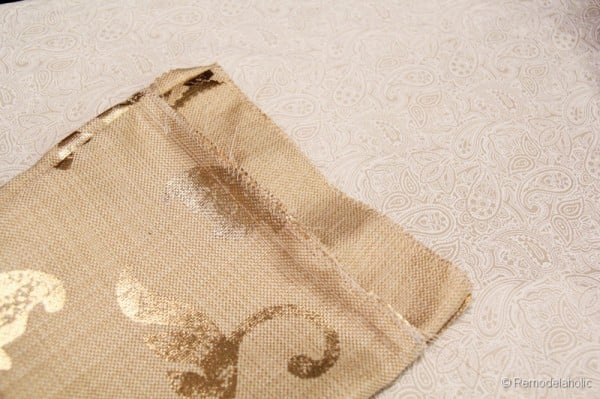
It should look like this once it is sewn down: The good news is you have some extra dimension and no raw edges at the top of your Christmas stocking.
Now you just need to make a hanging tab, you can use ribbon or scrap fabric.
I didn’t really get a pictures, but I took a 4″ inch by 1 1/2″ inch scrap and folded the two long edges into the center, and folded it in half again so that the raw edges were concealed, a pin or two to hold together while you sew the length of the piece to secure. Fold it in half to create a loop, and just sew the raw ends in place on the inside, calf side seam of the stocking.
Hang those babies up wherever you so desire. I also added a letter so we, I mean Santa, knows whose stocking is whose (and where to leave the coal 😉
Totally done! ENJOY!
DIY Stocking Instructions and Free Pattern
Print RecipeIngredients
- 1/2-1 yard fabric depending on pattern direction; will make multiple stockings
- 5 inches of ribbon optional
- sewing machine
- thread
Instructions
Get the free printable pattern above.
- Print the PDF pattern at 100% scale.
- Tape the 3 pages together and cut out to create the full pattern.
Cut the stocking pattern.
- Fold the fabric in half, with the print showing (right side out, wrong sides together).
- Place the pattern and cut. You will have 2 fabric stocking pieces.
Sew the stocking.
- Place the right sides (printed sides) of the fabric together.
- Pin the edges and sew around the shape of the sock with a 3/8″ seam allowance.
- Turn the stocking right-side out.
Bind the top, double fold option.
- Fold 1/2 inch to the inside of the sock, iron the edge so that is stays in place.
- Fold it over itself to the inside one more time to hide the raw edge.
- Pin in place and sew down with a single stitch around the top of the whole sock.
Bind the top, fabric strip option.
- Cut a strip of fabric, twice the width of the top of the sock + seam allowance and about 1 1/2 " wide.
- Put the fabric right side to right side and sew up the side seams to match the width of the sock as close as you can. (I did this with each sock since it will change slightly with each one.)
- With the good side of the sock on the inside, pull the binding down over the top of the sock, with the good side of the binding on the inside.
- Line the top two edges together, pin the top two edges together and sew around the top with a 3/8 " seam.
- Flip the whole sock right side out, and pull the binding up. Fold over the raw binding edge 1/2 an inch. Then fold it again over itself and the top raw edge of the sock.
- Pin to hold it in place and sew a straight line at the bottom of the fold to secure.
Add a hanging tab. Use a scrap of ribbon or make a hanging loop using fabric.
- Cut a 4" by 1 1/2" scrap and fold the two long edges into the center, then fold it in half again so that the raw edges are concealed.
- Pin to hold together while you sew the length of the piece to secure.
- Fold it in half to create a loop, and just sew the raw ends in place on the inside, calf side seam of the stocking.

Remember to check out the other great projects!!
- Santa and Reindeer Paper Garland
- Pipe Cleaner Ornaments, Kid Friendly Craft
- Sugar Free Pumpkin Steamers
- Fudge Brownie S’mores Pie
- Joy String Art Tutorial
- Snowman Wreath Tutorial
- Kids Advent Calendar
And these other great projects from my lovely friends:

|  |  |
 |  |  |
And you’ll also want to check out these other sewing patterns, which also make great handmade Christmas gifts!
- Handmade Ballerina Doll Pattern
- Easy Owl Pillow Pattern
- Braided Fabric Pillow Tutorial
- Oversized Cross-Stitch Pillow Tutorial
- Toddler Fabric Tent Tutorial

Cassity Kmetzsch started Remodelaholic after graduating from Utah State University with a degree in Interior Design. Remodelaholic is the place to share her love for knocking out walls, and building everything back up again to not only add function but beauty to her home. Together with her husband Justin, they have remodeled 6 homes and are working on a seventh. She is a mother of four amazing girls. Making a house a home is her favorite hobby.


Do you have any idea how often I’ve wanted to make my own stockings but just never actually have? You’re removed the ‘hard’ out of it. Thanks! These are beautiful and perfect for your mantel. Good shoppin’! 🙂
I love these. I recently did an elf stocking tutorial on my blog.
bajantexan.blogspot.com/2013/12/diy-burlap-elf-stockings.html
Where did you get the letters?
Cassity picked up at Walmart.
So elegant and beautiful!! I love the pattern you chose! Your mantle looks fabulous especially with the stockings and reindeer garland!! Love it!!
when I printed out the pattern, it is too small. Any idea what I am doing wrong?
You need to print out each individual piece and tape them together. There is a link to the full sizes pages. You might have printed it all on one piece of paper I am assuming?
Those are absolutely gorgeous!! I’ve been hunting for the perfect stockings this year (since my husband can’t remember where he put them away last year – OY!!) and I can’t find any that I just love. I think I may have to make my own – and this is the best tutorial I’ve found so far! Thanks so much!!
Jacque, so glad you found it helpful.
its richloom golden gate silver fabric from hobby lobby and i only know this because my mother fell in love with the fabric this week for a chair project we are going to do and i wanted to see if i
could find it cheaper online. its $33yard but 30% off this week