Plywood 101: Best Plywood Tips for Successful DIY Projects
We are big fans of plywood — thus the entire week-plus of #PlywoodPretty projects — but, like every medium, plywood has its strengths and weaknesses, its quirks and must-know tips before you dive into your next plywood project. We rounded up our best plywood tips, plus tricks for working with plywood to help make your next DIY project a success! (Be sure to share your plywood projects here.)

Plywood 101: The Best Plywood Tips
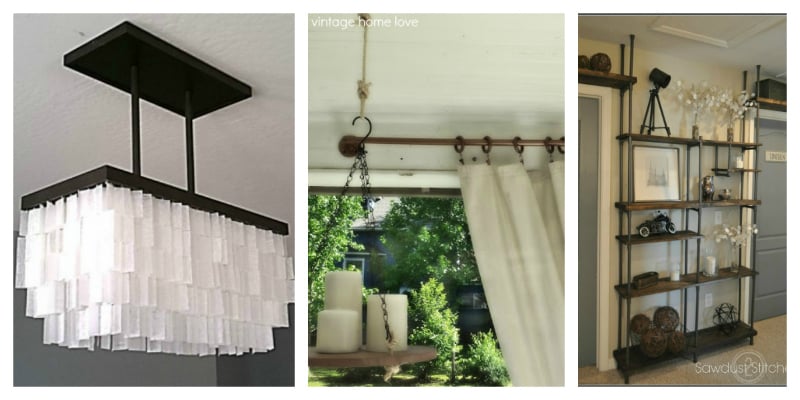
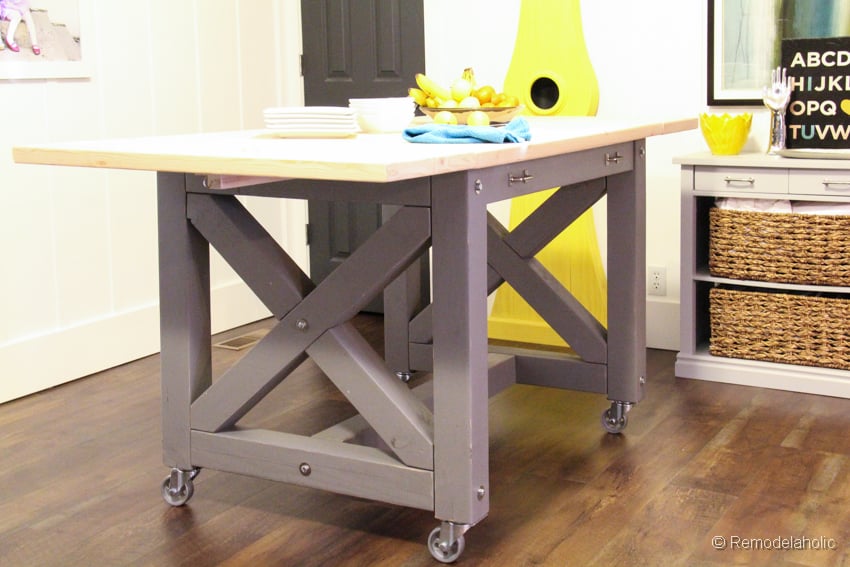
Now, plywood is not the cure-all for every project, but it is pretty darn versatile and dependable for use in building furniture such as benches (we have TWO new bench tutorials coming up this week!), dressers, nightstands, and shelves (two of those coming up this week, too!). You can even use plywood as a budget-friendly flooring option (and we’ll have more info about that coming up this week, too)! You can also use smaller pieces of plywood to make signs, and scraps from bigger projects make for great decorating ideas — watch this week for so many ideas and tutorials! Be sure to subscribe by email or RSS and follow along over on Facebook and Instagram with #PlywoodPretty so you won’t miss any of these new tutorials!
A big thanks to our friend Blaine from Curtis Frank Design who helped us with several of our projects this week and also shared a few of his tips and images with us for this post, including the featured image above. Check out his custom work at @curtisfrankdesign on Instagram.
This post contains affiliate links for your convenience. Learn more and read our full disclosure policy here.
Shopping for Plywood: Understanding plywood grades and thicknesses
Plywood comes in standard 4×8 sheet sizes, and most stores also carry 4×4 half sheets for smaller projects. Sheets of plywood also come in a variety of thicknesses, but similar to dimensional lumber, the name of the plywood thickness might not always be the actual dimensions of the sheet. As Blaine says, on a project where every increment counts, make sure that you are getting the right thickness. If you need 3/4″ make sure it’s 3/4″ and not 11/16″ as is often the case. 7/16″ is also often mistaken for 1/2″.

Also like other lumber, plywood comes in many different grades and finish veneers. The above graphic we found here tells about grades: the closer to the beginning of the alphabet, the higher quality the plywood and the more expensive it will be. Some projects can make do with a B/C plywood with some extra elbow grease and time spent sanding; some projects are worth spending more for a smoother, higher quality plywood.

Cutting Plywood: Tips for getting a clean cut edge
Now before you write off all plywood projects because you don’t have a table saw — you don’t have to have one! While it is handy to have one if you’re making many long cuts or ripping plywood into strips, you *can* create gorgeous plywood projects without a table saw. Most hardware stores will cut down a sheet of plywood for you — some at no extra charge, some for a nominal fee. And bonus, then you don’t need a truck or trailer to get your plywood home! It’s helpful to bring a printed building plan with you to make sure you get the cuts that you need while at the store.

If you need a lot of cuts made (such as ripping several sheets into planks for a shiplap plank wall or for plywood plank floors) then be sure to let the store know and give them some time to make the cuts. Often you can call and place your order and then go pick up the cut wood the next day, so you don’t have to make two trips to the store. However, the store cuts are not always the most precise, so if you need a piece a specific size, you’ll be better off to have the store make a rough cut slightly larger than you need, and then you can trim it up at home with a circular saw or sliding compound miter saw.

You can make all the cuts you need with a good ol’ circular saw. A table saw will save you time, but a circular saw will get the job done. For shorter cuts or smaller jobs, a smaller handheld circular saw can be nice, but a larger circular saw is more versatile for other projects since it extends the thickness you can cut.

Whatever saw you’re using, you’ll want to use a sharp new carbide blade — the more teeth, the better the cut!
Now, a little terminology:
- A RIP CUT is a cut going with the grain of the wood. Rip cuts are generally less like to splinter.
- A CROSSCUT is a cut going across the grain of the wood, and this is where you’re most likely to get chipping, splintering, and other problems with with the plywood veneer.

To protect the veneer and ensure you’ve got a nice, clean cut (with the aforementioned new blade in your saw), use masking tape or painter’s tape along the cut — measure for your cut, then place the tape, measure again (following the “measure twice, cut once” adage) and mark the cut in the middle of the tape. Then, just cut right through the tape — the adhesive is strong enough to keep the plywood veneer from splintering, but not so strong that it will rough up the edge when you remove it.
When you’re using a circular saw, the blade cuts UP, so you’ll want your plywood face DOWN. A table saw works the opposite way — it cuts DOWN, so you’ll want your plywood face (or what will be the top of the project) UP.

The trickiest part of using a circular saw is how to brace the wood and the saw to get a great cut without cutting into your garage floor (or something else). If you prefer to be more upright, you can use sawhorses, but it’s generally easier and more stable (and therefore safer) to cut on the floor using a set of 2x4s or a sheet of foam insulation to support the cut. Just set your saw blade to just a smidge (1/8 inch) over the depth of your plywood and lay it on top of the insulation sheet or 2x4s (running perpendicular to where you’ll be cutting). Make sure it’s stable, and then as you cut, your blade will just barely cut into the insulation or 2×4 support underneath — but both are inexpensive and will last you many projects!

To ensure a straight cut with a circular saw, you can purchase a saw guide like the Kreg Rip Cut. As a DIY alternative, you can create a cutting guide for your circular saw. Use scrap wood to create a straight cutting guide like Madeline showed here, by clamping the scrap to the wood so you can use it along the edge of the saw to keep the cut straight.

If your cut is very long of you’ll be making many cuts, you can swap the scrap wood for a long 8 foot level to create a guide, or use an 8 foot metal stud like this as your straight-edge guide for your saw:

If you’ll be doing a lot of cuts, you might consider want to build a straight cut jig like this to speed up the process:

or consider building a cutting rack like one of these:
|
|
|


For curves or circles, you can use a scroll saw or jigsaw to cut curves and circles like Reality Daydream used for her plywood quote sign.

Or, visit Love Create Celebrate to learn how to make modern plywood chargers and easily cut a perfect circle using a Kreg router table like this.

Or, you can get a blast from the past and check out this video of ours from a few years ago, where Justin shows how he set up a jig to cut a circle on a table saw — and pretty please subscribe to our channel! We have weekly videos, and our video quality is much better now 😉
Working with Plywood: Tips for drilling, gluing, and assembling plywood projects
Blaine recommends always pre-drilling when screwing into side (edge) of plywood; it has a tendency to separate around a screw or large nail.
When drilling through plywood, it’s most likely to splinter on the backside, so always drill from the front face, the side you want to stay clean and nice to be visible in your project. If you want both sides to be clean and splinter-free, either place a piece of tape on the backside (similar to protecting the cut discussed above) or drill into another piece of wood, clamped to the back of the plywood, so that the hard surface of the other wood can help hold the layers of plywood together and prevent chipping.

To help hold pieces in place while you’re gluing, drilling, or nailing, it can be helpful to create a jig like these:


Plywood pieces can be assembled using screws and pocket holes with a tool such as a Kreg Jig, or by using a biscuit joiner.

Depending on the scope of the project, you might also need a set of sawhorses, and it never hurts to have some clamps on hand! Simple spring clamps, C clamps, bar clamps, and strap clamps are all very useful when you’re building.

Sanding and Finishing Plywood: Getting a smooth finish
For finishing and sanding plywood, you’ll want the regular tools: orbital sander, sanding block, brushes or rags for staining, etc. This part of the process is very much like any other type of wood finishing.
Because of how plywood is created, you must be very careful when sanding. As Blaine advises, it is very easy to sand through the top veneer and cause what is called a “burn” where the second darker layer shows through. On the flipside of that, you can achieve some interesting effects by creatively “burning” the plywood and sanding through multiple layers. Plywood is layered with alternating grains and usually alternating tones, so aggressively sanding can give you a more creative finish. However, if you want a smooth and even finish, without color variation, make a couple of light pencil marks to serve as a guide to your sanding.

If you will have open end edges, always sand them slightly round. Plywood is flaky on a cut edge, and sanding them round (like Blaine did on this creatove upcoming project) helps ensure a clean finished edge.

Finishing Plywood Edges
The open edge of plywood makes a really fun style, but if you’d like a more finished look, there are 3 main ways to finish plywood edges.
Finishing method 1: Apply iron-on edge banding like Rogue Engineer used on this modern Lindsey desk’s top

and then trim with a utility knife, razor blade, or banding trimmer like Build Basic shows here.

Finishing method 2: Add solid wood edging. You can attach a solid piece of wood (such as a 1×2, or whatever will match the thickness of your plywood and the scope of your project) using glue, finish nails, or a pocket hole jig or biscuit cutter, or if you’re getting advanced, by creating a tongue and groove connection. The solid wood edging gives you a nice finished look and also allows you to rout and shape the edges for a high-end custom look.

Finishing method 3: If you’ll be painting the piece anyway, you can fill the voids along the edges with spackle such as this or joint compound. Allow it to dry, sand it smooth, then prime and paint.

PHEW! Any tips you’d add for working with plywood?
Be sure to subscribe by email or RSS and follow along over on Facebook and Instagram with #PlywoodPretty so you won’t miss any new tutorials!

Lorene has been behind the scenes here at Remodelaholic for more than a decade! She believes that planning projects and actually completing them are two different hobbies, but that doesn't stop her from planning at least a dozen projects at any given time. She spends her free time creating memories with her husband and 5 kids, traveling as far as she can afford, and partaking of books in any form available.


Great tips!
Really useful, thanks for pulling that all together.