Dresser Refinish, Guest Party Highlight
This is a great transformation! I loved it when I saw it so I had to highlight it.
Mrs. Adventure did a great job with this piece of furniture.
Mrs. Adventure did a great job with this piece of furniture.

I have always loved to refinish furniture. Maybe its because I love to take something no one wants and make it something people love & want to have. Or maybe its because I love to create & get covered in paint but whatever the reason I love it.
Maybe there are a few of you that have never tackled furniture. Since I like to believe its only because you don’t know where to began I figured I would show you how.
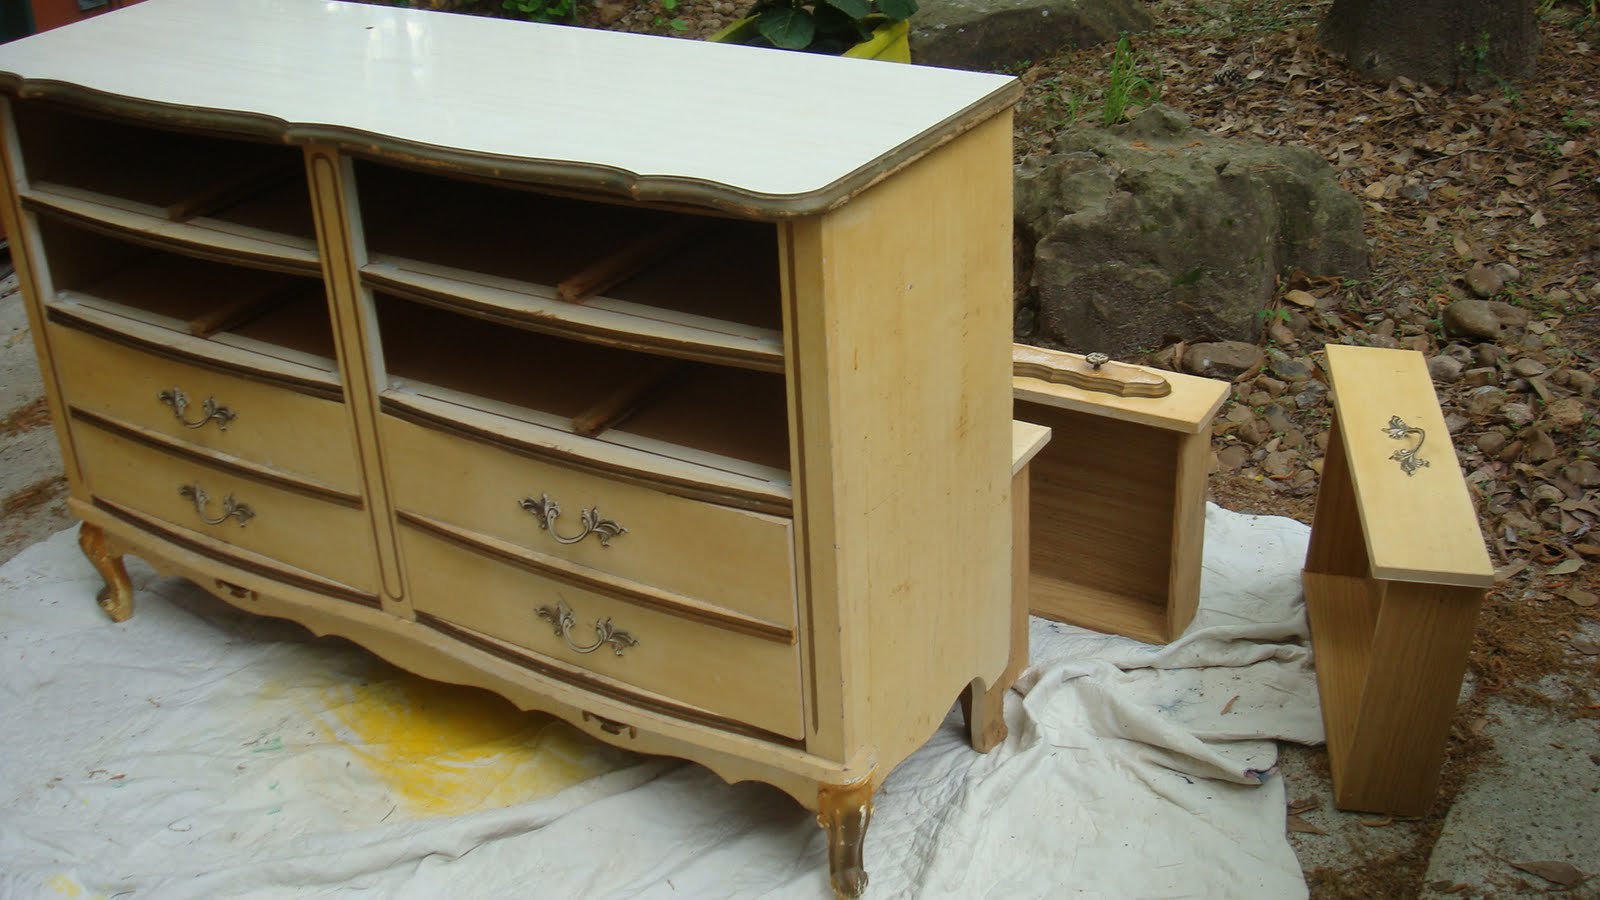
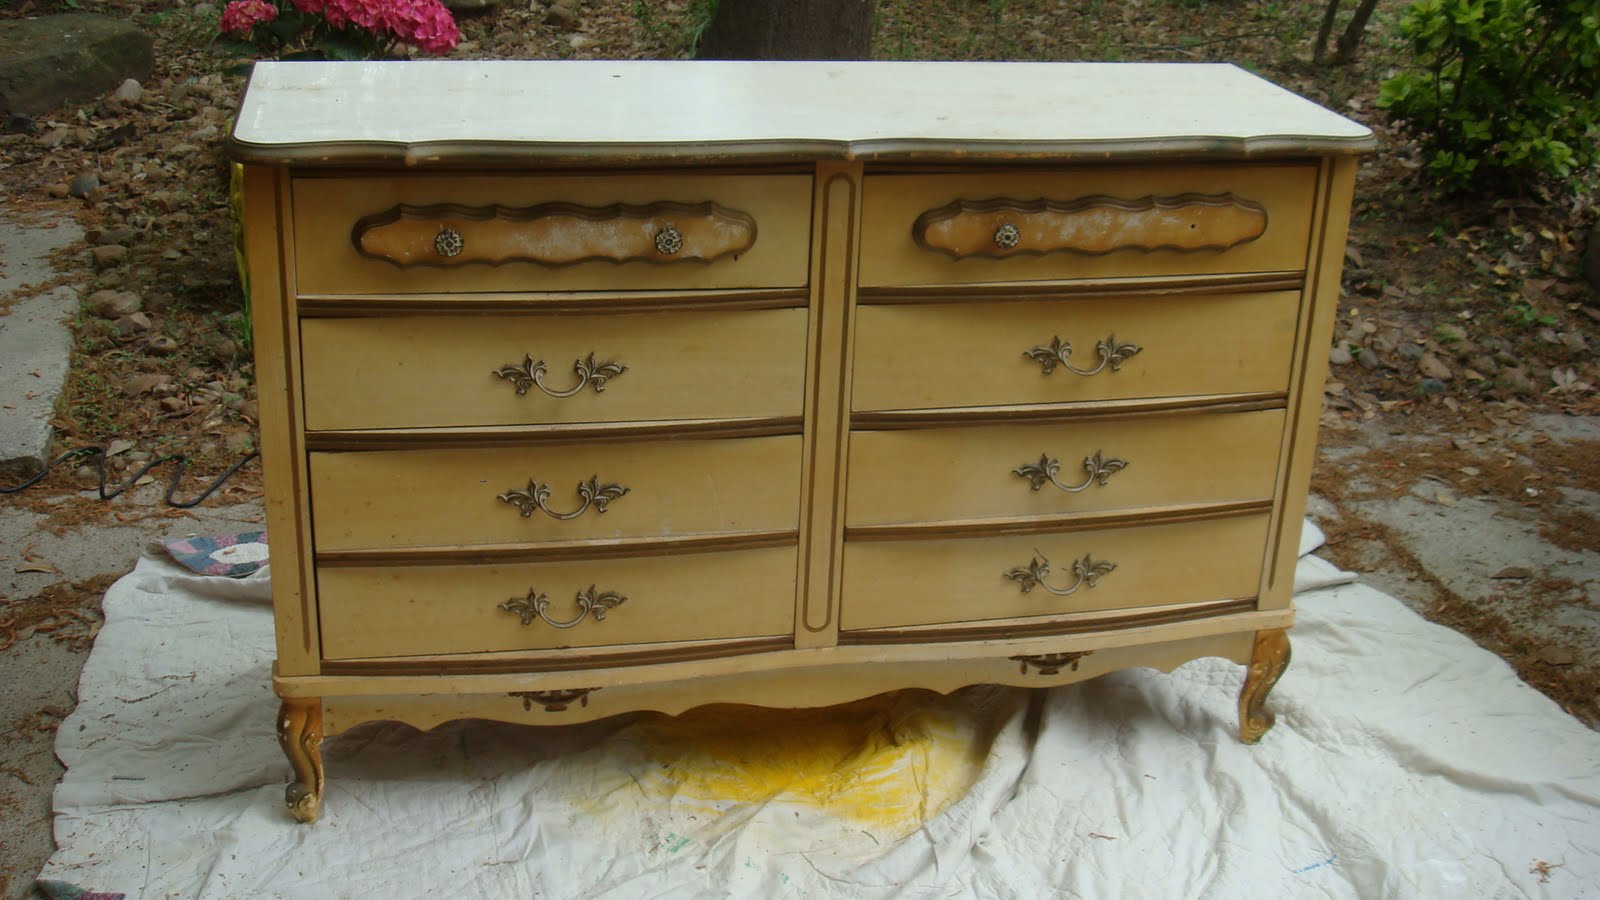
This past week I found this great dresser for $25 bucks! Ok maybe she doesn’t look great now but her lines were perfect, and I knew she would be great.

Ok fine she was VERY rough

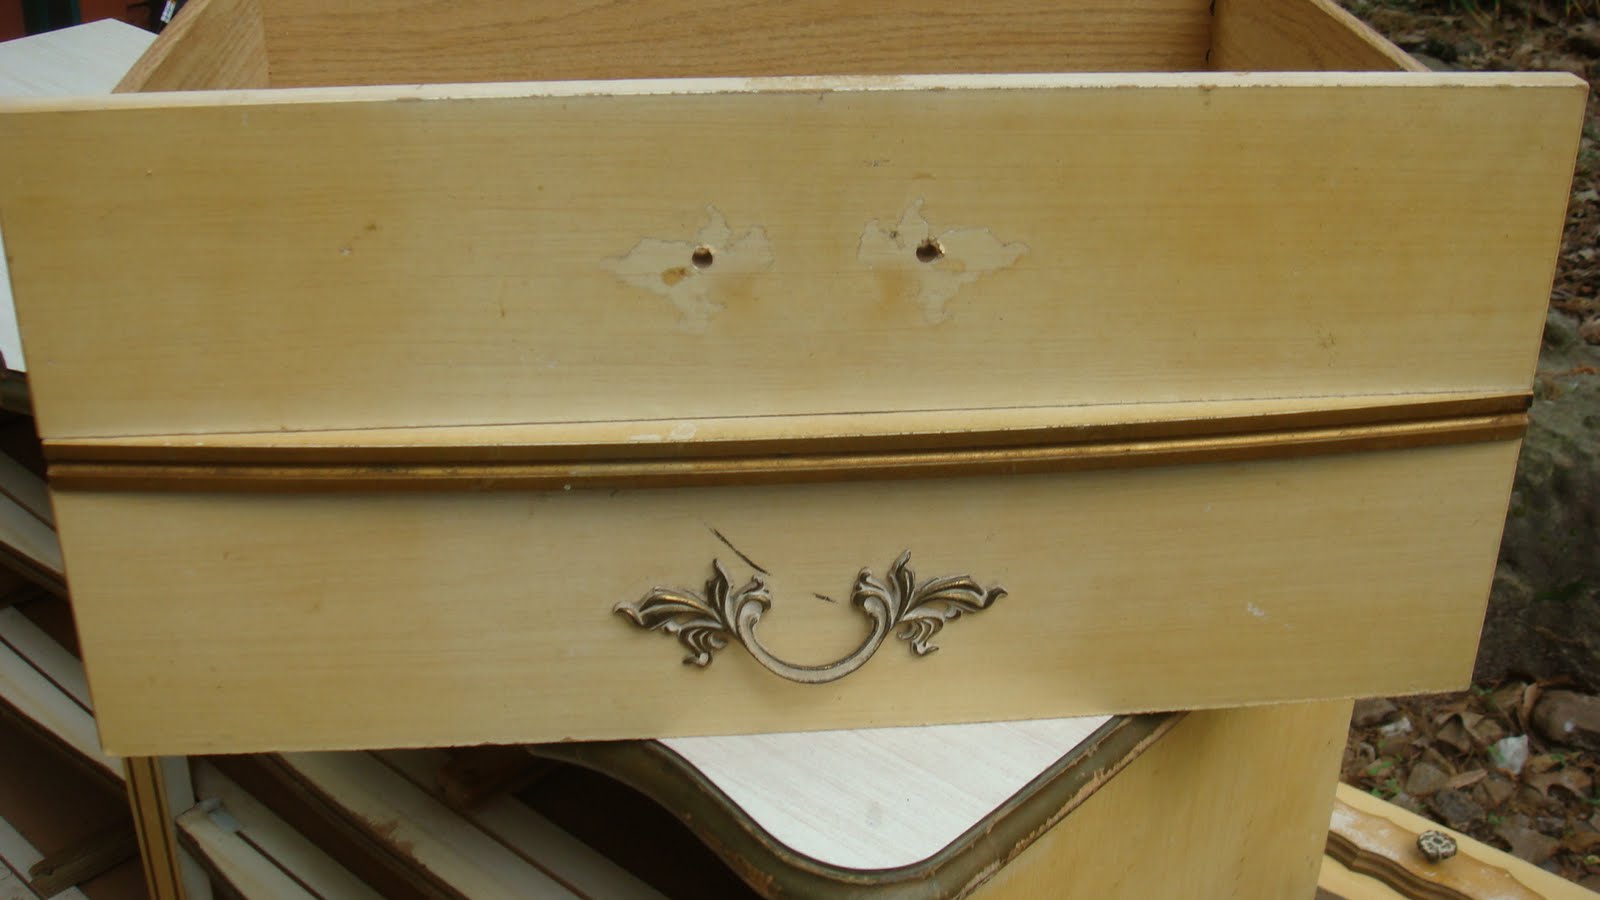
Missing hardware
Scary stuff in her drawers… ick.
So here’s what I did:
Step 1: CLEAN, wipe down every nook & cranny.
Step 2: Remove all hardware.
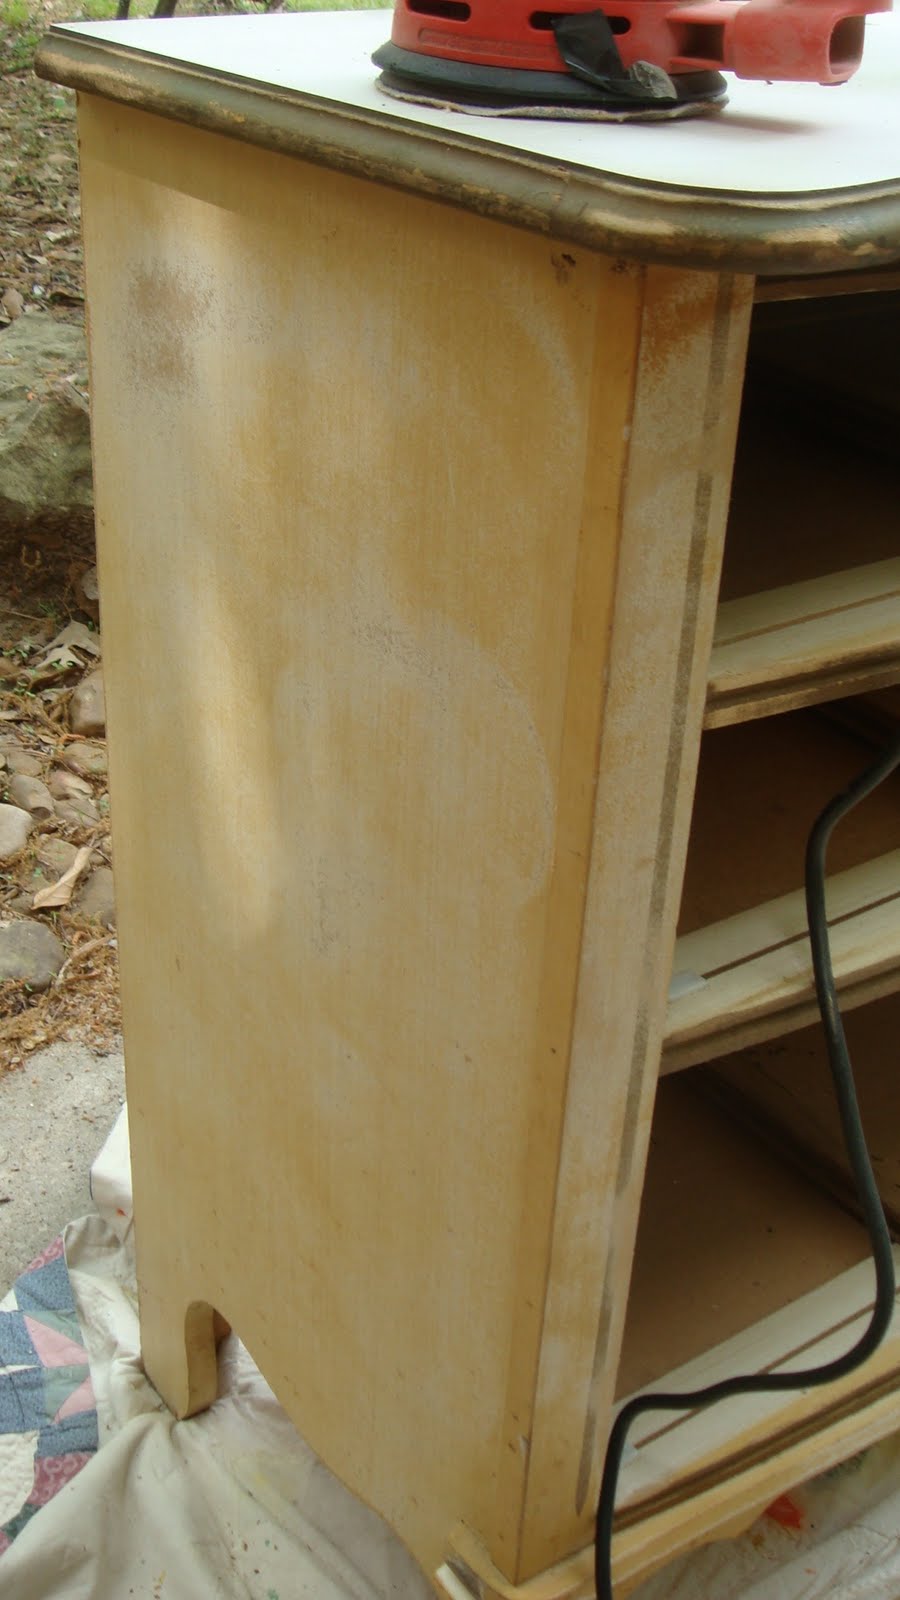
Step 3: Sand, I started with a 50 grit, then once all the hard enamel is off I switched to 120 to make sure the finish was very soft & smooth.

Step 4: Once you have the surface good as sanded, wipe down with a clean damp rag to remove any dust.
Note: This dresser was hard to sand down to the bare bones due to it being part laminate. However, I wanted a paint that would last for ages so I picked a Oil Based Enamel. . (which has a bonus of no priming needed)
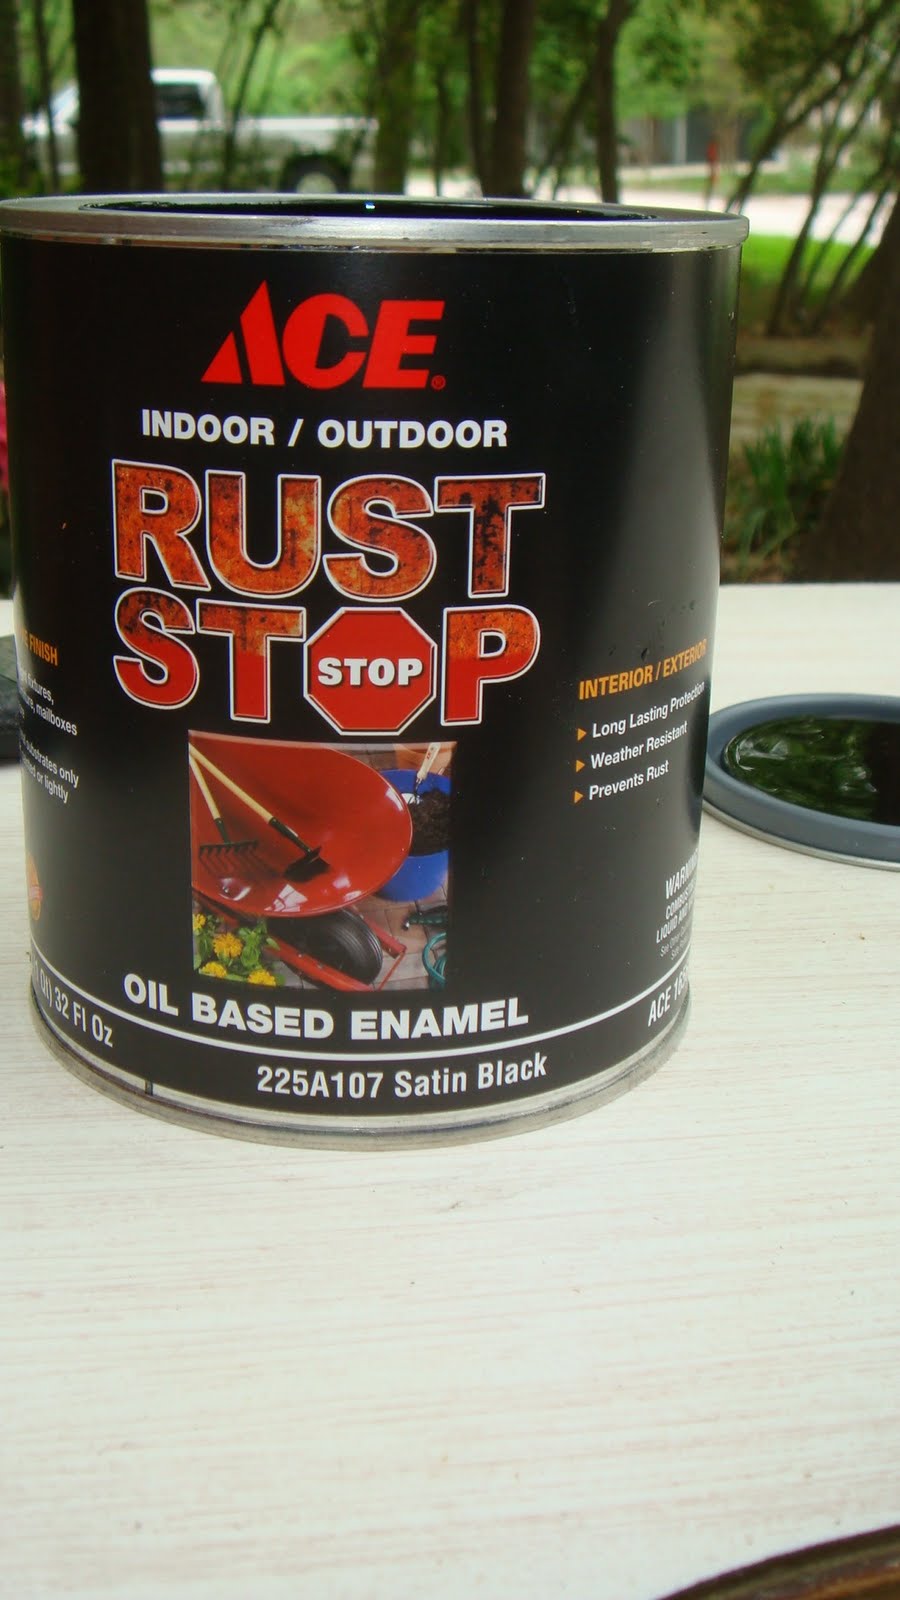
This paint is awesome you can use it for indoor or outdoor furniture and it goes on super smooth.
Tip: Make sure you use the correct brush
(ie: for oil based paint use a brush made for oil based paints)
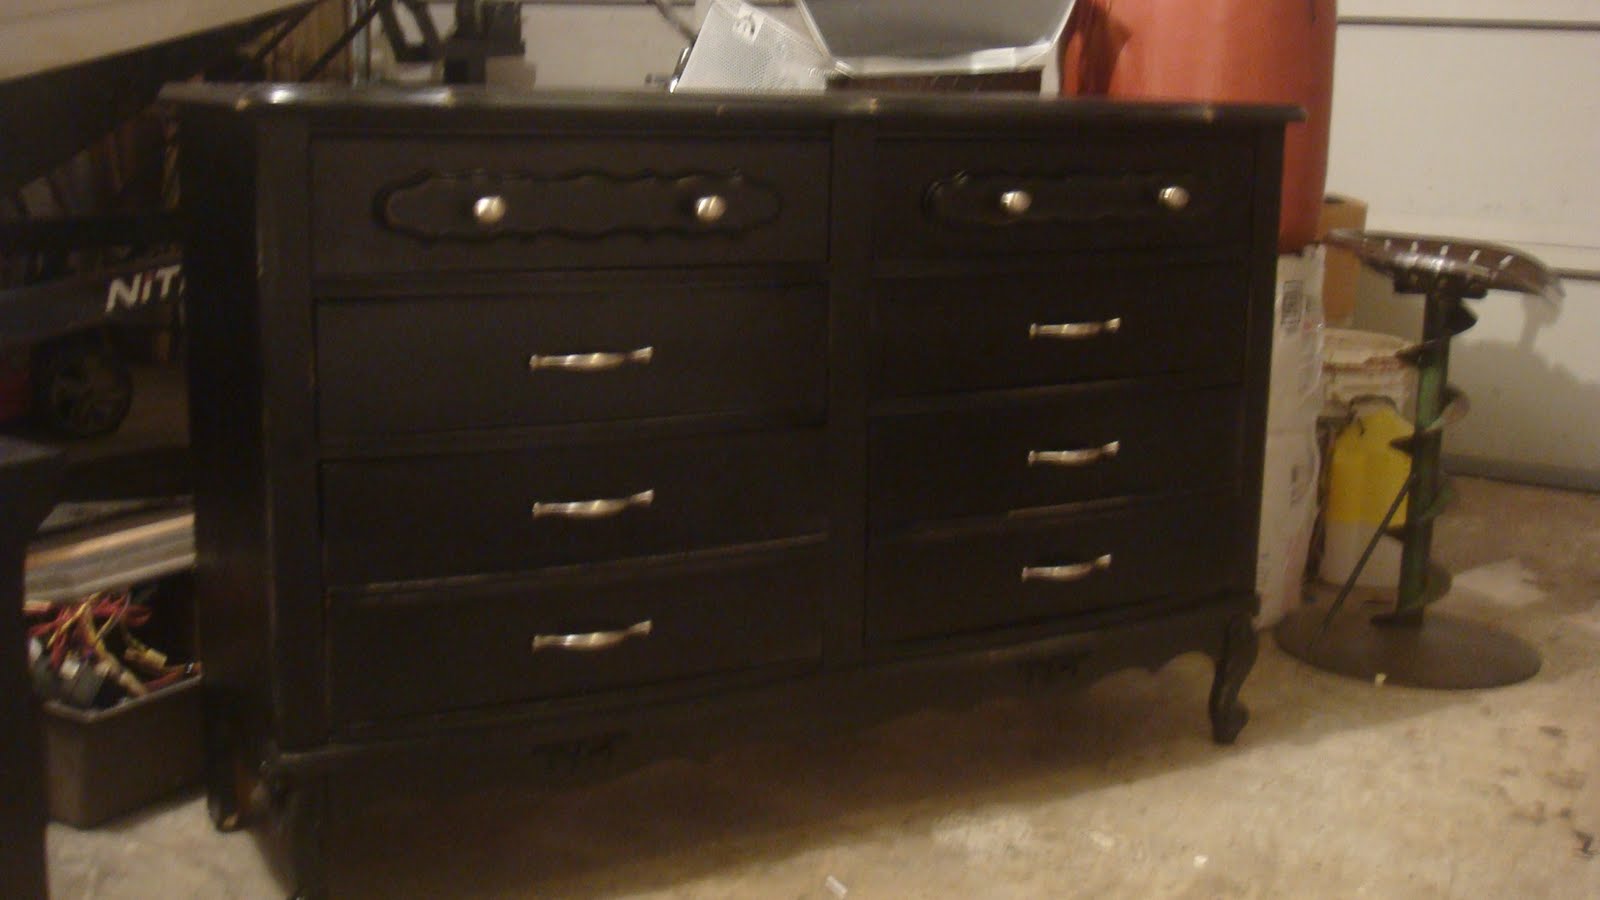
Step 5: Brush on your first coat of paint, don’t try to lay it on too thick you will have another coat for coverage.
Step 6: Let it dry (5 hours if you used latex, overnight for oil based like mine)
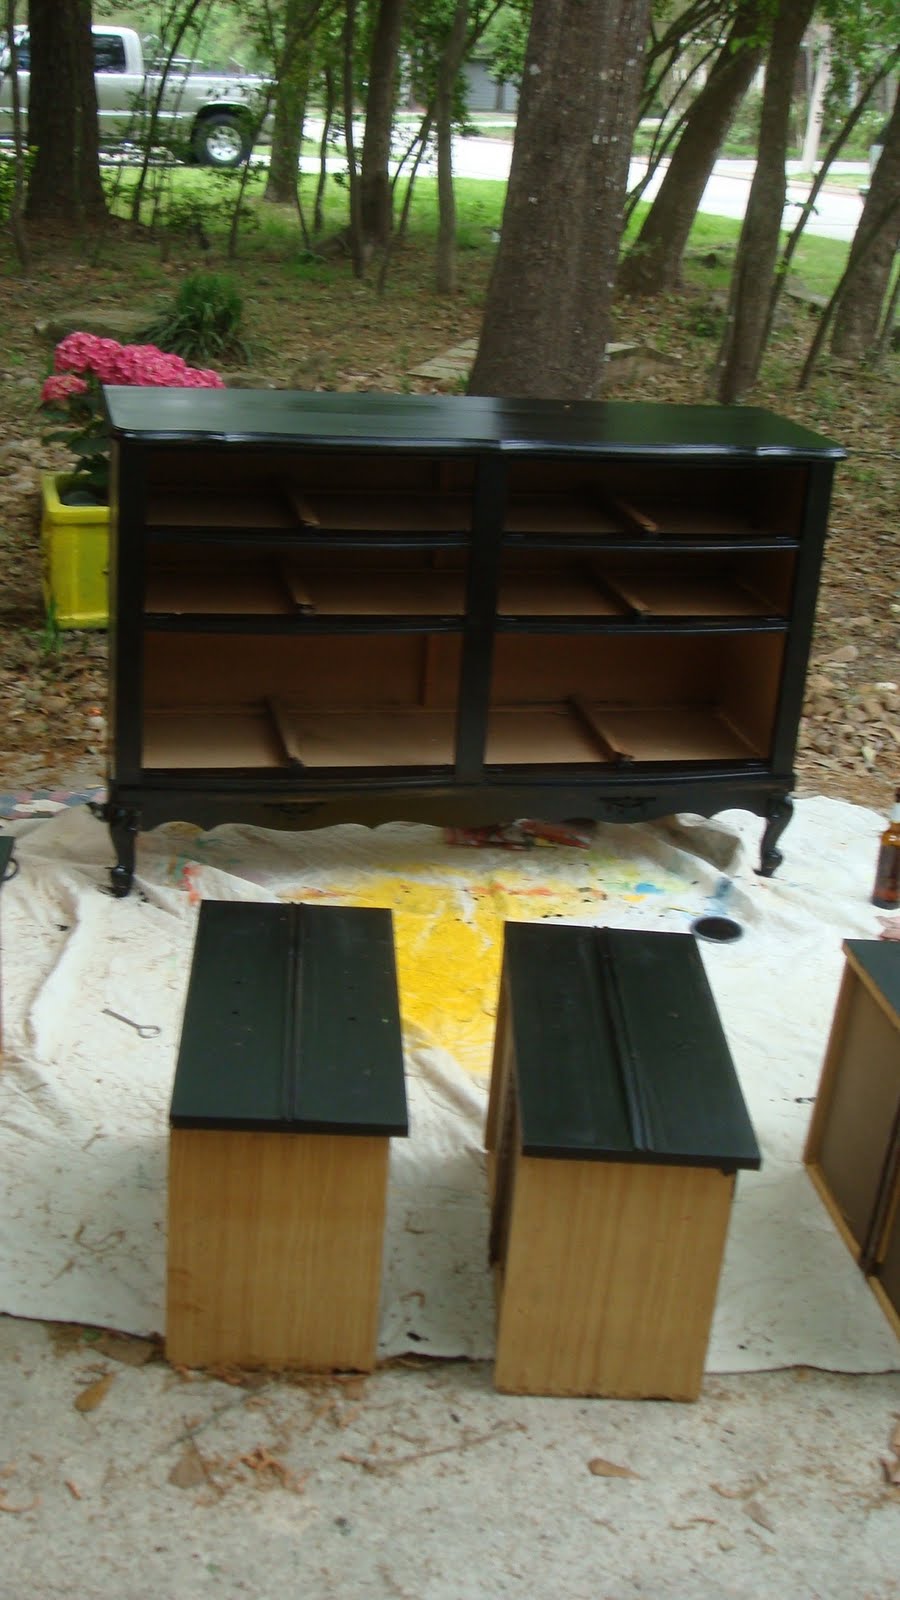
Step 7: Paint a second coat, This time be sure to get all sides of the dresser.
Step 8: Let it dry
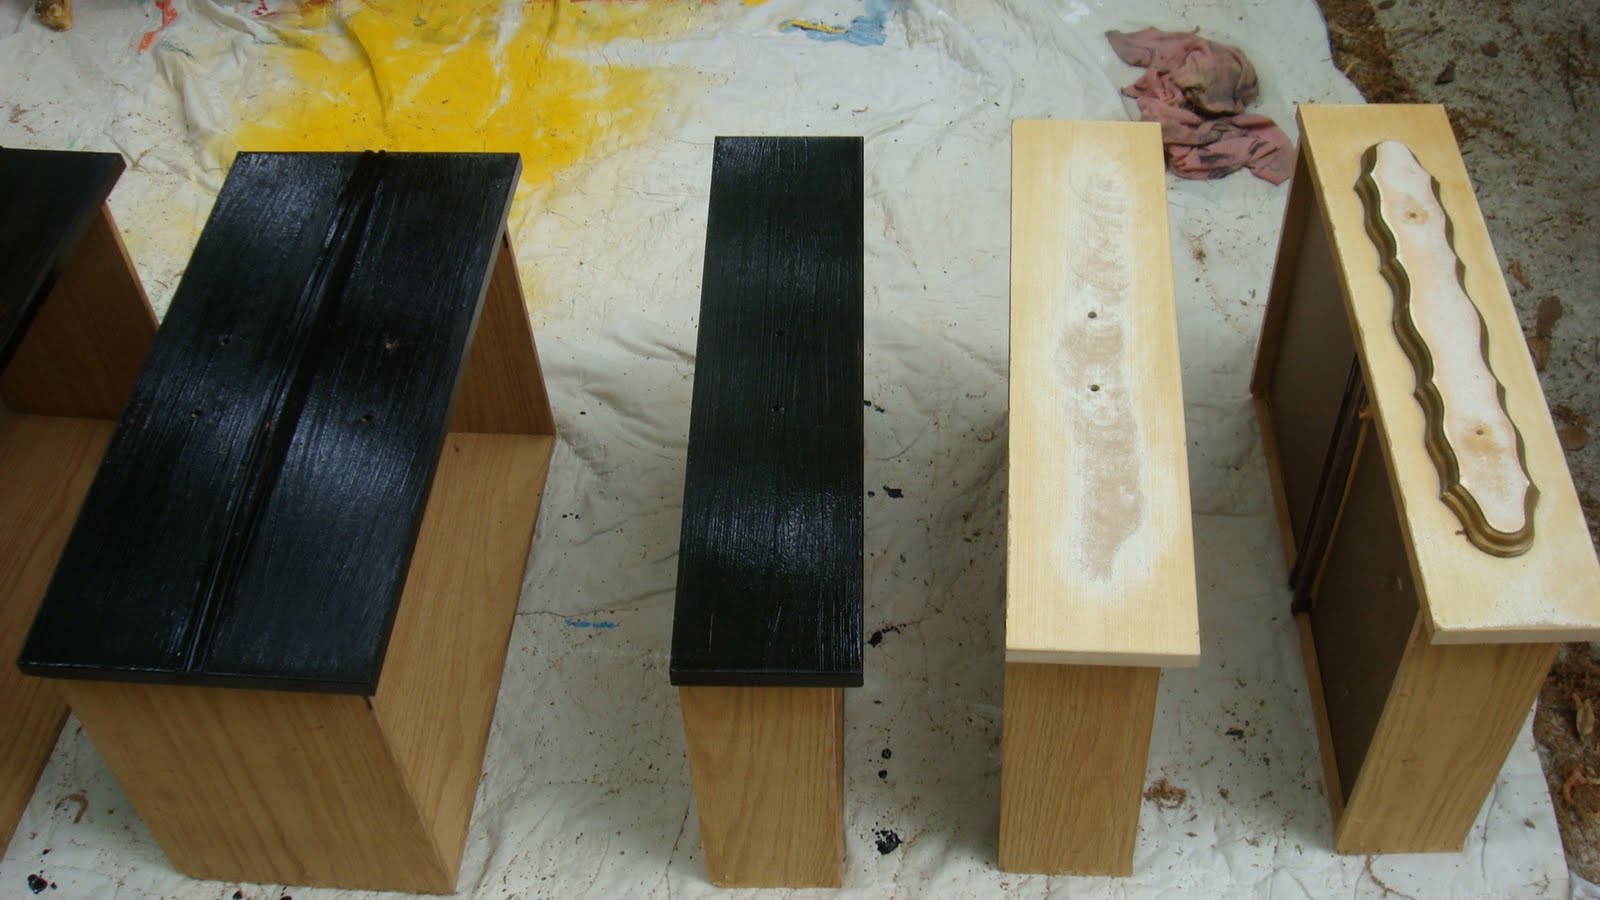
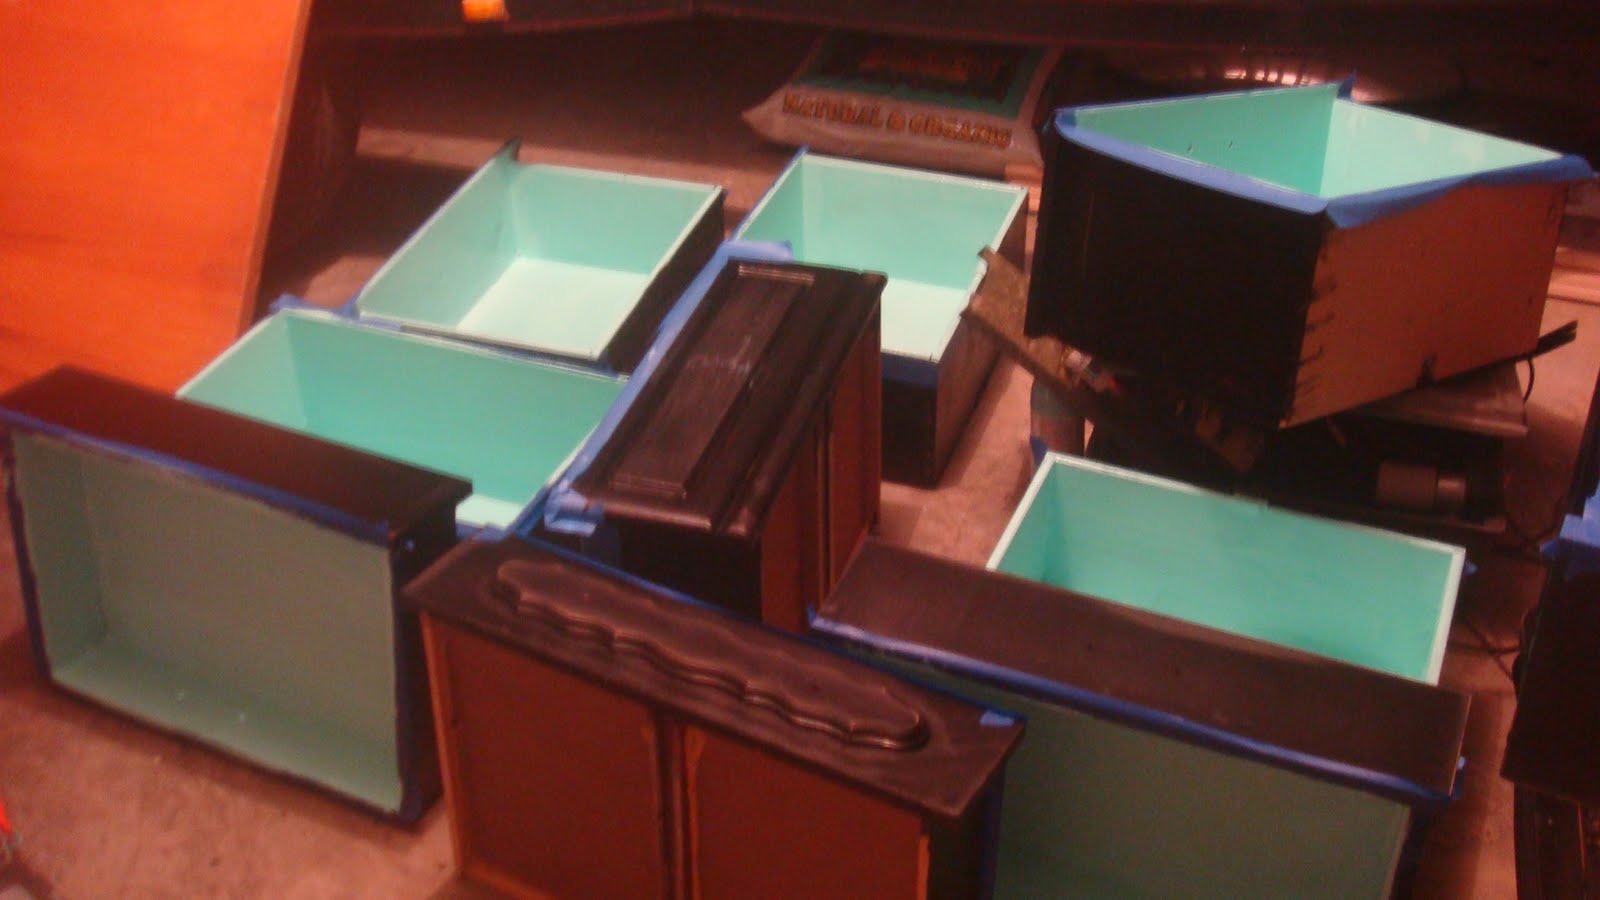
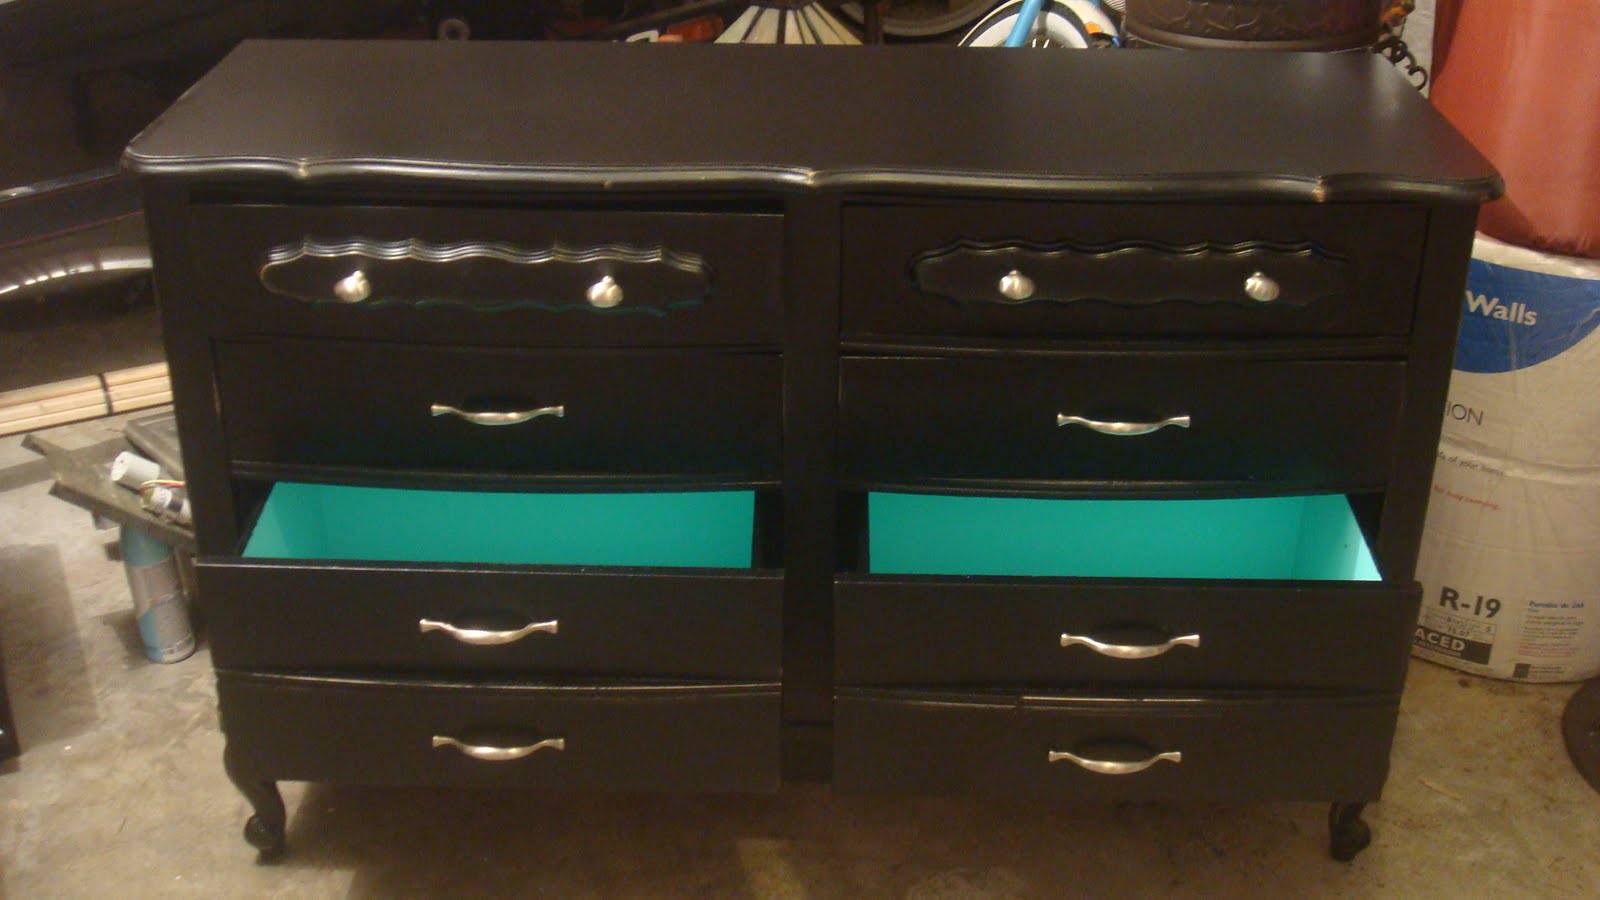
Step 9: Tape off the ouside edge of each dresser (This is only if you want to paint the inside of the drawers if not you can skip ahead to Step 12)
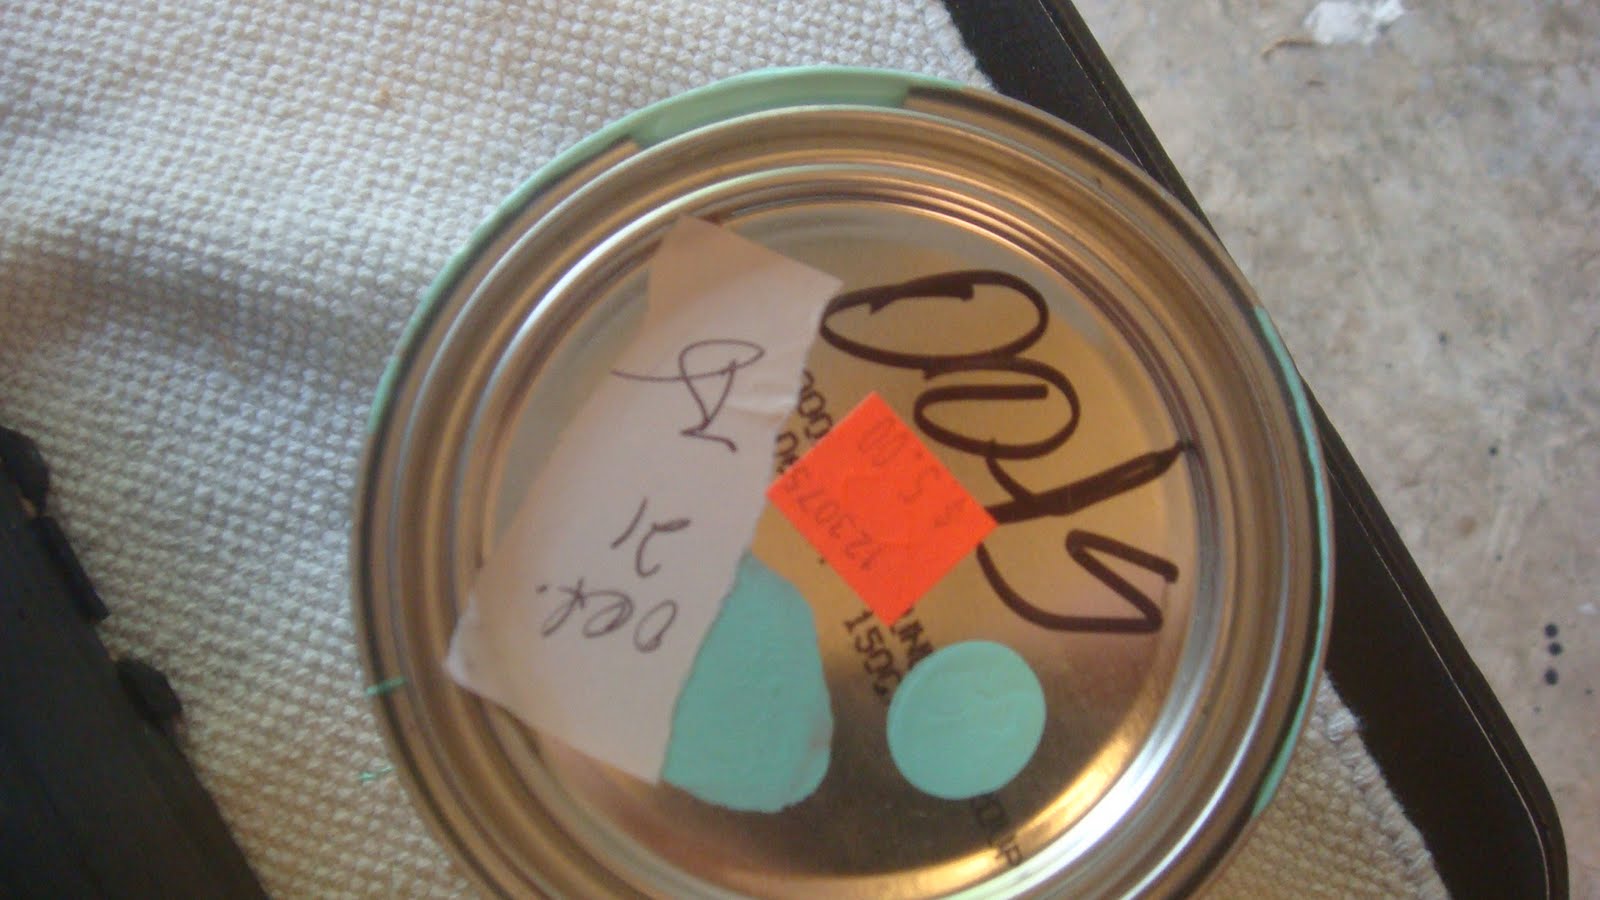
Remember this “Oops” paint from my night stand makeover? Well here is where the last 1/2 of the can was used.
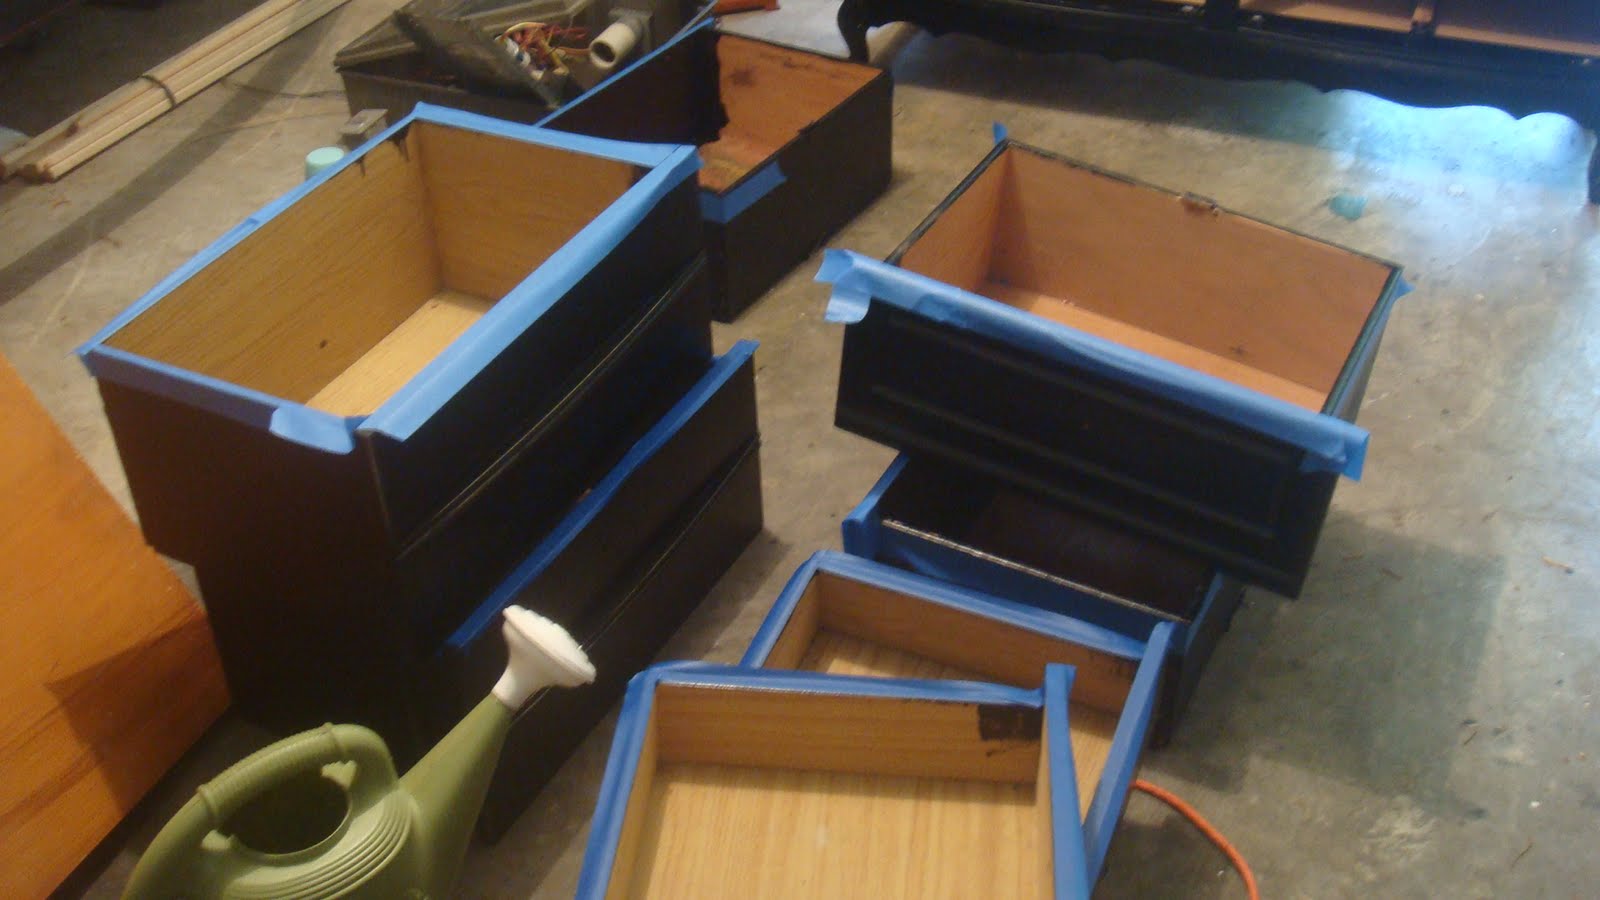
Step 10: Paint TWO coats of a glossy finish inside your drawers letting them FULLY dry in between each coat.
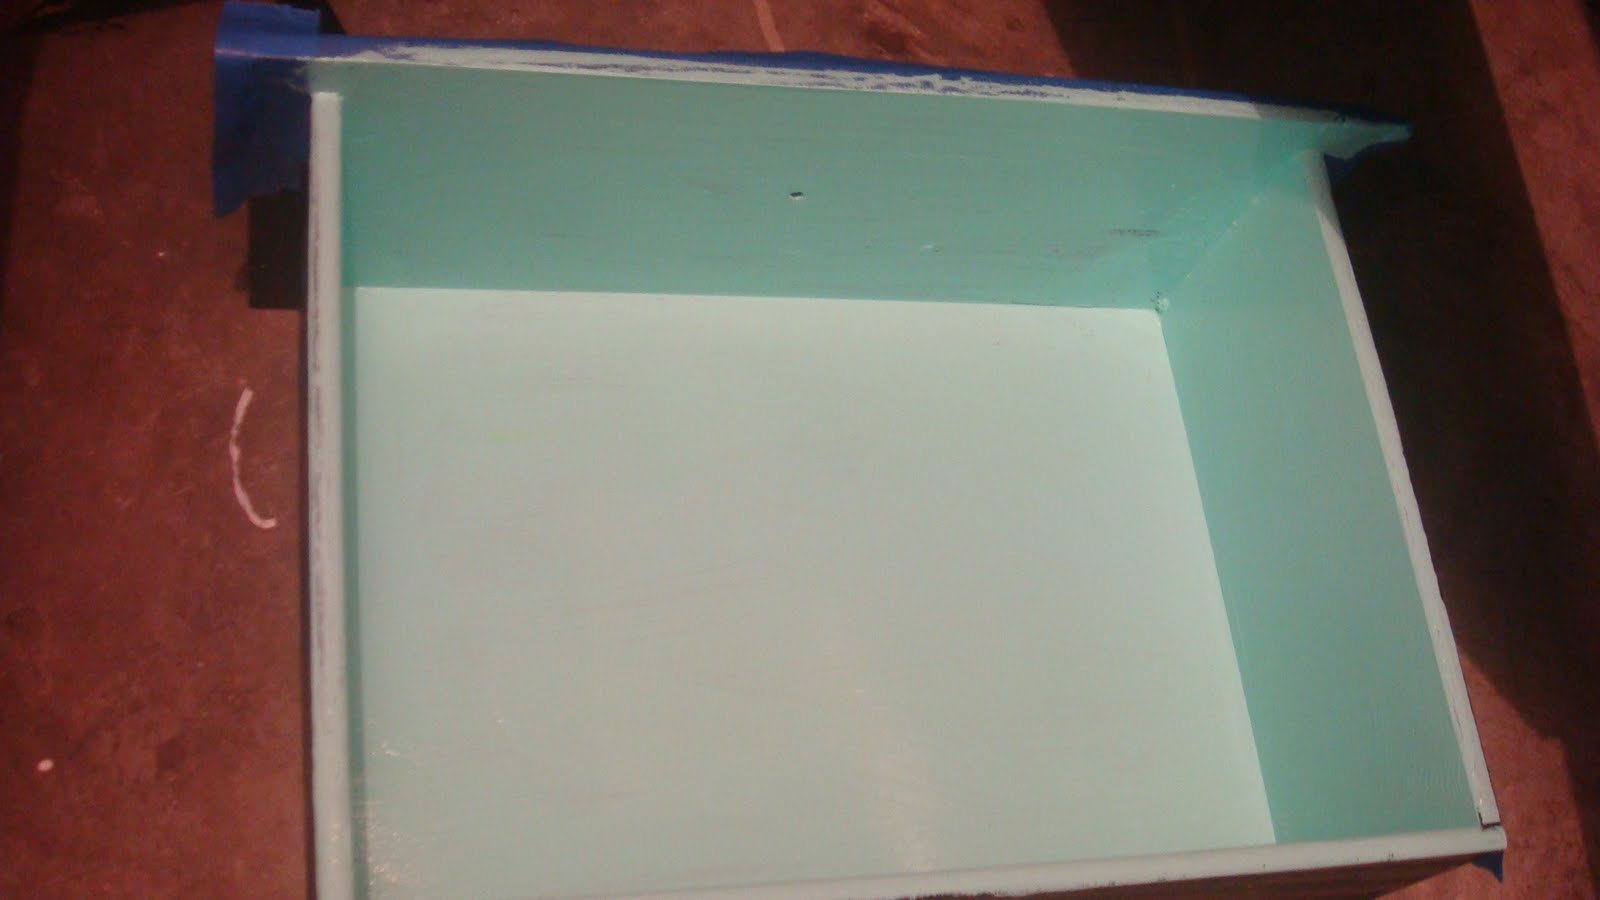
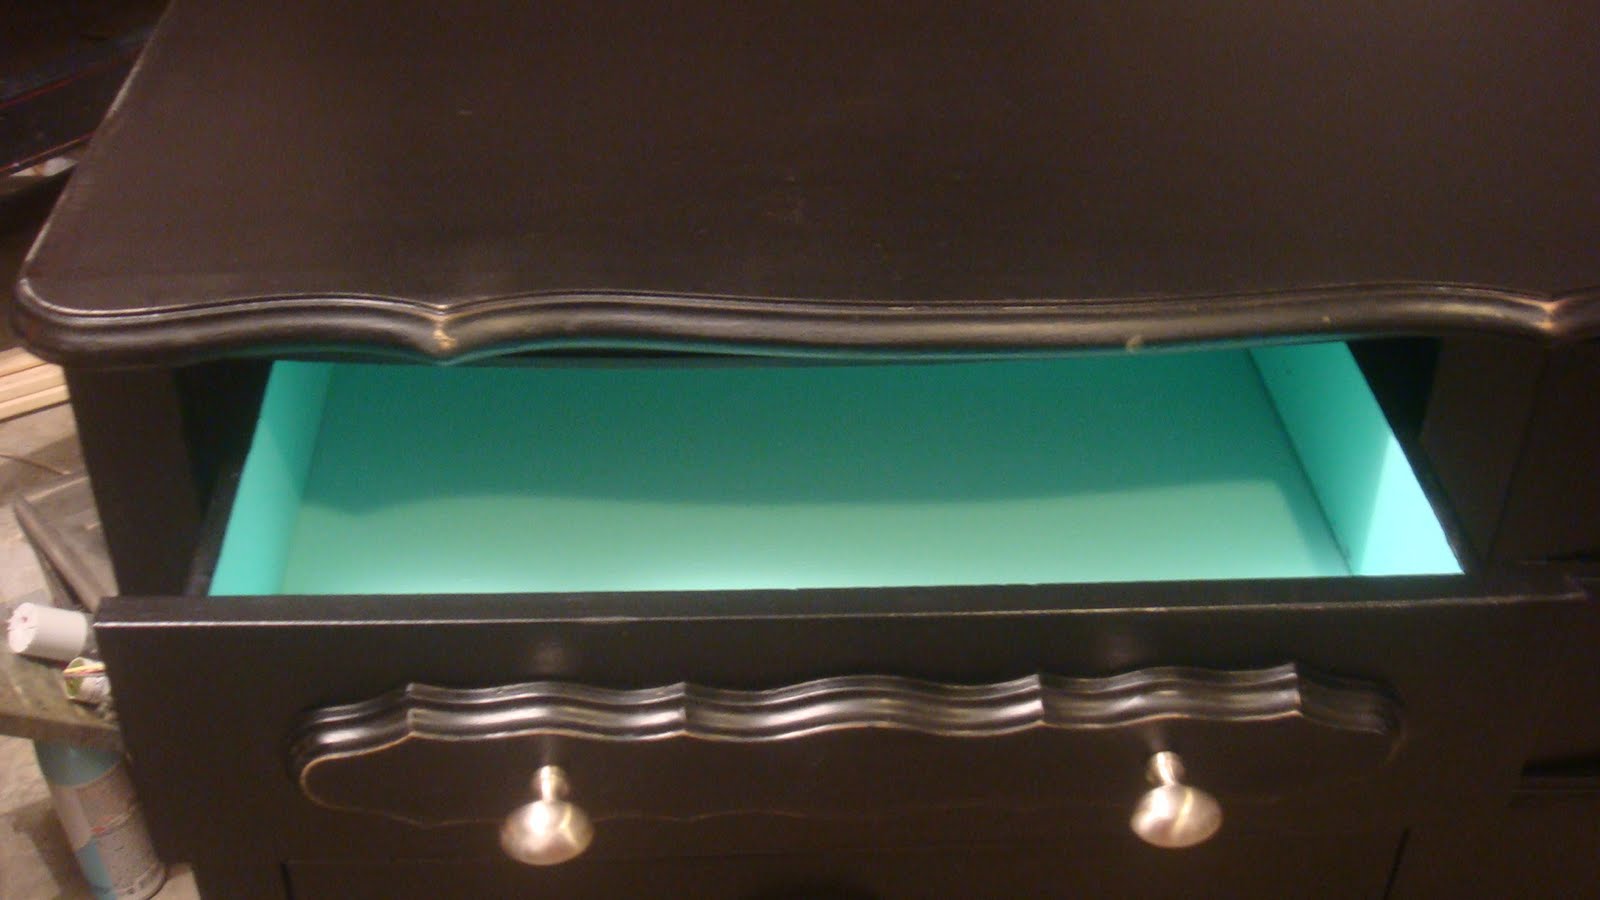
This is what mine looked like….
Step 11: Take off the tape while your second coat is drying ( I have found that this will help prevent the tape from peeling off your paint).
Optional Step: Distress the wood – Go over all the edges / corners that would normally get a lot of wear.
Step 12 (optional): Use a extra smooth brush and go over the entire peice of furniture with a coat of Polyurethane. This will seal your furniture and make it stronger against nicks & stains.
Then Step back and admire your hard work!
Just for fun how about a few side by side shots?
Before

After
Before
After
What do you think of her transformation?
Cassity Kmetzsch started Remodelaholic after graduating from Utah State University with a degree in Interior Design. Remodelaholic is the place to share her love for knocking out walls, and building everything back up again to not only add function but beauty to her home. Together with her husband Justin, they have remodeled 6 homes and are working on a seventh. She is a mother of four amazing girls. Making a house a home is her favorite hobby.


>This looks fantastic! I love the teal inside the drawers!
>OMG! I just got this SAME dresser (in about the same condition) for $25 last weekend. A friend texted me a picture of it and said "It's solid wood!" so I told her to pick it up, only to find the top was a big old hunk of laminate. I've never painted laminate before so I was a bit discouraged. However, this has totally got me amped up to tackle it! Thanks! It looks amazing.
Autumn
TheFickleHobbyist.com
>Wowsa! I love it! The inside color is fabulous. Great job. Lisa~
>That dresser looks A-Mazing!
>the dresser looks positively beautiful! Very nice work!
gail
>Stunning! At first I was thinking "black? Really?" But her oops paint just pops right out to make it so pretty.
>Oh, I adore it – just beautiful! thanks for the tips too, great post!
>I picked up the DESK to this very piece, down to the hardware! Got it at a yard sale for $4!! My DIL wanted it painted solid white. But I do love the black and turquoise you did yours in. Sweet! Love your blog.
>Gorgeous!!
>Wow! Bowing down….
That is cute!
>I love it-I totally had this dresser and matching bed and lingerie chest growing up. They had been my mom's from when she was in high school. It makes me want to go swipe them and do this to them! It turned out awesome!
>Love this! And how cool to paint the interiors of the drawers that gorgeous blue! Really beautiful!
Kat 🙂
>LOVE LOVE LOVE THIS!