DIY Homemade Wooden Headboard With Scrolls: Guest Project
Lindy at Cottage Hill made a very intricate wooden headboard for her master bedroom. I was so shocked that she made this. And now that I see it, with a little bit of explanation behind how she made it, the idea opens up all sorts of creative headboard options. She explains how she did it below:
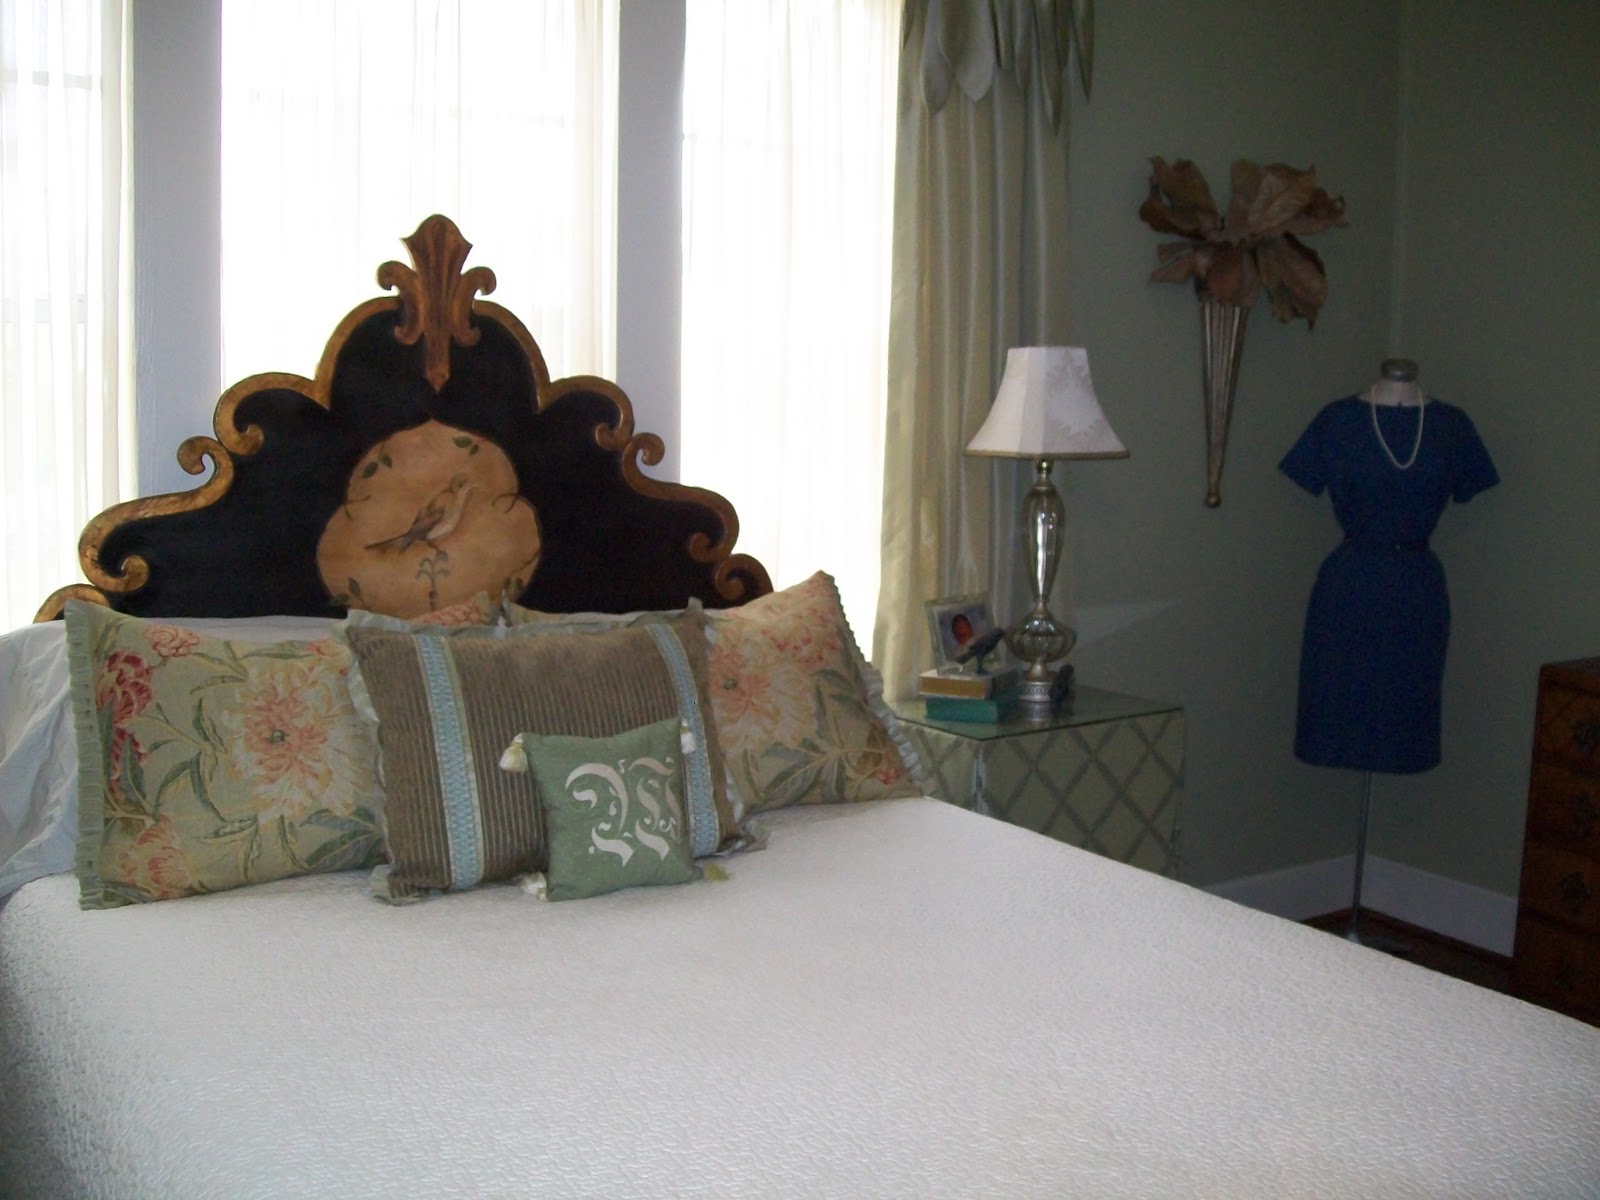
What can you make with a sheet of plywood, a can of black spray paint, a few scraps of pine, and a jigsaw? Just about anything …But, I’ve made a headboard for my master. I’ve lugged this one around with me for years and I’ve loved it almost to death. I may be changing it soon so I thought I’d post some pictures before I do something different. I love it, really, what’s not to love, just ready for a change…
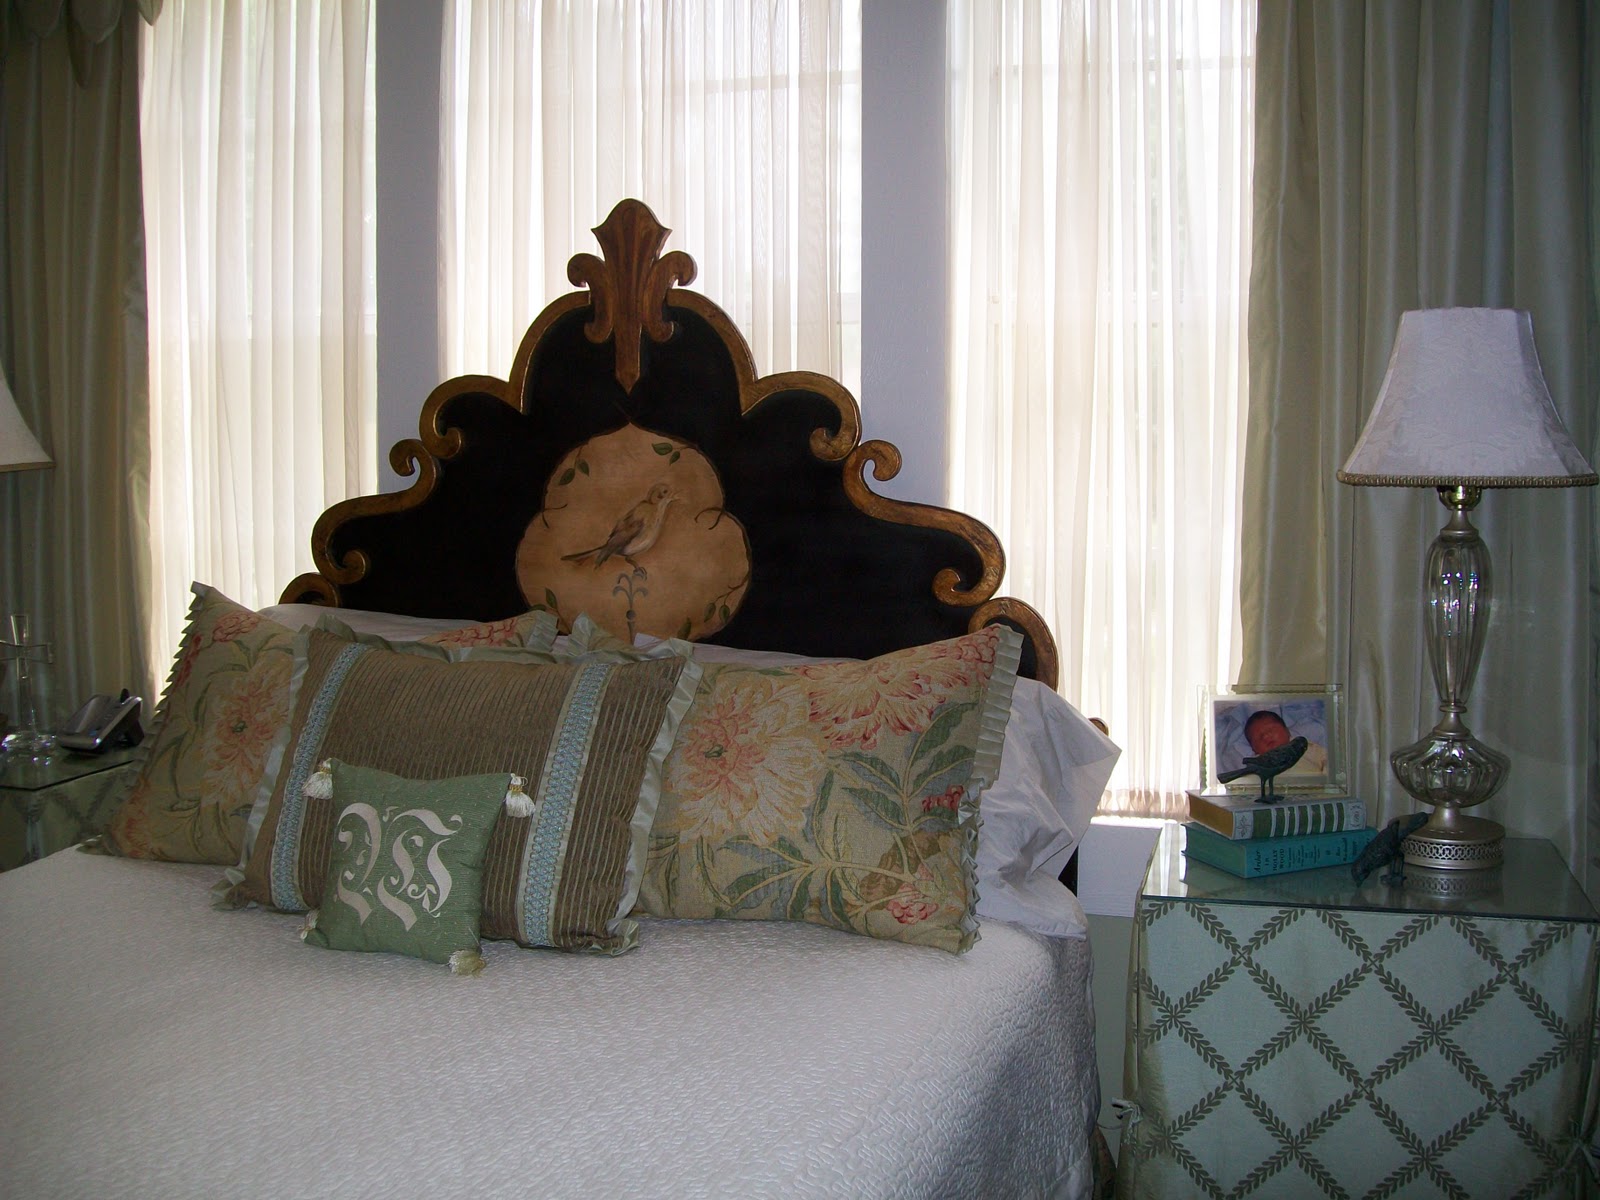
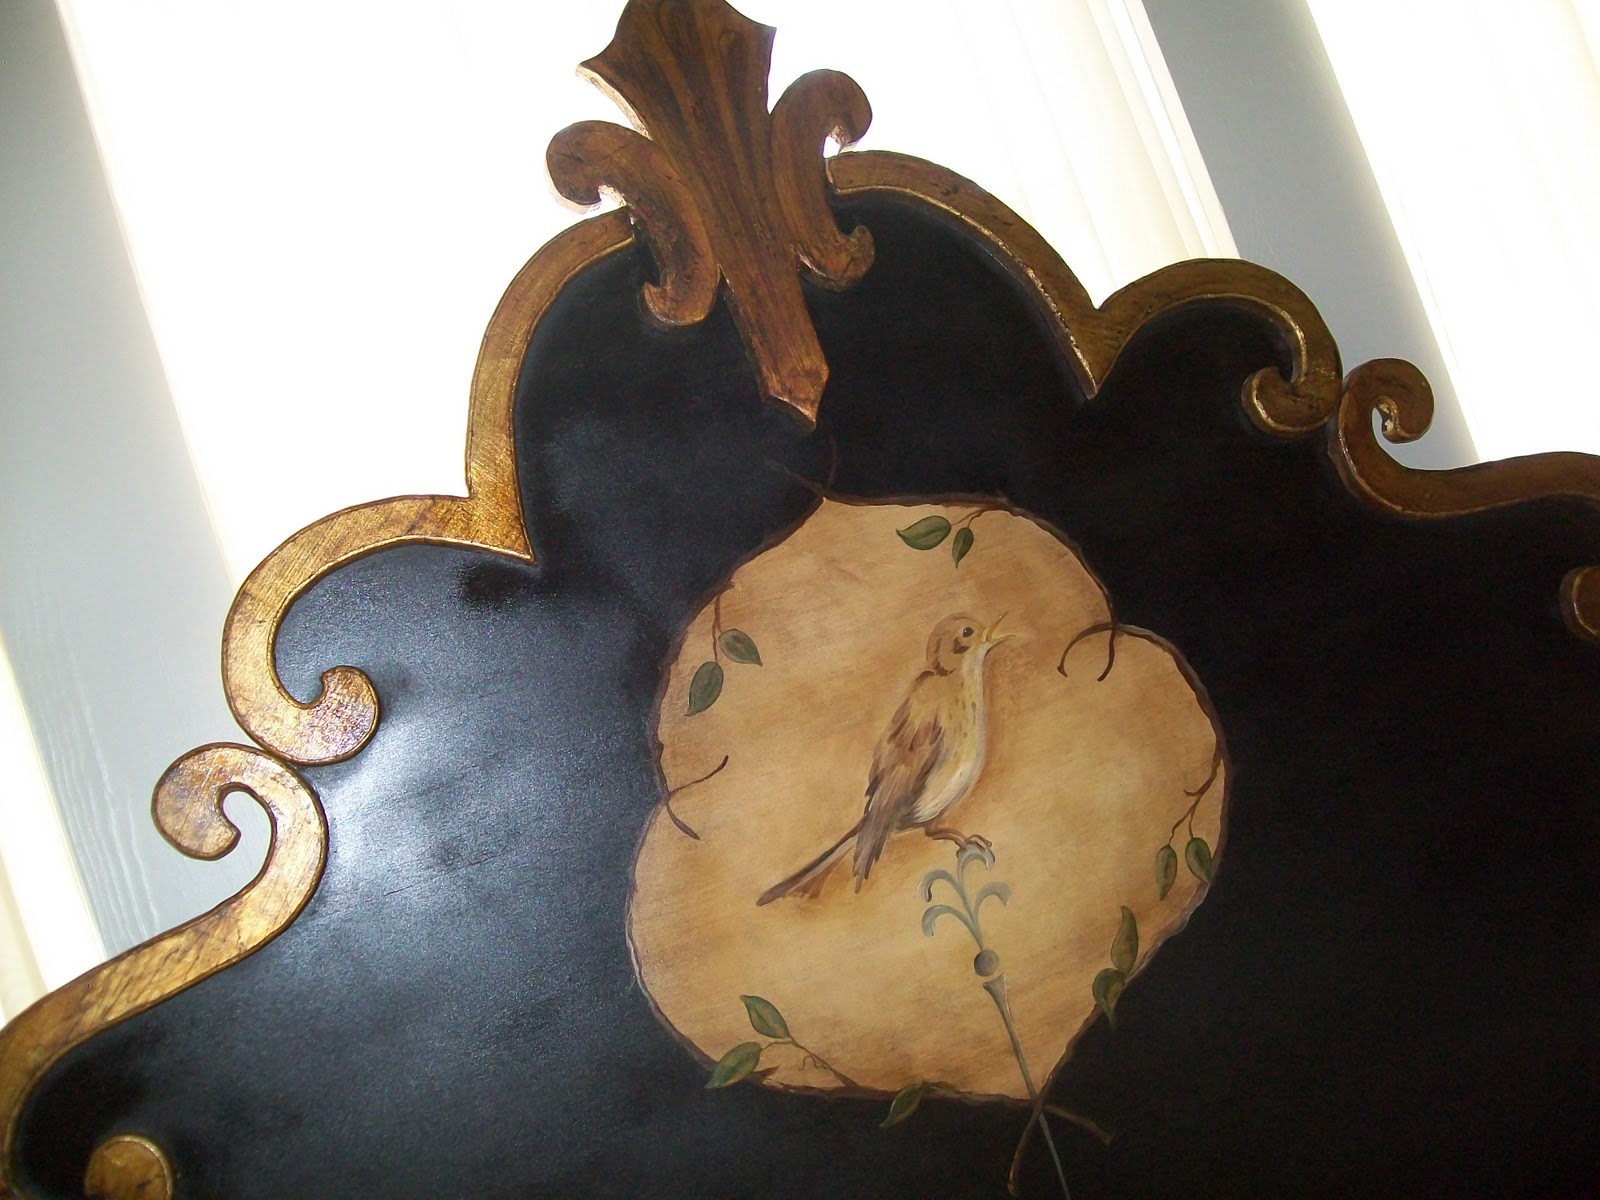
- Draw the pattern out on a large piece of paper by folding it in half and cutting a little away at the time until you get the shape you want. I used a good piece of 3/4” plywood that was finished on one side and turned long ways.
- Spray paint it black.
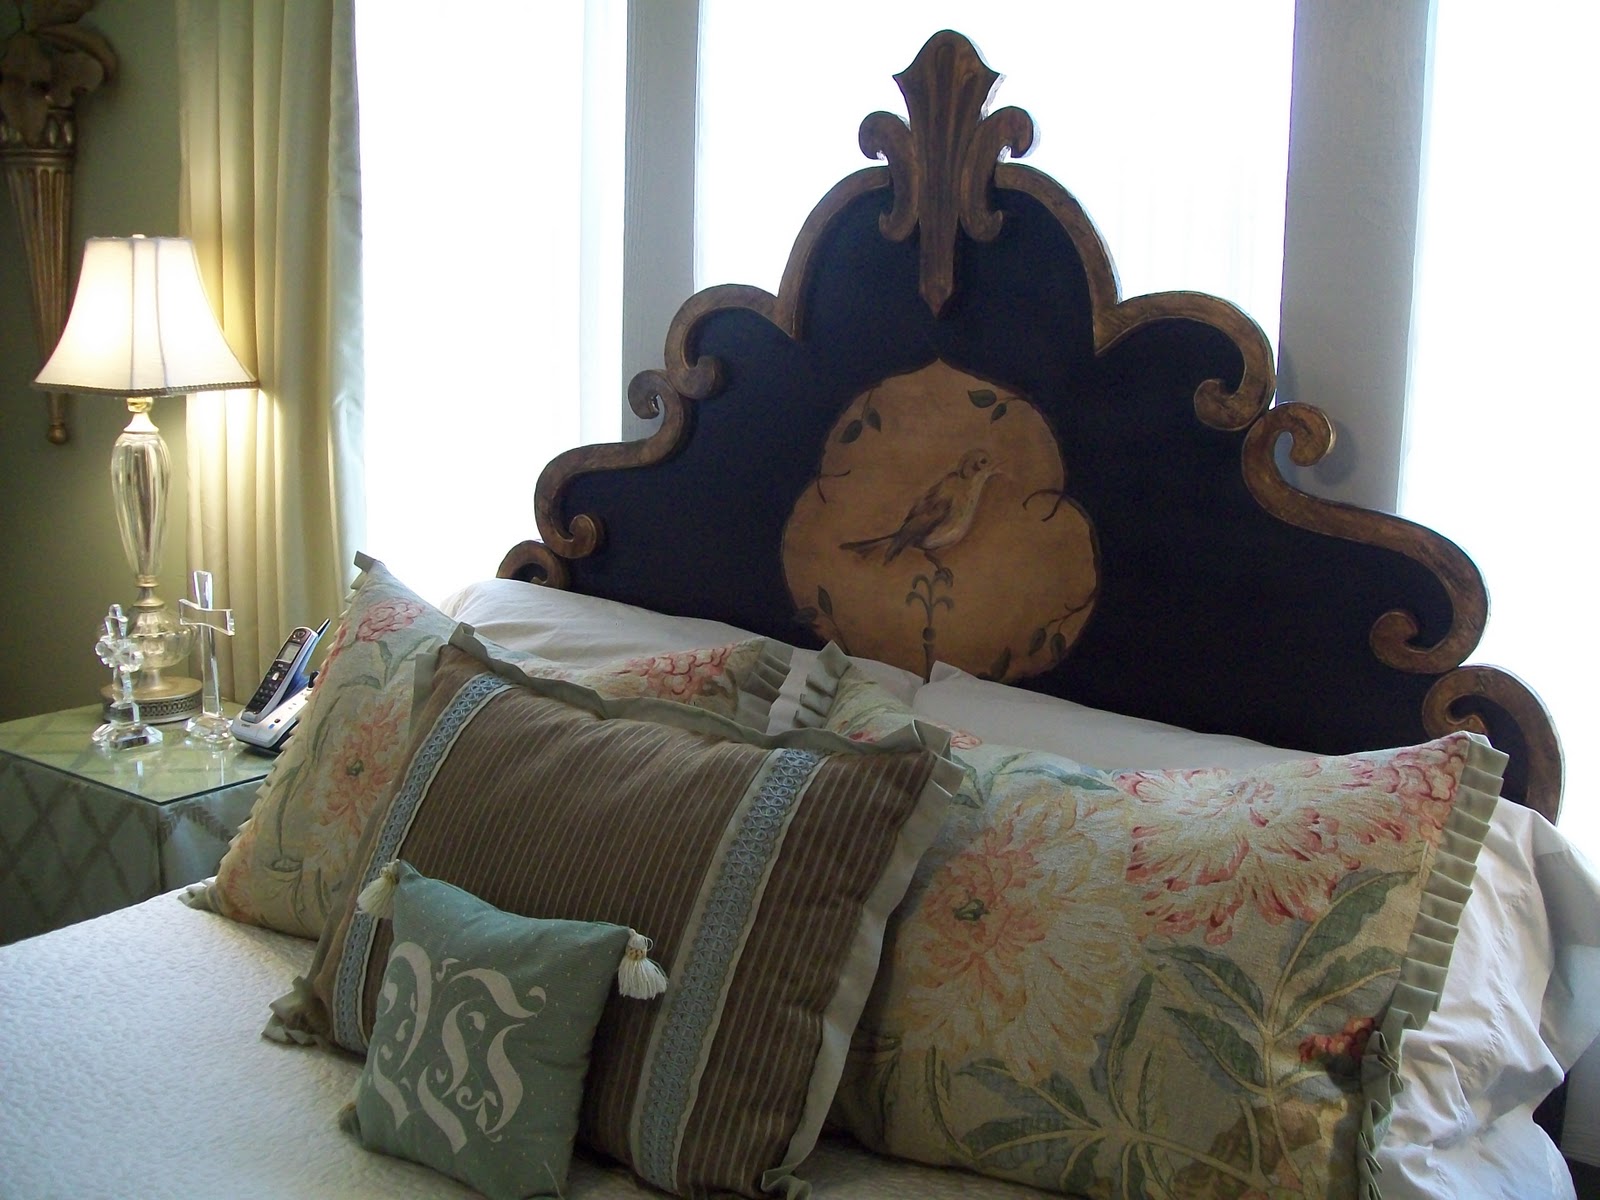
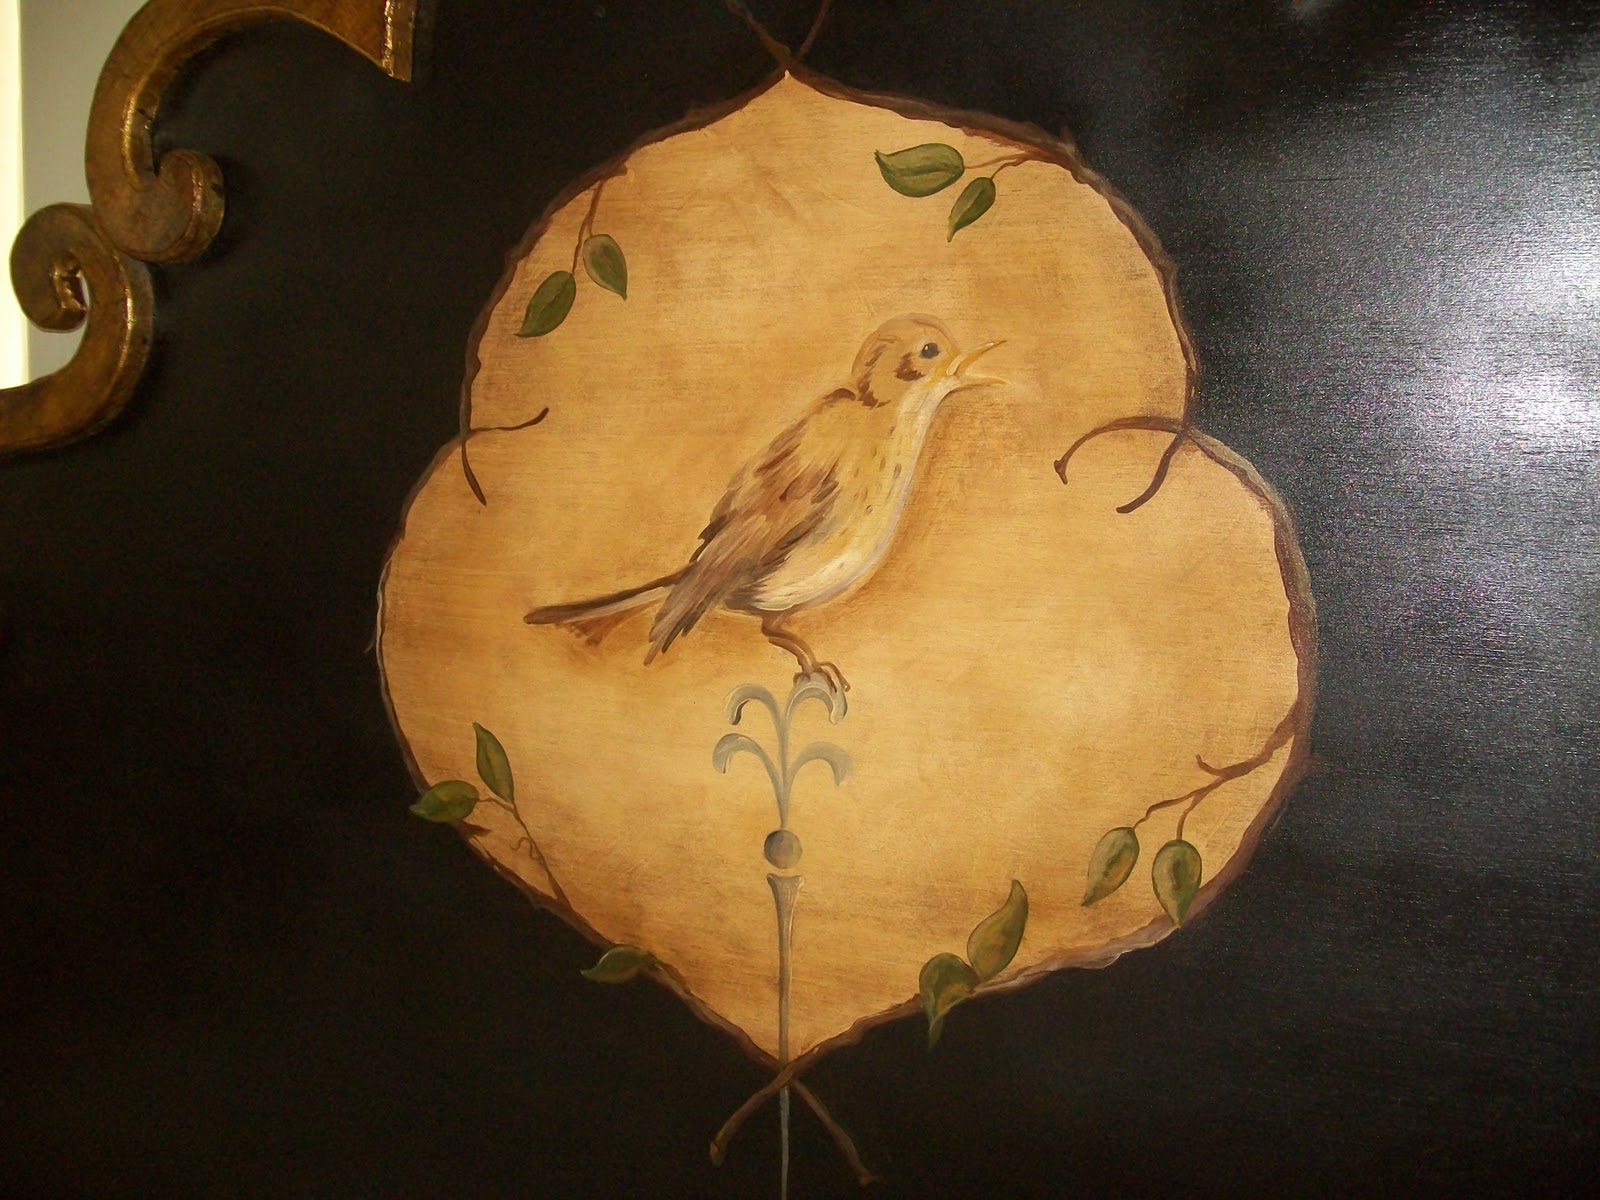
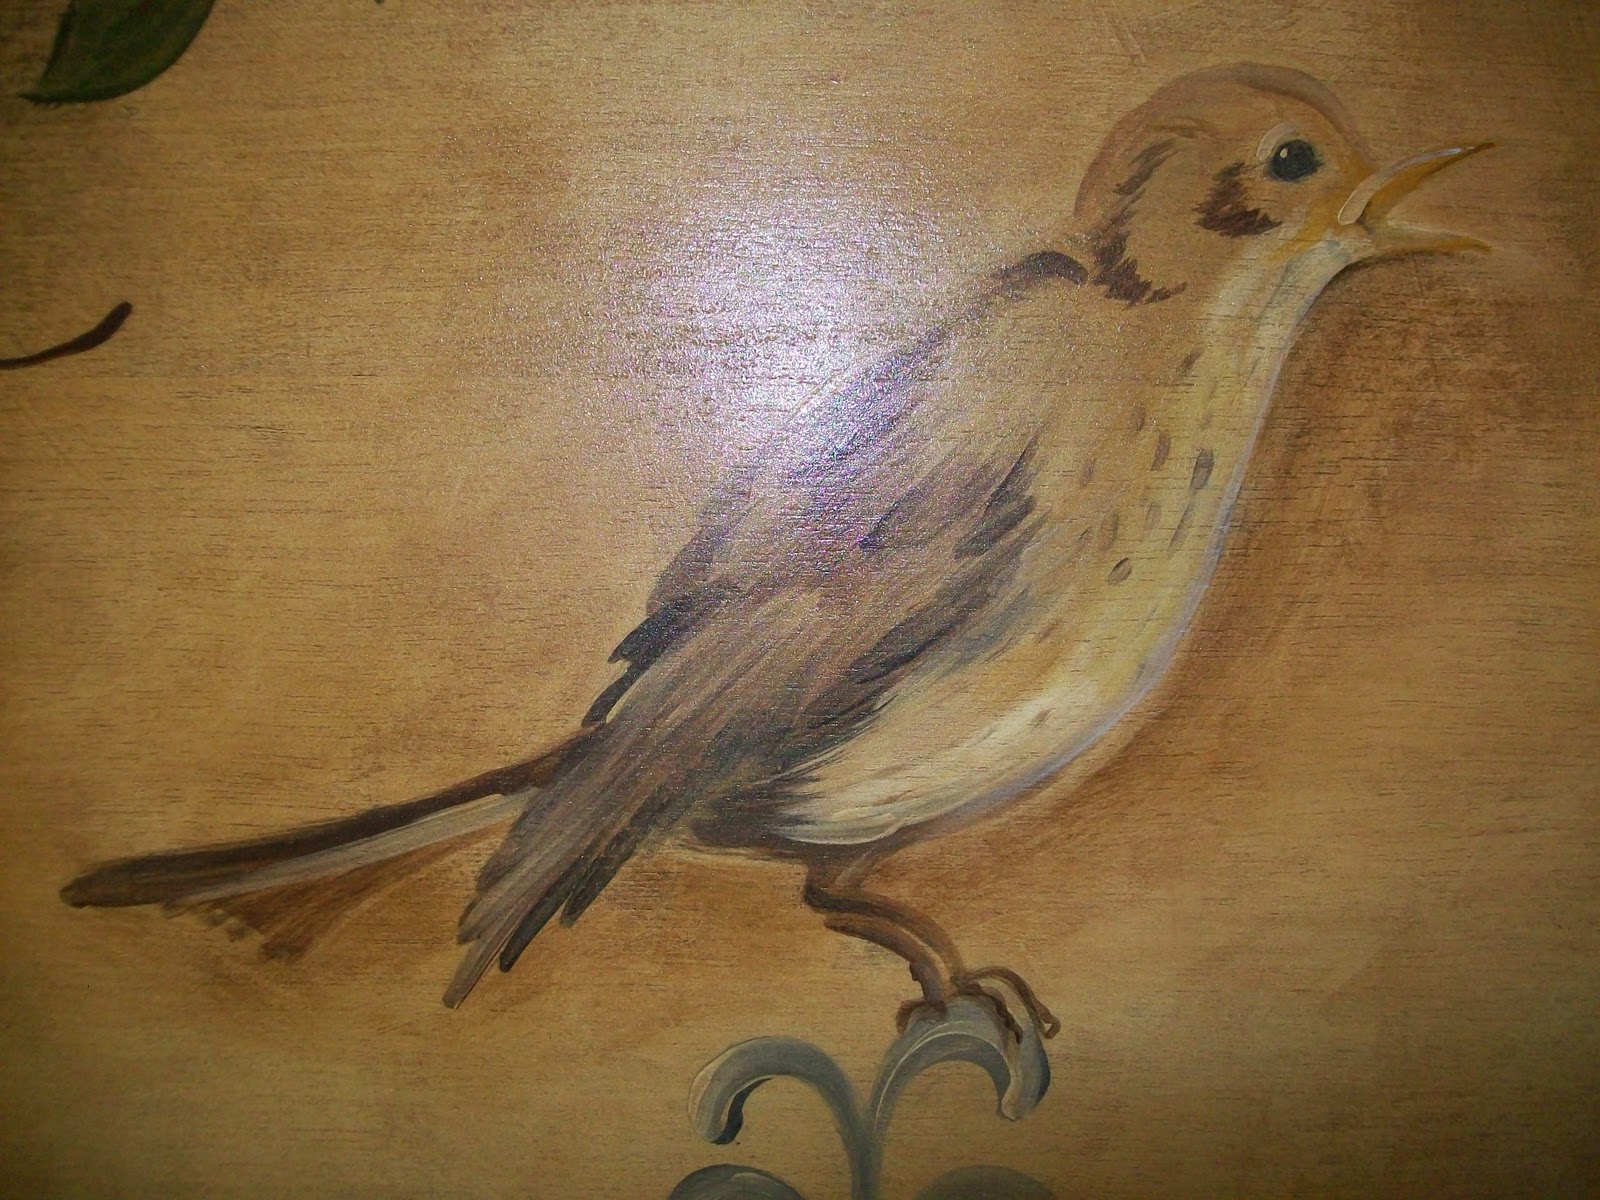
- Hand paint your design.
Can’t paint? No problem. Why not use a framed print you like, cut it out in a similar shape as mine, and decoupage it onto the headboard?
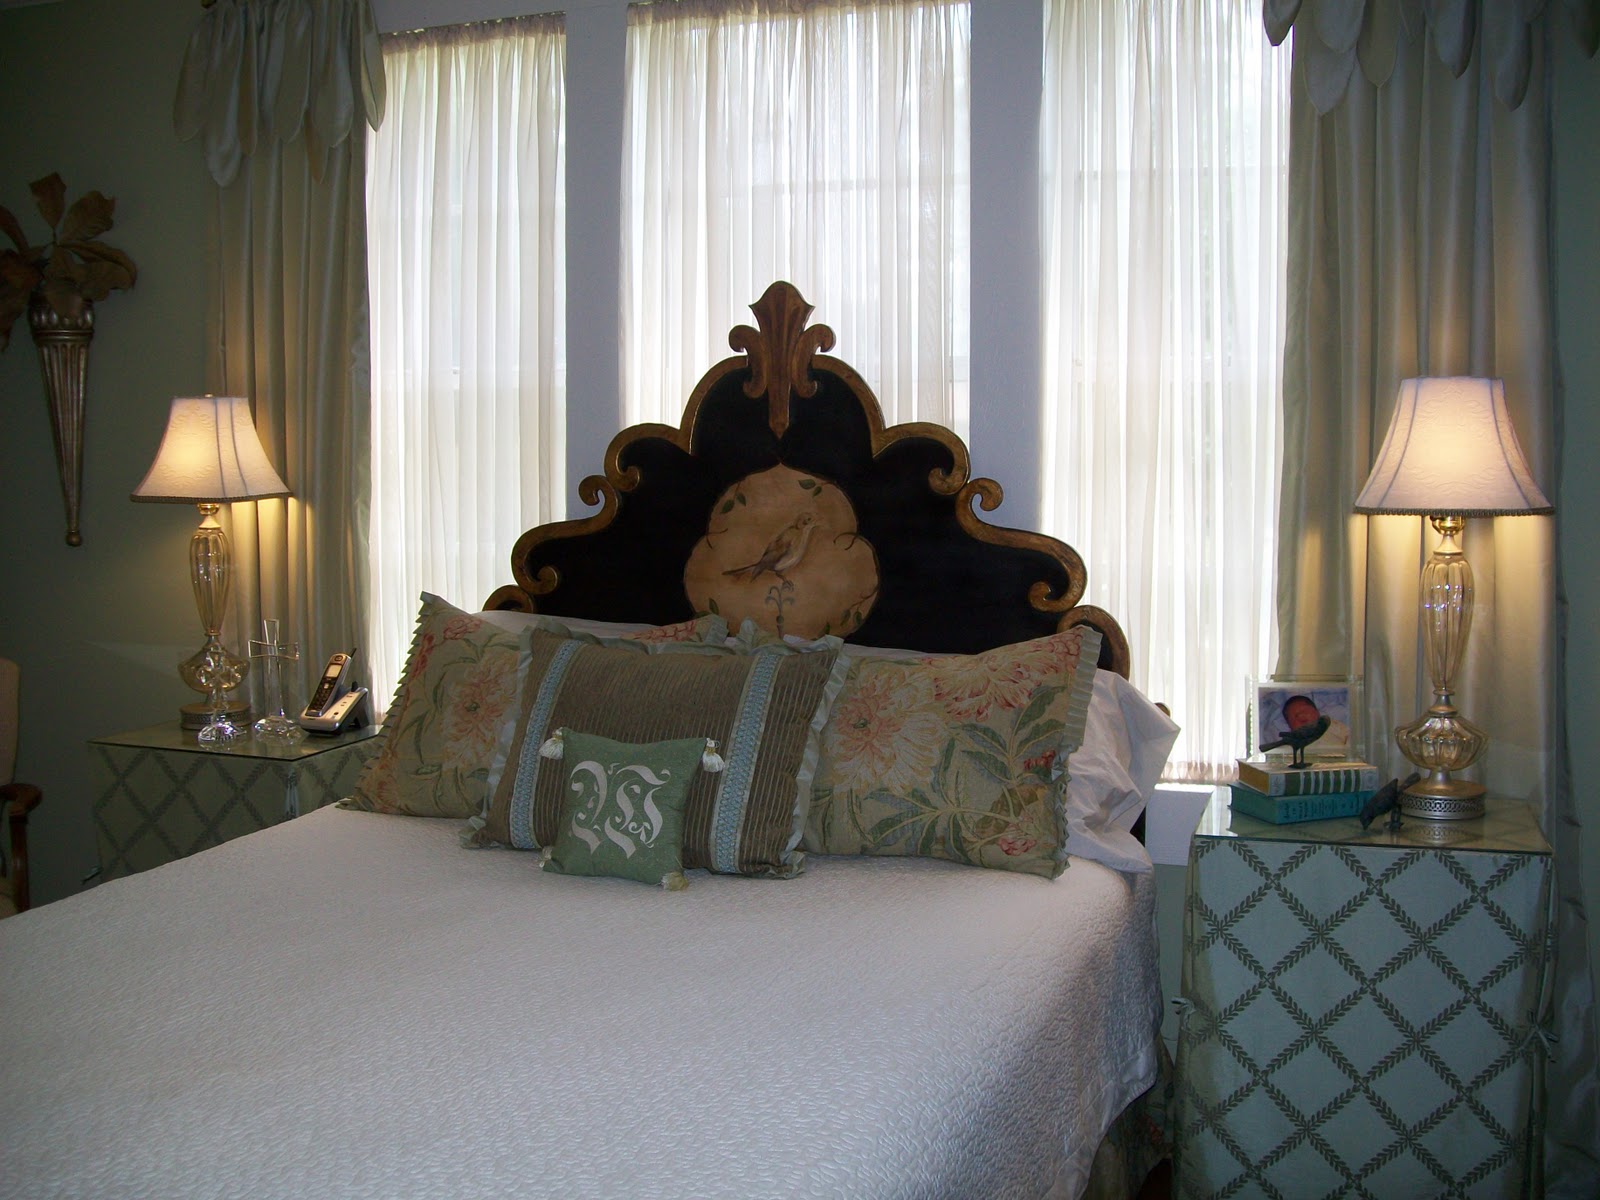
4. Cut the scrolls out of pine with a jigsaw, paint them red, and apply gold leaf.
5. Antique the entire headboard with a brown glaze.
6. Hang the headboard on the wall using a cleat made out of a 2×4.
Easier than you thought — yes?
Cassity Kmetzsch started Remodelaholic after graduating from Utah State University with a degree in Interior Design. Remodelaholic is the place to share her love for knocking out walls, and building everything back up again to not only add function but beauty to her home. Together with her husband Justin, they have remodeled 6 homes and are working on a seventh. She is a mother of four amazing girls. Making a house a home is her favorite hobby.


>Isn't that gorgeous!
Sue
xo
>wow,, that is a beautiful headboard, doesnt even look homemade.
>Well isn't this a whole lot of loveliness wrapped up in a splendid blog!
I'm enjoying all the fanciful photos you have on display!
thank-you for sharing the inspiration!
<3
>It looks great! Love the scroll work and the bird.
>Thanks for you
>BEAUTIFUL!!! and BRAVO!!
>Do you just glue the scroll pieces onto a piece of plywood?
Did you attach it with legs or just hang it on the wall?