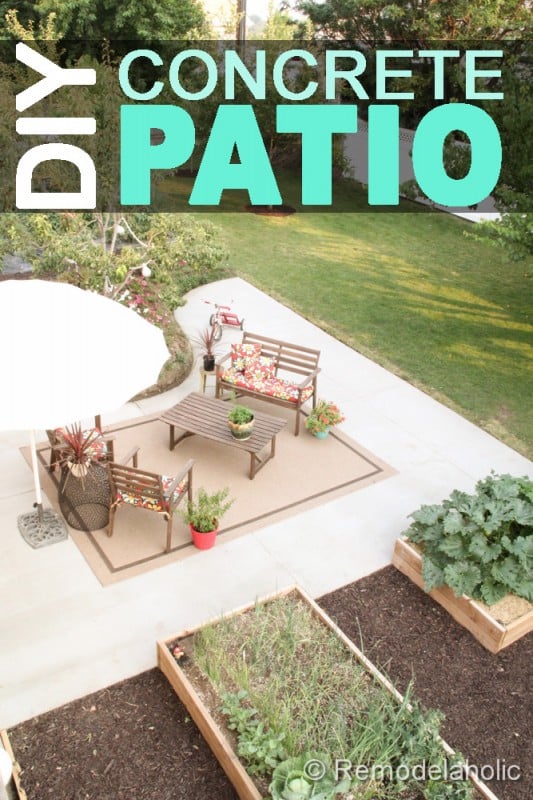
DIY Concrete Patio: Part Two
Now that you have seen our prep work for the DIY concrete patio, we wanted to show you how we mixed, poured and finished the patio. Also, in case you didn’t see the plans for the backyard or the raised garden boxes, just follow these links.

We decided that we wanted to try and pour the whole patio in a day. We didn’t want to have to rent the mixer longer then we had too. That meant that we had to get up early and do some final prep work, then start mixing. Dallin (my new concrete buddy) was confidant that we would be able to pull it off. Well, after the final prep work, we ended up starting to mix at about 8:30 am, let the LONG day begin!

Tips for Mixing, Pouring and Finishing the DIY Concrete Patio
- Get a hose and nozzle ready, so you can turn the water on and off as you need it while mixing.
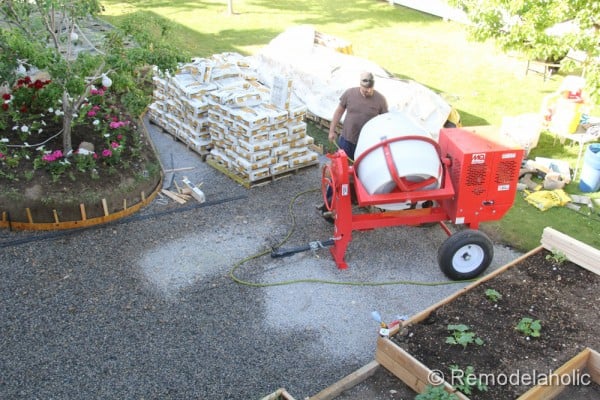
- Make sure that you can get the concrete mixer to the project site. Ours was in the backyard and luckily our side yard was wide enough to wheel the mixer back there(just barely). The wheel base for our mixer was 42″.
- Place the concrete mixer as close as you can to the project. We placed it on the gravel near the bags of concrete, so it wasn’t too far to carry the 80 lbs bags to the mixer. It also helped to keep it off the grass to keep from destroying it. Toward the end of pouring, we did have to move it on the grass. We wished that we had laid a tarp down(so lay down a large tarp under yours!! It was hard to clean up the concrete off the lawn afterwards.
- Buy gasoline for the mixer, so you have more fuel when it runs out of gas. We only filled it up once in a day, with about 2 gallons of gas.
- Wet the gravel before pouring the concrete. This will help it not to cure too fast while pouring it.
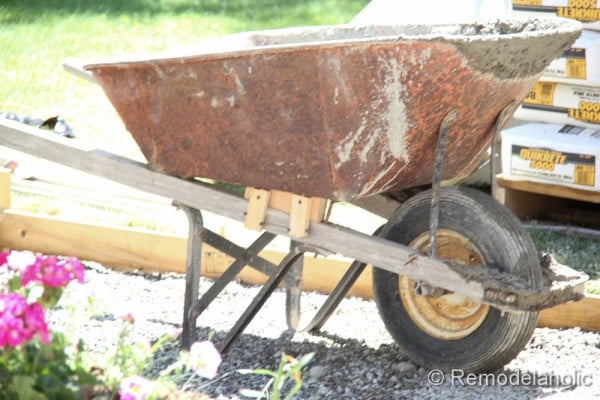
- Use a heavy duty wheelbarrow. Use one that can handle holding at least 200+ lbs of concrete at time. We had an old wheelbarrow that was great for concrete, but needed a little bit of love. We had to reinforce it on one side because it was so old.
- Wear work clothes. You will get really dirty mixing and pouring concrete, so wear something that you won’t mind getting concrete on.
- Wear a Mask. For those helping mix the concrete, wear a dust mask and safety glasses!!
- Wash off your tools and mixer often. Don’t let the concrete dry on your tools. It is really hard to remove when it dries. Also with a rental mixer, it would be best to wash it out often, through out the day. We didn’t wash it out enough through out the day and it was a pain to wash at the end of the day. There was concrete that had dried on the mixer that wouldn’t come of easy. We even used a power washer to try and get it off. I ended up washing it more at the Home Depot rental place, (with their higher powered power washer) because I didn’t want to pay a large fine for taking it back dirty.
- Mix the concrete to a chunky oatmeal texture. Follow the water amounts. There is a formula for the right consistency of water located on each bag. Since Dallin had experience with knowing when it was just right, he would check it and let me know when it was ready. The mix was ready when it looked and flowed like lumpy oatmeal.
- Take breaks from the heat. We had to take breaks often in the shade, because it was so hot that day.
- Drink lots of water. Because it was so hot we drank tots of water to stay hydrated.
- Keep pointy patio furniture off the concrete for at least a week. You don’t want to damage the new concrete before it cures enough.
Tools Used
- 16 Horse Power Gas Concrete Mixer. We rented from The Home Depot.
- Heavy Duty Wheelbarrow
- Flat and Spade Shovels
- Garden Hose
- Hose Nozzle at the end of the hose to control water flow.
- Hand Float for the final leveling touches.
- Bull Float with long handel for big projects
- Concrete Placer This was used to push the concrete in place and tamp it level.
- Steel Edger for rounding and finishing the edges
- Water Bucket used when finishing and washing your tools.
- Concrete Broom for finished texture.
- Board to kneel On while finishing the concrete.
- Face Mask. Wear this while mixing. You don’t want concrete dust in your lungs.
- Gloves that are made for getting wet but still provide a grip.
- Floor Scraper to knock off some of the sharp edges that formed from the broom finish after it dried.
Materials
- (275) 80 lb bags of Quikrete Concrete Mix
- Water for the concrete mix
- Gasoline for the mixer
Mixing and Pouring the Concrete
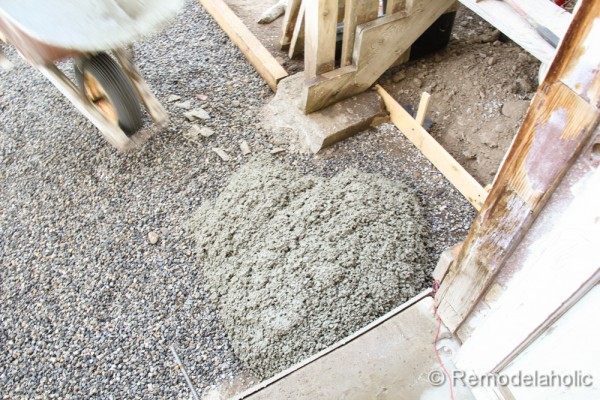
First thing that we had to do was get the gravel wet. Once that was ready we started to mix.
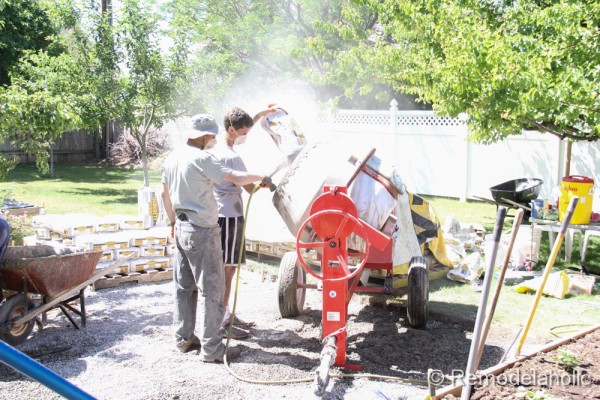
This is the big mixer that we rented. This bad boy was on all day long. We only had to fill the tank once with about a gallon of gas, during our lunch break.
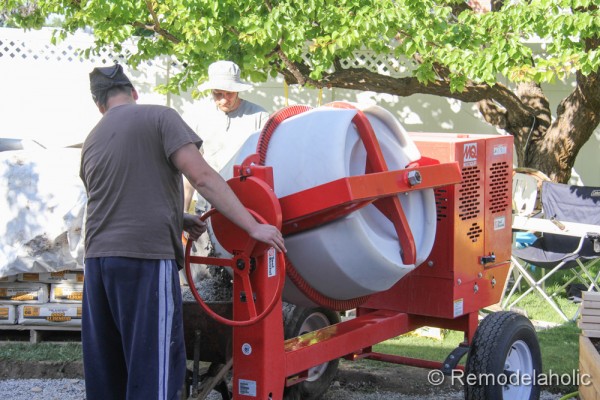
It says that the mixer can hold up to 16 bags at a time, but we decided to do half, about 8 bags to get the texture just right. We added one bag at a time while spraying in the water. It took about 15 min. to get it to the right texture. Once it looked good, we loaded up the wheelbarrow and started pouring it in place.
 |
 |
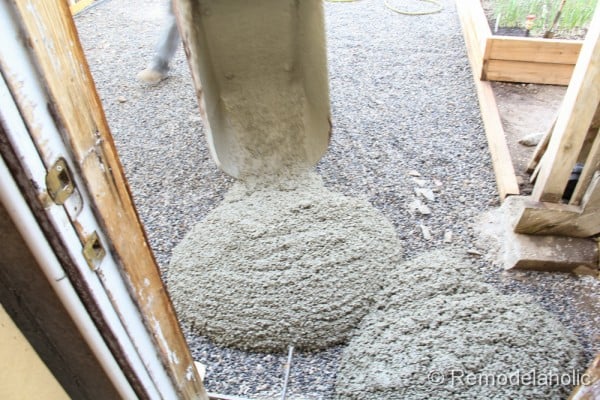
Here is the repair that we had to make to the wheelbarrow. This was a good old wheelbarrow. Um, VERY old, but it was very sturdy. We loaded about a third of a batch in the wheelbarrow, then wheeled the mix to the spot. We started with the farthest end of the patio, away from the mixer and worked our way toward the mixer.
Most of the morning we were pouring in the shade, which was right up against the house. When pouring concrete, pouring in the shade is best. As the day went on though, it got sunnier and hotter, which made mixing and pouring concrete more challenging to beat the heat, and finish it before the set had set the cement.
 |
 |
 |
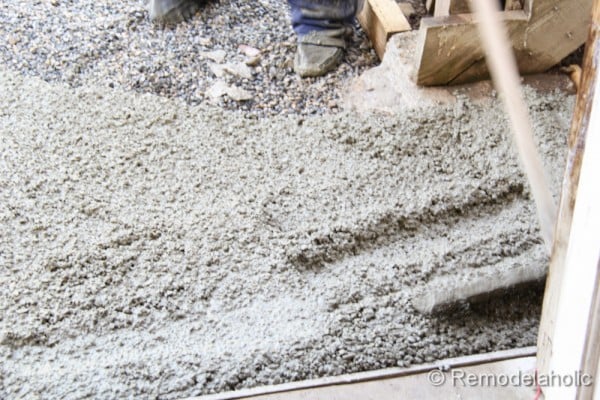 |
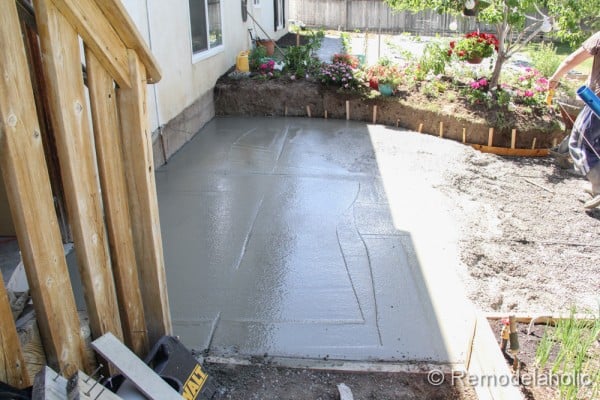
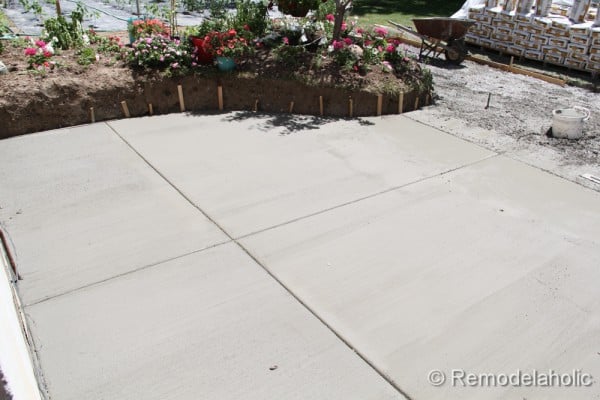
Here you can see it roughly leveled out and the control joints started. We were getting close to half way at this point.
Lots a mixing and lots of trash!
 |
 |
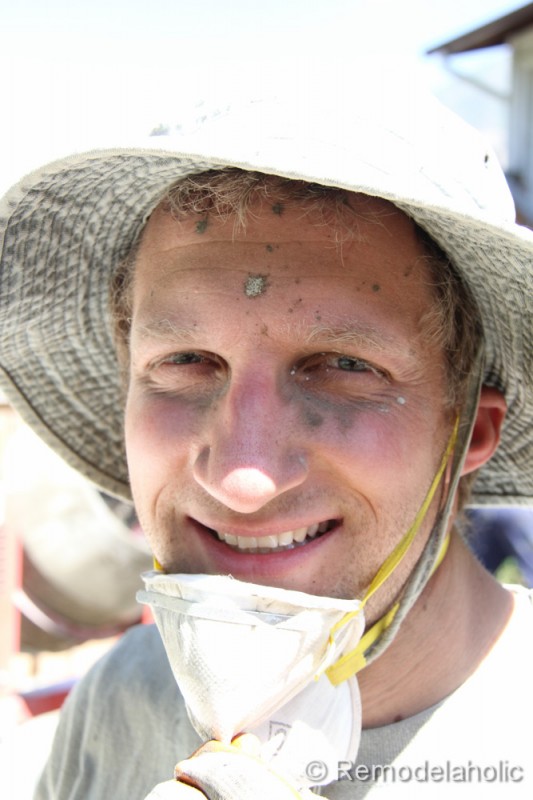
I was glad for the mask on a day like this.
Dallin did great with the finishing work. It was nice that he had all the right tools to get the job done right. He is finishing the control joint at this point.
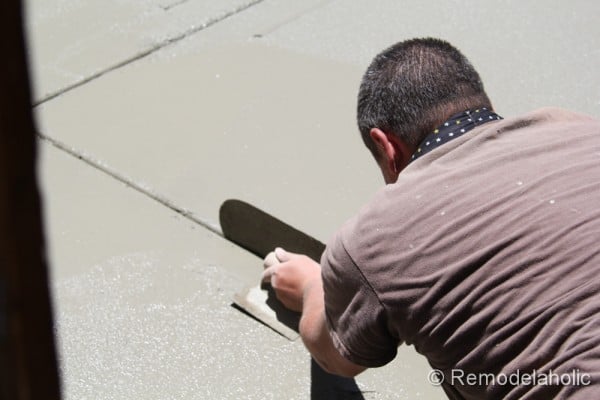
Now we were more than half way done and Dallin was able to finish this section off completely. We decided that a broom finish was going to be the best and easiest finish on our patio. It would give a nice texture and will help keep people from slipping when the concrete is wet. (and since this is a place for our girls to play, we want it to be safe!)
 |
|
Our little princesses kept coming out to see the progress. They were so excited for their new patio. They were just dying to step on it.

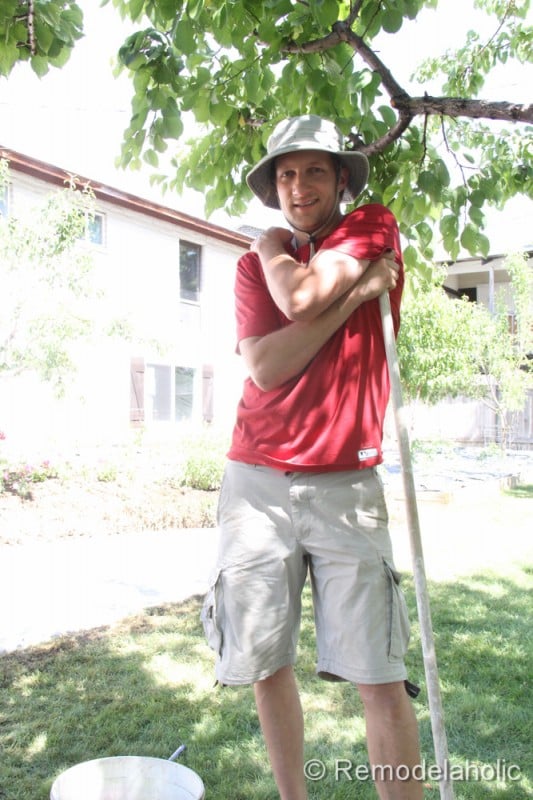
It took about 10 hours to finish pouring the concrete and about two more hours to finish it of completely. It was a really long day. We where glad when it was over and glad that we didn’t have to do it again the next day. (a special thanks to Dallin! He did the hardest work! We were so thankful!
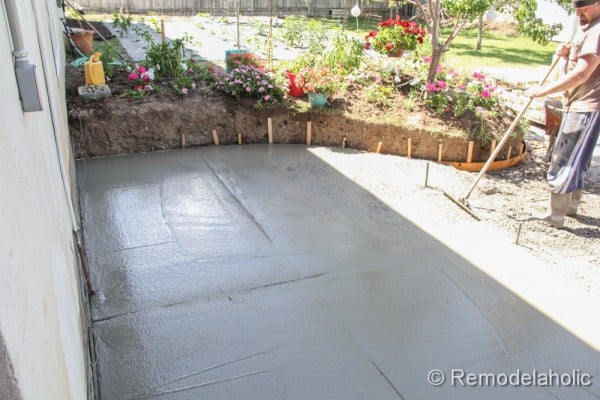
The next day, the color of the concrete changed from gray-green to a light gray. The surface of the patio was all dry and we were able to walk across it. Because we poured it all in one hot day, the finish was not quite as smooth as we had hoped it to be. We asked Dallin if it was okay to scrape off the top to make it smoother to walk on. He said that it was a good idea and it was best to do that early before it hardened even more.

After we scraped it and hosed it off, the girls saw the perfect opportunity to ride their toys on the new patio.
 |
 |
Moments like this, where Etta took here first ride across the new patio, made all the hard work and time, worth it.
There was some clean up that we had to do on the lawn, after all the mixing. We had to have the mixer on the lawn for a couple of hours toward the end of the day and it made a mess. We took a rake and had to scrape off the spilled concrete, so the grass would grow back. Next time we will lay down a tarp under the mixer for a easier cleanup.
I personally was glad when the project was done. It was a big project, but well worth all the time and effort that it took to get our new concrete patio.
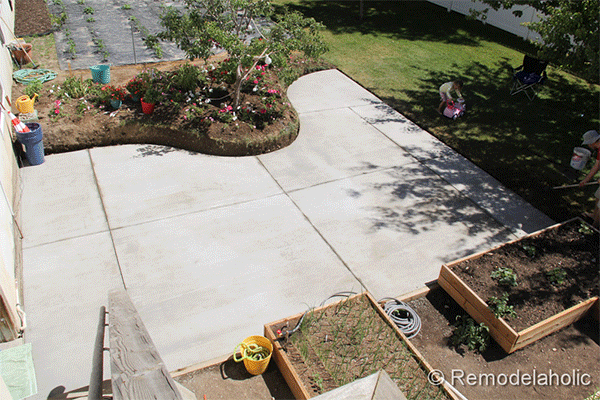
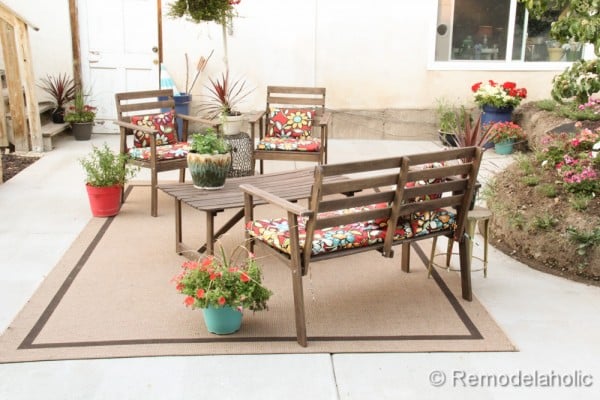
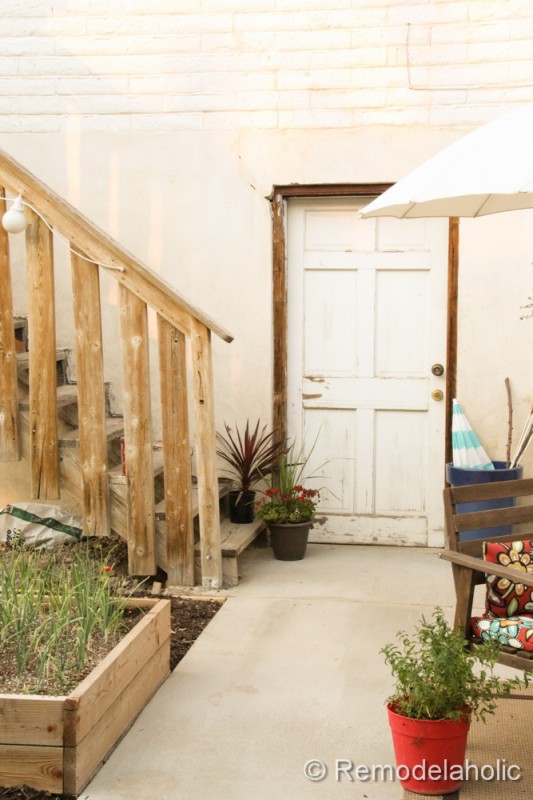
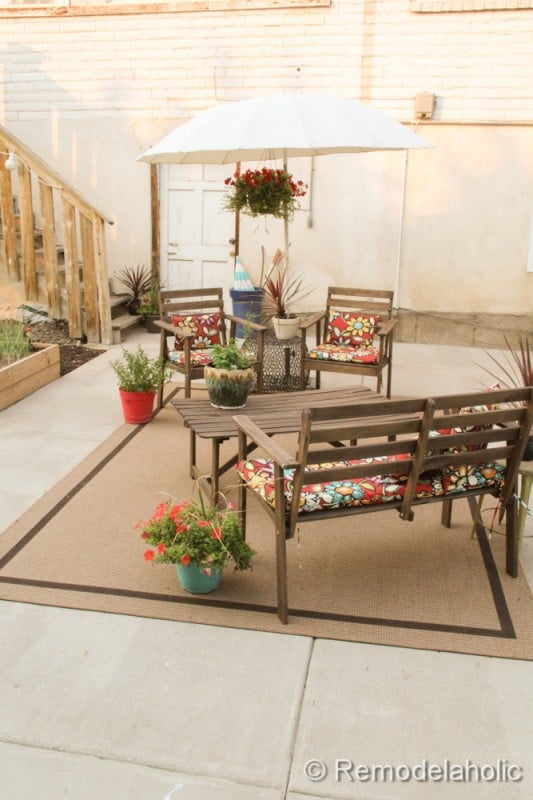
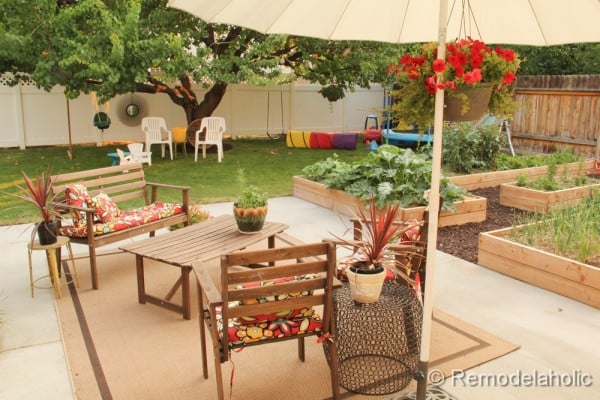
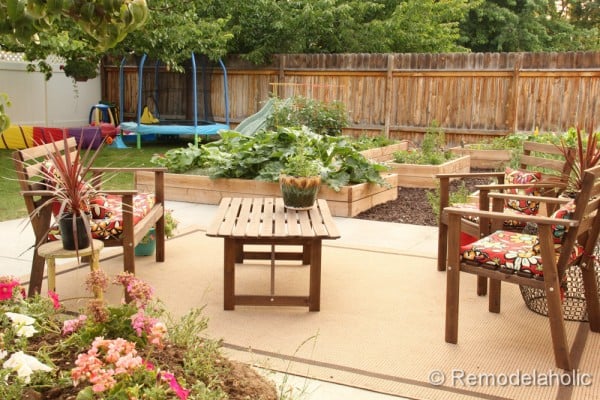
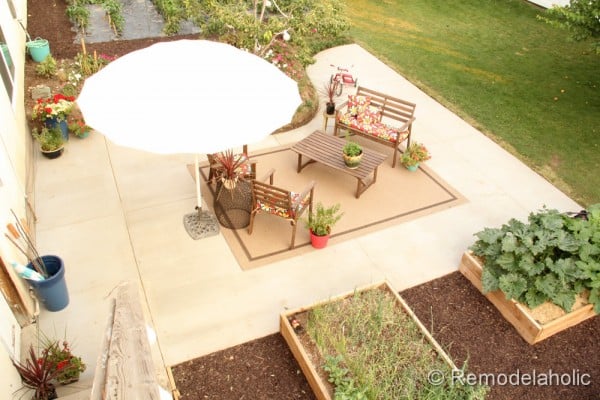
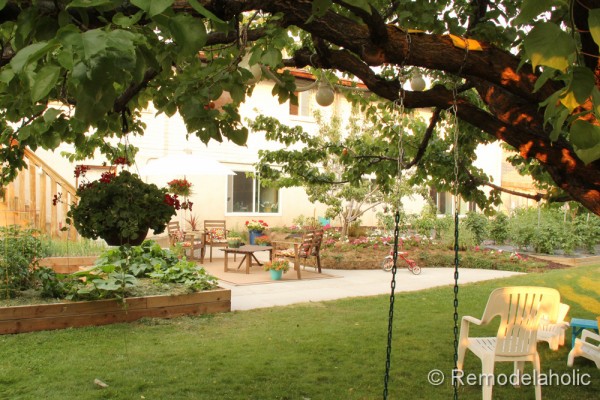
This is how it looked about a week later. We finished off the patio with flowers and patio furniture.
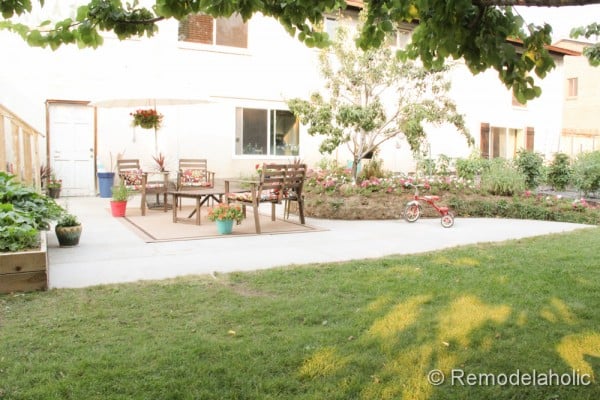
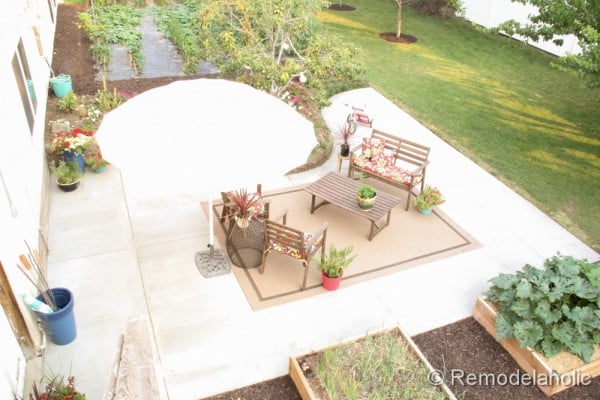
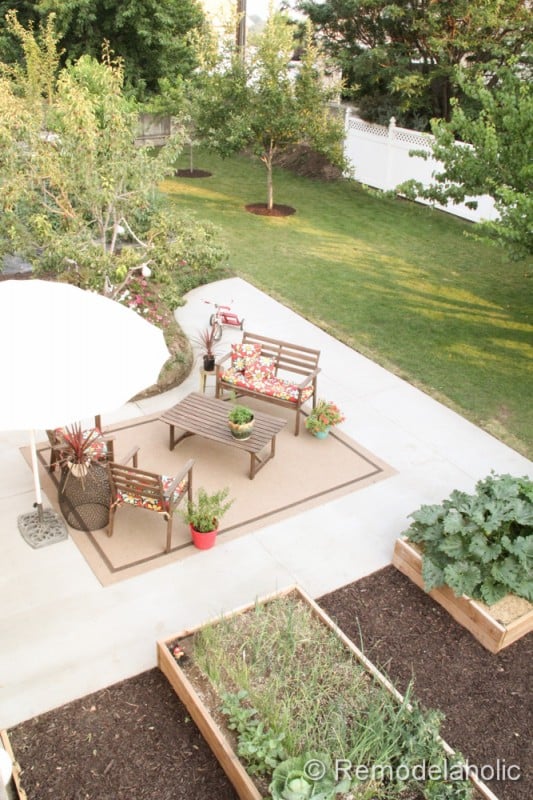
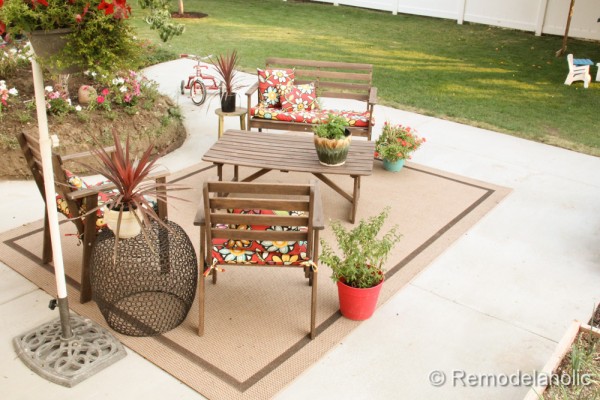
We are planning on a stone retaining wall from Pavestone that will be come soon. Luckily the clay soil is holding it up all by its self, until we can get the wall in. There will also be a set of stairs that will take you up to the other garden area.
 |
 |
 |
 |


We hope that you like the project! Let us know what you think.
Thanks again to Quikrete who sponsored the concrete portion of this project. All other supplies and materials were purchased by us, all opinions are our own.
We can’t wait for the new wall that we will be installing soon, along the flower bed.
I am the husband of the amazing Cassity of Remodelaholic. I love to problem solve and to design and build things inside and outside the house to make life better. I am a professional Landscape Architect by trade and love the outdoors.


That is dang FANTASTICAL! Really great! Can’t wait to see the stone wall in place. I love those.
And everyone is still alive? 😉
Jake’s a Girl
Congratulations – what an amazing effort and such a transformation.
Wow! your pictures always look so great. Do you use a professional photographer for the end result. Good tips amazing results!
A wonderful transformation – congratulations on all that HARD work (tho why not just get a truck load of concrete in?).
My wheelbarrow is EXACTLY the same – even down to the saggy bit of metal strapping in front of the wheel. AND I am in Australia! My Mum used it to build her own house – out of stone. Herself. When she was in her 50s. It was double rock walls too so really like building two stone houses!!! The wheel bearing collapsed last month after probably 30 years of very hard work, and I had to get a new bearing from a vintage gearbox man in Melbourne as they don’t make bearings like that any more. He was very impressed (and $60 for the bearing, no charge for the labour!!). Just letting you know that it could be tricky to repair but totally worth it – the vintage car man said it will go for another 30 years!!
Hugs from Oz, xxx
Wow! The patio turned out fabulous! I love it! Now I want one! 🙂
Gorgeous!! It looks amazing!! Love it all!!
Amazing! Such a good job and I love the pictures too 🙂
It looks great! All that hard work paid off. Want to come to my house next?
Oooh! Just love it! Your hubby looks beat, but I bet its so worth it! Have you thought of staining it? Again, great job!
We have thought of staining it. Once we get the wall in place we will pick out a color that works. Thanks for loving it! I am still tired just thinking about it.
That looks fantastic! Great job!
Wow, it looks great!
Wow! The whole space is beautiful! You guys are tough for getting it done in a day. But it looks so worth it!
well done, especially on such a large project. you know we are the process of finally kicking off our patio, hopefully in the next few days. I was real strong on doing it in concrete but ultimately found a paver that I think is going to work for us. I say this because flat work is something I admittedly have always shied away from doing diy. I had always heard for your first couple of times, and no matter how many times you have *seen* it done, it is always smart to work with someone that is an expert finisher. I do have access to someone like Dallin, and all and all this is exactly the kinda post I needed to see. Hopefully I can convince myself to step up soon to some of those side walk repairs I have been putting off. And you just can’t argue with these results, your entire outdoor space looks fantastic … the patio just tying it all together. cheers. ~jb
I’m with Jasmine on this one. You could have ordered a concrete truck load and saved yourself a good 8 hours+ of hard labor for you and your crew and you would have ended up with a better result avoiding the need to scrape it the next day. I don’t mind hard work but my time (and the time of all those helpers you had) has value. I’m going to be doing a basketball court in my backyard and plan to get one of those trucks that pump too if it doesn’t cost too much more. You have to fill the pipe holding the goal with concrete which can be tricky pouring concrete 8′ in the air but with one of those pump trucks, it will be a breeze and avoid wear and tear on the yard.
Really well done. I wish resources like these were available when my father and I started improving on our house. In the last two decades we have built a new room, covered our patio and transformed it into a Braai area, built a double car garage and transformed our old garage into a two bedroom town house that my mother and father now use for a house as my fiance and I have moved into the main house. I would love to share our projects with you, how would I go about it? In the last three months we have extended the braai room of the townhouse, moving the sliding door, adding windowed walls, a new built in Dover coal stove and braai, new roof sheets and a new ceiling. This was done for under a $1000. We live in sunny South Africa and our next project is to fit a pallet wood ceiling in the main house braairoom as well as new floor. Then a patio and garden will hopefully follow before December.
Hi Drikus — sorry we are so slow in responding! You can share your projects with us over on Facebook — we’d love to see! https://www.facebook.com/Remodelaholic
Your patio and yard look amAzing!!! Good job!
Thing is, I’m a huge DIY’er, but never in a million gazillion years would I EVER consider taking on THAT kind of project as DIY!! Your post was very detailed, lots of nice pics…but that just helped to convince me that this is most definitely a job for the pros! (at least in my world) 😉
I think ultimately a project this big, we wouldn’t do again. But we have poured small pads a few times since without hating it!
Thanks for sharing the pictures of your project! They looked great! I like how you mentioned that it’s important to wear a mask if you’re mixing concrete. I’ve heard that concrete dust is really harmful for the lungs. The same holds true if you’re cutting concrete too as part of your project I’d imagine.
I really appreciated the tips you gave since I’m looking at installing a patio in my backyard. It was really helpful to learn that each bag of concrete will have its own specific directions on how much water ought to be added to the mix. Does the type or quality of concrete matter all that much in this case?
That’s a good question. I would just look at the product and see if it would be good for a patio. It does help to have someone there who has done concrete before.
It’s good to know more about putting in a concrete patio. We’re looking at buying read-mix concrete and doing it ourselves, so this is great. I’ll remember what you said about wearing work clothes and a mask.
My sister would like to have a patio built in her backyard since this may help add value to her property. Well, thank you for these tips; we’ll make sure to prepare the necessary tools, such as the garden hose, concrete broom, and board. These are great, but maybe it would be best to hire a concrete foundation service instead.
It’s a big project for sure! If you and she are unsure about doing it yourselves, it’s definitely worth hiring a professional.