The Magic Stencil, Guest Tutorial
This post may contain affiliate links. See our full disclosure policy here.
Today we are lucky enough to have Jennifer from the Magic Brush. Teaching us an awesome technique, what do you’all think?

The term “stenciling” got such a bad rap in the 90’s. I saw so many bad stencil jobs. I DID so many bad stencil jobs. But stenciling in the year 2010 can be G-O-R-G-E-O-U-S if done well with a great stencil design. Ok… so I had a client in a very upscale home with very flat cabinet fronts in her sitting room off of the master bedroom. I did not take a before picture, so you are forced to just stare at the after shot.

And yes, I’ll say that again… this is her SITTING ROOM OFF OF HER MASTER BEDROOM. Ahem… I tried not to choke at that either. Ok, back to stenciling. We primed the cabinets first. After priming we found the center of our cabinet and the center of our stencils to make sure it all lined up nicely.

Then, we used 2 stencils for the project. They are both Modello Design stencils which are “one-time use only” stencils designed to fit a particular sized space. They are sticky on the back so they stay perfectly in place while you use them. I love Modello stencils, but I will warn you, they are pricey. You could use another “regular” stencil… but you will need stencil adhesive spray to get it to stick. And you will probably need QTips to “clean up” any of the texture bleeds that will happen. We needed these stencils fit to the cabinets and we needed them to not have any bleeds, so it was worth the extra expense.

We used Faux Effects Aqua Stone to stencil with in order for the stencil to be dimensional/raised/textured. You could also use joint compound (altho’ that will have a tendency to crack), venetian plaster (which is slicker and doesn’t “stand out from the cabinet” as crisply) or another stone like product. We applied the texture with a little Japan scraper tool.

Let dry overnight. The next day we painted the cabinets with Modern Masters Blackened Bronze.

They were pretty just painted, but we really needed a glaze to get the textured stencil to “pop”. So, after drying, we brushed on a combination of Adicolor’s Glacias glaze (which does not need a topcoat) mixed with Modern Master’s Smoke. We brushed it on and wiped most of it off with cheesecloth. The glaze ends up “hanging up” on the textured stencil and really making it stand out. The end result is a classy, textured stencil on what were already gorgeous cabinets!

Just for fun, I will show you the stencil we also did on the ceiling of the same room….
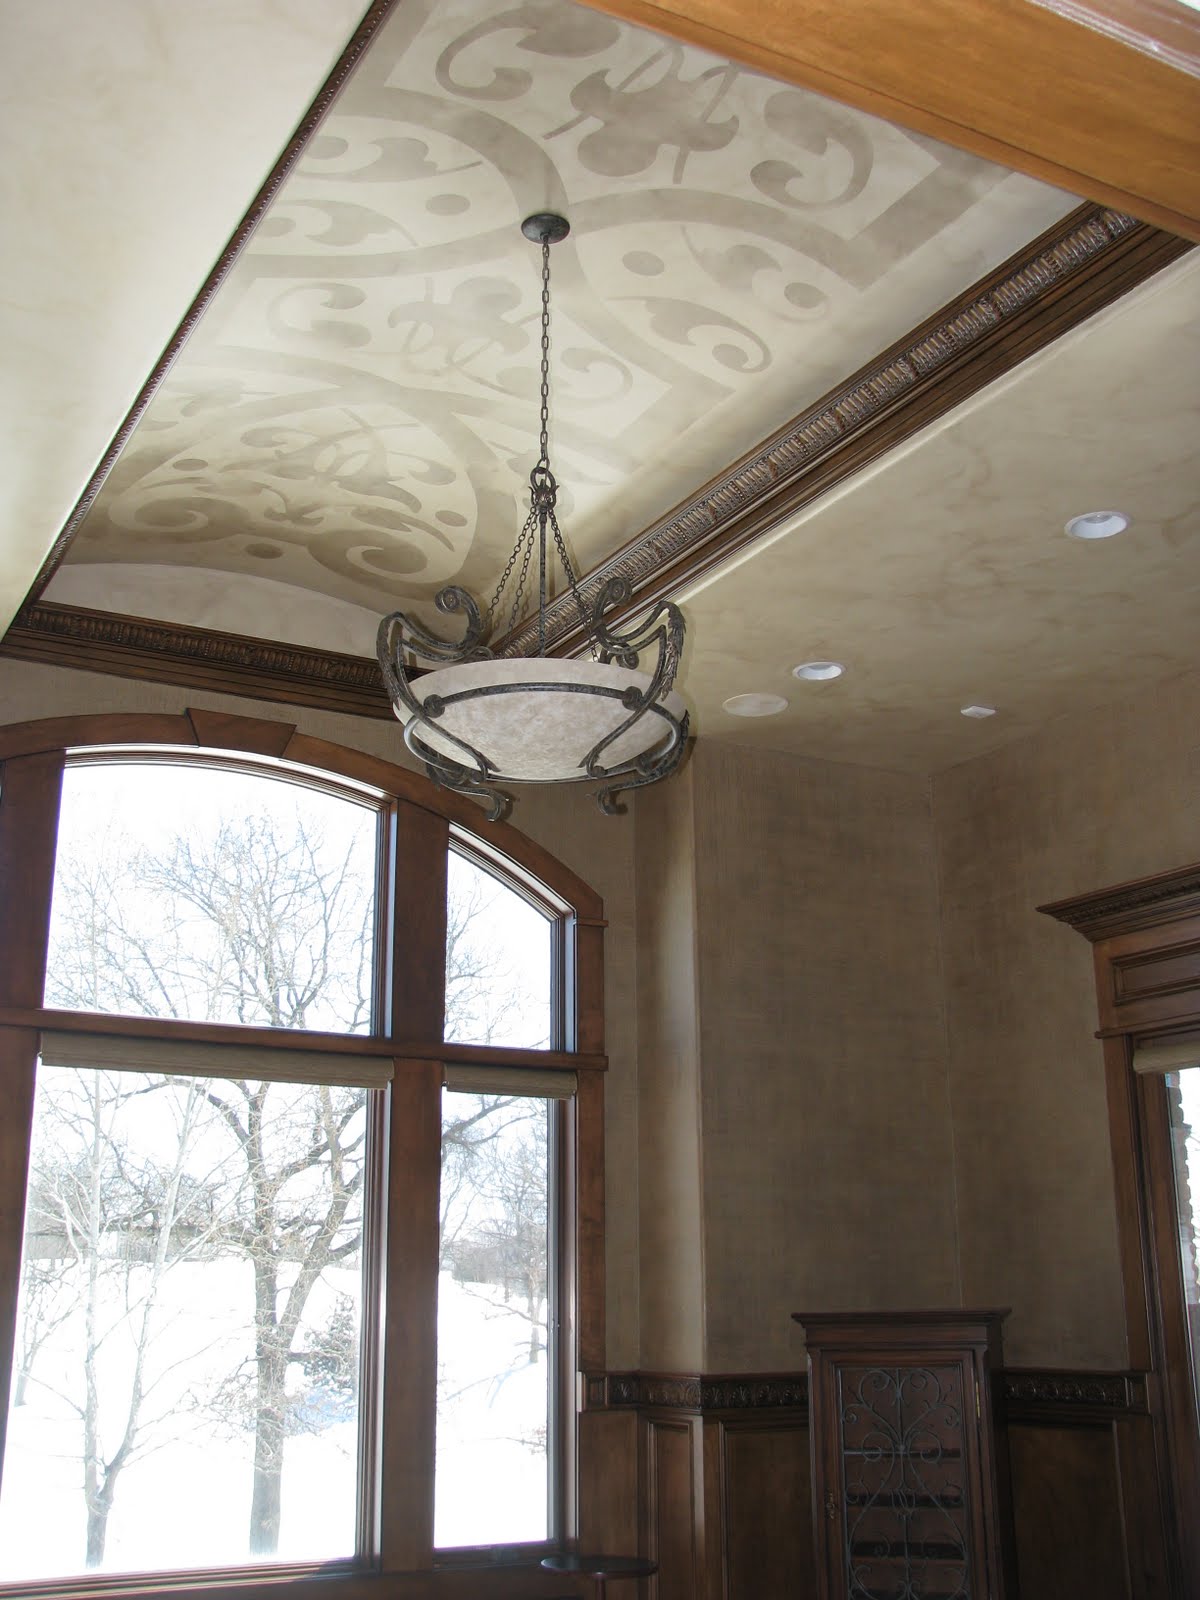
Want to see a close up of the walls we did in the room too?
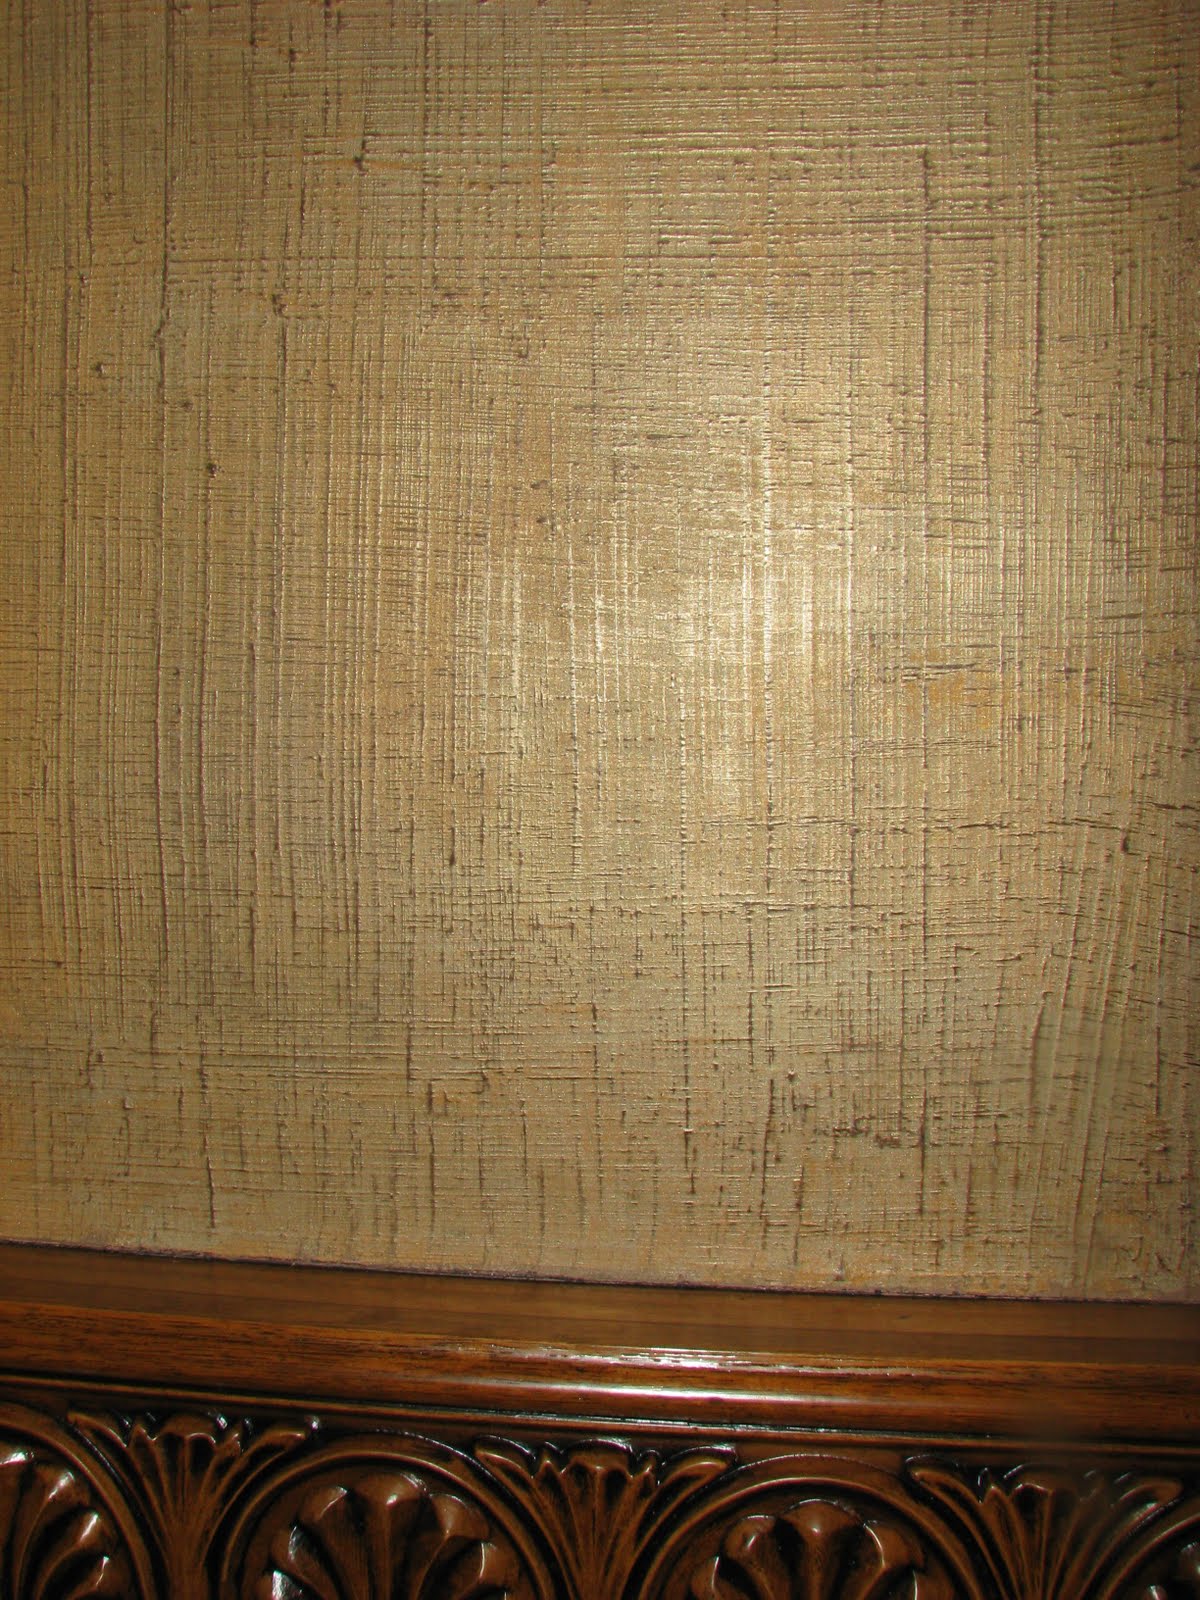
It is a metallic linen finish. Yeah, this house pretty much rocks.

Cassity Kmetzsch started Remodelaholic after graduating from Utah State University with a degree in Interior Design. Remodelaholic is the place to share her love for knocking out walls, and building everything back up again to not only add function but beauty to her home. Together with her husband Justin, they have remodeled 6 homes and are working on a seventh. She is a mother of four amazing girls. Making a house a home is her favorite hobby.


>Amazing, amazing, amazing!
>What a beautiful job you did. This is how the other half lives, I see.
>WELL, OH MY! That looks absolutlely FABULOUS! Jennifer, YOU and that house ROCK! GORGEOUS GORGEOUS! Thanks for sharing! And I had a few stencil do's and stencil don'ts in the 90's too!
>I love the textured stencil on the cabinets! Great idea.
>Thanks so much for letting me be your guest today!!!! I hope your readers love the tutorial!
>This is a great project! I absolutely love it and can think of numerous places to use this type of treatment. Thanks for the tutorial, Jennifer!
>Awesome!!!
>Here visiting from Jennifer's blog- WOW!! That turned out gorgeous!!
>Oh wow, this is fabulous looking. Such a great tutorial too. I love the finished look. Hugs, Marty
>The Magic Brush is truly magic. Love it.
Pamela
>GORGEOUS!!! Can you come and do our bathroom!;)
>Jennifer,
Just when I think I can't be blown away by your talent and creativity…I AM! STUNNING…just stunning! Thank you so much for sharing your talents with us!!!!
Patty from TX