Semi-homemade Pom Pom Bed Skirt

Hello Remodelaholics! I’m Tasha and I blog over at Designer Trapped in a Lawyer’s Body about thrifty DIY projects and home renovations. You may remember my first contributor post about how to transform an outdated, cultured marble vanity with concrete or my popular post about how we built a wood screen to hide the ugly utility boxes on the side of our house. I am very much a Remodelaholic, so I know I am in good company here 🙂 But sometimes even Remodelaholics need quick and easy projects, and that is what I have for you today.
Our 5-year-old twin girls share a bedroom. Since they started kindergarten (SOB!!!) I am updating their bedroom just a bit to phase out the princess decor that they have outgrown (SOB again!). Designing shared kids spaces can be challenging. These stellar shared kids spaces are amazing and underscore that every touch in the room matters, even the bed skirts. But high-end/designer bed skirts are expensive, am I right? The only bed skirts that seem reasonably priced are plain, plain, plain. So I knew to get the high-end, embellished look I wanted I was going to have to DIY it. That said, my sewing skills aren’t stellar so I opted for this semi-homemade pom pom bed skirt and it was so easy. Trust me, you do not need any sewing skills for this project. In fact, if you don’t have a sewing machine, you could use this no-sew method to achieve the same look without sewing at all!
Semi-Homemade Pom Pom Bed Skirt Tutorial
This post contains affiliate links for your convenience. Learn more and read our full disclosure policy here.
Materials needed:
- Bed skirt (this is the bed skirt that I purchased from Target–I got it on sale for $19.99. There are similar bed skirts available here on Amazon as well.)
- 3/4 inch pom pom fringe trim (I used about 10 yards per bed skirt–this is the exact trim I used)
- Sewing machine
- Zipper foot for sewing machine
- Thread
- Scissors
PS: If you love the bedding, it’s a duvet from Pottery Barn Teen here. 🙂

Steps:
1) Iron your bed skirt.Turn your bed skirt inside out. Then pin your pom pom trim along the bottom of your bed skirt (be sure to pin it on the back side of the bed skirt).
2) Turn your bed skirt inside out. Then pin your pom pom trim along the bottom of your bed skirt (be sure to pin it on the back side of the bed skirt).
3) Sew it into place. I don’t have a zipper foot for my sewing machine, but in retrospect, it would have made things a lot easier. I had to keep moving my pom poms out of the way of the sewing needle. I will definitely invest in one the next time I sew pom pom trim onto something again.

4) Place your pom pom bed skirt onto your bed and admire all the cuteness! Then pat yourself on the back for creating a high-end looking bed skirt for around $30. Win!
Take a look at the finished pom pom bed skirt. It’s SUCH a great addition to my girls’ room. And I have to confess, I kind of want to start adding pom poms to everything all over my house now. It just looks so happy!


If you love this project, be sure to pin it for later!

I would love for you to head over to my blog, Designer Trapped in a Lawyer’s Body, to check out our other DIY home improvement and thrifty home decor projects, like how we made our twin girls’ upholstered headboards in just a few hours for around $50 or how we painted our kitchen cabinets without sanding or priming (and they are still holding up perfectly 2 years later). You will also love seeing how I make DIY throw pillows from placemats (talk about minimal sewing required)!
 |
 |
 |
More semi-homemade home decor DIYs
because shortcuts are the best 😉
easy customized ric-rac curtains

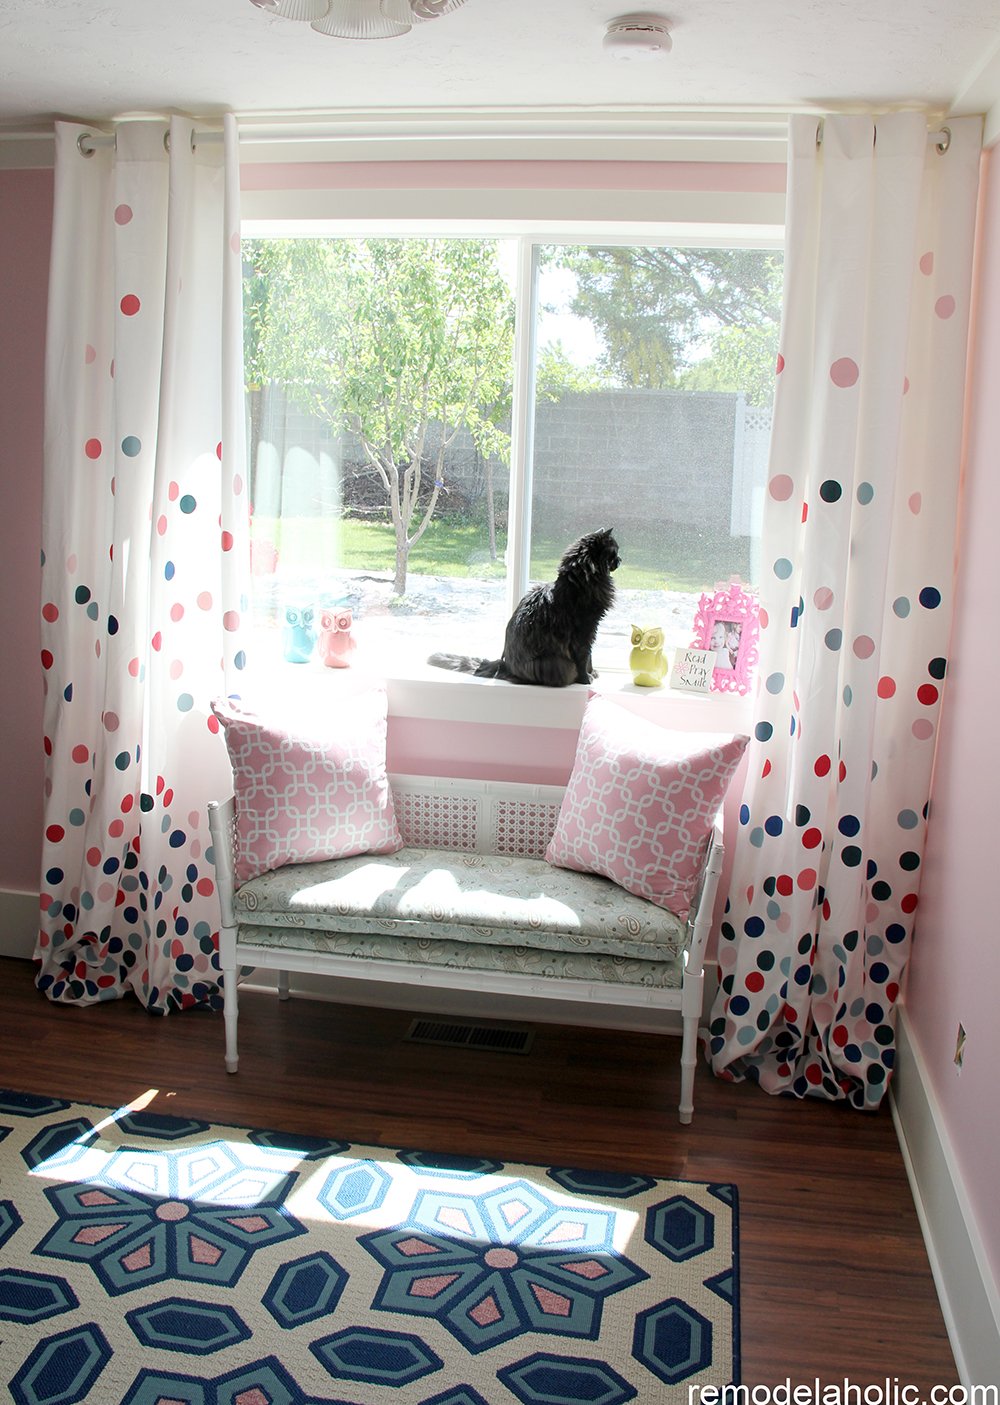
painted polka dot confetti drapes
Hi! I'm Tasha author and creator of Designer Trapped in a Lawyer’s Body, where I blog about thrifty DIY home renovations, simple crafts and tips for a happy household. Join me as my firefighter husband, 3 1/2 year old twin girls and I renovate our outdated home one room at a time. We are living proof that you can create your dream home on a budget even when you lead very busy lives!


love the dust ruffles you made but be warned when you was them. The ball fringe will get wrapped around each other and take forever to untwist. I have a small tablecloth that does it every time I wash it. Just a word to the wise!
I made this bed skirt and it started a little rough but ended beatiful. I would not recommend this size trim for a beginner sewer ( which I am). I would go for a bigger pom therefore bigger trim to sew on. I used the same one shown above and in some spots it was 1/8″, making it difficult.
Also the toughest part was figuring out what to set my machine to. So for anyone having that problem, here’s what I finally found works….
Tension 5, width 0, length 2.5, stitch-straiaght.
Overall really cute and way cheaper then any similar products for sale. Thanks!!