How to Customize Store Bought Curtains

Hello Remodelaholics! I am Tasha and I blog over at Designer Trapped in a Lawyer’s Body. You may remember my first contributor post about how to transform an outdated, cultured marble vanity with concrete or my more recent post about how I made my own screen door for a fresh new look. Those are pretty involved DIY projects, so you will be happy to know that this month I am sharing a fairly easy project with you that doesn’t require any power tools!
There are lots of ways to customize curtains! One popular way to do it is to paint curtains–you can see loads of awesome painted curtains here and really cool painted chevron ombre curtains here. I am dying to paint some curtains one day, but for this project I was working with curtains for my girls’ room, and I knew I wanted to use ribbon for this project. This project does require very basic knowledge of sewing and a sewing machine, but trust me, it’s not complicated and it only takes about 30 minutes.
If you are anything like me, you may be able to sew, but it’s not something that you love to do. If so, this project is perfect for you. I don’t enjoy sewing enough to make curtains from scratch, but I also don’t want to be stuck with boring, plain store-bought curtains that are the wrong length, etc. So, I came up with a solution that requires minimal sewing and ends in a pair of beautiful “custom” curtains!
How to Customize Store Bought Curtains
Materials Needed:
- Sewing machine
- 1 inch Ric Rac ribbon {or any other decorative trim that you like}
- Thread that matches your ribbon/trim
- 1 pair of curtain panels. I purchased mine at Ikea.
- Straight pins
- Liquid stitch
Steps:
1) I hung my curtains first so that I could determine the precise length they needed to be without measuring. As you can see, they were far too long, resulting in a huge puddle, which is not the look I was going for and was not functional since the curtains are located in my twin girls’ bedroom.
 2) With my curtains hanging, I folded the bottom of the curtain up to a length where it would just graze the carpeted floor in my twin girls’ room. I then pinned it into place {while wearing my polar bear pajamas–please don’t judge me}. Repeat this for both panels. Note, I only placed one pin per panel at this stage.

3) Take your curtains down. Lay your curtain out flat and fold the remaining portion of the curtain that needs to be hemmed up and pin at the opposite end of each curtain. You will now have 2 pins per curtain.
4) Place additional straight pins ever 6 inches or so along your hem line.
5) Sew your hem in place. I used a basic straight stitch.

6) Now you are ready to embellish your curtains. All you need is some trim and matching thread. I used 1 inch ric rac grosgrain ribbon.

I kept this step super easy and did not even pin the ribbon into place first because it was easy to hold in place as I sewed. I left the ribbon on the spool as I worked with it. I started at the top of each curtain, leaving about 1 inch of ribbon over-hanging the edge. Then I used a simple straight stitch straight down the middle of the ribbon to sew it in place. Talk about quick and easy. When I reached the bottom of the curtain, I cut the ribbon leaving and extra inch of overhang on the bottom as well.

Finally, I folded the ribbon over the top and bottom edges of the curtains and secured the ends to the back of the curtains using a little bit of liquid stitch {love that stuff}.
That’s it! It’s amazing how much better these simple curtains look with a little bit of ribbon on them. Now they look like they were specially made for our girls’ room. A custom look on a DIY budget! YAY!


I would love for you to head over to my blog, Designer Trapped in a Lawyer’s Body, to explore some of our other thrifty decorating projects, like how I created bed skirts for my twin girls’ beds WITHOUT SEWING OR CUTTING, how I “upholstered” a plain, wood chair with fabric and Mod Podge or how I painted a rug! I hope to see you over in my corner of blog land soon!
 |
 |
 |
————————————-
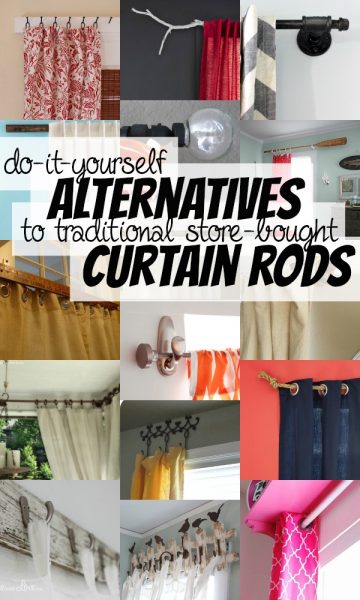
Dress your windows with these other great easy DIYs:
Oodles of painted curtains styles!

Hi! I'm Tasha author and creator of Designer Trapped in a Lawyer’s Body, where I blog about thrifty DIY home renovations, simple crafts and tips for a happy household. Join me as my firefighter husband, 3 1/2 year old twin girls and I renovate our outdated home one room at a time. We are living proof that you can create your dream home on a budget even when you lead very busy lives!


Those curtains are so adorable now, isn’t it amazing what just a little trim can do? And it’s so much for economical than buying them already made that way, great job!
Tania
Absolutely, Tania! Thanks so much!
Super cute! Thanks for sharing.
Jamie
Thanks so much, Jamie! It was a fun and easy project!