Repurposed Dresser to Kitchen Buffet with Butcher Block Top
I love the repurposing trend. Something about taking an old shabby thing and giving it new life — and style! — just makes my heart go pitter patter. It must be all those before and after photos! Our guest today repurposed a drab old dresser into a beautiful kitchen island/buffet with a butcher block top:


I love seeing furniture put to new uses, like these creative repurposed dressers I’ve found lately:
 Dresser Into Child’s Bookcase | Yankee Drawl
 Dresser into Bathroom Vanity | 1 More Than 2
 Dresser into Outdoor Potting Bench | Jarden Designs
 Dresser into Kitchen Island with Bar Seating | Laughing at the Days to Come
 Dresser into Entry Bench | Chic Staging and Design
And now, take it away, Laura Beth!
Repurposed Dresser to Kitchen Buffet
by Laura Beth of A Step in the Journey
Hello Remodelaholic friends!! I am extremely excited to be here today at at Remodelaholic, and can’t wait to share one of my favorite DIY projects with you. But, first I must remember my southern manners & thank the EXTRAORDINARY Cassity for inviting me over to visit. It’s truly an honor to be here! I’m Laura Beth from A Step in the Journey, but my friends call me LB. It’s great to meet you! My little space in the blogosphere is a “jack of all trades, (but master of none)” kind of blog where I share my adventures in crafting, cooking, and navigating life. When I am not knee deep in a DIY project you can find me over at my Etsy shop! Now let’s get down to business…the creation of this chevron & butcher block buffet.
When my husband and I moved into our home 3 years ago my aunt was generous enough to give us a few hand me down pieces to outfit out new place. One of these was a dresser than began it’s new life in our home as a TV console. Here is a picture similar to what it looked like (I don’t have the original as this was pre-blogging days) via google images.
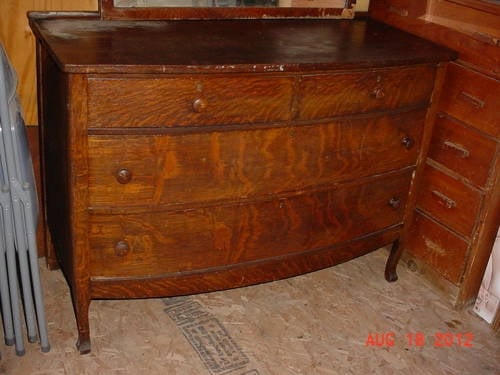
Great bones, but this baby was in need of a little TLC. Eventually, the TV was mounted and our dresser took up residency as a kitchen island. But not until it received a makeover. After giving the entire piece a good sanding, I painted it a light brown/taupe color. I mixed the paint myself with some leftover brown and white, so I can’t give you the exact color, but if I were Sherwin Williams I would call it chocolate milk.
Then I added the chevron stripes. These were tricky, but after a little trial and error I figured out the method to the chevron madness. Here is a picture tutorial, followed by directions. Hopefully, by putting them together it will all make sense! Fingers crossed.
![]()
1. Decide how many peaks & valleys you would like in your pattern. As seen above there are 2 peaks and 1 completed valley.
2. To create a similar look find the center of what you are painting & mark it vertically with a straight line. Then also draw a line down the middle of each half creating 4 equal sections.
3. Now you have to mark the peaks. Starting at the top, on the outside 2 lines mark a dot every 6 inches (or your desired length between peaks).
4. On the center line & outer edges, measure down from the first row of markings on the outer lines 3 inches (of half of your original measurement) & make a mark. Then mark again every 6 inches (or original measurement).
5. Finally, play connect the dots with your tape. You must chose to always go above or below your dot with the tape & then do it every time…again always above or always below.
6. Now that everything is taped, just paint…
![]()
Okay, so did you follow me? I sure hope no one is wondering around lost with their ruler and tape. If all else fails I am sure with the chevron trend there is a stencil out there you could use! Now, on to the butcher block top.
At first I wanted the dresser to be kitchen safe since I was using it as an island, so I decided to pour a glaze sealant on top. At first I loved it….but then I realized it held on to everything it touched like white on rice leaving non kitchen worthy stains behind. So I opted for one more DIY step.
Here is the last step in creating my dream island (or buffet as it now calls itself).
For this project I stopped by Home Depot, my home away from home, and picked up some sanded plywood. Did you know the lovely folks there will cut your wood down to size for you? I handed over the measurements for the top of my island and they did the rest! I added 1/2 an inch to the length and width to create a 1/4 of an inch overhang on each side. I think the wood was only $12. I attached the piece of plywood to the top of the island using liquid nail and let it dry overnight.

I then used some left over 1 inch wood trim from our recent closet remodel to trim out the edges (again I used liquid nails & filled the cracks with wood filler). Clamps would be ideal to hold the sides on until they dry, but if you don’t have those I hear duct tape works well!
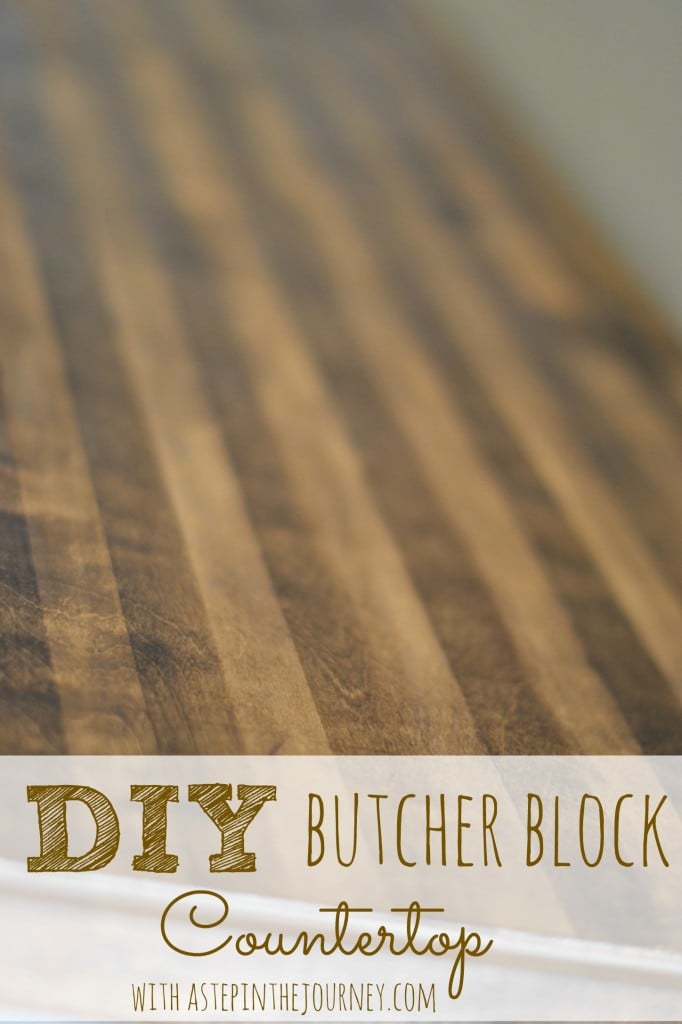
To create the butcher block look I started with one coat of Miniwax walnut stain over all of the fresh wood. You want this to be a little light and less saturated than normal staining. I personally like to use a rag, I feel like it gives me more control than a brush, and with this project one of my husband’s old t-shirts did the trick!

I let the stain set according to the directions. Then I began to make my butcher block stripes. I used the size of the tape to measure out the butcher block effect. To do this first, lay out three rows of tape one after another. Then remove the middle piece. Use your rag to add a second layer of stain to the open space in between the two pieces of tape applying it thicker than before. Continue across the entire counter top staining every other stripe.

Last but not least add a few coats of polyurethane to seal! Disclaimer: I cannot say it is 100% food safe, because well….I’m not the FDA, but it is great for extra counter space & I love what it adds to the kitchen.
![]()
Since I wasn’t sure about using it as workable food preparation space in the kitchen I decided to turn the island into a buffet. And I must say I think it has finally reached it’s final resting place. It was a labor of love and definitely one of my favorite projects to date. Since I had the paint, stain, and poly on hand this piece only cost me the $12 for the sanded plywood….not bad for a buffet that makes me smile every time I walk into the kitchen.
Thanks again Cassity for having me, and I would love for you to stop by A Step in the Journey and say hello anytime. The door is always open!

LB (because Laura Beth and I are friends like that now), I looove it! The painted chevrons and stained wood stripes together make me a little bit giddy. Thank you so much for sharing with us!
Lorene has been behind the scenes here at Remodelaholic for more than a decade! She believes that planning projects and actually completing them are two different hobbies, but that doesn't stop her from planning at least a dozen projects at any given time. She spends her free time creating memories with her husband and 5 kids, traveling as far as she can afford, and partaking of books in any form available.


I am totally obsessed with tables, old dressers and such. The chevron one is absolutely perfect. The color
makes it so. I love what she did to the top, too. So creative.
Jake’s a Girl
Thanks so much Jake!! I absolutely love how it turned out :o)
Hi Laura Beth!
How great that your awesome buffet project is featured on another blog! This is such a great idea and your instructions are super clear. And now I will look at all the cool things here on Cassity’s blog, so thanks for introducing me to something new!
Thanks for visiting our blog Laura! We are glade that you found us.
These dressers look absolutely amazing! I love them all!
I am so deeply in love and obsessed with the quote picture above the chevron buffet. Any idea where I could get my hands on one? Thanks! 🙂
Thanks so much!! I actually sell the piece above the dresser in my etsy shop! https://www.etsy.com/listing/157766249/new-family-rules-house-rules-typography?
Love the way the top of the dresser looks! When you taped & stained, did you go over your trim pieces on the edges, or just stain them?