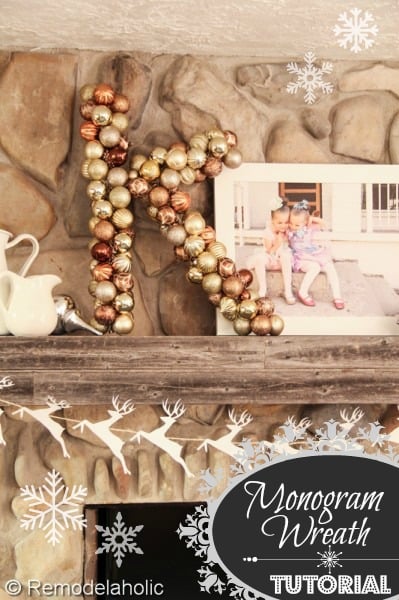
Ornament Monogram Wreath Tutorial
This last few weeks has been pretty busy round here. We have been remodeling the bathroom, creating Christmas posts and gearing up for the DIH workshop at Home Depot where we made some fun Monogram wreaths! The whole event was so fun!

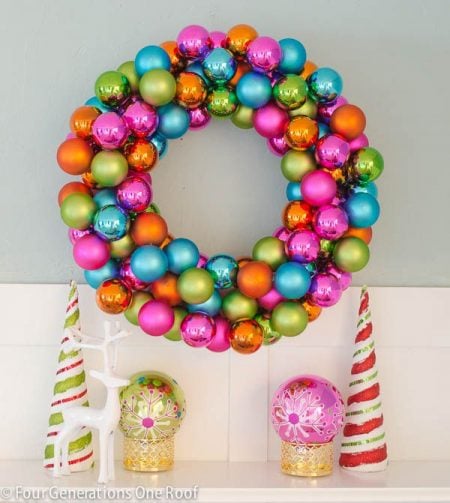
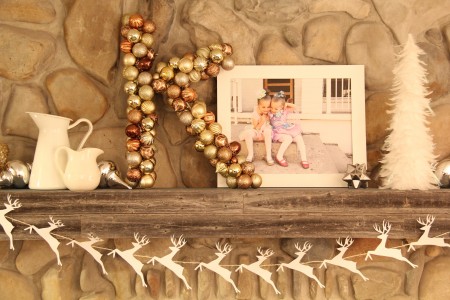
As part of the workshop, the Home Depot asked me if I would be willing to make my own monogram. So I thought about what I wanted to make. The idea that came to mind were the ornament wreaths… you know what I am taking about, right? Something like this one from Jessica.
Except that I was going to make it into a monogram…
Monogram Ornament Wreath Tutorial
Supplies:
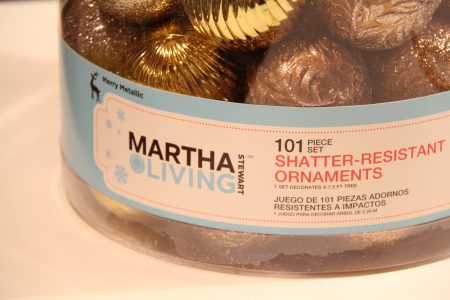
Ornaments (regular, large or mini sized depending on the overall size of your monogram)
Wire- 20 guage and 28 gauge.
1/4 to 1/2 plywood (1/2 inch is better)
Hot glue and gun (optional)
Tools:
Cutting tools, (Ryobi and Dremel have some great options!)
Drill
Wire Cutters
Hot glue gun (optional)
I did it a couple ways working out the best way to make it, which means some pictures, are of different forms, but follow the instructions and you should be set.
Also I made a video tutorial, I know pretty rare ’round here… (And embarrassingly enough said the word “um” about 6,000 times…I will obviously, um, be working on, um, not saying that, um, when I make, um videos… ugh!)
Instructions:
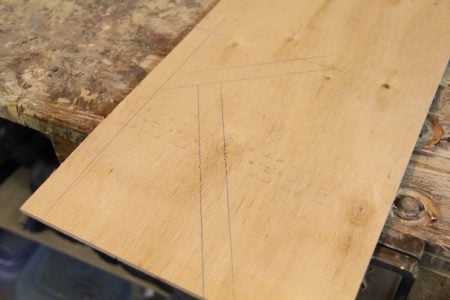
First start by tracing your monogram onto a piece of 1/2″ plywood. I made mine about 1 inch thick, this way the ornaments would cover the form. I would not make it wider than about 1 1/2 inches, unless you are making it HUGE. Use a jigsaw to cut out the shape, be sure to follow all safety instructions on your equipment, use safety glasses and ear protection!
When you have the letter of your choice cut out, you need to drill a few small holes in the ends of the letter, or occasionally in the center. Then you are ready to begin.
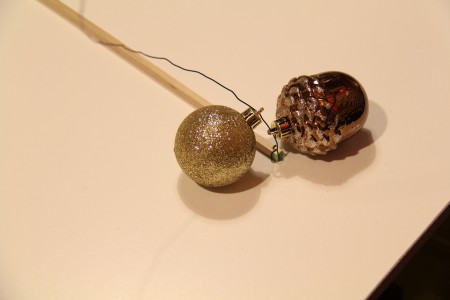
Thread the 20 gauge wire through the hole, and secure it in place. Make sure that you have wire about double the length of the monogram, cut it. Start stringing on the ornaments. Use the loop at the top of the ornament (that you usually attach the hook to).
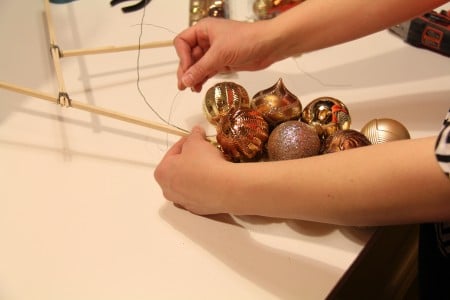
Keep adding ornaments, shaping them as you go to fill bald spots. You have to hold on to the wire, close to the ornaments to keep them in place as you go.
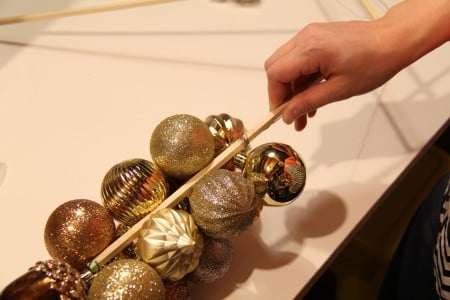
Occasionally, I secured the large wire to the form, by wrapping around both the wire and the form with the 28 gauge wire. This keeps the ornaments in place, and makes the whole process easier. Continue adding ornaments to the form until you fill it up.
When you come to the end of the form. I used the excess 20 gauge wire that the ornaments are on to to secure it to the form. You can either run it through the hole you drilled or wrap it over the end of the form and then wrap it around the form a couple times.
When you are done, you can fill any bald spots you have with some extra ornaments by hot gluing them in place if needed. DONE!!!
Be sure to check out the Do it Herself Pinterest board for other great monogram ideas!
AND the winner of the $100 gift card from this post is Ashley Hewell! CONGRATS Ashley!
Disclosure: The Home Depot partnered with bloggers such as me for their DIH Workshop program. As part of this program, I received compensation for my time. They did not tell me what to purchase or what to say about any product mentioned in these posts. The Home Depot believes that consumers and bloggers are free to form their own opinions and share them in their own words. The Home Depot’s policies align with WOMMA Ethics Code, FTC guidelines and social media engagement recommendations.
Cassity Kmetzsch started Remodelaholic after graduating from Utah State University with a degree in Interior Design. Remodelaholic is the place to share her love for knocking out walls, and building everything back up again to not only add function but beauty to her home. Together with her husband Justin, they have remodeled 6 homes and are working on a seventh. She is a mother of four amazing girls. Making a house a home is her favorite hobby.


Super cute!! I love it!! I have two ornaments wreaths around my house. This will make a great addition. Love it!!
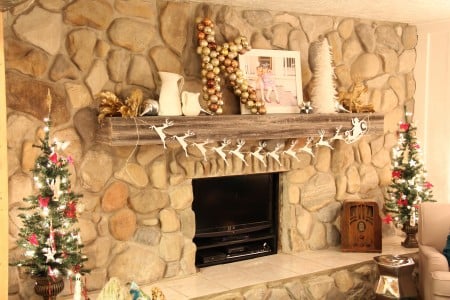
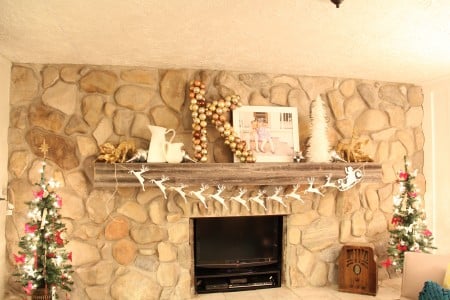
I love the reindeer garland. Did you make it also?
Very, very, cool! Love it!
My next house better have mantle, or I will make it have one. I love this.