Hair Bow Storage Tutorial
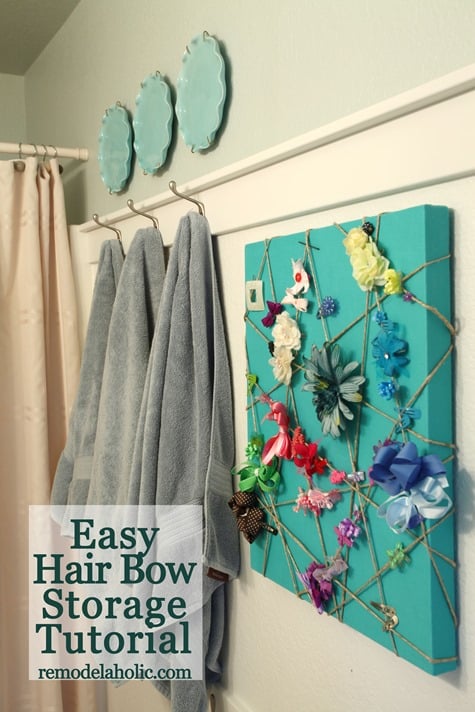
Since I am the mom of two lovely girls that have had lots of hair since birth, it seems that hair bows are everywhere. They reproduce like bunny rabbits! So, I wanted needed to come up with my own way to store these bows… or bow-bows as Lydia likes to call them.
I made this, and I’ve been meaning to show it to you for like 2 years. I even have proof of how long things take me to post, since I have pictures of Etta, three year old at like 16 months with this…. oh man time flies people!
Hair Bow Storage Tutorial
| Supplies: | Tools: |
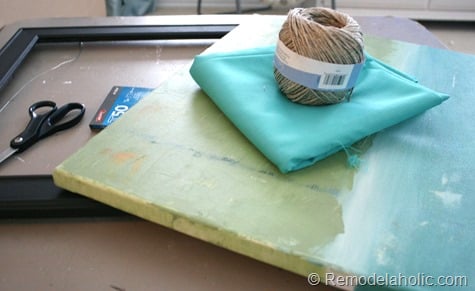
| Stretched Art Canvas(I used an old unfinished painting!) | Scissors |
| Fabric (dimensions of your canvas plus 6-10 inches for wrapping the edges) | Staple gun (heavy duty stapler) |
| Twine, ribbon, thick yarn… |
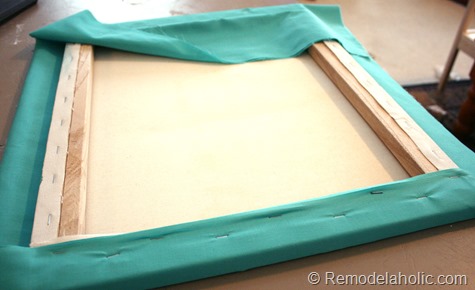
1. Start by laying your fabric good side down on a work surface. Center your canvas, front side down on the fabric.
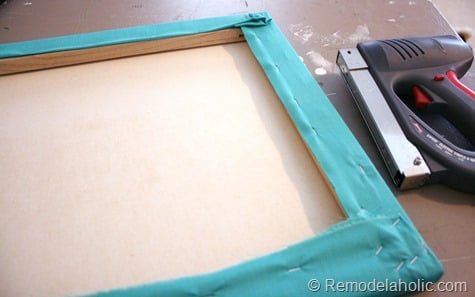
2. Wrap the fabric around to the back of the canvas and staple the center of the fabric to the back of the canvas on top side. On the directly opposite end, wrap the fabric and pull it tight and staple it in the center. Now work your way out from the center stapling as you go, being sure to keep the fabric taut to avoid wrinkles.
3. Now fold over the 3rd side and staple in the center of the edge. On the 4th side, pull the fabric tight and staple in the center. Again, work your way out from the center stapling as you go, being sure to keep the fabric taut to avoid wrinkles.
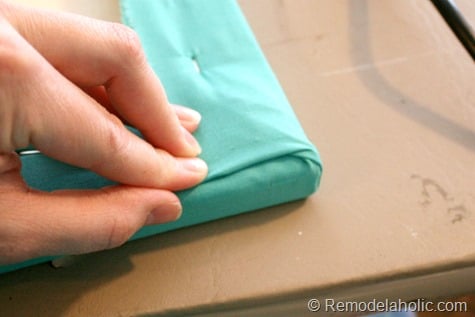
4. On the corners wrap them a bit like you would with gift wrap and staple to secure.
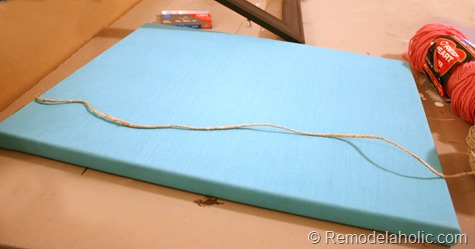
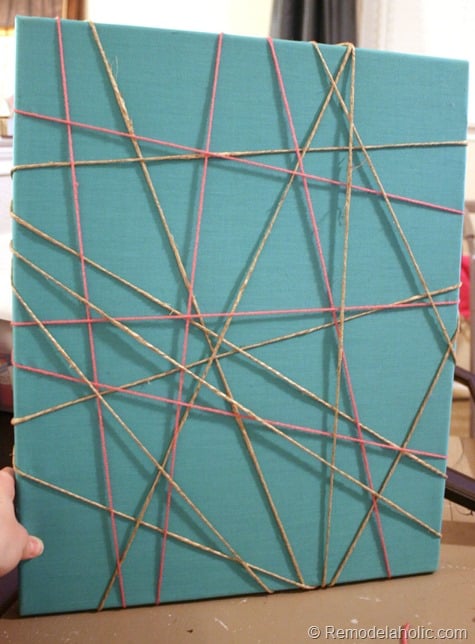
5. Once the fabric is smooth and securely fastened to the canvas, start wrapping with the twine. Begin on the back of the canvas frame and staple the end of the twine in the shape of an “N” with staples at the top and bottom points, to keep the twine from being pulled out.
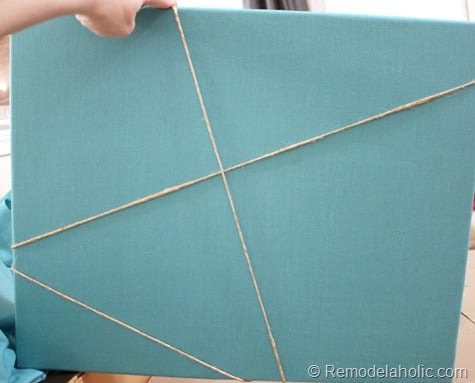
6. Now pull the twine tightly and diagonally across the canvas securing with 1-2 staples at the opposite side, on the back of the canvas (so you don’t see staples on the side!)
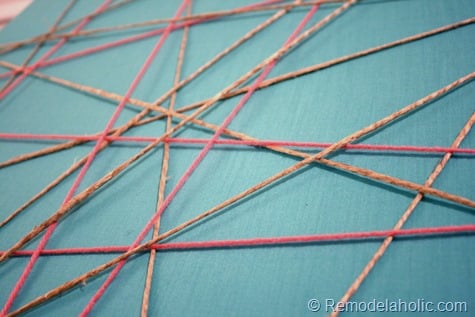
7. Without cutting the twine, just turn and pull it another direction across the canvas, and staple again when you get to the other side. Repeat this process as much or as little as you would like.
*originally I used both twine and pink yarn. I have since made another one, for MORE bows, and just stuck with the twine alone. Keep in mind that ribbon would also look very cute!
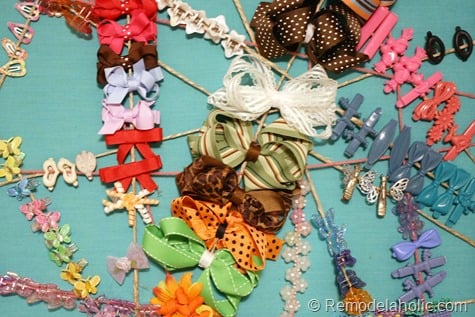
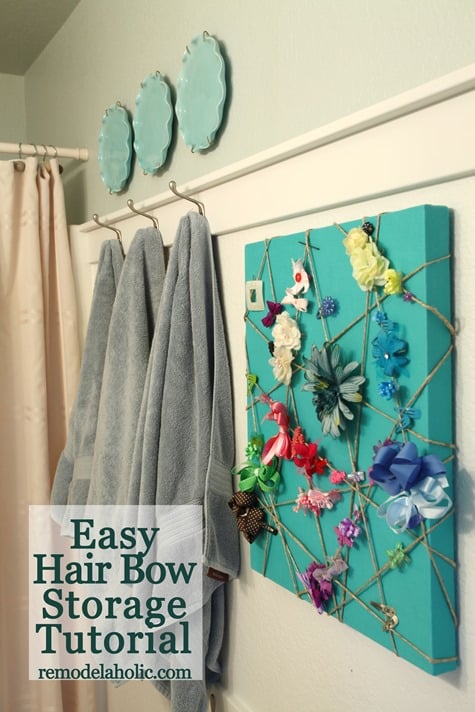
8. Now organize and begin to clip on all your bows, even headbands can be hung on there, just stick an end over one of the strings and tuck it down to rest on the twine.
Ta-da!
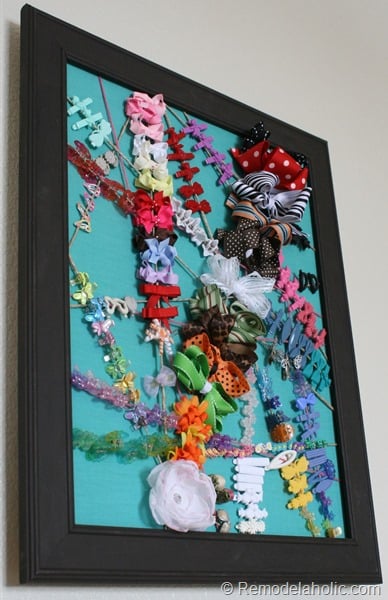
*Originally I also used a frame around the canvas, but I ended up liking how it looked without the frame better. But keep in mind that you can always frame it if that works with your décor better.
If you are looking for other great ideas for hair bow storage tutorials, please check out these other great posts:
Cassity Kmetzsch started Remodelaholic after graduating from Utah State University with a degree in Interior Design. Remodelaholic is the place to share her love for knocking out walls, and building everything back up again to not only add function but beauty to her home. Together with her husband Justin, they have remodeled 6 homes and are working on a seventh. She is a mother of four amazing girls. Making a house a home is her favorite hobby.






Great idea. The bow storage is effective and looks great. The best of both worlds.
Cute idea!! Definitely pinning!!