Braided Pillow Tutorial
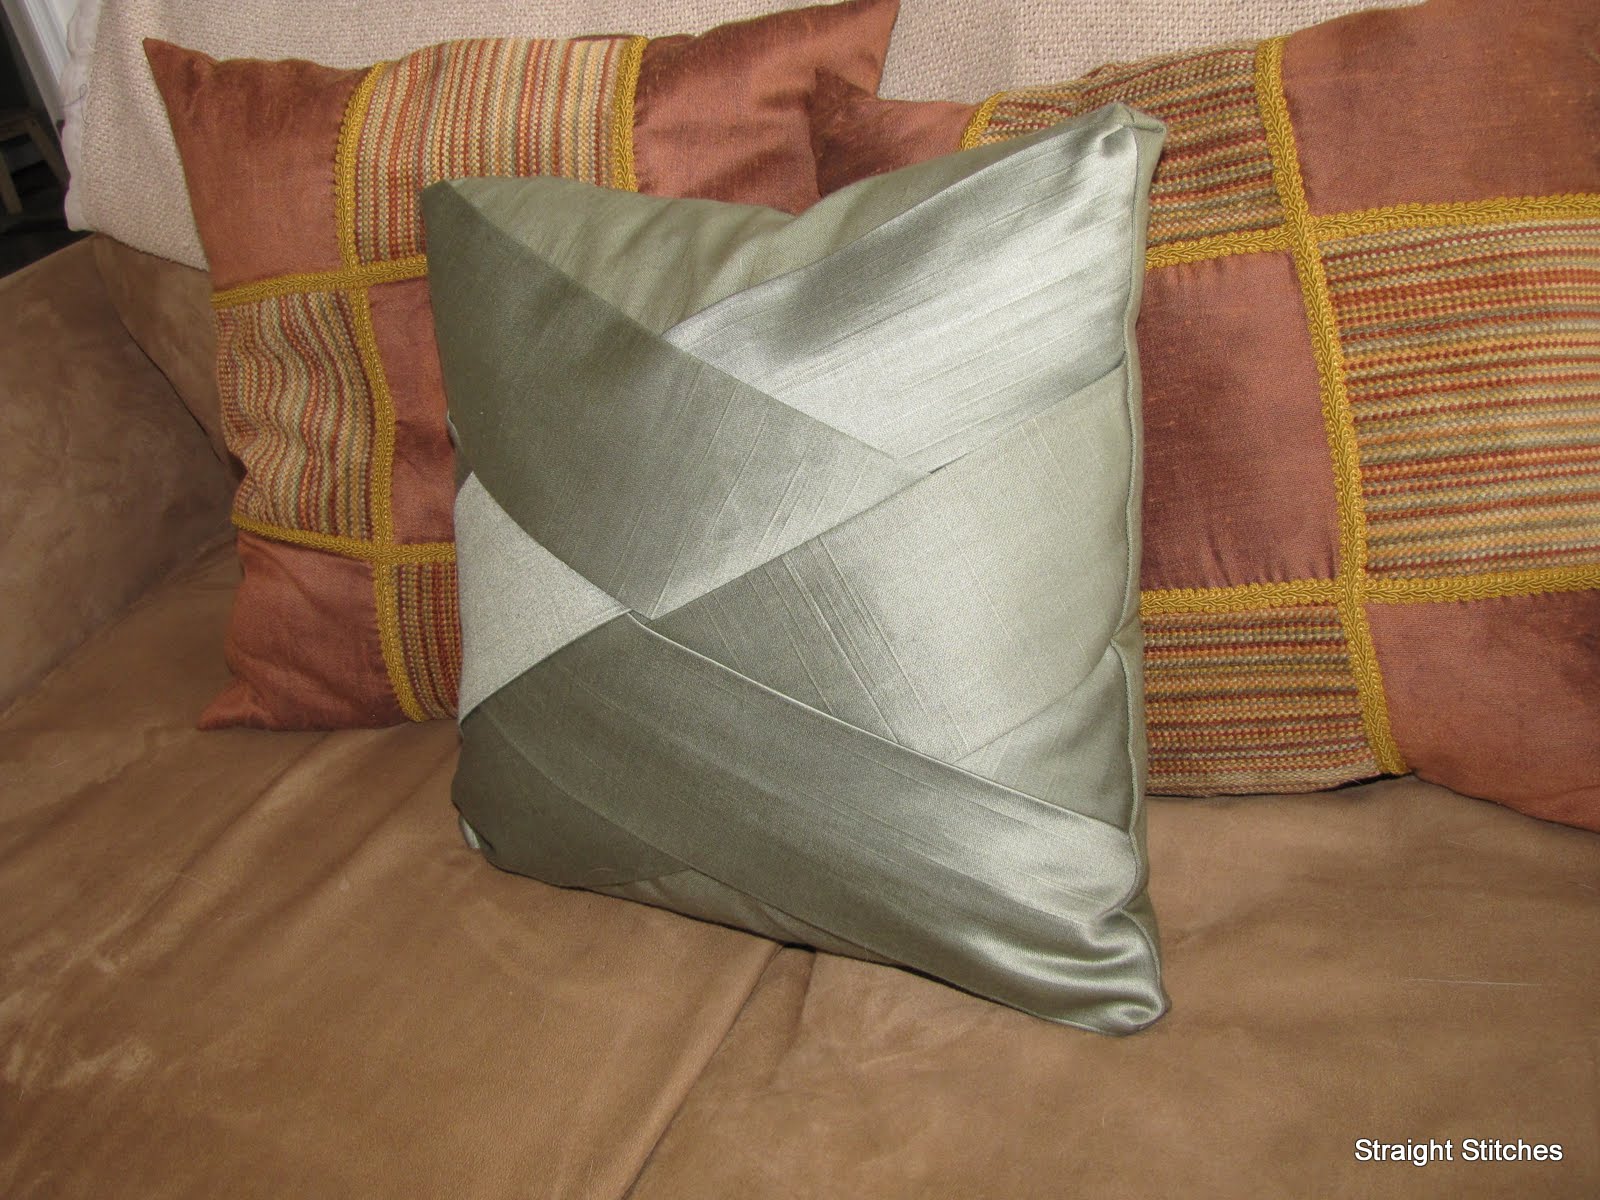
I absolutely love this braided pillow project (and another one of her’s that I plan to feature too) that was linked to our party a little while ago, it is from Heather at Straight Stitches, check it out:
I have a little something to share with you about how to create a braided pillow. 🙂 First off, I made the pillow in 2 hours – start to finish, during Harrison’s nap, so this is definitely a project for all you ADD crafters. 🙂
**The collage pictures are not working for me, and a couple of readers. So I’ve replaced the pictures with the individual pictures.**
Stuff you’ll need:
- 1 yard of Fabric (your choice)
- 16″ pillow form
- Coordinating Thread
- Pins
- Scissors
- Pen
- Ruler (I use a 6″ x 24″ one)
What you’ll do:


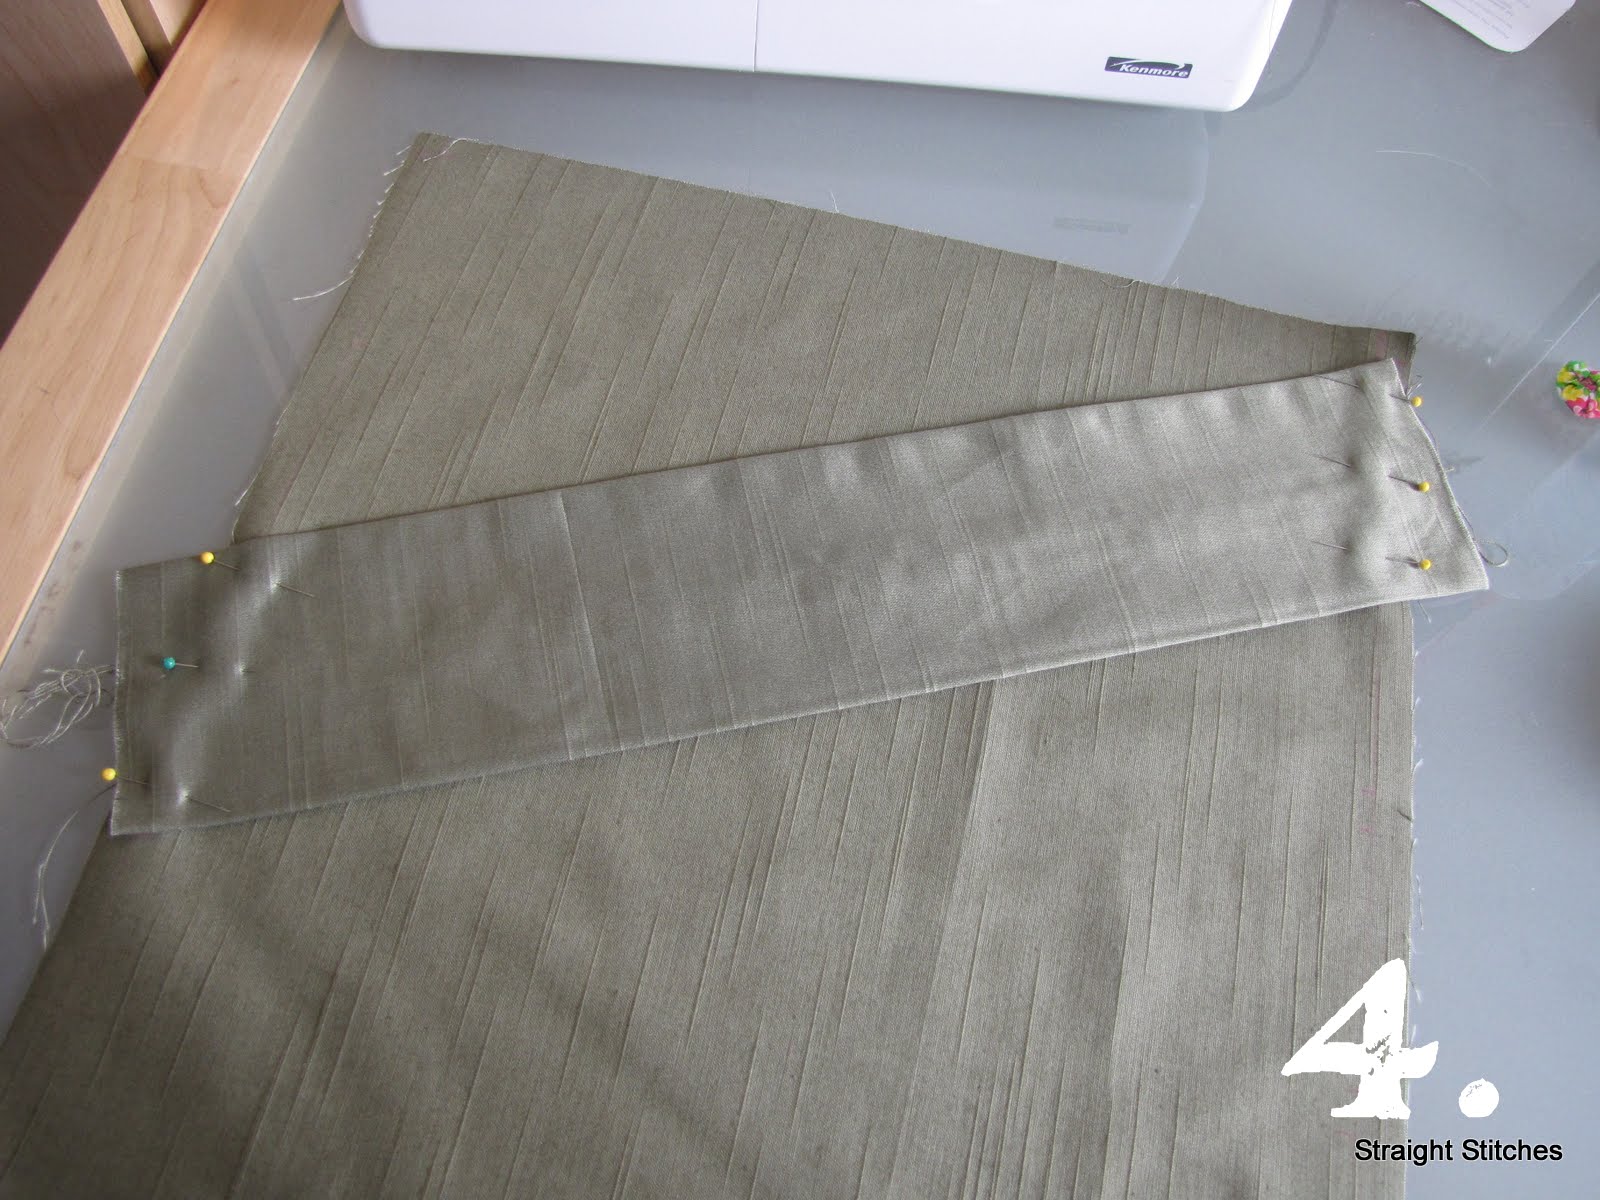
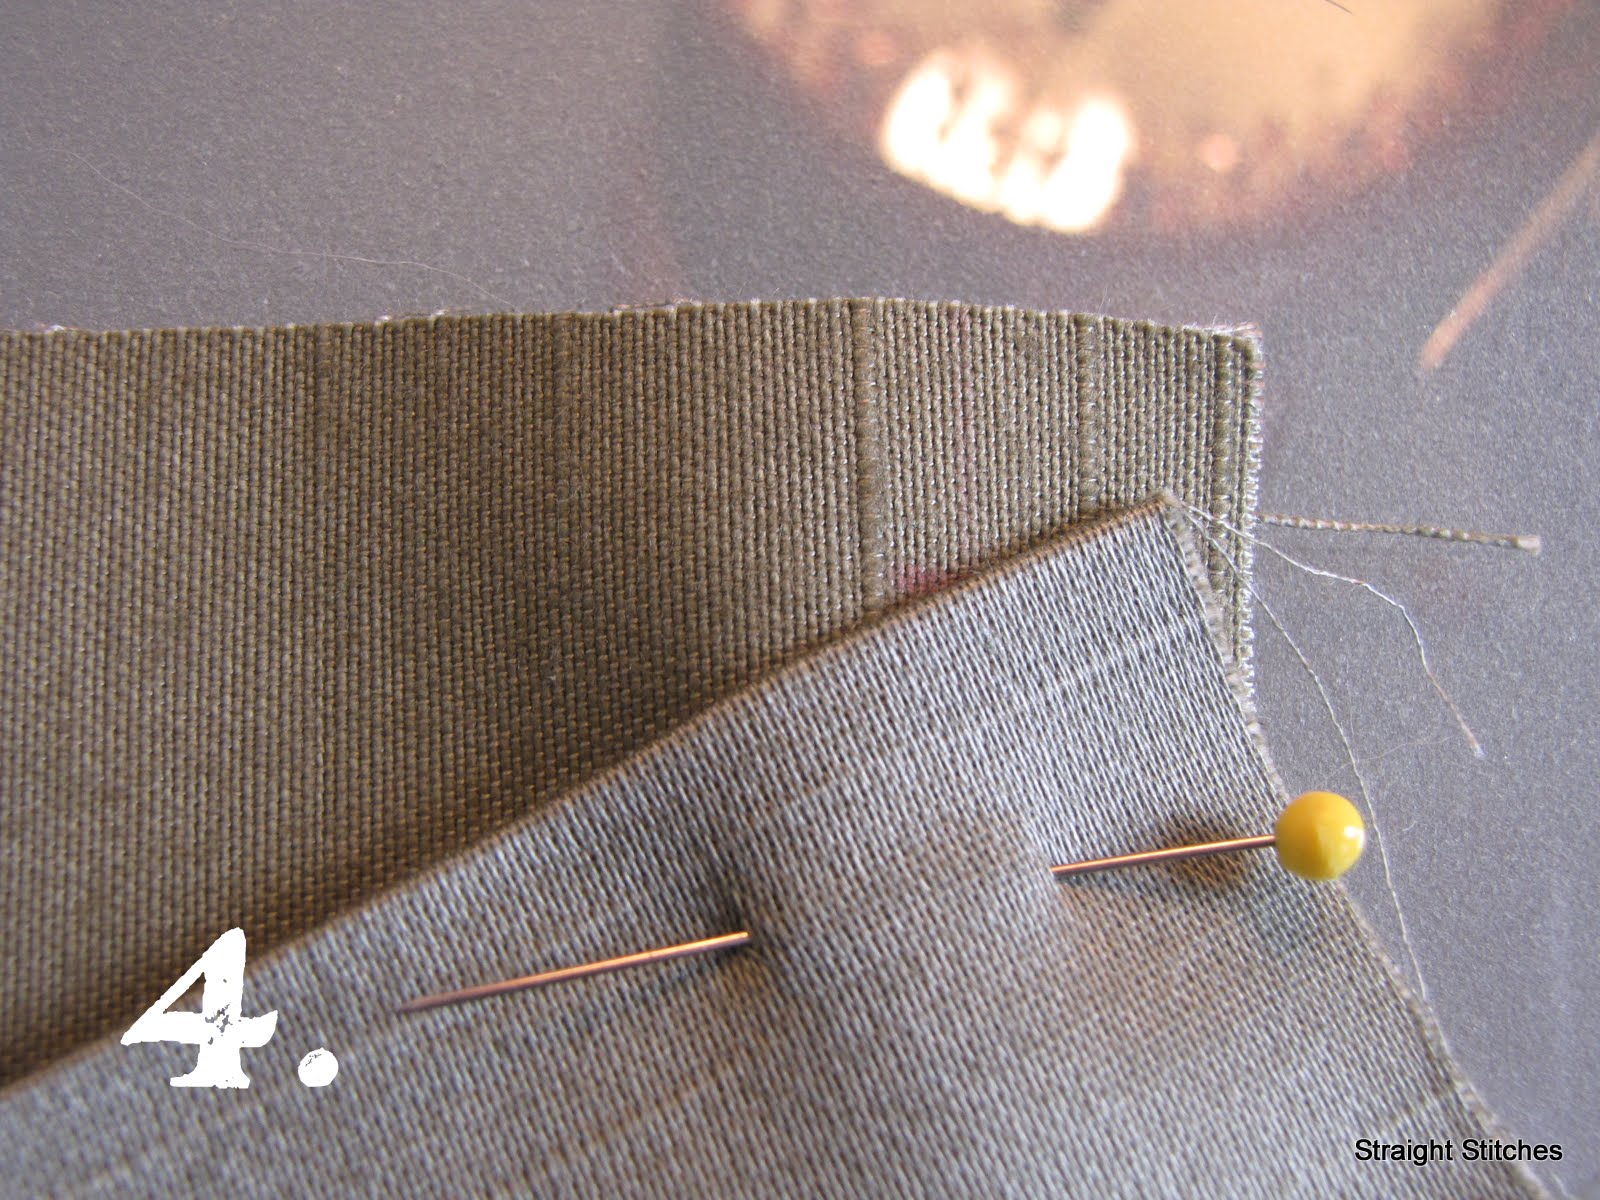
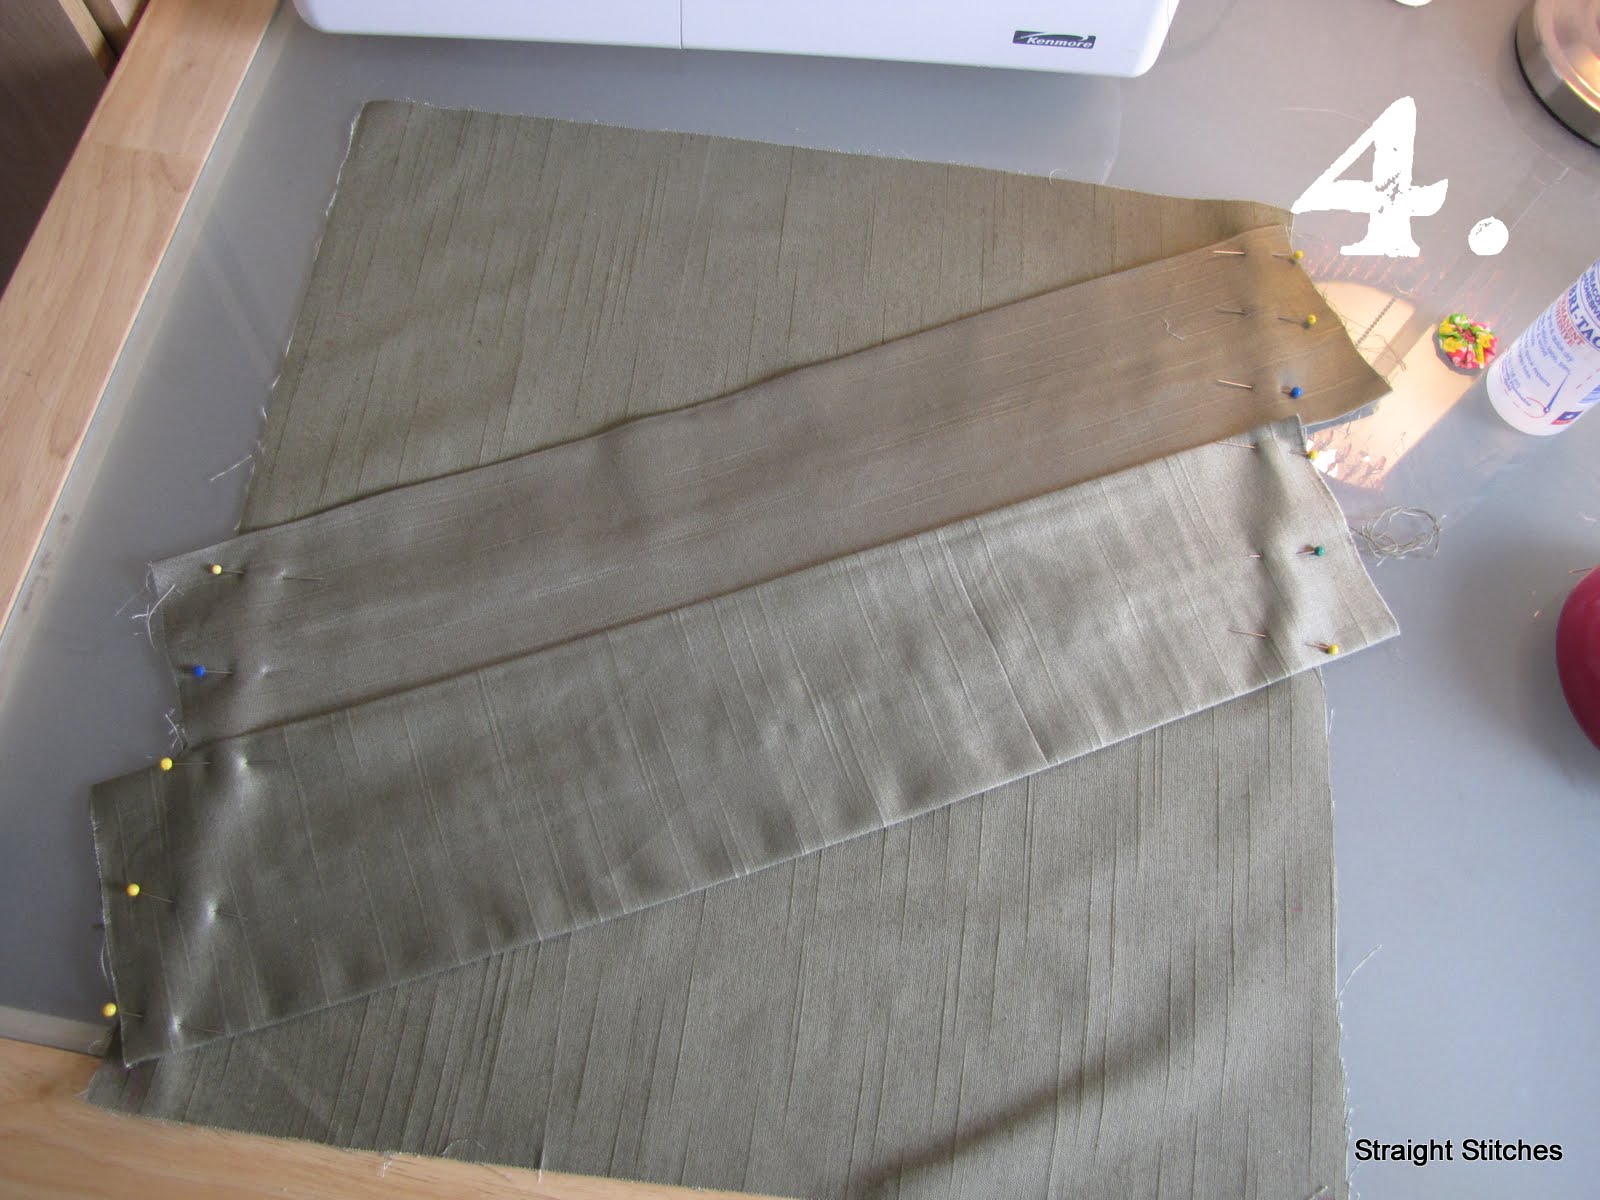
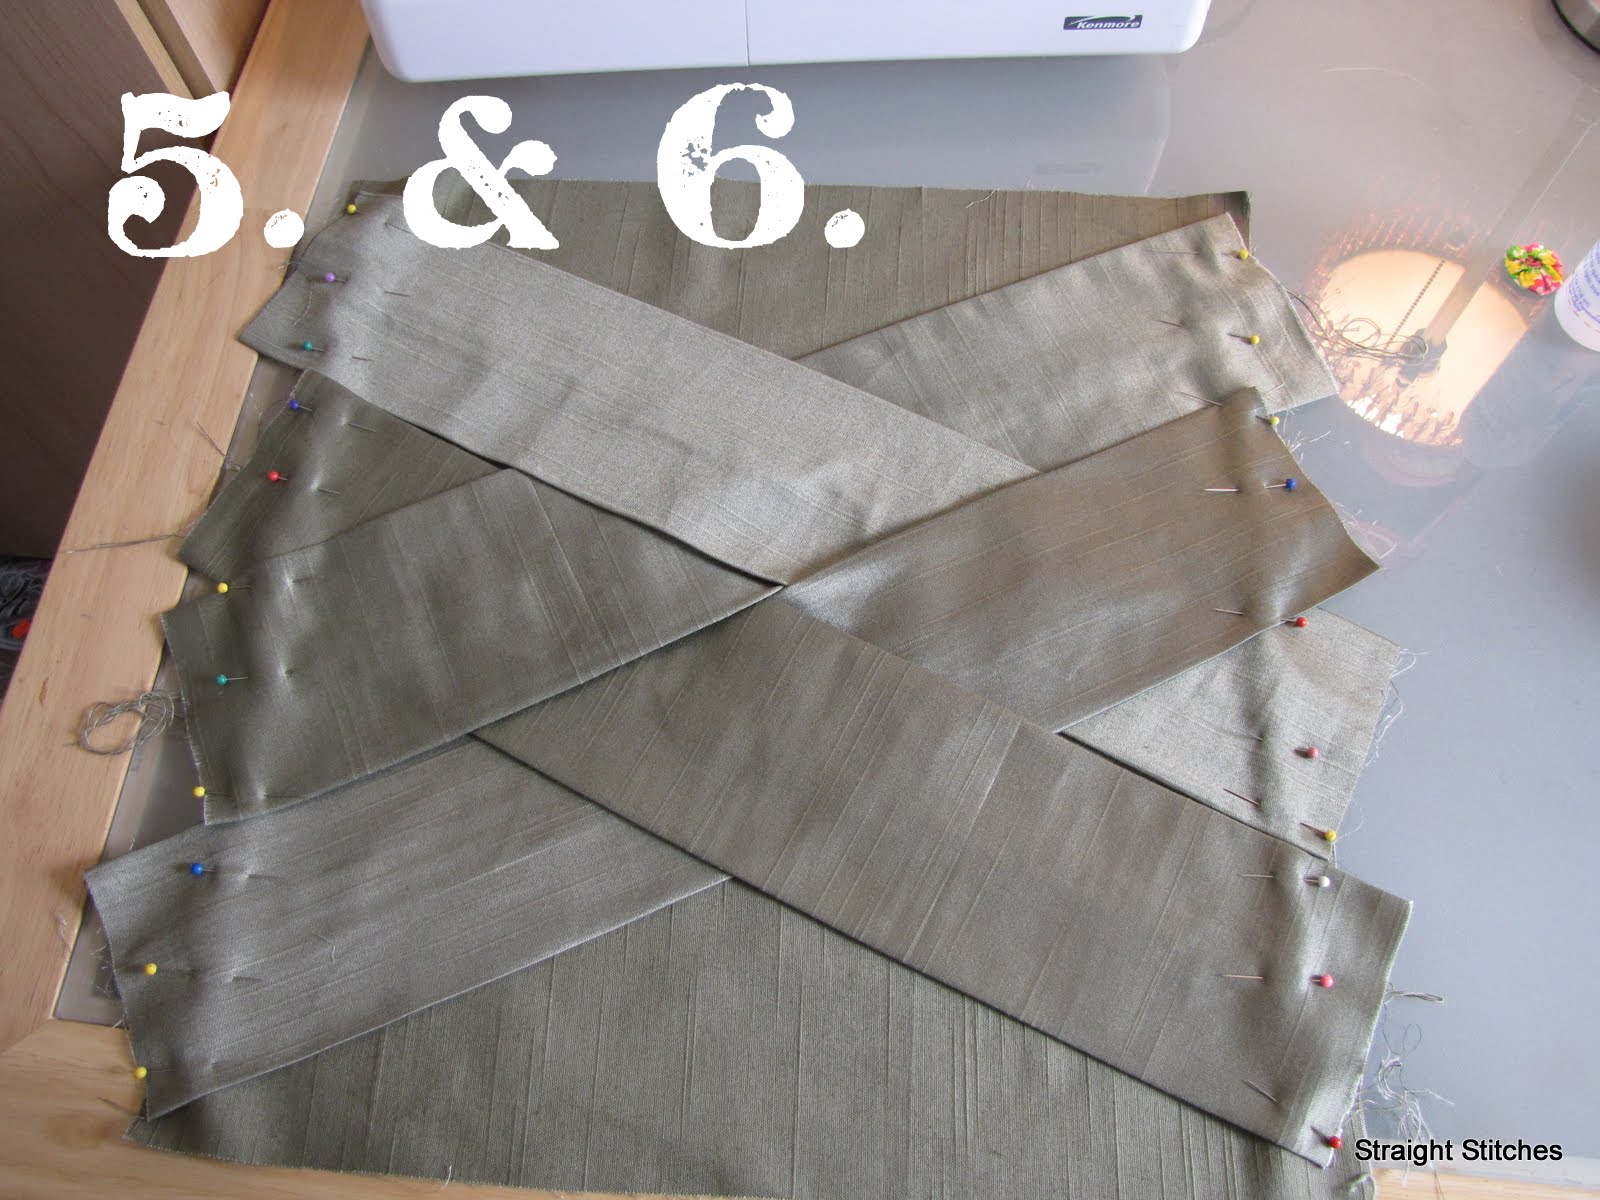
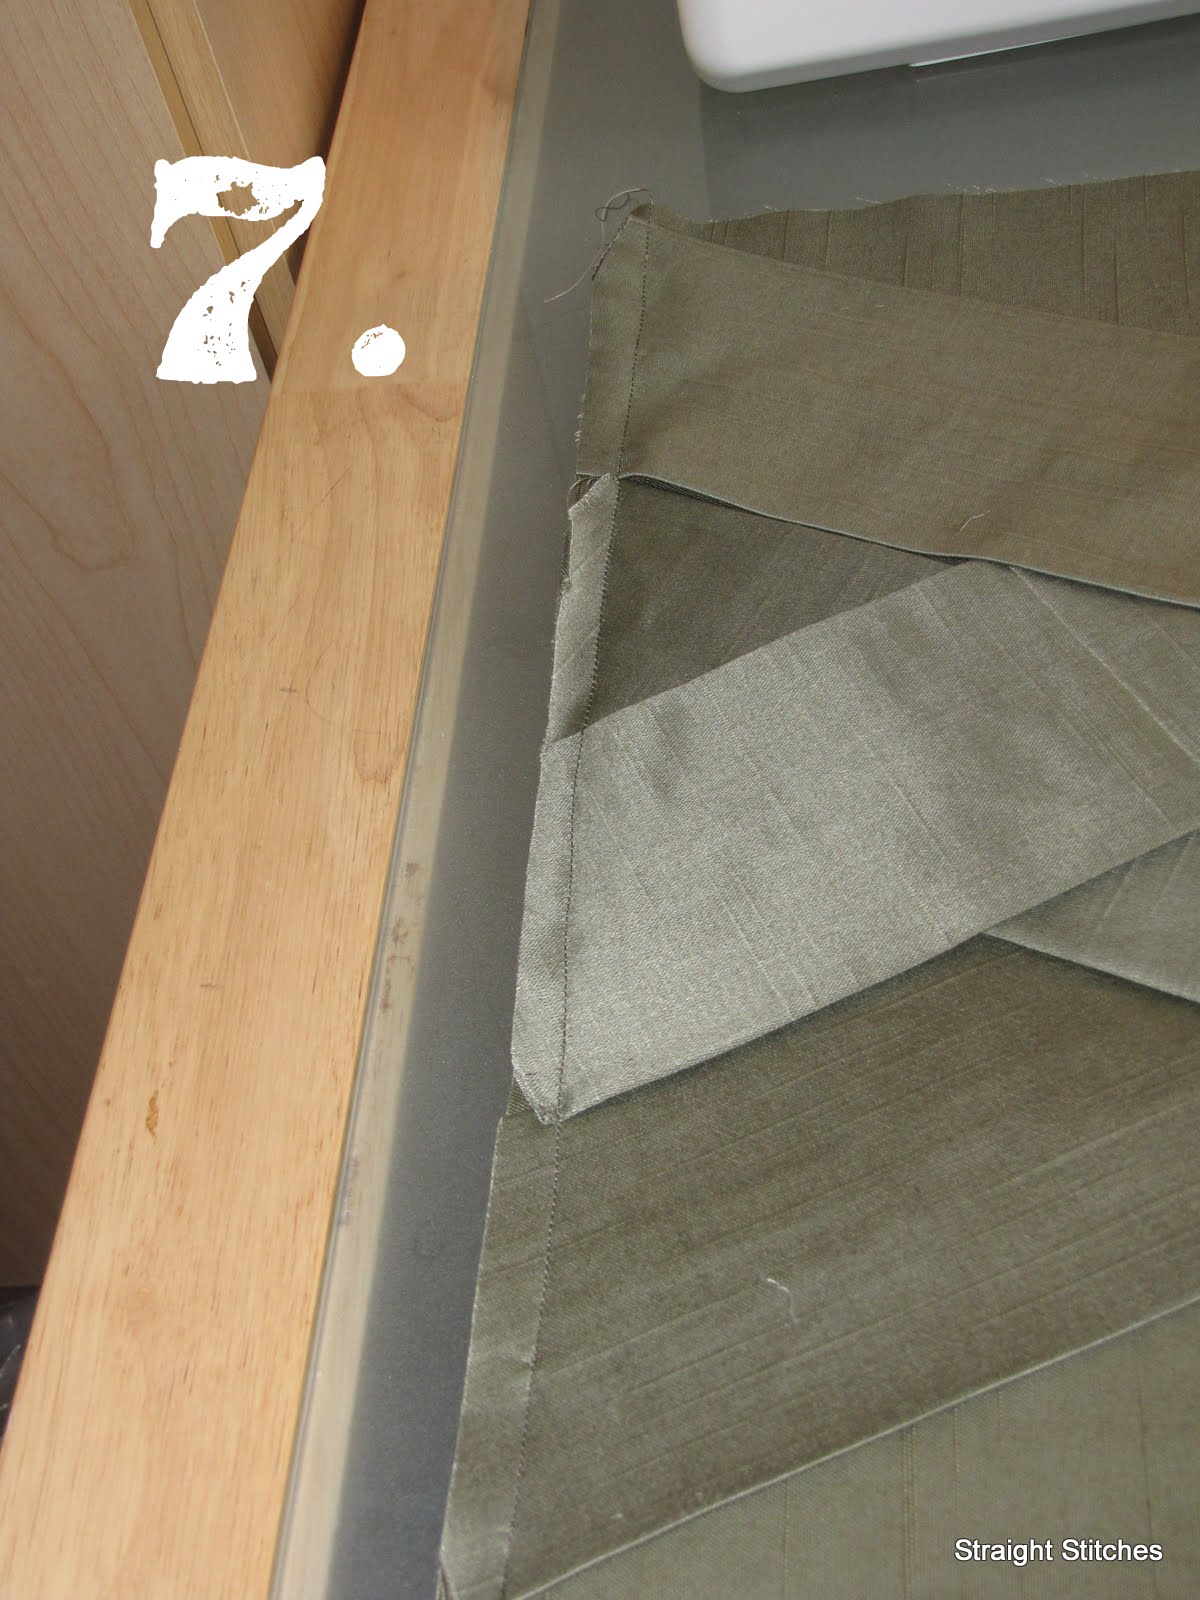
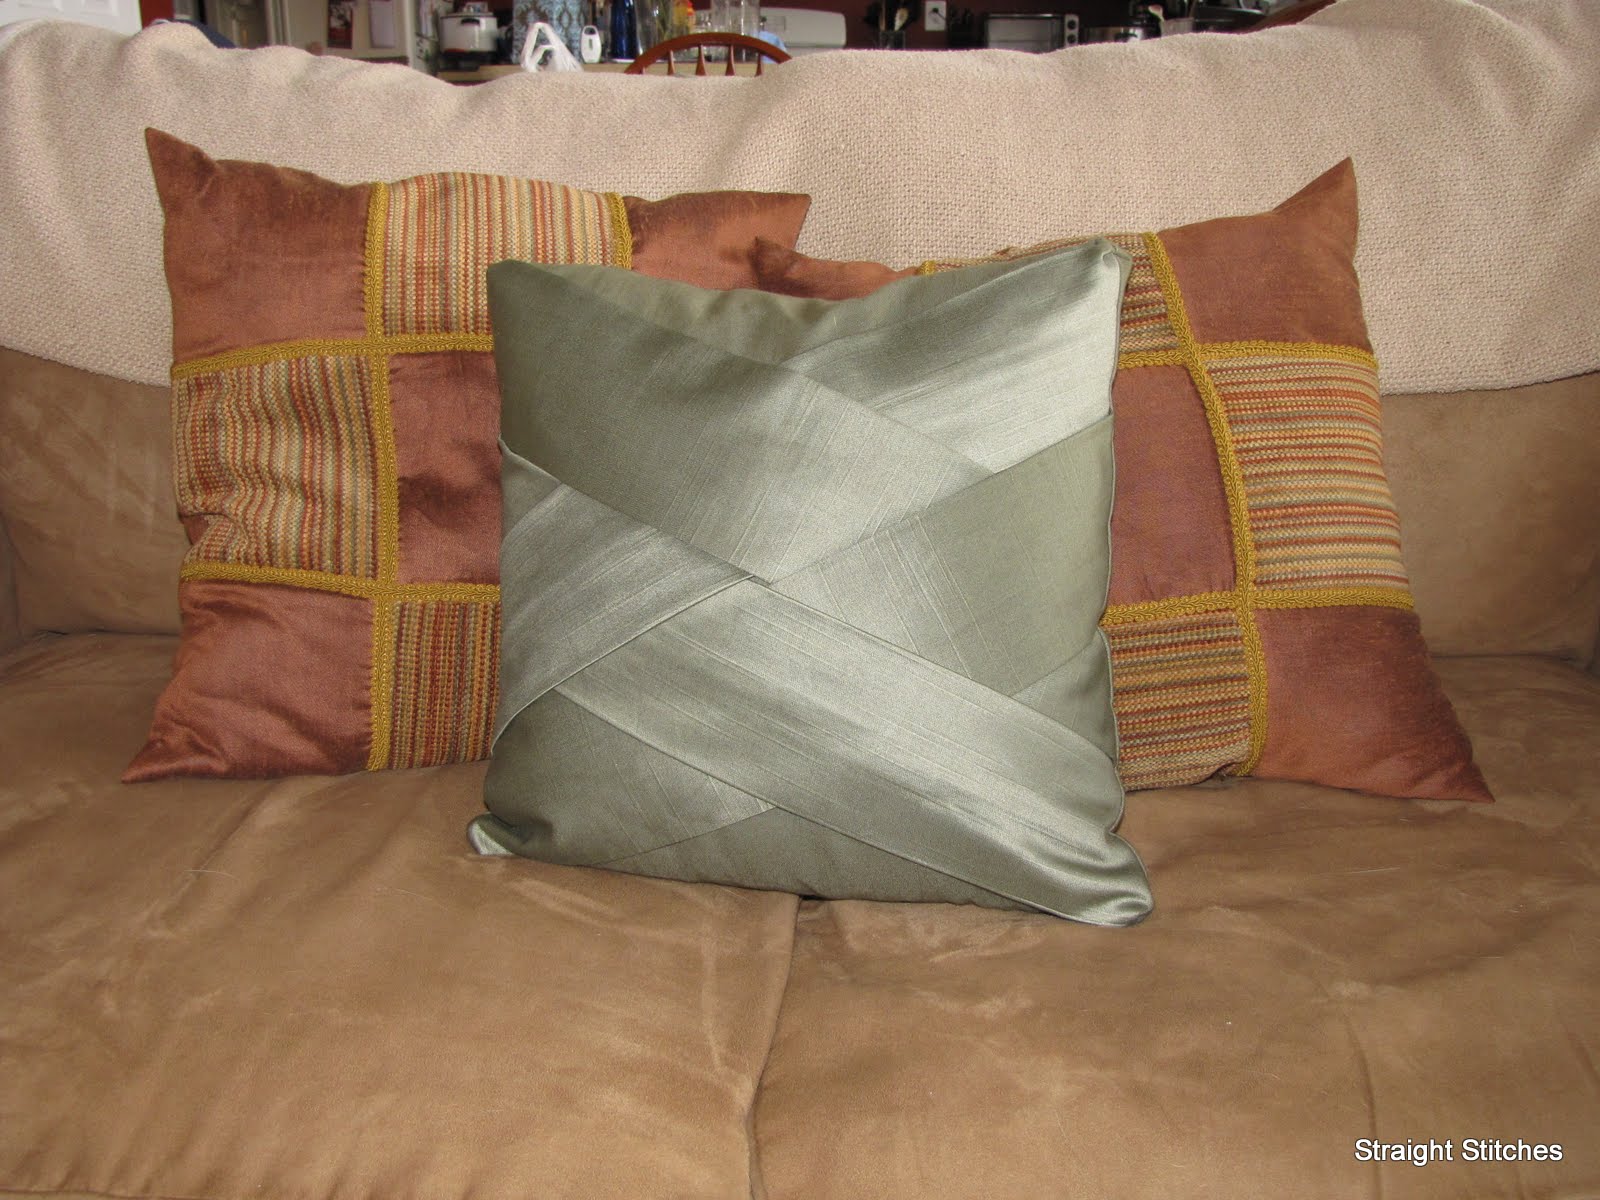
Weave the last rectangle as you did previously, but alternating which rectangles go over and under. Pin as you did previously. Ensure that each rectangle is butted up against one another, and that none of your edge rectangles extend into the lower seam allowance. If you need to overlap some rectangles, do so. You should end up with a braided pattern on the panel.
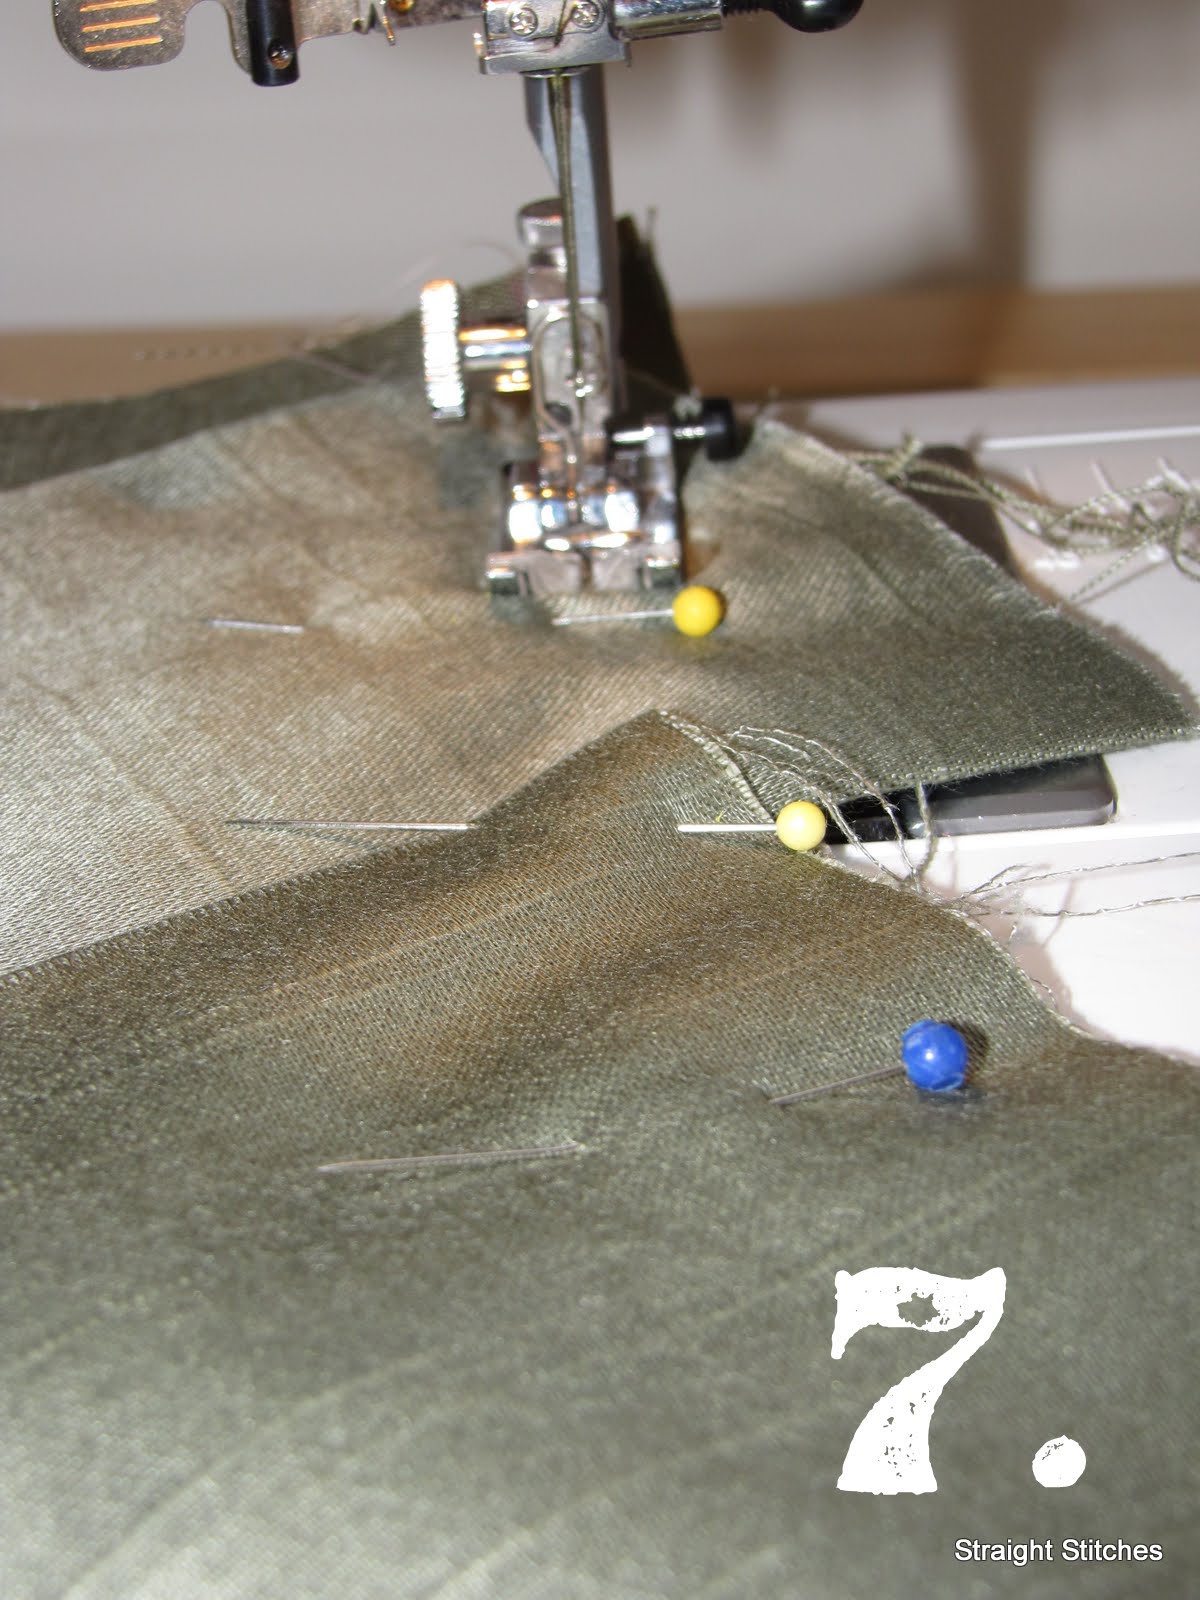
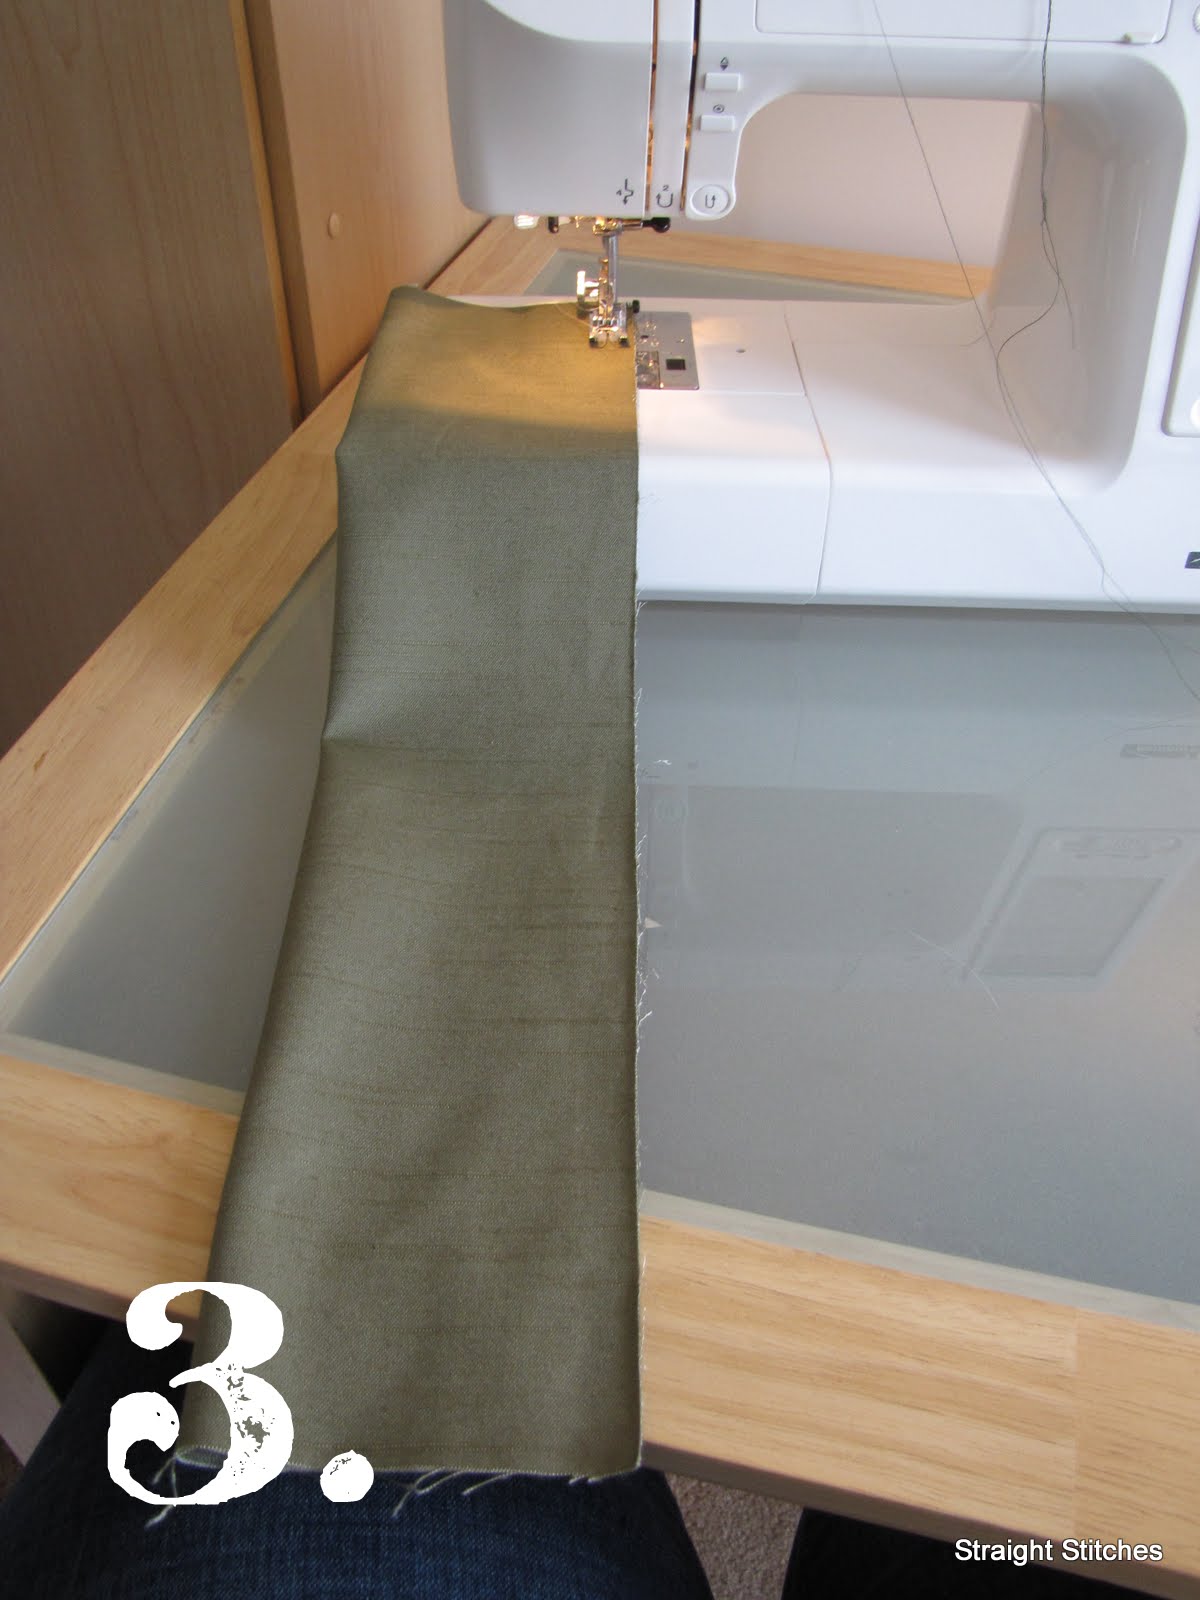
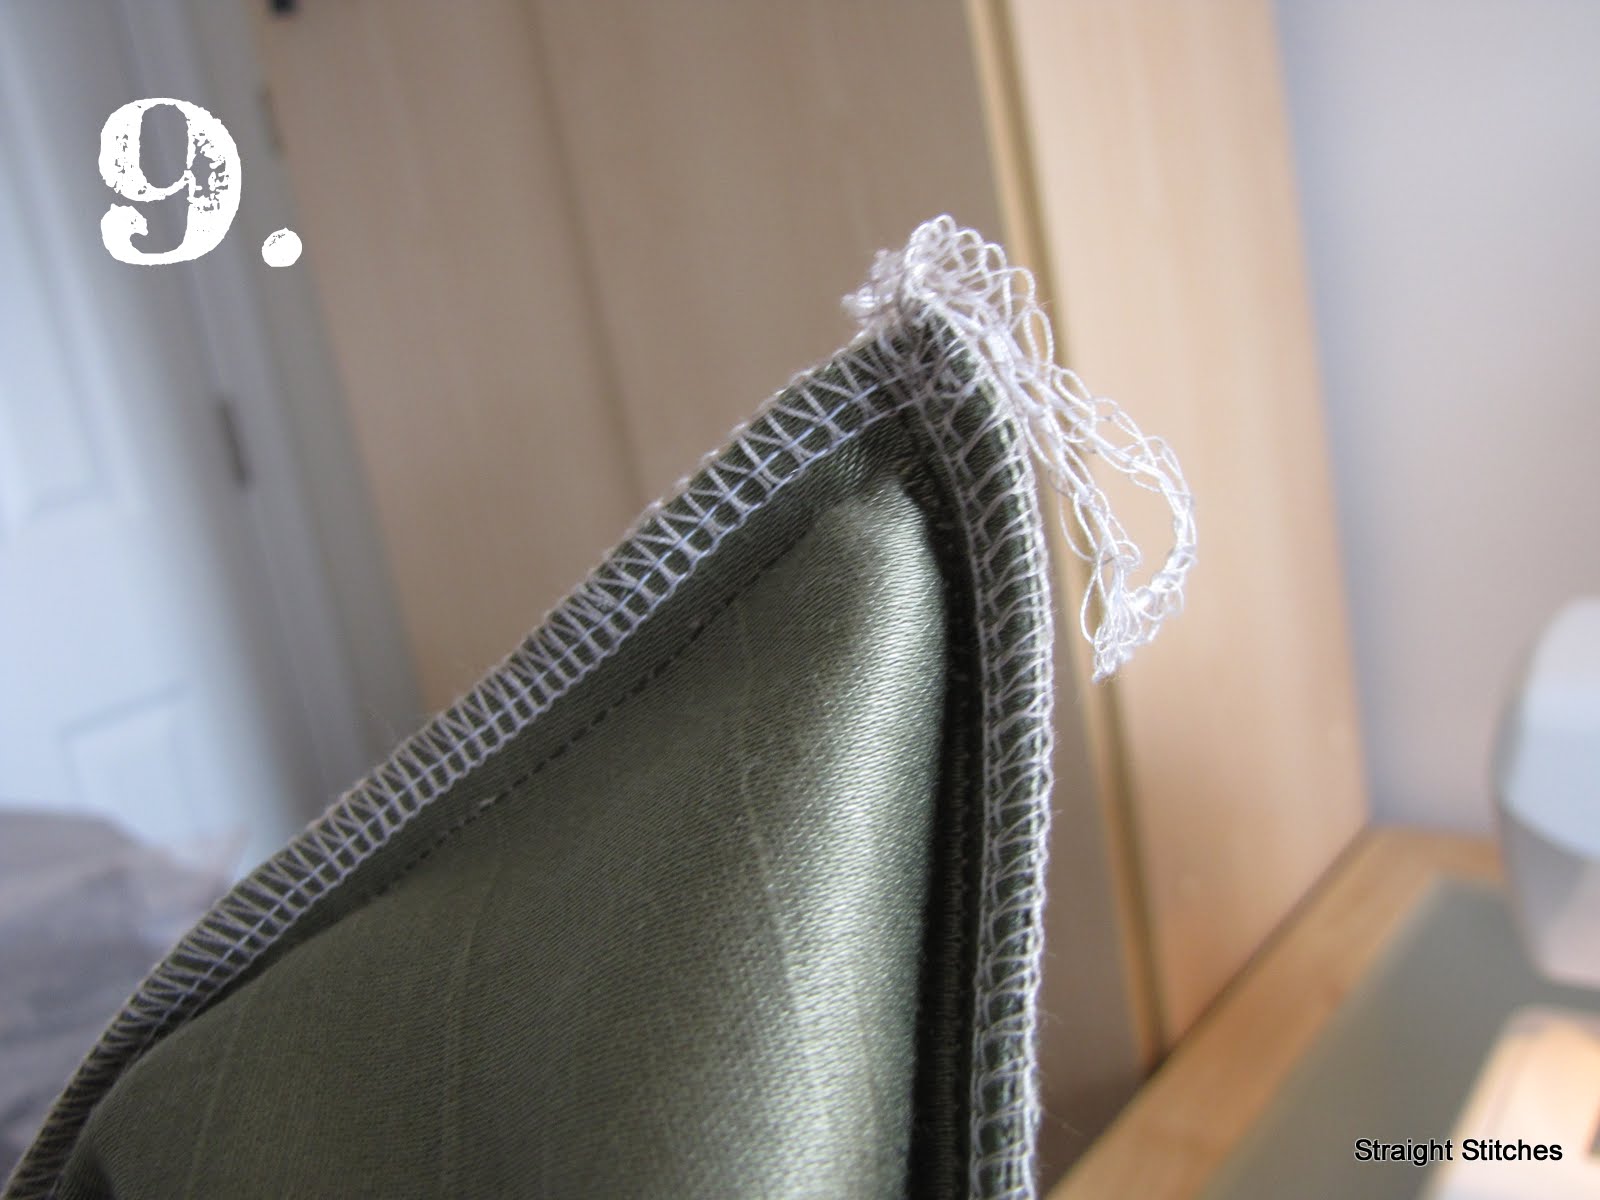
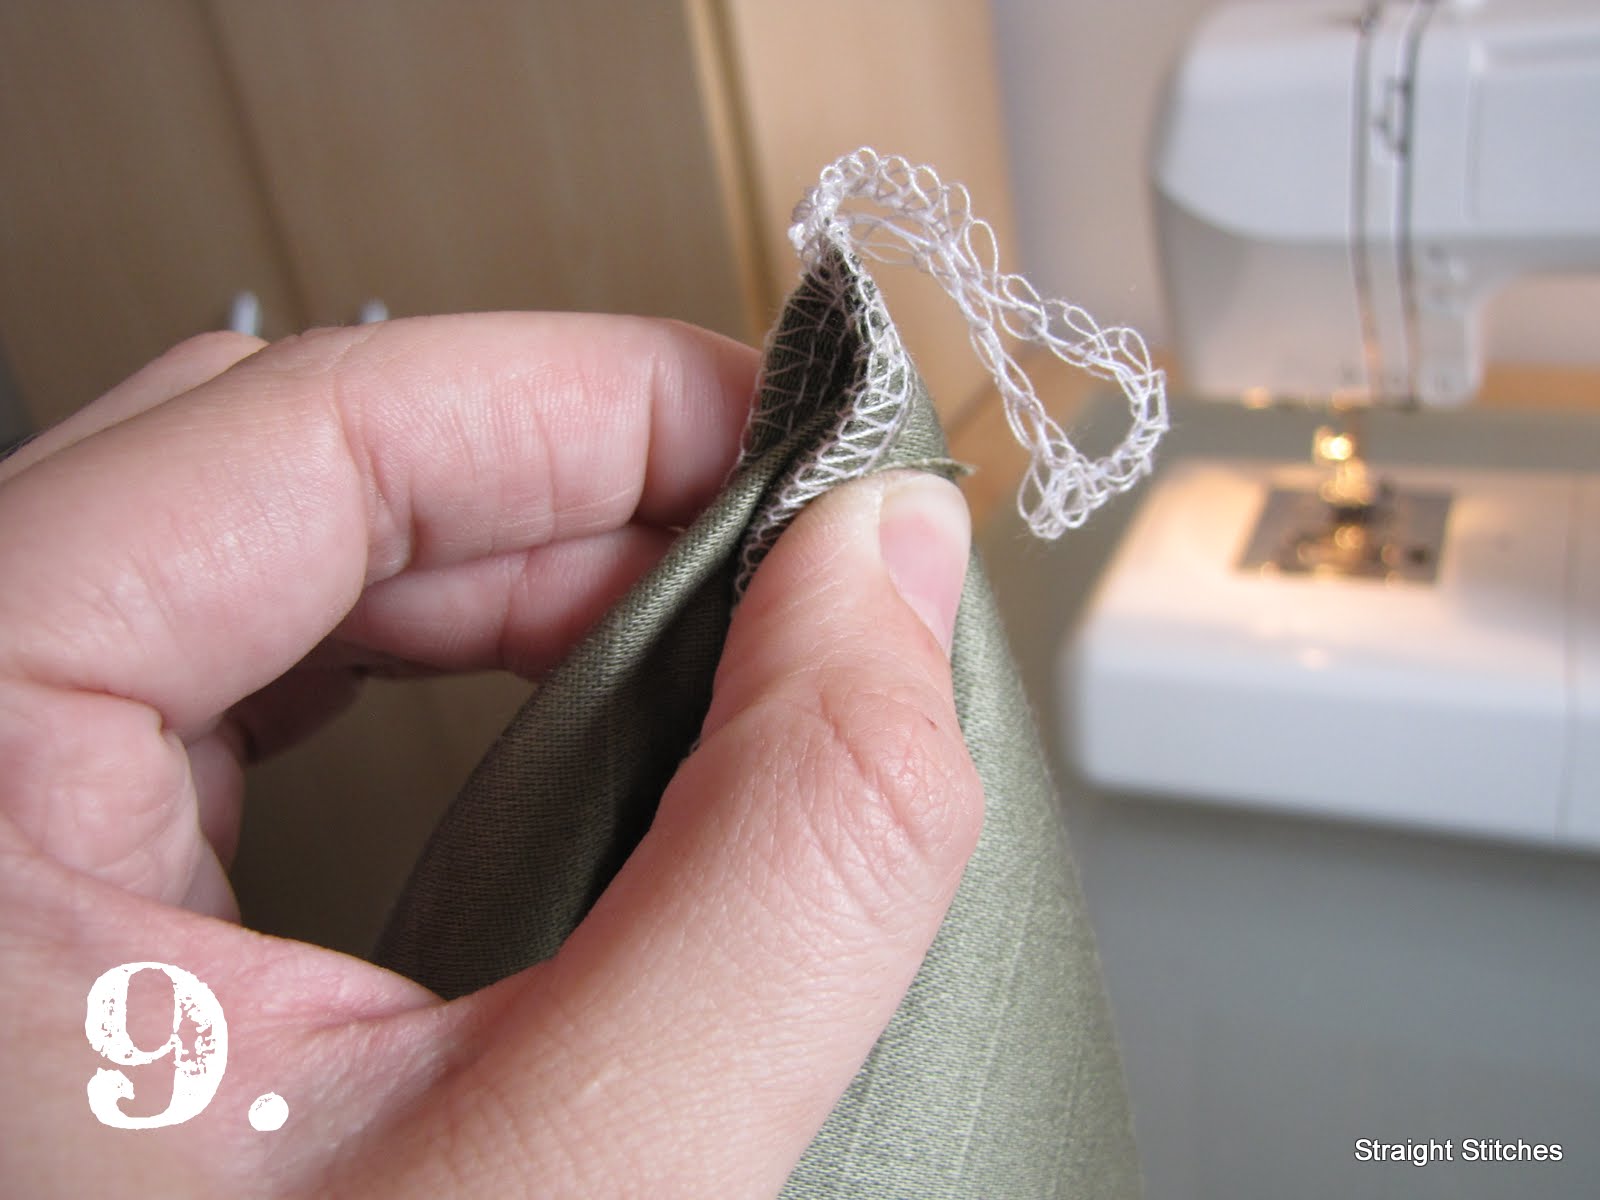
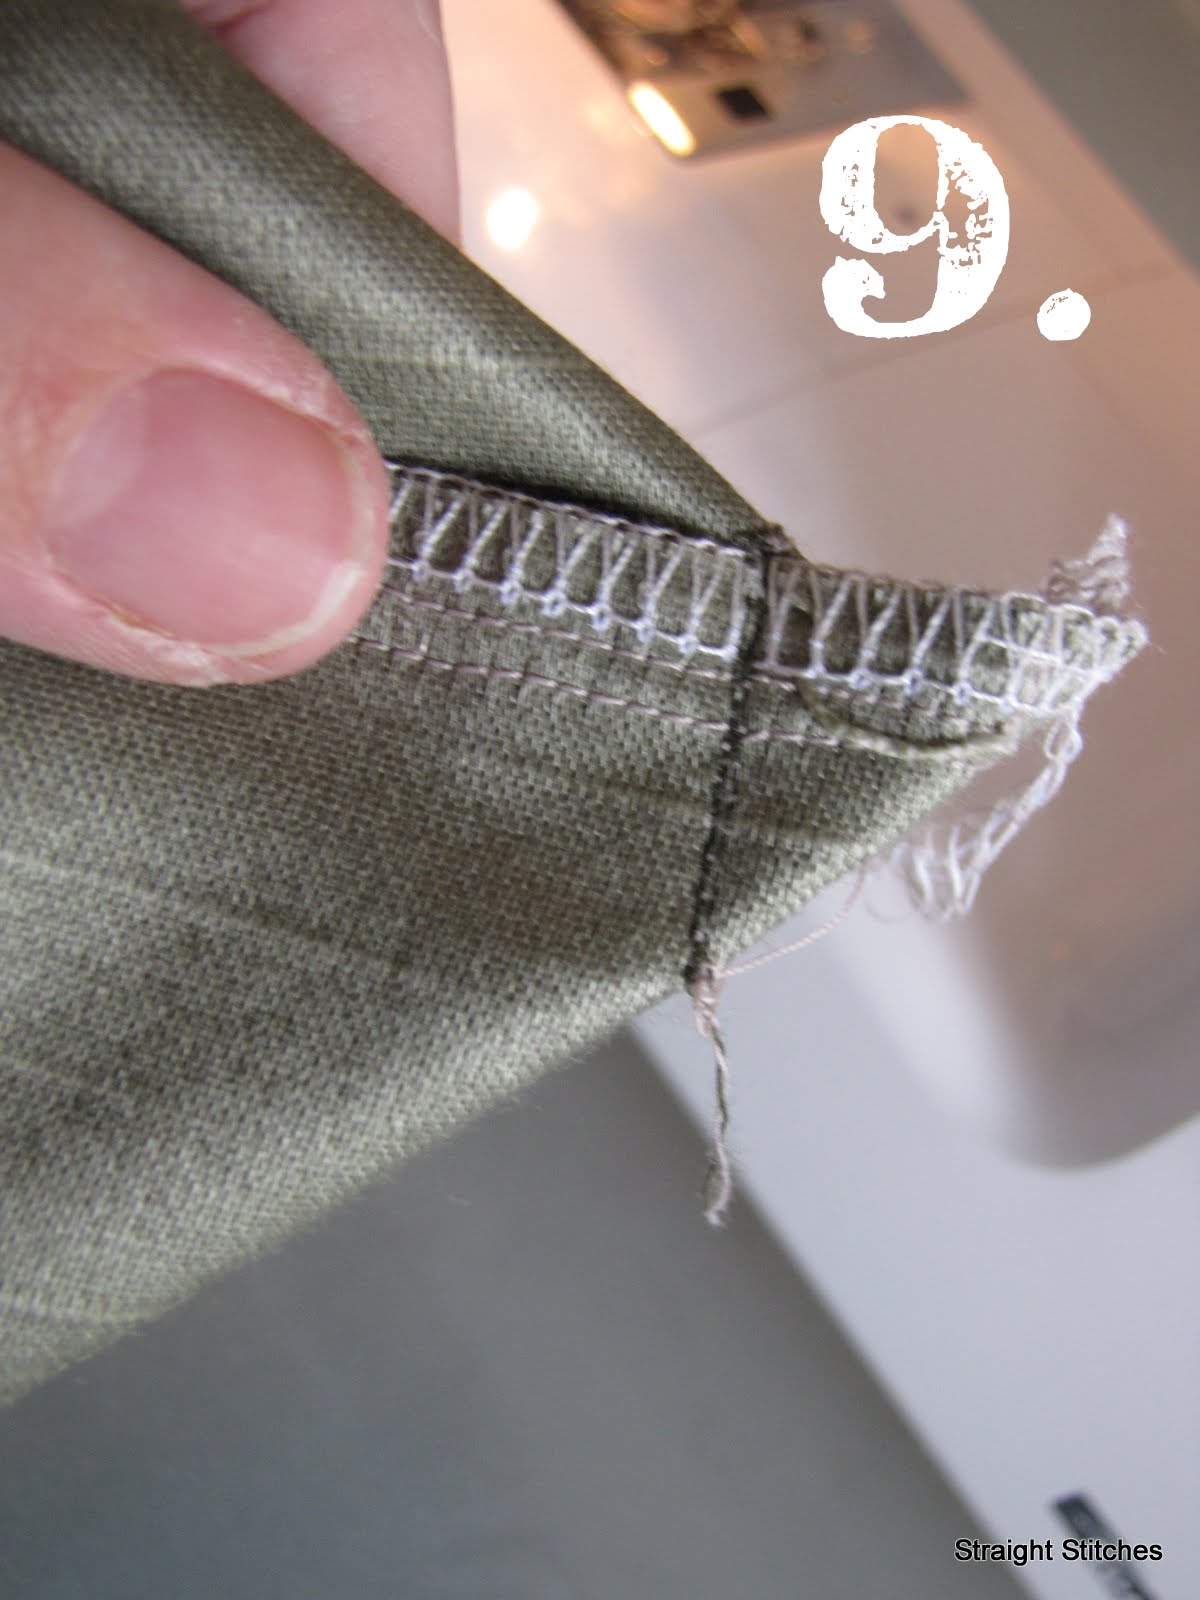
Pin the panels right-sides together, and stitch in a 5/8″ seam; making sure to leave an opening for turning.
Turn pillow right-side out. Make sure the braid is on the right side of the pillow, you should not be able to see the seams, if you do then flip the braid to the other side of the pillow. Stuff with the pillow form. Slip stitch the opening closed. Small, frequent stitches seem to handle wear and tear better.

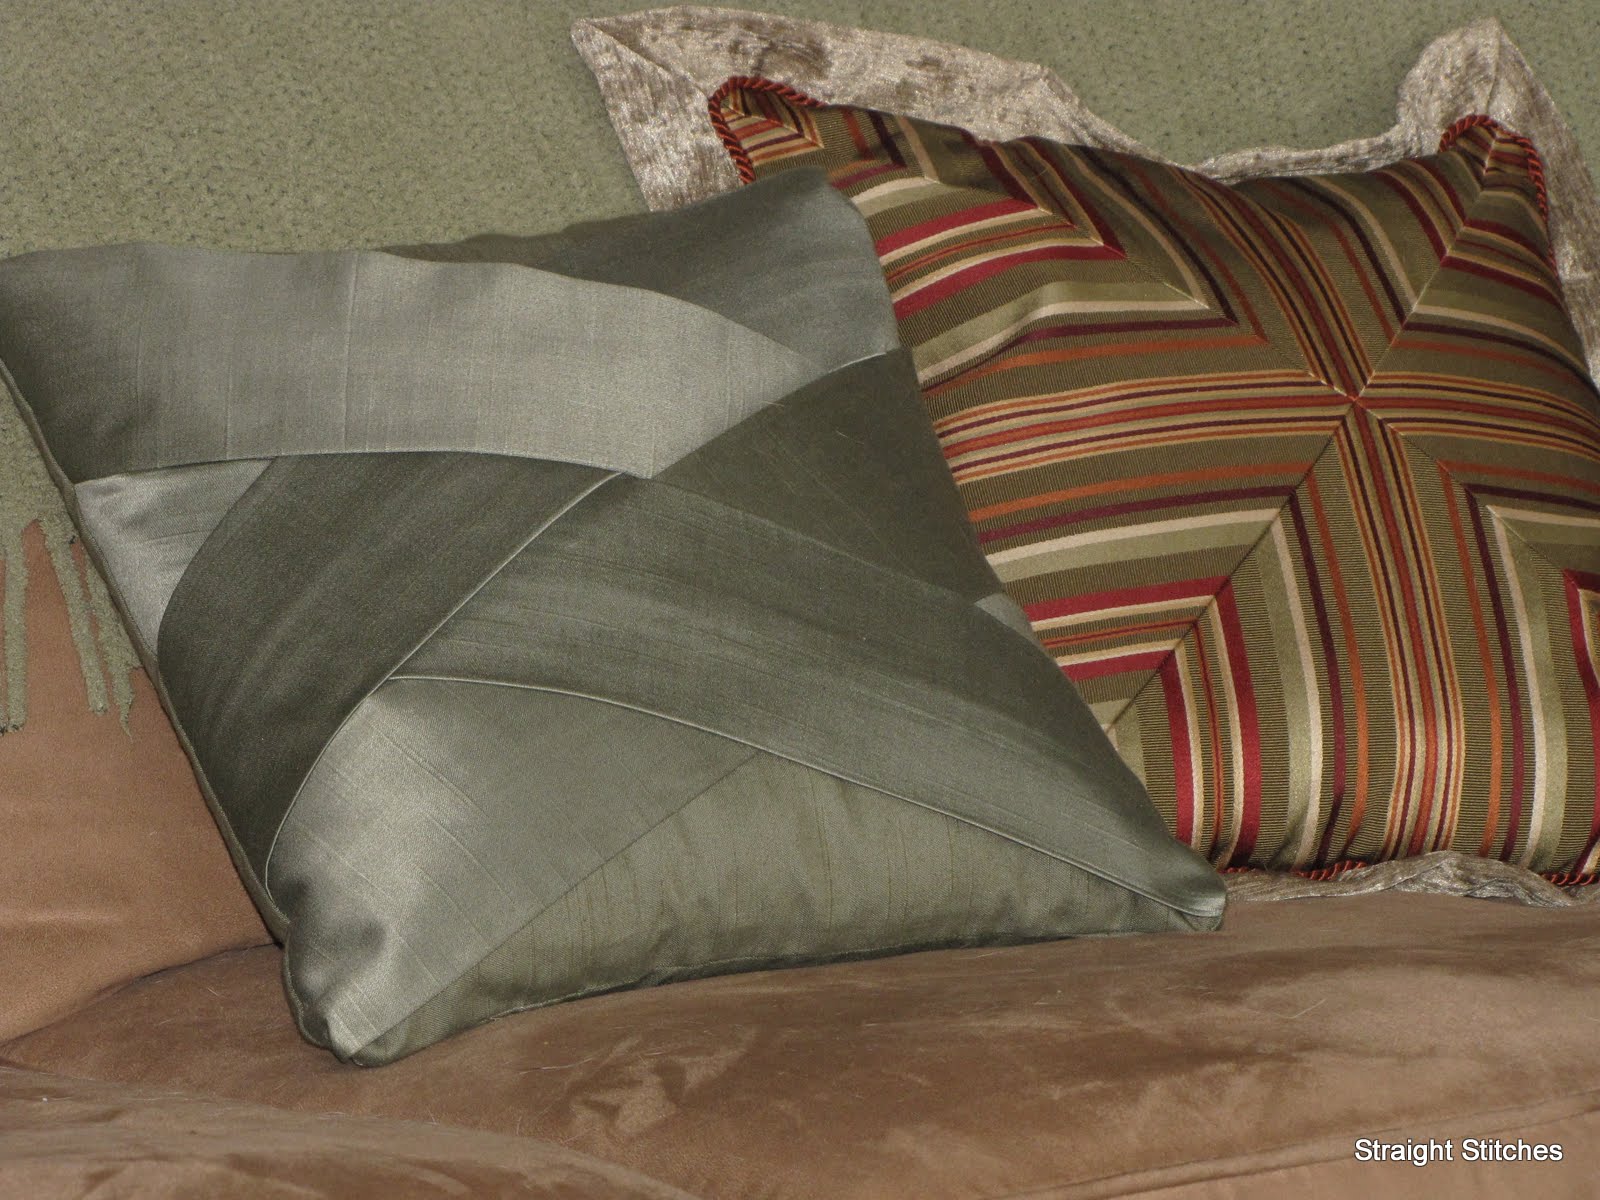
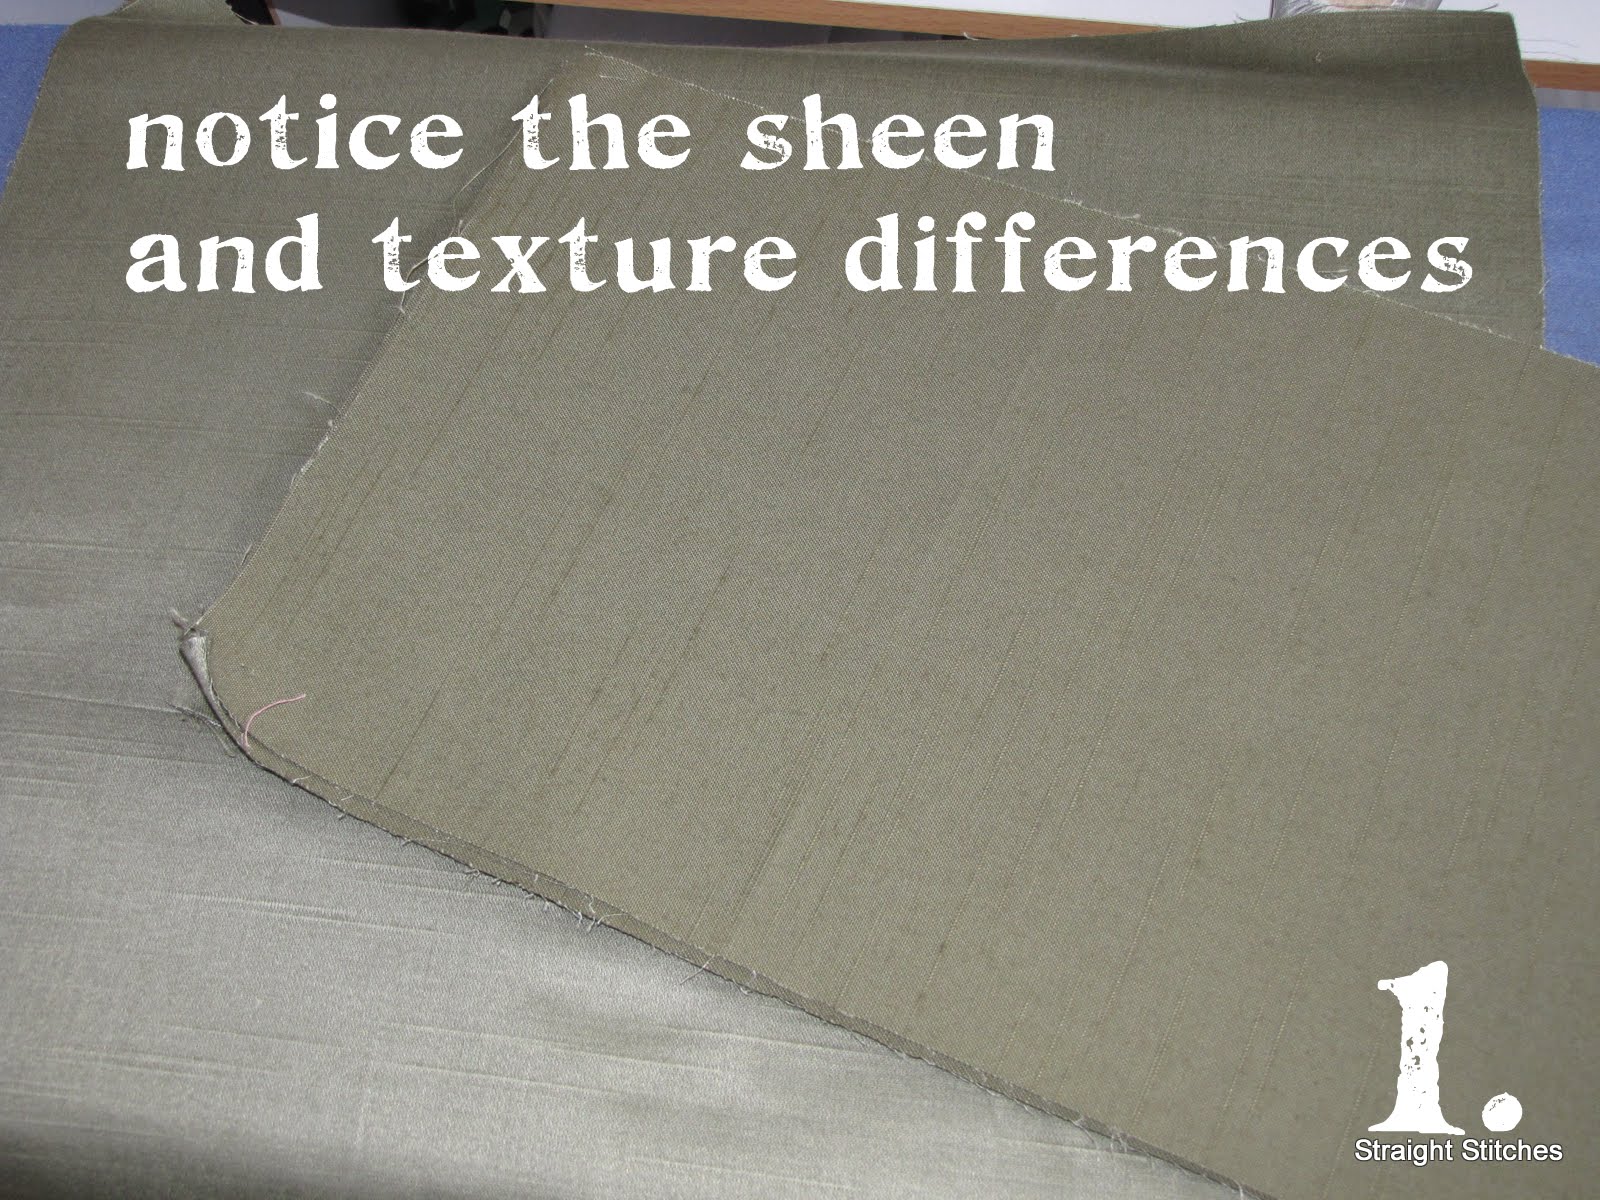
My fabric is a reversible mid-weight drapery polyester shantung, so for the panels I choose the nubby, dull side as my right side, and then for the rectangles I choose the sateen side with a smoother texture. I like the interest that it creates. Also, you’re probably wondering about the 5/8″ seam allowance. This is typically the standard seam allowance for clothing, however; I find that in pillows when you’ve made the seam allowance a 1/2″ your pillow form is a little loose in places (you can see this looseness in the typography pillow), and for this pillow I wanted it to be a little plumper. The extra 1/2″ that I gain in the seam allowances (a 1/2″ is the total gained from the increased seam allowances), tightens the panels around the pillow perfectly, IMO. You, of course, can still do a 1/2″ seam allowance. You may have also noticed that my rectangles did not extend that far off the panel, and that is because I only cut my rectangles to 20″ and that was cutting it close, which is why I’m telling you to cut them 22″ long. 🙂
Cassity Kmetzsch started Remodelaholic after graduating from Utah State University with a degree in Interior Design. Remodelaholic is the place to share her love for knocking out walls, and building everything back up again to not only add function but beauty to her home. Together with her husband Justin, they have remodeled 6 homes and are working on a seventh. She is a mother of four amazing girls. Making a house a home is her favorite hobby.


>That is such a pretty pillow…might have to try this one 🙂
>Darling! And it seems pretty simple to do…
>Beautiful pillow and the tutorial was wonderful!
>I am absolutely, positively going to try this. This weekend, in fact!
>Be au ti ful!!!!
>thank you so much for featuring this pillow! Its now found a happy home on our bed instead of being abused by the dogs and boys 🙂 You guys are in for a treat because right now I'm working on another variation of a braided pillow. 🙂