DIY Double Sliding Doors with Chalkboard
We have an amazing week jam-packed full of door tutorials and ideas next week (plus a link party for y’all), so consider today’s building plan from Amy a little sneak peek! Be sure to subscribe by RSS or email so that you don’t miss any of it!
Hi it’s Amy from Hertoolbelt back with another build plan. Sliding barn doors and chalkboards are a couple of the big trends in home decor, and have been for a while. So why not combine them? Someone did! These laundry room double sliding doors were found on Better Homes and Gardens featuring stylish and efficient laundry rooms. I love that the doors are dual purpose with the chalkboard message board and so fun. There are a variety of ways that you can make these doors, the following plans are one option.

image courtesy of Better Homes and Gardens
How to Build Double Sliding Chalkboard Doors

Materials
- 1 sheet (48″ x 96″) 3/4″ plywood/particle board/MDF (you want a smooth surface for the chalkboard paint.)
- 4 – 1″ x 6″ x 8′ board or primed MDF (actual 3/4″ x 5 1/2″)
- 6 – 1″ x 2″ x 8′ board (actual 3/4″ x 1 1/2″)
- Chalkboard paint
- 2 door handles
- Sliding door hangers (this picture uses box rail)
- 8′ Box Rail
- Box Rail Hanger Kits
- Box Rail Brackets
- 1 1/4″ brad nails
- wood glue
- wood filler
- sand paper
- paint and primer
- Approximate cost for the wood is $50, other material costs will vary depending on style.
Cut List
| Quantity | Thickness | Width | Length | Material |
| 2 | 3/4″ | 24″ | 82″* | 3/4″ particle board |
| 4 | 3/4″ | 5 1/2″ | 82″* | 1×6 pine or mdf |
| 4 | 3/4″ | 5 1/2″ | 13″ | 1×6 pine or mdf |
| 4 | 3/4″ | 1 1/2″ | 83 1/2″* | 1×2 pine with 45s |
| 2 | 3/4″ | 1 1/2″ | 25 1/2″ | 1×2 pine with 45s |
*Check the door height and width to make sure it fits your space, make adjustments as necessary.
Step 1
Cut the 3/4″ particle board in half the long way, making 2 pieces that are about 24″ x 96″ (it will probably be just under 24″.) You can prime and paint the boards with chalkboard paint now or wait until later.
Cut 4 pieces of 1 x 6 that are 82″ long, cut 4 pieces that are 13″ long. Use wood glue and 1 1/4″ brad nails to secure the boards to the plywood, you may have to slightly trim the 13″ board lengths if your width isn’t quite 24″. If you want a decorative edge on the inside, you can use a router to route the inside edge or add molding around the inside edge.

Step 2
Cut 4 of the 1×2’s to 83 1/2″ with 45 deg angle cuts on the ends. Cut 4 1×2’s that are 25 1/2″ with 45 deg angle cuts on the ends, trim the length to fit. Use wood glue and 1 1/4″ brad nails to secure the trim pieces in place.
 Step 3

Fill any cracks, holes or blemishes with wood filler and allow to dry. Sand the door smooth, finishing with 120-150 grit sand paper. Prime the door with paint primer and allow to dry, after the primer is dry, lightly sand the panel. Apply chalkboard paint with a foam roller, or as recommended on the label. Paint the rest of the door as desired and allow to dry. Add a door handle/cabinet pull to each door.
There are a variety of ways to hang your sliding doors. The doors in the BHG inspiration photo use a box rail and trolley system available at hardware stores and farm supply stores. The diagram below shows the doors with Axel Sliding barn door hardware. It really just depends on the look you are going for.

When you’re ready to write on your chalkboard doors, be sure to read these easy tips for great chalkboard art.
Be sure to pin this for later!

For more building plans, check out Her Toolbelt:
 |
 |
 |
Scroll Console Table // 7 Drawer Dresser // Accent Table
—————————————-
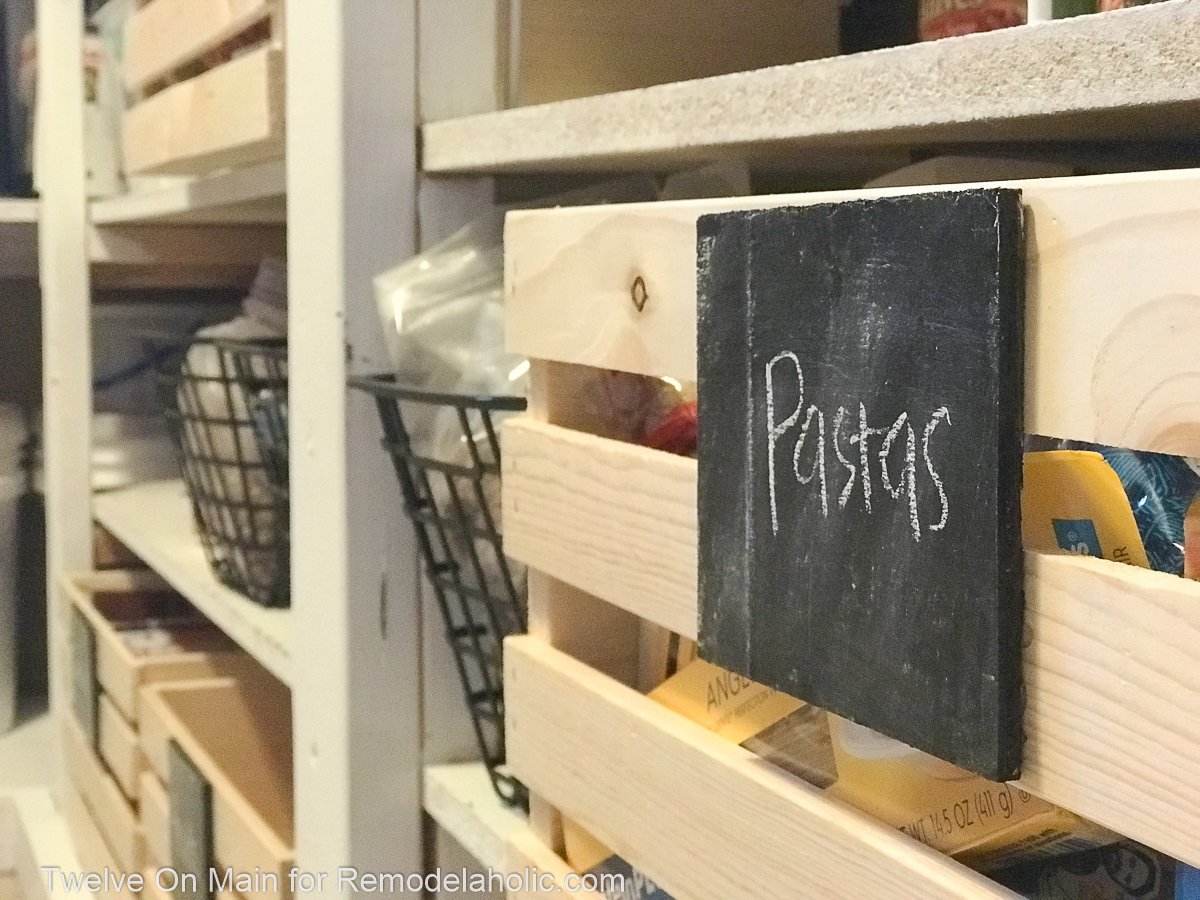
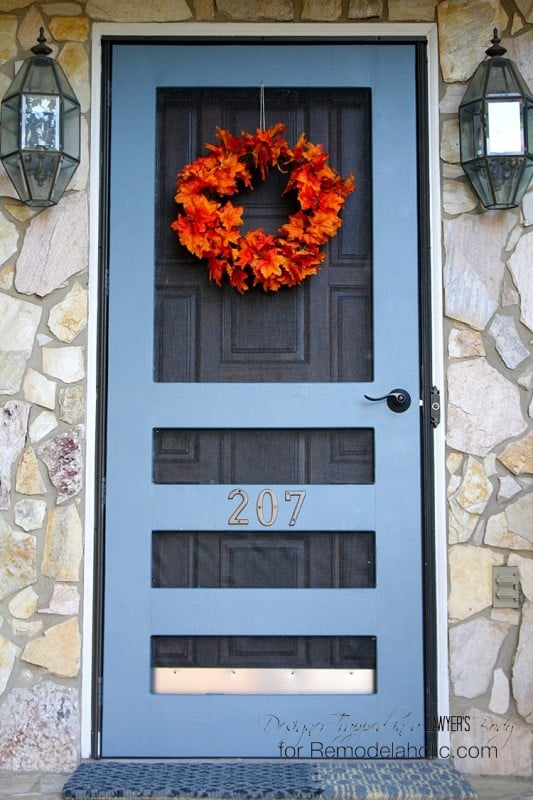
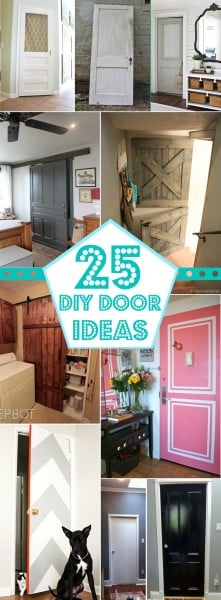
More DIY doors:

Amy is the tool lover at Hertoolbelt. On Hertoolbelt, Amy shares DIY furniture plans, handyman tutorials, and craft patterns. She has three pint sized 'helpers' that help fix things around the house and build fun projects.