How to Build an Easy DIY Tiered Spice Organizer Rack
This DIY tiered spice organizer rack is easy to build with a scrap of 2×4 wood. Customize it to your cabinet or cupboard space to keep all your spice jars stacked and visible and easy to grab. This full tutorial will show you how to make an easy spice rack.
You’ll also love organizing your drawers with custom drawer organizers and labeling all your spices and pantry items with these pretty labels.

Easy DIY Tiered Spice Organizer Rack
Hi, it’s Amy from Hertoolbelt back with another DIY build for your home.
My pantry shelves are in need of some major organizing, my spice and herb bottles in particular.
I used to have this cool hanging gadget that was a carousel for the spice bottles. It was nice and kept the spices off of the shelf and saved room, but was a little tedious waiting for the spice bottles to make the rounds.

However the motor died and I had to have all of the spice bottles sitting on the shelf, which ended up being a mess.
Instead of replacing the gadget, I built a cheap and easy tiered spice rack.
This tiered spice organizer rack is made from a simple $3 2×4 board and a few screws. You can build it in less than 30 minutes + paint dry time.
It is a great solution to get those spices organized and visual and easy to grab.

I made two versions of the spice rack.
The first is a 3 tiered spice rack that holds the small spice bottles great. Note: my pantry shelves are 11″ high.

The second version is for a 2 tiered spice rack that I can keep my club store (Costco/Sam’s) sized spice bottles behind the rack and still access them.

I’m using this spice organizer in my pantry, but you can also use it in a cabinet or on the counter — just adjust the length for your cabinet width.
See more: DIY Mini Mason Jar Spice Rack
This post contains affiliate links. Learn more and read our full disclosure policy here.
How to Build a Tiered Spice Rack Tutorial
Watch this video and PLEASE give us a thumbs up!

Click here to get a free printable version of this building plan
Materials
- 1 – 2″ x 4″ x 8′ board (or scrap wood for the best value!)
- 7 – 2 1/2″ wood screws
- wood glue
- sandpaper
- paint
- Approximate lumber cost is $3!
Tools Used
- Miter Saw
- Drill and bit for the screws
- Sander
- Countersink bit
** Before cutting any wood. Measure and decide the length of rack that you want for your space. For this example I used 24″. Adjust the board lengths accordingly. **
Step 1 – Cut the boards
3 Level Tiered Spice Rack
- 3 – 1 1/2″ x 3 1/2″ x 24″ pieces of 2×4 (note the 2×4 actually measures 1 1/2″ x 3 1/2″)
- 1 – 1 1/2″ x 3 1/2″ x 3″ piece of 2×4
2 Level Tiered Spice Rack
- 2 – 1 1/2″ x 3 1/2″ x 24″ pieces of 2×4 (note the 2×4 actually measures 1 1/2″ x 3 1/2″)
- 1 – 1 1/2″ x 3 1/2″ x 1 1/2″ piece of 2×4
Step 2 – Sand the boards
It is easiest to sand the boards before assembly. Sand the 2×4’s with 80 grit sandpaper until smooth. If painting the rack I will usually stop at 80 grit paper. If staining the wood then I will do a finish sanding with 120-180 grit sandpaper, sanding with direction of the grain.
Step 3 – Drill holes
3 level tiered spice rack drill holes in 2 boards. 2 level tiered spice rack drill holes in 1 board.
On the boards measure and mark in from one long edge about 3/4″ in 3 places evenly spaced. Use a countersink drill bit to pre-drill holes for the screws.

Step 4 – Assemble the spice rack
3 Tier
- Turn all of the boards so the bottom side is up (countersink hole side). On the 24″ boards, measure and mark 2″ from a long edge. Take the board without holes drilled and place one of the boards with holes on it and line up with the 2″ marks.
- Apply wood glue where the 2nd board will be attached and use 2 1/2″ screws to secure the 2nd board to the first.
- Place the 3rd board on the 2nd board and line up with the 2″ marks. Apply wood glue and secure the 3rd board to the 2nd board with 2 1/2″ screws.
- Drill a hole in the 3″ support piece about 3/4″ from the bottom. Use wood glue and a 2 1/2″ screw to secure it to the center of the second board as shown.

2 Tier
- Turn all of the boards so the bottom side is up (countersink hole side). On the board without holes, measure and mark 2″ from a long edge. Place the board with holes on top and line up with the 2″ marks.
- Apply wood glue where the 2nd board will be attached and use 2 1/2″ screws to secure the 2nd board to the first.
- Drill a hole in the support piece about 3/4″ from the bottom. Use wood glue and a 2 1/2″ screw to secure it to the center of the second board as shown.

Step 5 – Paint spice rack (optional)
This is totally an optional step. I applied 2 coats of Behr pure white latex paint to the tiered spice rack and let it dry fully. To label my spice bottles, I used a Brother label maker with black on clear tape, since it is easier to find clearly labeled jars.
Step 6 – Installation
Simply place it on your shelf inside your newly organized pantry or inside a kitchen cabinet. The convenience will make searching for spices when making your favorite recipe a breeze! An easy peasy way to organize those spices, super durable, without taking up a lot of space or storage space.
FUN IDEA: Use a couple sticker hooks inside the cabinet door (or on the wall beside the bottles in the pantry) to hang a set or two of measuring spoons for fast access when cooking!

3 Tier spice rack with spice bottles.
The 2 tier wood spice rack riser leaves room to access large club sized bottles in the back and is which is an easy diy project.

Question and Answers:
How do I organize a large spice collection?
Large upper cabinets seem to swallow small spice bottles, never to be seen again! However, this tiered rack helps your spices not to get lost. Follow the building instructions above. Minimal tools and skills are needed for this great organizational project.
Ideas for how to organize your tiered spice rack?
There are a several ways to organize your new spice rack. Here are a few ideas.
- Buy a standard spice bottle these can be either bpa free platic or a glass bottle version if you prefer. I like the smooth lid on this particular bottle, which makes it easy to label. This way you can label the side od the bottle lid with the name of the spice. When you place the bottles on the tiered rack you will able to see the spice label quickly and easily.
- If you have large spice canisters, Amy recommends a 2 tier unit, omitting the top shelf, that way you can then stack large canisters behind the tiered shelf and see them all easily.
- Keep your most-used spices like garlic and onion powder on the bottom shelf at the front of the cabinet for fast use. Whatever you use most often front and center.
- Organize your spices alphabetically so you can find them at a glance!
- Smallest bottles in front and largest in back.
More easy pantry organization and storage solutions:
We have so many great Spice storage ideas on our blog that we would love for you to check out. Here are some of our favorite DIY’s and purchased!
- Small kitchen not a lot of cabinet space? Try this on the countertop spice rack organizer
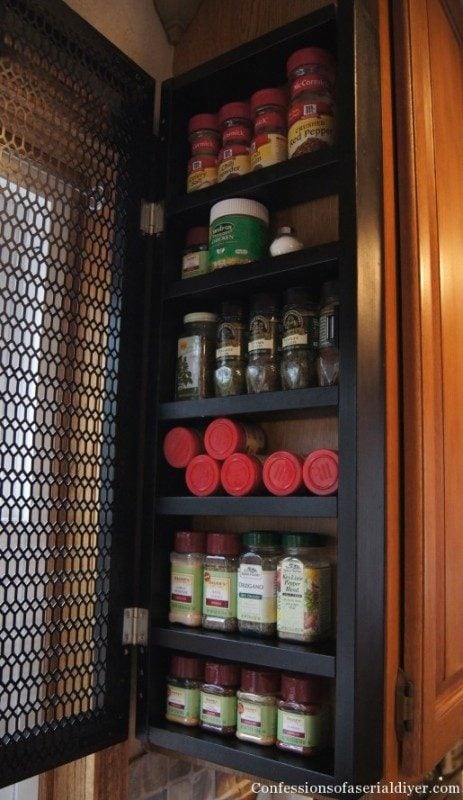
- If you have a small Spice collection I love the wall mount test tube spice rack from Amazon.
- If you just want to clean up the look of your spices and make them more uniform, why not upcycle baby food jars.
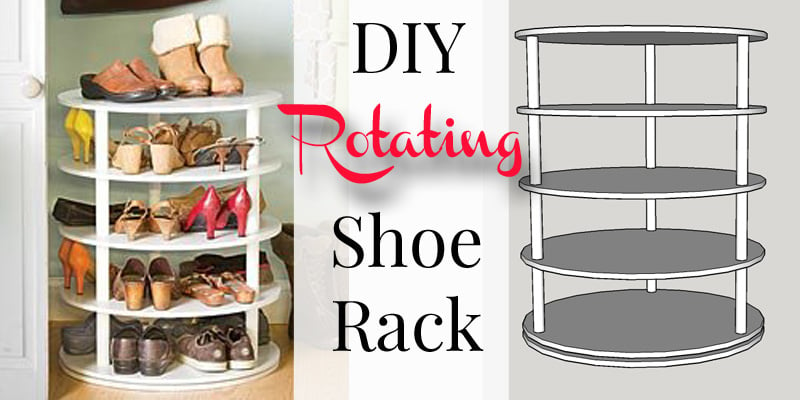
- I love a good Lazy Susan option and this one from Walmart is super affordable and could be used for so many other organizing projects as well.
- Why not go for a vintage look with a coca-cola crate spice rack.
- A wall mount magnetic spice rack is also a simple beautiful option.
For more build plans check out Hertoolbelt:


Amy is the tool lover at Hertoolbelt. On Hertoolbelt, Amy shares DIY furniture plans, handyman tutorials, and craft patterns. She has three pint sized 'helpers' that help fix things around the house and build fun projects.


Looked in my cabinet and what did I see? Messy spices bothering me.
Opened my email 5 minutes later and found a tutorial that couldn’t be greater!!
What a great way to start my day! Thanks!!
Thanks, Marilyn — your cute rhyme made me smile! (Is it sad I couldn’t even think of a rhyme in return? 🙂
We’d love to see pictures when you’re done! https://www.remodelaholic.com/share-brag-post/
Nice idea, and I love it. Thanks!
Love the spice rack build.
A friend of mine is looking for that exact spice hanging gadget “rak” pictured in your post. I guess their mom used to have one and they are trying to track one down for themselves.
If you’d be so inclined, would you please share any information as to the maker of the device or any other information you might readily know about it.
Please and thank you. Either way, I appreciate you taking the time to share the DIY encouragement that you do on your site. Cheers.
Hi Cassity! Thanks for the great idea! I used your design and adapted it to make a slight arena shape for my really funky cabinet. We have so many bottles I needed two 2×4’s!
https://i.pinimg.com/originals/51/01/40/51014077f5f1e85134b4bace9f7ca567.jpg
Very nice! Thanks for sharing.