Build a House Number Sign and Planter Box
Even though it’s the middle of winter (unless you’re a Southern Hemisphere dweller, in which case, hello and I hope you’re enjoying the summer!) — it’s always a good time to think about curb appeal and updates you can make to your home exterior. Sometimes better to think about them during the winter so you can have a really good game plan for what you want to do come spring! 🙂 I really like this house number sign — plus planter box! — that Barb is here to share today. It’s a simple design that gets the job done in style and could easily be adapted for a smaller area, or for use in a backyard with a family name, old window, or something else creative in the center. Here’s Barb to tell you all about it!

DIY House Number Sign and Planter Box
by Barb of Second Chance to Dream
Hi all you Remodelaholic followers out there. I’m Barb Camp and I blog at Second Chance to Dream where I focus on being creative and living fully alive. I love to create and re-purpose things and you can almost always find evidence of that process inside my home, aka some kind of mess.
I’m excited to share with you my House Number Sign that my hubby and I made.

This was the entrance to our driveway which is really boring. We wanted something that would really stand out! I was visiting Pinterest and I ran across this sign here and fell in love. This was the perfect project for our entrance.

I’m going to show you a step by step tutorial on how my hubby built it.
This post contains some affiliate links for your convenience. Click here to read our full disclosure policy.
Here are the supplies that you will need:


We then laid everything out to get the window box at the height we wanted it to be at.


Thank you so much for stopping by, Barb! What a lovely sight to come home to!
We hope you’re enjoying all of our awesome holiday guests! Subscribe to follow us by RSS or email so you don’t miss a single one!
You can also follow along on social media: Facebook | Instagram | Google+ | Twitter | Pinterest
More home exterior updates to increase your curb appeal:
Use gel stain on vinyl shutters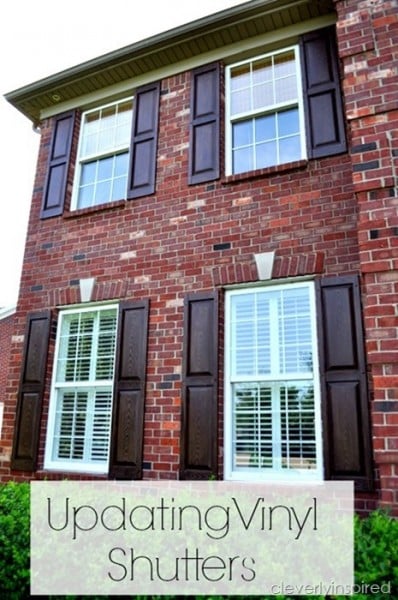
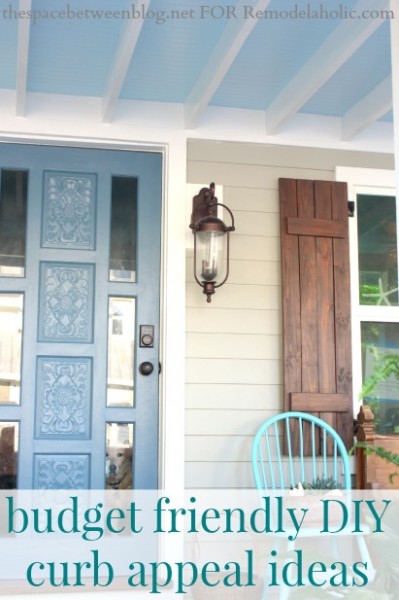
Update your front door and hardware
plus budget-friendly curb appeal ideas
and 25 more ideas to make your home exterior inviting and lovely!

Lorene has been behind the scenes here at Remodelaholic for more than a decade! She believes that planning projects and actually completing them are two different hobbies, but that doesn't stop her from planning at least a dozen projects at any given time. She spends her free time creating memories with her husband and 5 kids, traveling as far as she can afford, and partaking of books in any form available.


Thank you so much for featuing my House Number Sign!!! Have a great day!
Thank you for being our guest, Barb!
Barb’s blog site is great. If y’all have stopped by to check it out, it is well worth your time. Thank you for featuring her project on your fun site.
I agree, Patricia — Barb is great! Thanks for commenting!
Thank you so much Patricia, you are so kind!! I really appreciate your support.
What a fabulous idea and gorgeous execution, love it!
Thank you Teresa! I do love the scenery pulling up to my house.
You could probably make it more personal by instead of ripping the top 1″x6″, just leave the board a whole 6″s & just cut to length and adding your family name in a contrasting color (obviously black, if you are painting your sign white) up there on the top board.
What a great idea! Thanks for sharing.