Build A Swedish Mora Clock: Part Two
Okay, so you have seen the amazing Swedish clock reveal yesterday you saw part one and know how to start building the clock, I will show you how to finish cutting the moldings, sanding, painting and mounting the Swedish clock to the wall.
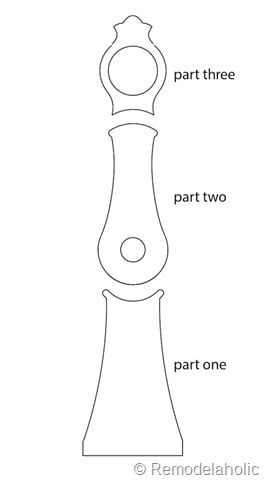
So because of the size of the clock, in order to cut it properly, I had to cut it up into three parts. This made it a lot easier the handle with the band saw. Each part weighs about 20 to 30 lbs because of the 2×6’s. The diagram below illustrates where I decided to make the cuts. I chose areas that would be easy to cover up with the molding and hide the joints. Dividing it up into parts also helped with shaping the sides around the molding ends too
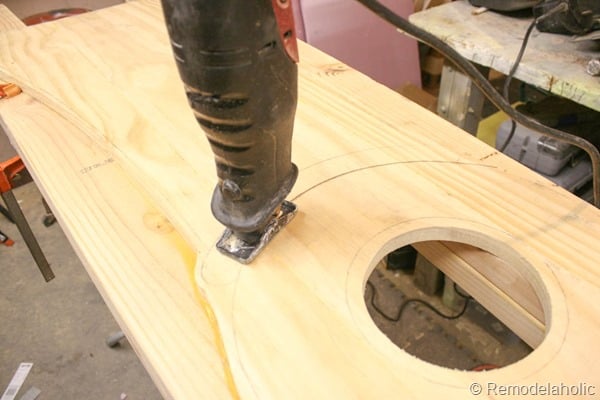
So at this point you need to cut the clock into three parts. I used the reciprocating saw here to cut through the 4” of wood. It was the best tool because of the long blade options it has.
*Tip* Make sure to keep the blade perpendicular to the cut as much as you can. The blade tends to twist when cutting on a curve.
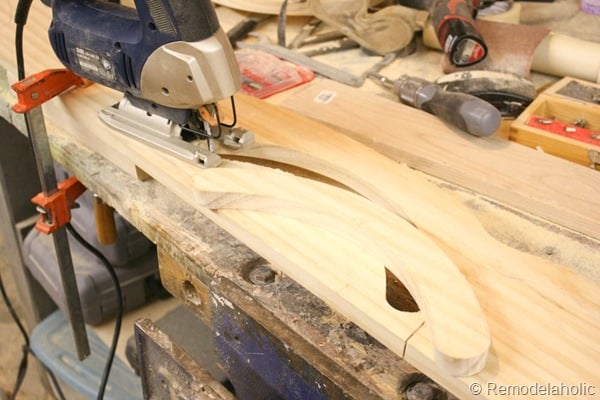
Once the three parts are divided, you can start your final cuts with the band saw, leaving 1/16″ of an inch for sanding after. Before cutting, first make some relief cuts for cutting out curves. *A relief cut is made perpendicular to the cut edge, but not past the pattern line! They allow the wood to break away and relieve tension on the blade as you turn the wood around a cut. Leave about a 1/16” to an 1/8” of wood from the pattern line. This amount will be sanded down once all the profile cutting is done.
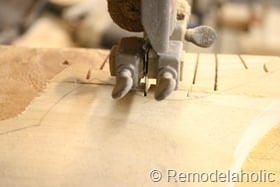
relief cutting |
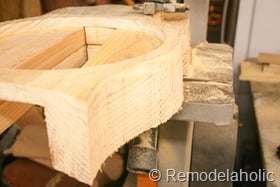
profile cutting |
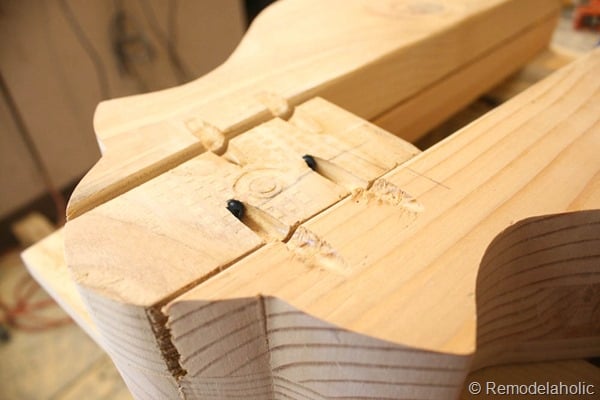
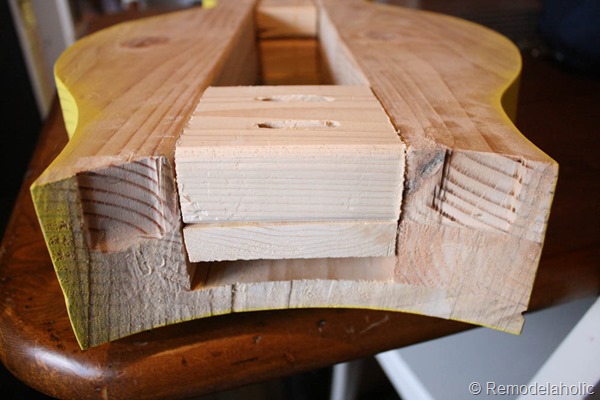
After I cut out part three, notice that I needed to reinforce the top with a spacer block between the two sides. I added the block with glue and pocket hole screws to hold it tight.
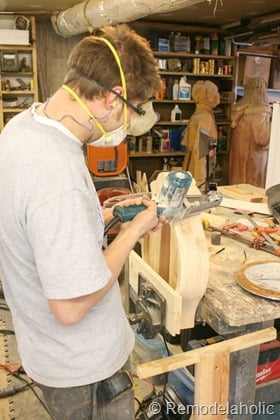
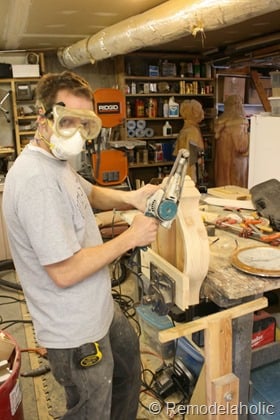
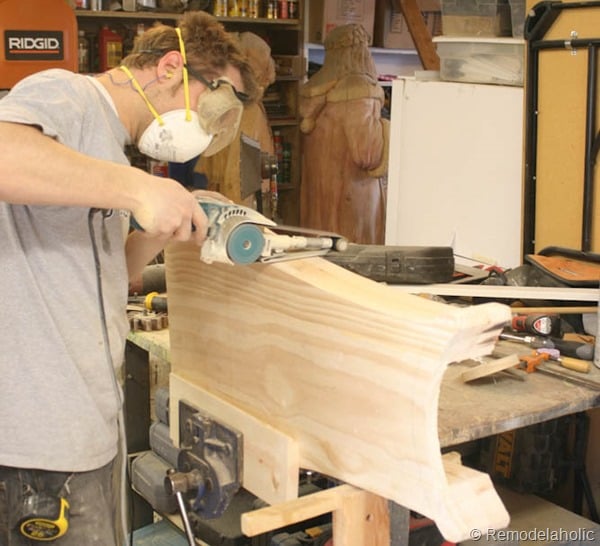
Now I was able to start finish sanding with my hand held belt sander. This thing is awesome. It proved to be the best and fastest way to sand away the rough band saw blade marks. I used a 60 grit belt to sand it down fast.
*Tip* Be careful not to apply too much pressure though, It will sand too much too fast. Use little pressure and let the sander do the work.
 |
 |
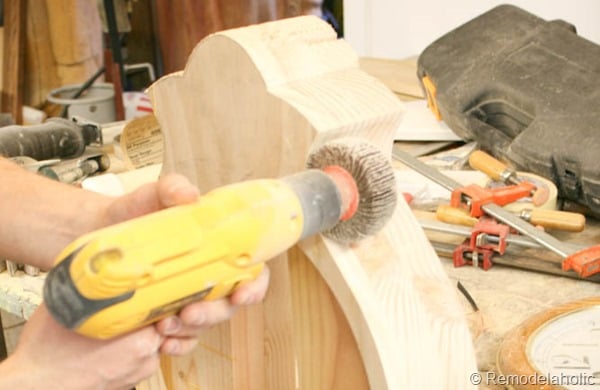
Use a drill bit sander for the tighter curves.
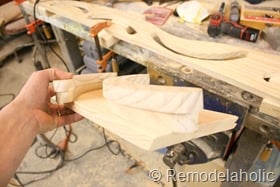
Because the moldings are small and awkward, I screwed them to a jig that would hold them in the wood clamp while routing the edges. I made the jig by cutting out a shape smaller than the original size, so it didn’t get in the way of the router bit while cutting. I screwed that to a board that would be held in the clamp. Clamp it in place and route the edges by holding the router in hand. I decided to hold the router by hand to have more control and visibility while cutting.
 |
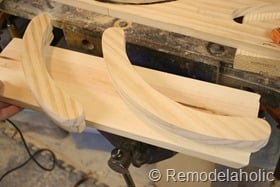 |
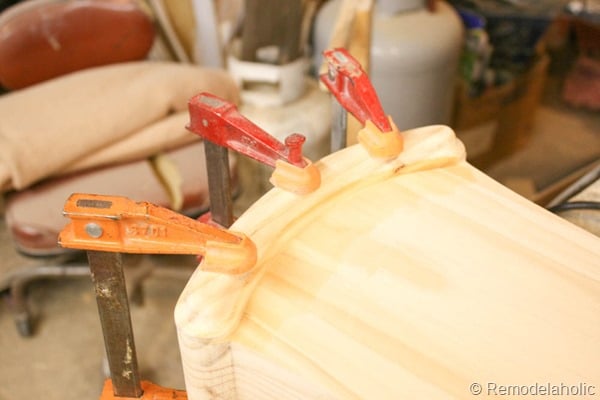
Glue and clamp the molding in place. Now with it in place you can do final sanding on the edges. I did hang over the molding about 1/16”, to hide the seam of the part above it.
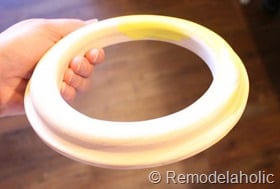
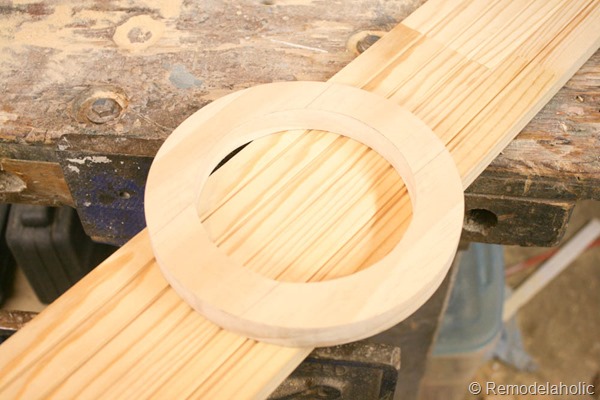
Here is the faux pendulum hole molding, all cut out and ready for the edges to be routed.
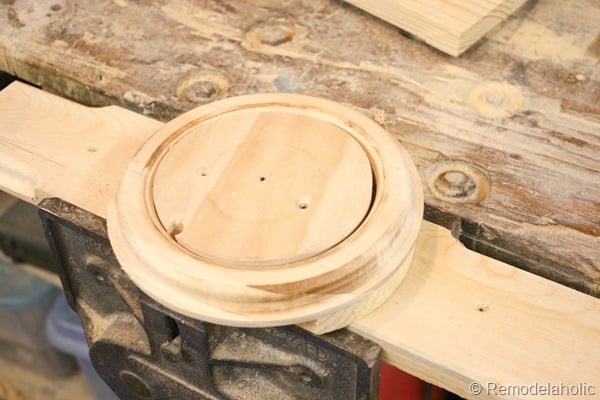
After routing the interior hole edges first, I added a block in the middle to give the router a place to sit on while routing the outer edge. This made it more stable for routing. You can see that there are burn marks on the routed edges. That is from a dull bit. It won’t happen as much if it’s new and sharp. All you need to do is sand off the burn marks.
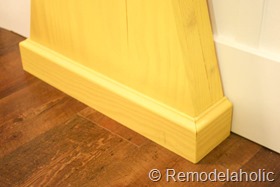
You can also add a base molding on the bottom of the clock to give it more interest. Use a 1×4 and just routed the top edge to match the rest of the moldings. Miter the corners and nail it in place.
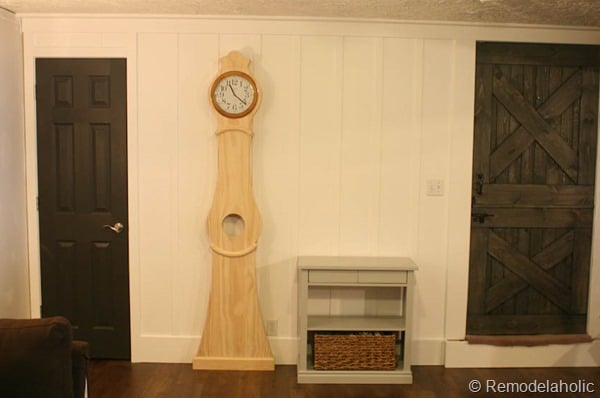
Here is a picture testing to see how the clock was going to look in the space. We wanted to make sure that the size felt okay.
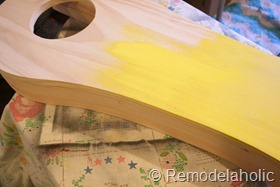
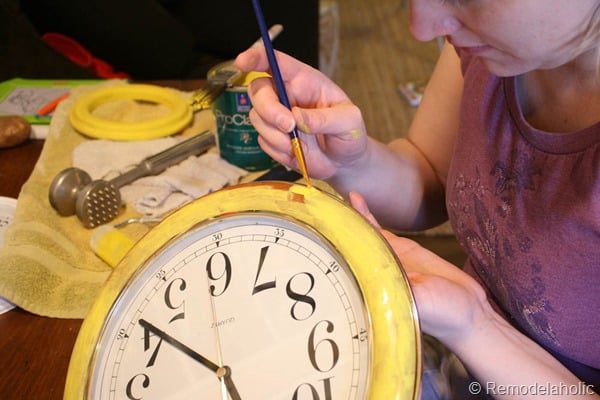
Now that all the sanding is done, you can start to apply the color to the wood. Here is Cassity starting to paint the clock yellow with the paint color by Sherwin Williams, Pro Classic, Satin paint in #6910 Daisy.
Cassity wanted to be able to see the wood grain, so she just washed the clock with paint instead of applying 2-3 coats of paint. She brushed on the paint and then removed an excess by rolling it with a dry foam roller, this also removed the brush marks.
 |
 |
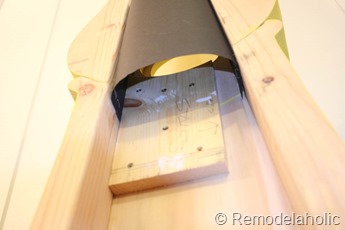
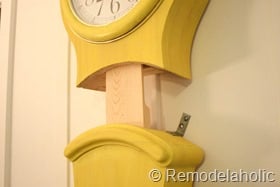
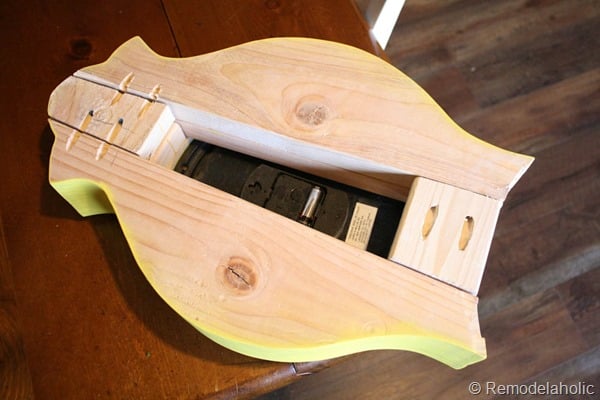
With all the pieces painted now is time to assemble it all together and attach the hardware to secure it to the wall. Use some scrap wood and screw it to the back in between part one and part two. This will link the two pieces together nice and tight. If you align it to one side, it will align the two parts together. At the top of part two screw on a piece and let the top extend out about 3-4 inches.
 |
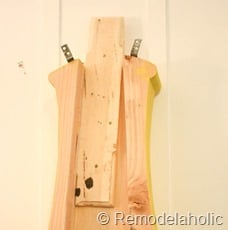 |
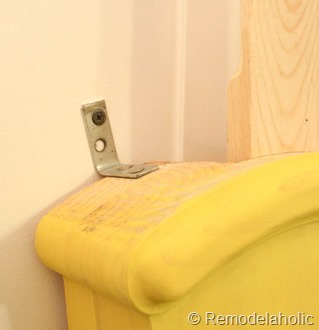
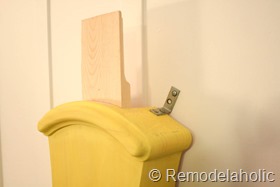
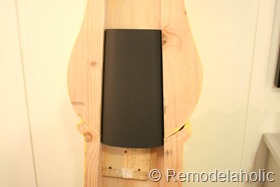
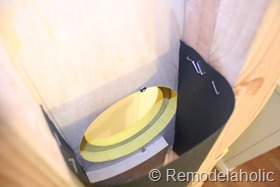
On the back of part one you will create a slot opening for the tongue of part three to fit into. Also, notch out a place for two L-Brackets, so that part three sits on top of part two without seeing a gap.
Attach two L-Brackets to the top of part two (the middle section). Then anchor the clock to the wall.
 |
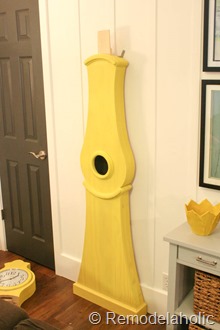 |
With the clock anchored to the wall, the top of the clock (part three) will just slide on top and stay in place without falling off. This way you can easily remove the top of the Swedish Mora clock and change out the batteries when needed.
 |
 |
 |
 |
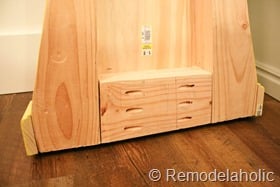
Here is how the base molding turned out and the additional support that was added behind on the base.
 |
 |
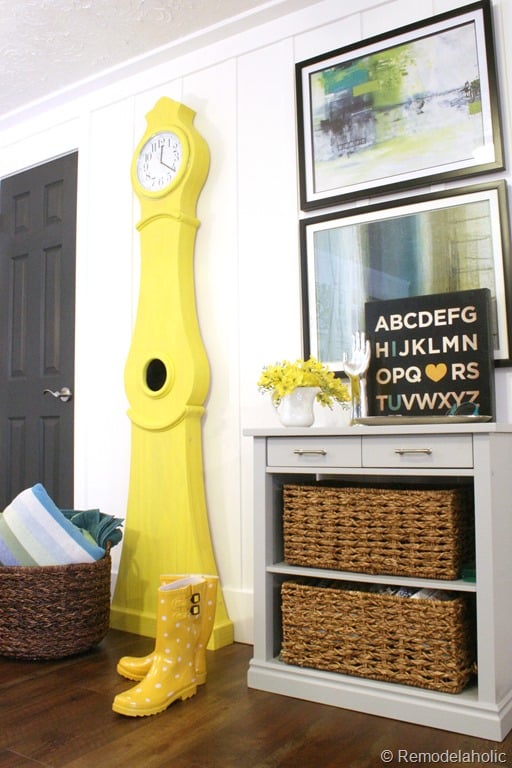
This is how it looks in its place in our living room. This was a fun project to take on and build. It was my first clock project. I feel that it turned out nice. I find myself just staring at the wall at times, now that there are some nice things to look at.
I hope that you take the chance to build your own Swedish Mora clock, for you to enjoy in your home. It was less than $75 to build in case you were wondering. Very affordable if you have the tools and time.
Let us know how it turned out if you build one. Don’t forget our other project plans that we have made for you.
I am the husband of the amazing Cassity of Remodelaholic. I love to problem solve and to design and build things inside and outside the house to make life better. I am a professional Landscape Architect by trade and love the outdoors.




SO beautiful!
Oh, I love these Moraklockarna ever since I lived in Sweden, four years ago, and visited Dalarna there!
I will have a closer look at this tutorial and hopefully I can build my own one day… (Maybe I need to get a bigger apartment before ;))
Love, Midsommarflicka
What a great team you two are! LOVE LOVE LOVE the clock!!!!!!!!!! Amazing job!
Thanks Brenda! We are so happy with it too!
Very cool!! I love the color 🙂
Thanks Jayne!
Great work!
Thanks you!
Amazing! Just beautiful
Thank you Georgina!
Lovely faux Mora. I worked in Sweden over 3 years many years ago – I am Australian – and I fell in love with the Mora clocks…so much so that I purchased an original, antique Mora last year and it is now refurbished and working in my house…those who know these clocks know the clock maker name is usually one the face of the clock, and mine was made by the original clock maker named Mora, making it super special to me.
I have a few friends who have admired the beautiful, feminine lines of my clock, and wished they could have something similar…I think I shall have to put your tutorial to good use and help them out with that. Thank you for sharing your super tutorial
Kylie
How amazing, I would LOVE to visit Sweden! Also I would love an original, but since I can’t afford one I am LOVING the one we made! (and the fact that i can paint it some crazy color without feeling bad about destroying the value of an heirloom piece!) but I would never put my nose up at an original! LUCKY YOU!
Oh.my.jimminey.haystacks!! We don’t really see mora clocks over here but I was first introduced to them on toneontoneantiques. blogspot.com/ and seriously wondered if I could ever make one. You guys are SERIOUS diy-ers what with all your fancy gadgets, too! This is a great job!!
Have you got a project with this that turned out especially nice that you’d want to part with (for a price)?
No, sorry my wife would disown me.
JUST what I was looking for!!! I ADORE these clocks and I’m thrilled to be able to make one…coming soon!
xo,
Shannon
Can’t wait to see how it turns out.
What an amazing build! I love how you DIYed this and made it look effortless!
Thanks Yvonne!
These Mora clocks were a dime a dozen when I grew up in the Swedish countryside and if I ever paid any of them any attention at all it was because they were either good to hide inside, so loud they were annoying, or the “kurbits” Swedish traditional painting) were extra gaudy.
Now after having lived overseas for 15 years (and now with a non-Swedish husband and child) I know I won’t return and have finally started to appreciate my roots. I would now absolutely kill for one of them. Kicking myself for all the lost opportunities I had to pick up a few.
Just wanted to say that I absolutely ADORE what you did and I’m totally filing this away as a darn good alternative to the original. And it warms my old wicked heart that things I unfortunately took for granted as a child, now have found their way in to a new generation that hopefully will keep the interest in these beautiful pieces alive.
Amazing job you guys! Amazing.
Thanks Anna, that is very kind of you! Thanks for the fun comment!
Having lived in Sweden for two years back in 1949-51 I saw and admired the Mora clocks. In fact my good Swedish friends had two — one in their Stockholm home and another in their summer stuga in the archipelago off Valdermarsvik. Now with the plans available I plan to build a Mora clock in the very near future.
Justin, where can I purchase the clock face and pendulum? The exact model you used would be greatly appreciated.
Dixon, I think that is it great that you want to build the clock. I just have to let you know that the clock face was just an old clock laying around the house that is battery powered. There is no pendulum with this clock just and empty hole. You can get clocks at places like Walmart or Target. Good luck with the project.
It is a masterpiece! You did expert woodworking.
I absolutely love it. If you ever decide to sell it, please contact me.
Glad you like it and thanks for the compliment.
Justin,
I have finished the Swedish Mora clock. It turned out even better than I expected thanks to your instructions.
Where can I send a photo of it so that you and friends see what I have done?
So glad it turned out so well! You can send us a photo over on Facebook or you can email it to hello@remodelaholic.com. Thanks!
Hi Justin…if you’re still reading this post. I’ve got the instructions, and a willing partner, but we’re confused about how to print out the plan. I’m savvy enough with regard to printing, but I don’t know where to find the original file. I don’t have access to any fancy software to redraw the plan. I guess I was looking for a .pdf of the picture you have posted here. Where am I going wrong? ~JA
Hi JA, Sorry about the delayed reply — I just added the link to the full-size photo in part one of the tutorial, here https://www.remodelaholic.com/build-a-swedish-mora-clock/, where there is also the info about printing it on a larger scale. You should be able to grab that image, which is sized to fit an 8.5×11 page, and scale it to print 12x the size, so the 1″ mark on the page will be 12″ on the larger pattern to create the pattern for the clock. Hopefully that helps!