How to Shiplap a Wall for Free

Hi, friends! I’m Lauren from Bless’er House and I’m back with more budget farmhouse decor mischief. If you haven’t kept up with some of my projects around here before, I’ve shared how we installed a wood beam doorway for $80, how we created an industrial factory window shower door for uber cheap, and how we installed a whitewashed faux brick backsplash for a major bargain.
Are you starting to see a theme here? We kind of have an addiction to the rusticy industrialy stuff at our house, but we’re not so keen on the price tag of the real deal stuff.
But you know what? It doesn’t look cheap. And that’s the most important part.
This time around, I set my sights on my daughter’s wall behind her bed. It needed…something.

I technically finished her bedroom last year (you can see the full tour, source list, and tutorials in her ballerina themed bedroom reveal), but I always felt like this one wall needed more.
Lately, the answer to any blank wall, thanks to Joanna Gaines, seems to always be shiplap. And yep, I’m Team Shiplap all the way.
But part of me is starting to wonder… is our current shiplap craze going to one day become the 1970s knotty pine paneling? Some people will love it forever, but I can already sort of tell the luster will fade with the general population, maybe even myself included, one day. Gasp!
So if you have commitment issues and have absolutely no spare change or grunt labor hanging around, this faux shiplap method is awesomesauce! And it’s free. #winning
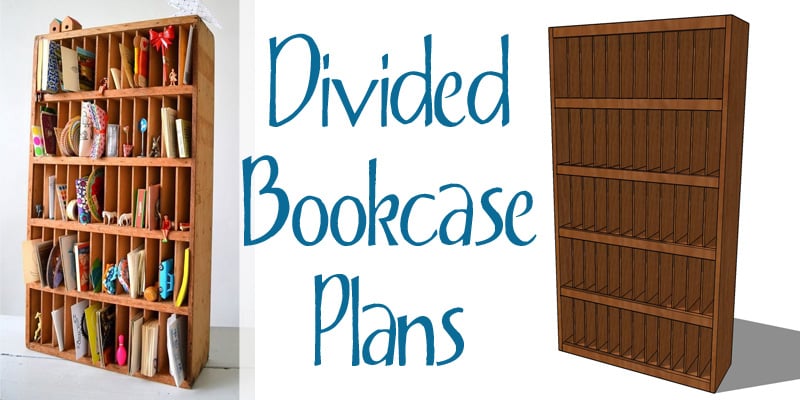
A couple of years ago, I tried out this method of drawing lines on a bookcase to mimic planking that I knew I wanted to eventually try out on a wall, and I finally gave it a go. So it can be done on bookcase backings too, if you feel like taking it for a test drive first.
How to (Faux) Shiplap a Wall for $0
by Lauren from Bless’er House
This post contains affiliate links for your convenience. See our full disclosure policy here.
Supplies Used:
- Tape measure
- Pencil
- Black colored pencil
- Pencil sharpener
- Level
That’s it! I guess technically it wouldn’t be free if you didn’t have a level and tape measure already in your stash, but I figured it was pretty standard for toolbox supplies. Oh, and a stepstool might help too.

Step 1: Measure and Mark
I decided on making my “planks” 8 inches wide, so I ran my tape measure up the wall and taped it to the ceiling to keep it in place, making sure it was hanging completely vertically.

Then I marked every 8 inches on the wall with my pencil.

Step 2: Draw The Shiplap Lines
Using my level, and the measurements I marked as a guide, I started drawing my lines with the regular pencil first so that I could erase any mistakes, to be on the safe side.
And I had to sharpen my pencil pretty often.

Step 3: Draw The Shiplap Lines… Again
After I had the lines drawn with pencil, I went back over it with the black colored pencil to darken it. You could certainly start with the black colored pencil to begin with, if you wanted. But I took into account that I’d probably end up making some mistakes the first time around with the regular pencil.
Sure enough, I had to do a little erasing at first, so I felt like it was best to be on the safe side.


It took a little over an hour and that was it!
Even though we have 3 real wood shiplap walls in other rooms of our house (above our fireplace, in our foyer, and in our master bedroom), I can honestly tell you that this drawn one looks very much like the real deal unless you are really analyzing it up close. And really… who does that anyway?

Plus, one day, if we ever decide we are no longer fans of shiplap (say it’ll never happen!), it will be easy to paint over without any demolition involved at all.

So are you Team Shiplap all the way? Or not so much? If you can’t make up your mind, at least you can try it out with this method and not have to worry about staying committed, right?
Blessings,
Lauren
More creative no-nails wall treatments:


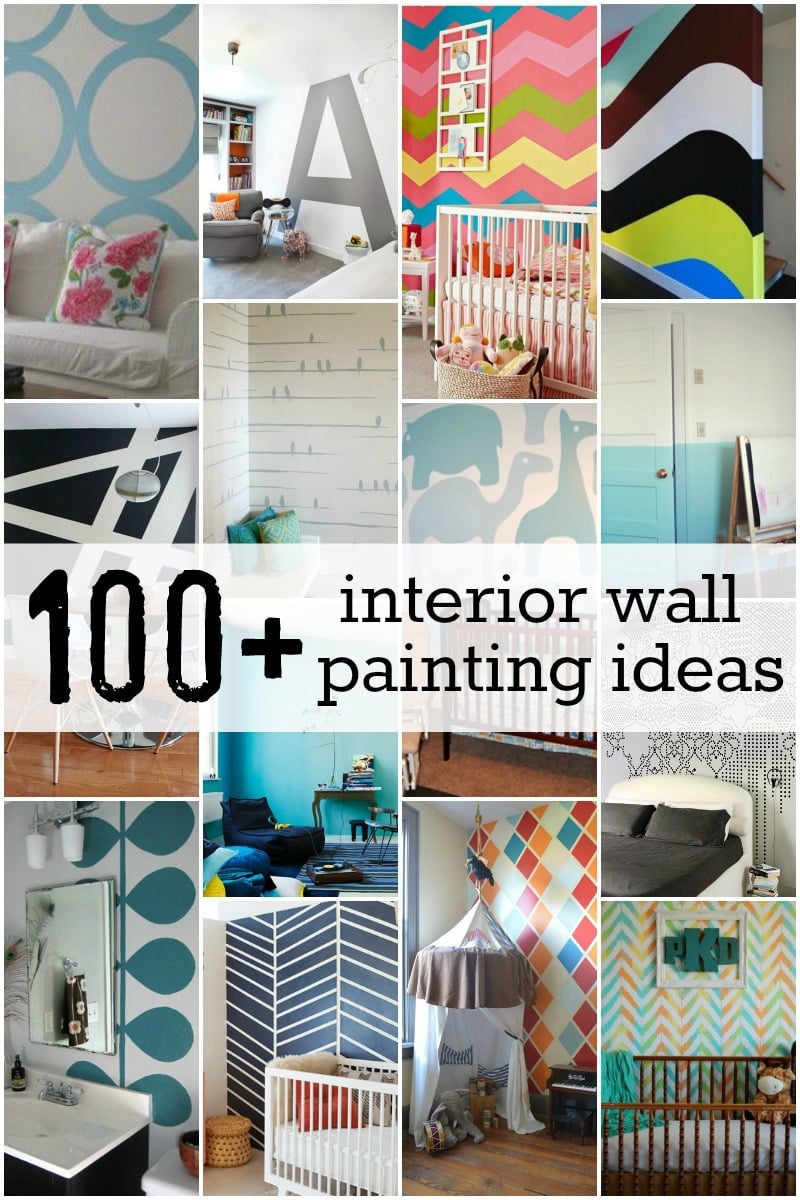
plus 100 more ideas for creatively painted accent walls
Hi y'all! I'm Lauren from Bless'erHouse. I'm a builder grade subdivision house owner who dreams up outside-of-the-box ways to create a rustic industrial cottage on a budget. Between chasing my toddler and sweet talking my hubby into helping me with yet another project, you can usually find me with a paint brush in one hand and a big ol' glass of sweet tea in the other.


Lauren no one would notice that it was not the real deal unless they went over for a feel. It looks fabulous! And I really love the price tag.
I must admit, this is really cute! I definitely couldn’t tell the difference from far away. I wonder if subtle shading around the very edges and corners would have made it look even more realistic, or even more drawn on? Hmmm…
I’m not a big fan of shiplap… it’s definitely going to be 1970s knotty pine in a few years, just like all trends. Which is why I just can’t get behind trends for the sake of trends. 😉 Some people still love 1970s knotty pine because it fit their style, and some people will love shiplap forever because it fits their style. Decorate however you like because then it will be timeless for you forever! /soapbox
By the way, the ballerina room is really gorgeous. 😀
Cute idea. Good thing it’s in pencil. Even Joanna has abandoned ship lap for “skinnylap” as to been seen this next season. I had the real deal shiplap in my 1908 Victorian but would not expose it for this reason.
I love that! I might have to try it. Are you concerned that the pencil might smear/smudge?
That would be my concern, too. All the smudges would look pretty awful. How would you comvat that?
Looks great! I’m not on the shiplap bandwagon, but have thought it might look good as an accent wall. This is a great way to try it out. Thanks for sharing!
Does it smear? I have a odd wall that would be great to try this on before doing real shiplap.
If you use a colored pencil it should not smear. This is a great money and time saving idea! Thanks for sharing it!
It shouldn’t smear if you use the colored pencil. I think this is a great time and money saving idea!
Hmmm…didn’t mean to post the same thing twice!
I laughed when you said; “…I had to do a little erasing at first…” because you said you were measuring for 8 inch ‘boards’ and the photo shows you marking at the tape measure’s 39 inch mark. When I went to school 8×5=40. I think maybe that’s a line mark you had to erase. ;]
Thank you SO much for doing this and sharing!!!!
This is awesome and I am team shiplap ALL THE WAY!
I did something similar to this on a floor in a bedroom. It was sub flooring at this point so I simply got a board the width I wanted my “hardwood” to be and drew lines with the board as a guide with a (PERMANENT–yikes–that means commitment ) black marker. I kept drawing all across the floor. Then I took some acrylic paint (like cheap from a hobby store) and began “painting” my hardwood floor. I did some shadowing etc but am certainly no artist. However, it ended up looking so good even the carpet layer didn’t know it was just painted!!! Somehow I’m a little chicken to do the entryway wall with the pencil ship lap, though. Still thinking about it.
What a great idea! Thanks for sharing, Merlyn!
I just wanted to thank you for this idea and the “how-to”. I just did this in my foyer. My husband thought I was crazy, but he admits now that it totally looks like actual shiplap! I really like the way it turned out. Also, my daughter now wants me to do a wall in her bedroom : )
Hello Lauren
I love your ideas and the faux shiplap wall you created.
Do you think, using a colored pencil (like colored grout line)
might look right when trying to mimic shiplap. 🤔
Greetings from Germany
Trish
Hi Trish – yes, that’s what Lauren used here — I think you could use any dark color to mimic the depth/shadow between boards.