Kitchen Island Makeover With Corbels: Part Two
Here is where we left off with the kitchen island makeover. It is looking pretty good, but we are about to add the final touch that makes it look 100% better. We had ordered the corbels, but they hadn’t arrived yet when we finished the moldings. But we did all we could up to that point.
I did some research for the right corbel. The ones at the local hardware stores didn’t quite have what I was looking for. I looked online and found a great website for corbels called Prowood Market. They are located in Atlanta Georgia. It took about two weeks for us to get the corbels from the time of ordering. Just keep that in mind if you are working with custom corbels.
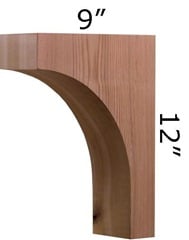
This is the one that we went with, Wood Corbel 22T3. It is red cedar with a smooth sanded finish at 3 1/2” wide. I got it in a smooth finish because we were going to paint it.
 |
 cedar plug |
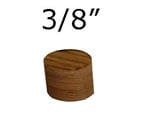
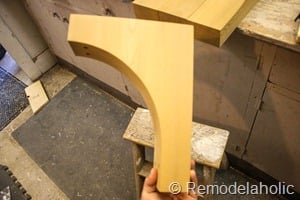
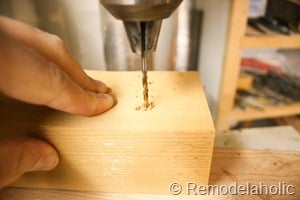
Once I received them in the mail at my house, I had to do a little bit of prep work to get them ready to be installed. I pre-drilled two holes on top and two on bottom to screw the corbels to the kitchen island. The holes were about 3/8” wide to hide the screw head. They also sell cedar plugs that we bought to cover the screw heads. They were 3/8” plugs.
 |
 |
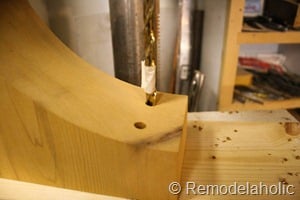 |
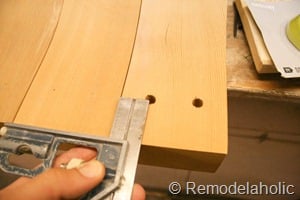 |
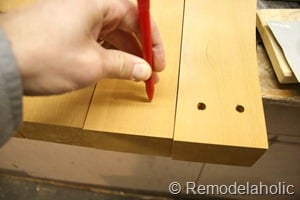 |
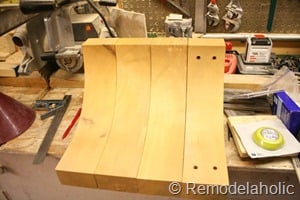 |
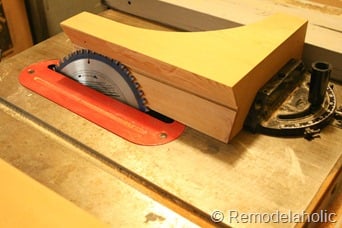
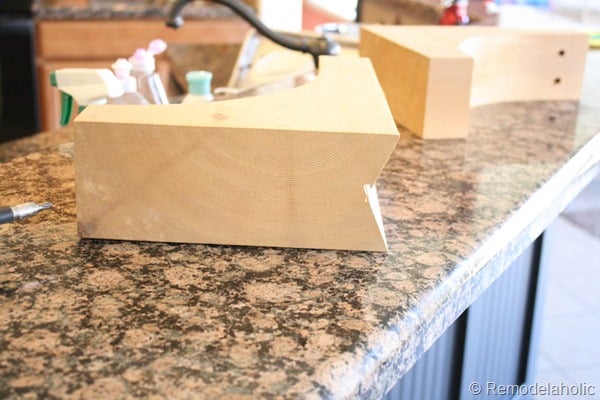
With this island’s shape, there are two 22.5 degree corners that are going to get a corbel. in order to install the corbel I had to notch out the angles on the table saw, as you can see below.
 |
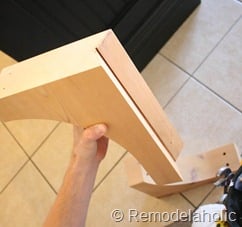 |
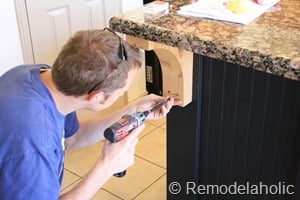
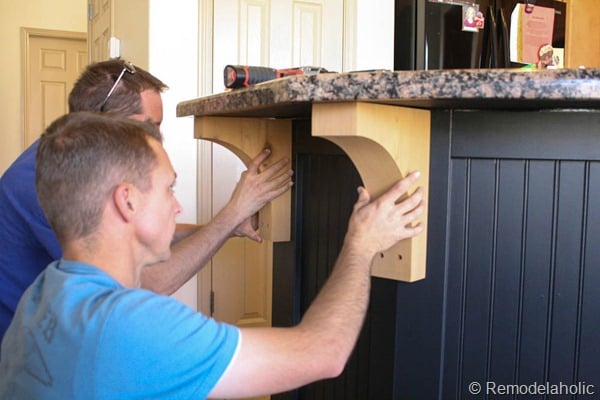
Now that the corbels are cut and ready ready, we were able to install them. Here we are testing them and making sure that they were going to fit.
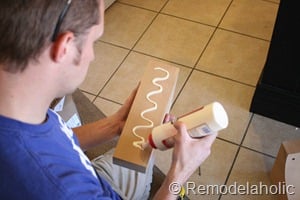
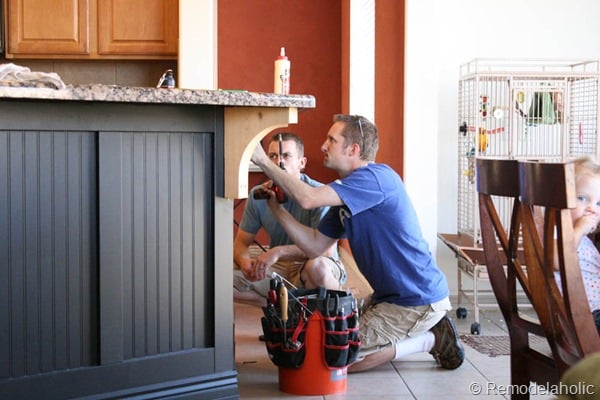
In addition to the screws, I wanted to use glue to give an additional hold. I could have used liquid nails as well. I just happened to have the wood glue available. We did accidentally use a bit too much, cuz it dripped, and we had to watch for drips and wipe them off right away before they dried! so watch out for drips!
 |
 |
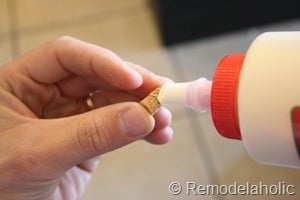
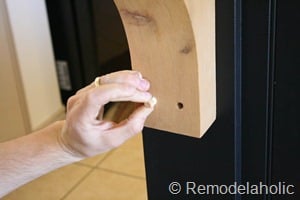
Here are the 3/8”cedar plugs being glued in place.
 |
 |
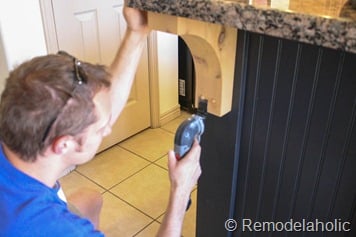
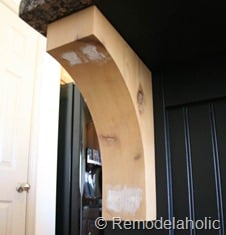
Once all the plugs were in place and dried, I cut them flush with the multi-tool flush cut saw bit. ( I love my multi-tool!) After they were all cut flush we patched them with wood filler and later they were sanded those when they dried. Now they are ready for caulk and paint.
 |
 |
We had a really fun time running around at Nates’, and the girls loved it there. I just had to throw in these pictures of Etta playing with their pet bird “Patches”. It was fun to have Etta and Lydia there playing with his daughters while we were working on the kitchen island. Like old times…
 |
 |
 |
 |
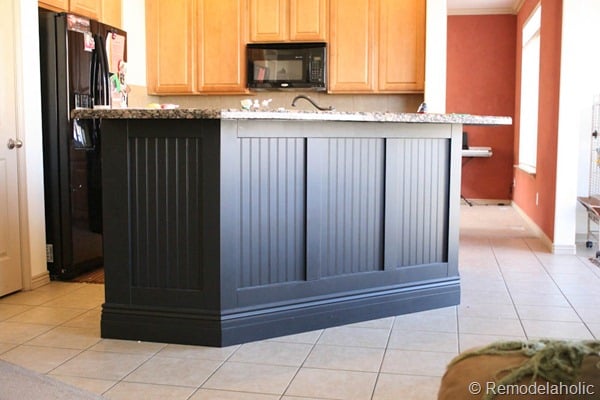
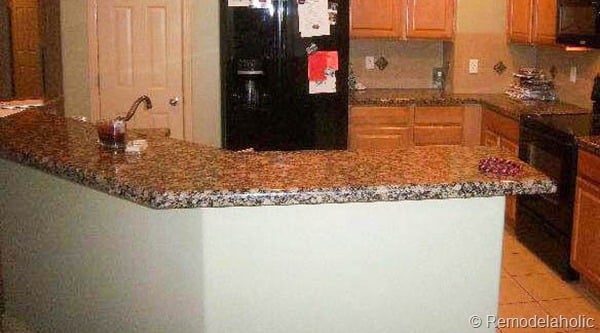
Remember how the kitchen island looked before we did anything?
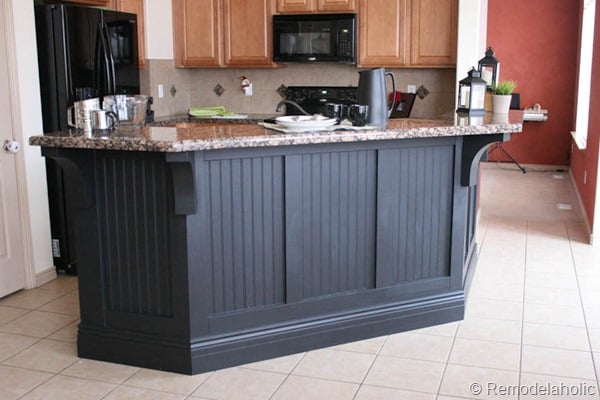
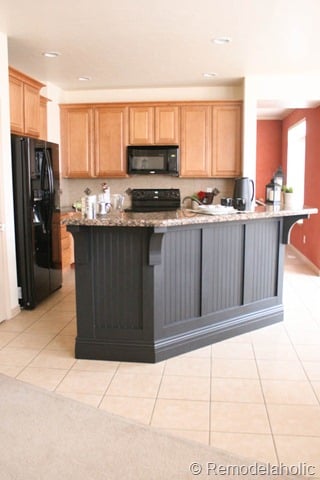
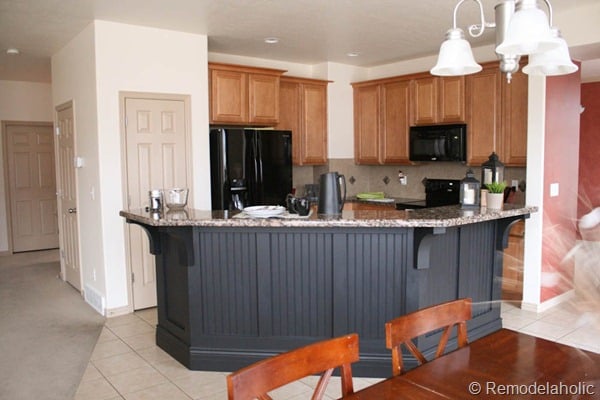
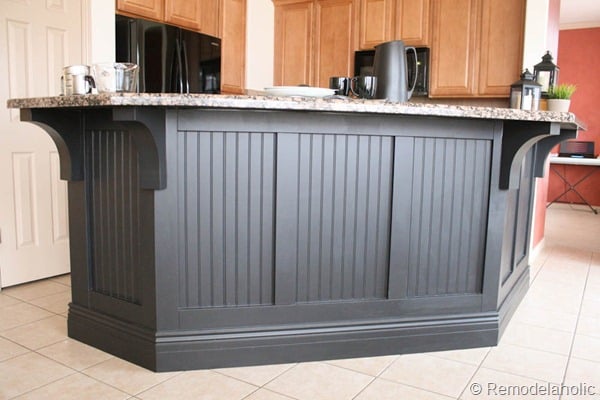
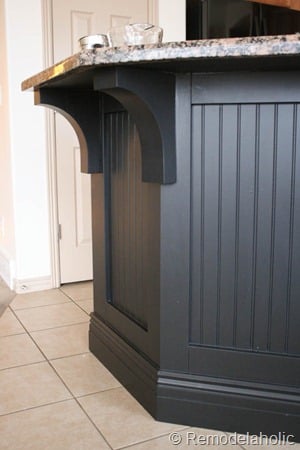
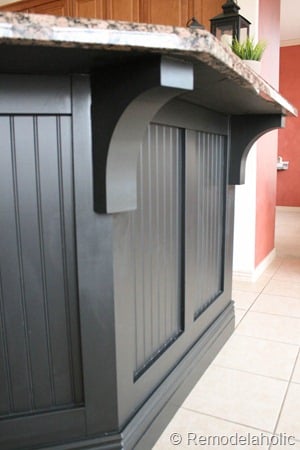
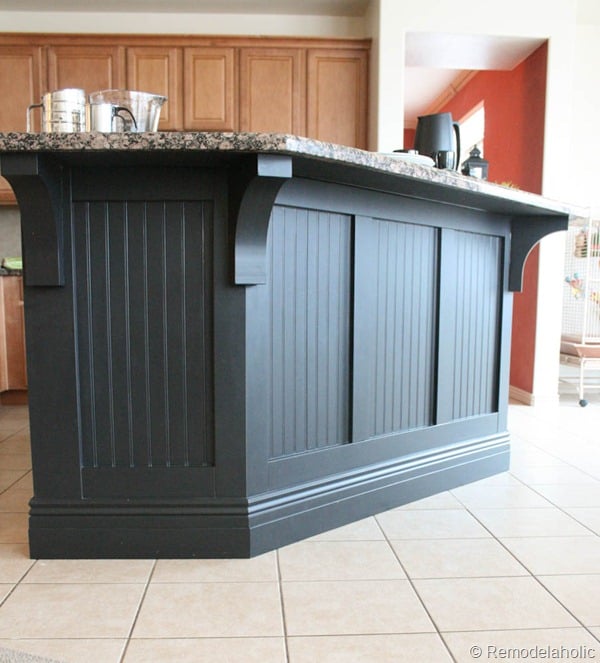
Here is the kitchen island makeover with everything finished. A little bit different right? Nate and his wife really loved how it turned out. It looks so much more grand and is a great focal point for the room! And the big bar now it makes a lot more sense that the corbels are there holding up the heavy granite.
Don’t forget to check out the first half of this post!
What do you think of this amazing kitchen island makeover? Do you like how it turned out?
I am the husband of the amazing Cassity of Remodelaholic. I love to problem solve and to design and build things inside and outside the house to make life better. I am a professional Landscape Architect by trade and love the outdoors.




Love this makeover! It is the primary inspiration I used for doing our peninsula (board & batten style). Additionally, thank you for posting where you bought the corbels from. They are exactly the style I wanted but I couldn’t find any like them anywhere!! 🙁
You’re welcome!
Looks so good. Adds just the right amount of character. Now, I would paint the pantry door black also.
Great job!
Thanks, Kelli! One project always begets another, right? 🙂
Couple questions…if I have 3cm granite for my bar overhang (no plywood underneath), would you just glue the top of the corbel to the bottom of the countertop – or can you screw it somehow? Also, is it better to install the MDF moulding on top of the beadboard, or would it be fine to install all the 5 1/2 and 3 1/2 MDF and then cut the beadboard to fit in between them? Thank you – your project turned out very nice.
I loved the corbels you used, ordered them but the cedar smells so strong. Once you painted them did they no longer smell?
The paint will really help to cover up the smell
Three years later and your project is still inspiring! We copied the idea completely on our peninsula. It turned out fabulous! Thank you for sharing!
Thanks for the comment, Karen! We’d love to see pictures! https://www.remodelaholic.com/share-brag-post/
Love what you did with the island, my son has almost the exact same set up in his kitchen and I’m sending him this post right now. Lifelong friends are the best! Three of us are close to our 50th anniversary! Glad you are back in the same state now!
Thanks, Nadyne! Friends really are the best <3
Love what you did! What color did you paint it? It looks awesome!!
I believe it was a semi-gloss black.
I found your blog and we are doing the exact same layout as you did on your island. Thank you for the inspiration. I wish I could post a before and after picture to show you!
Hi Jen,
Thanks for the comment! We’d love to see pictures — you can submit them here: https://www.remodelaholic.com/share-brag-post/
This kitchen island now looks like a nice piece of furniture. It adds class to the room.
I am just amazed at this! It is beautiful! I would really love to do something to mine to update I love the headboard! Mine is kinda open under one side for bar stools! Other side toward kitchen area has 2 doors and shallow cabinet space . not sure what I can do….
Hello..wondering exactly what paint was used.
Thanks
Pete
Peter, I can’t remember what paint we used, but it would be best as a satin sheen, so you can clean it. I will try to find out more details if I can.
Paint brand and color please!! Love it!
It was a black satin, but I can’t remember the brand.
Lots of years later now and I love this. Getting ready to start the project. Ordered the same corbels as well. Is there a way to print both part 1 and 2 so that step by step instructions can be followed on paper?
Hi Barbara — thanks for the love! You’re welcome to print both blog posts but we don’t currently have a version specifically formatted for printing. We’ll add it to our list!