Hardwood Flooring Installation
I wanted to show you today how I have been helping my sister update her living room. I am going to break it into 2 posts… This post is all about the new wood flooring that I helped her install and you can see the living room reveal here.
Technically, this is our 4th wood flooring install that we have done ourselves. I think we are getting pretty good at it by now if I do say so myself… (at least I hope we are). Although I haven’t tried a nail down version, so I should amend my statement to I am good at glue-able floating floors.
First the back story.
My oldest sister Kristen and her husband Sheldon, have 5 awesome kids, and luckily they live just a short drive away from us. Their home was built in the 70’s and they have done quite a bit of work to update it.
However, for a few years, they lived out of the states in Brazil, so they rented out their house. While they were gone, the carpet in the front living room was replaced by the rental management company.
Since coming home, my sister has been totally disappointed by the “new” carpet. Even though it was new, it just wasn’t her style.
The entry, kitchen, and dining room, all have hardwood floors, so when I had the opportunity to try out a great wood flooring by Impressions hardwood, I asked her if I could do a living room update for her… and so this project was begun.
The great part about this project, Justin and I didn’t have to do it all ourselves!!! Yes, that deserves three exclamation points.
It was like a miracle. It was like I was starring in my own design show.
I could give out assignments, go home, hang out, come back and the walls would be painted. Awesome!
Especially coming from this girl, who usually does a lot of the work (with great help from my man), having the help was a huge bonus!
Anyway, I thought to begin, I would share a few tips I have learned while installing new wood floors.
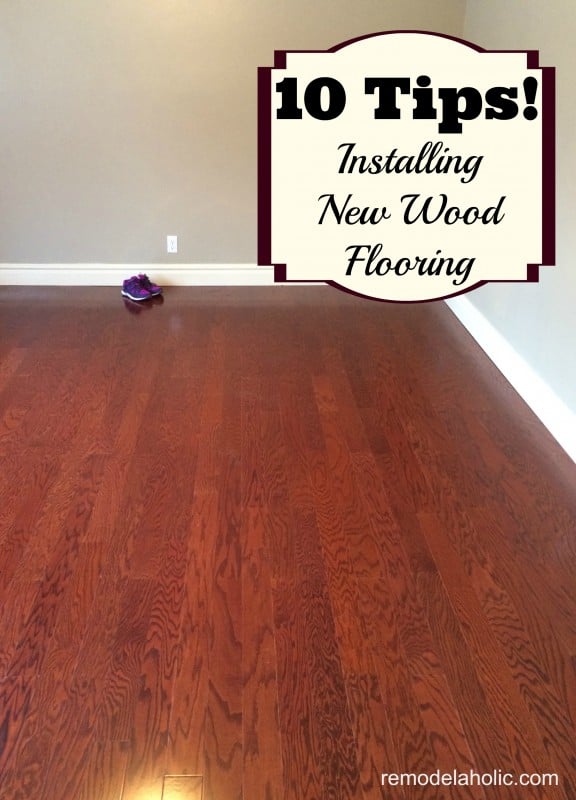
10 Tips for Hardwood Flooring Installation
1. Acclimate!
Be sure to let you flooring acclimate in the space it will be installed in for the proper time. Refer to the instructions on your particular flooring to know timing!
2. Remove Baseboards
If you plan to replace them (*and/or protect your walls), be sure to score along the top of the baseboard to cut through the caulk so it doesn’t rip the paper off the drywall, OR split the molding when you remove it.
You can use a sharpie to mark corresponding letters or numbers on the wall where the molding will cover it and back of the baseboard, to know exactly where it needs to be replaced!
3. Paint First!
Avoid any drips on your brand new floor, if you plan to paint, do it now! Paint the walls and or ceiling before installing the floor!
4. Screw it
Screw down any squeaky sub floor boards! Now is your chance to make sure you don’t have squeaky floors! Take advantage of that. Screw the boards down into the joists below before beginning the flooring install.
5. Level it out
Plane or sand high spots level to within 3/16 inch in 10 feet. Also be sure to fill low spots with pieces of firm kitchen vinyl or layers of 30-pound black roofing paper. Concrete fillers can break down over time and add additional moisture, so avoid it.
6. Triple check!
Sweep, vacuum and sweep again… and maybe vacuum again!!(do I sound paranoid?) Don’t get done with your brand new floor, only to find you have some pebble left under the floor.
Also, be sure to remove any staples or pound down any nails that might be protruding from the subfloor! You want a nice level smooth surface.
(I also sweep as I go, inevitably dust and junk gets tracked in as you install)
7. Duct Tape
If you are doing a floating floor, be sure to tape the seams of your under-layment!
8. Pick a Wall & Orient your boards
To begin, start installation parallel to longest wall and in left-hand corner. Now continue to install the flooring left to right.
Set first board tongue side against wall, groove side facing out with spacers between flooring and wall.
** Tip: Spacers are generally the thickness of the new flooring. Use a minimum of two spacers for every board, placed at seam joints. Tape can be used to temporally hold spacers in place. Remove spacers when finished to allow for floor expansion!
9. Clean Up
Clean up spilled glue right away! I keep a wet washcloth over my shoulder as I glue and just rinse it a couple times through the install, if I have glue drips, I clean them up right away!
Spills are always easier to clean when they are wet rather than dry!
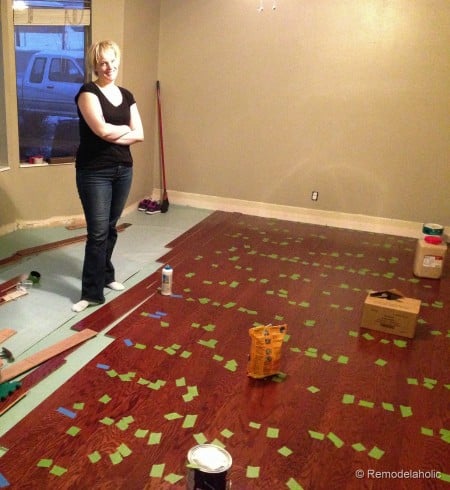
10. Use Painters Tape!
When gluing the tongue and groove of a floating wood floor, I love to use painters tape to hold the seams nice and tight while the glue dries… I tend to use a lot, but that may just be me! (don’t laugh when you see just how much!)
DIY Hardwood Flooring Installation
Okay, so we began… Kristen started by removing the furniture, carpet, pad and staples, removing (carefully) the baseboards we would be replacing them after we were done, and painting the walls.
After prepping the sub-floor (like listed above) we were ready to get going.
Basically, we just followed the steps on the products, if we had questions, there is always tons of advice online, and since we had some experience, we just used those tips to keep going. 
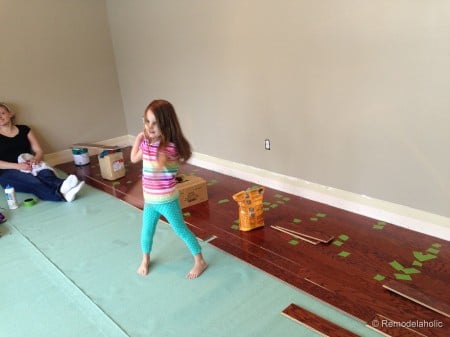
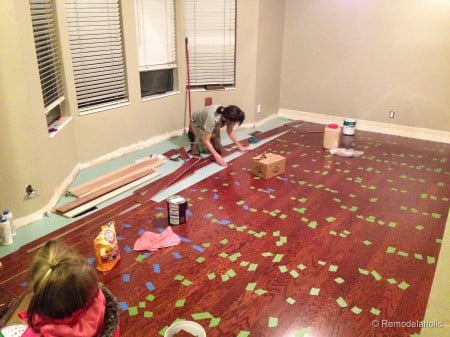
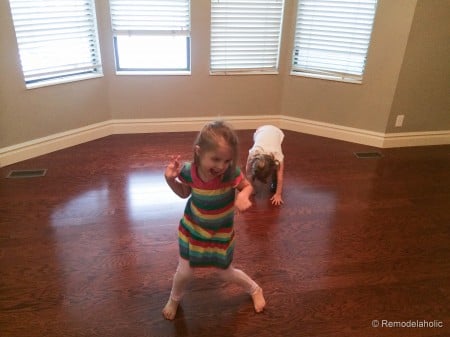
Lots of sweeping… and posing ensued. 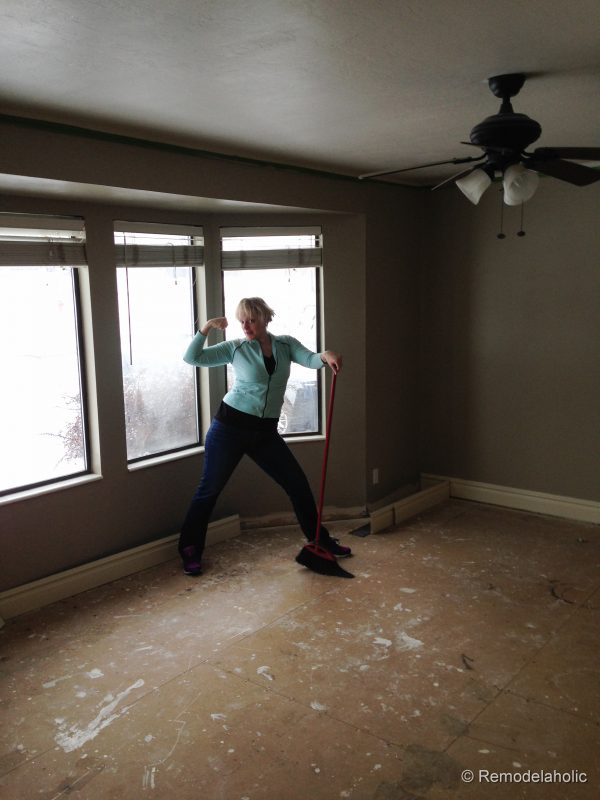
To prep, we set up a cutting area just outside on the back deck and used our handy, dandy Dremel Saw-max for any cuts!
I seriously love that tool! small and portable which helped since we weren’t doing this project at home with our big tools!
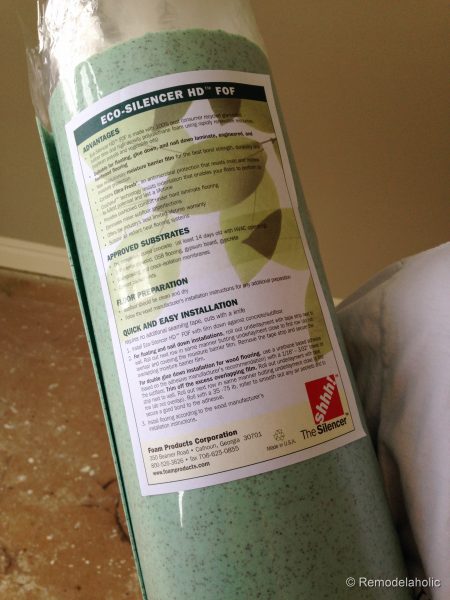
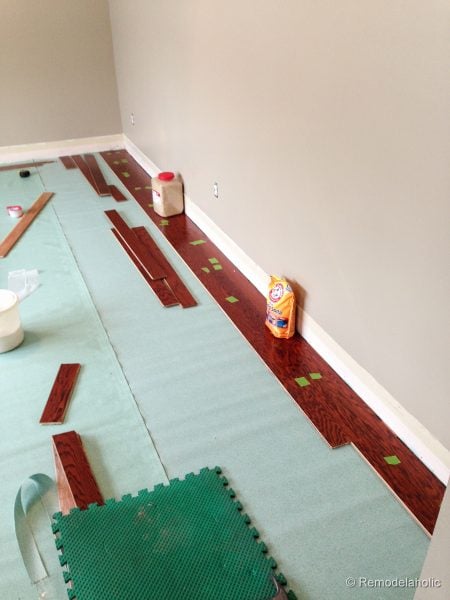
When we had that set up, we started with the under-layment! Read the instructions listed on the package.
(Remember this is a big investment, it is worth the time to read the instructions!!! Just sayin’)
Be sure there are no nails sticking out from removing the baseboard!
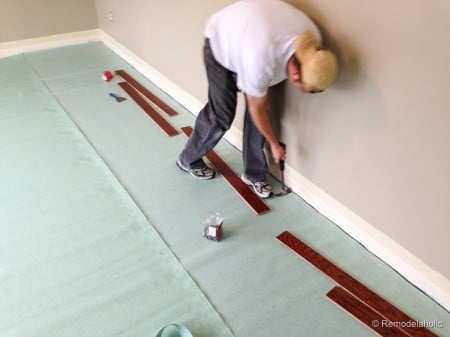
The first row installed! 1 down… 99 to go at least!… oh wait, that doesn’t sound as fun as it should!!
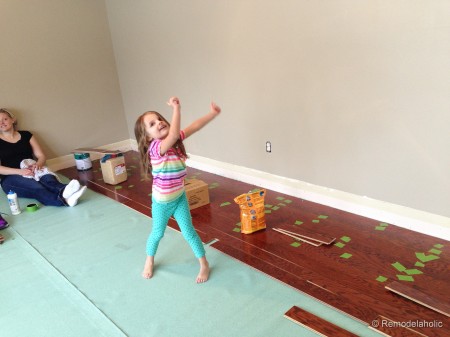
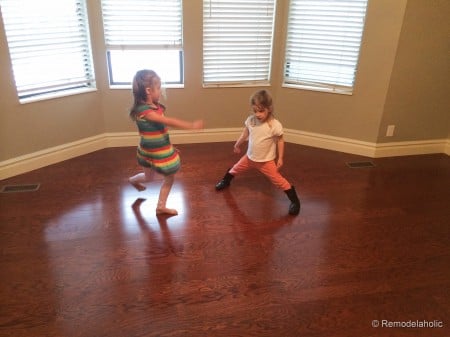
Let’s get this party started right! DANCE OFF ANYONE?
Moving right along!
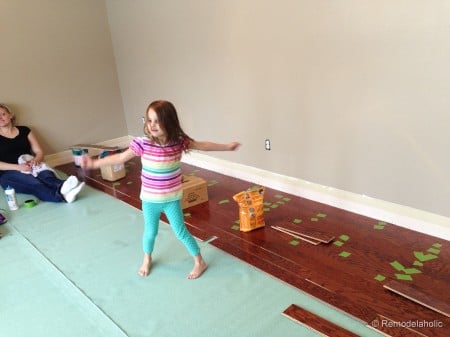
At about this point, our girls were getting a LITTLE wild! So, we let Kristen wrap it up! She is a great worker and got it done in a jiffy!
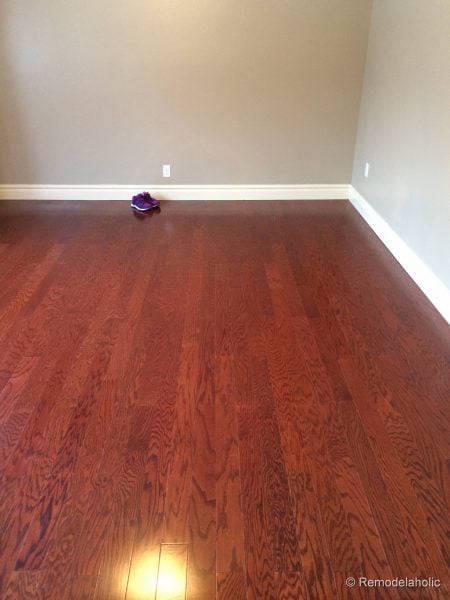
DONE! And the dance party really begins!!!
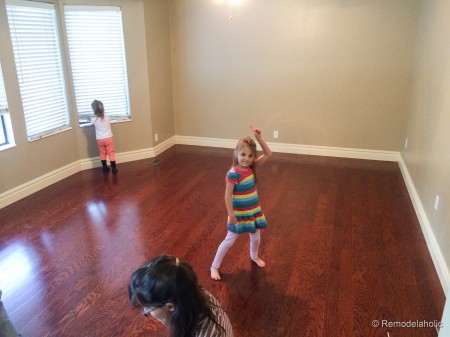
It is looking great! and it ties the whole upstairs together!
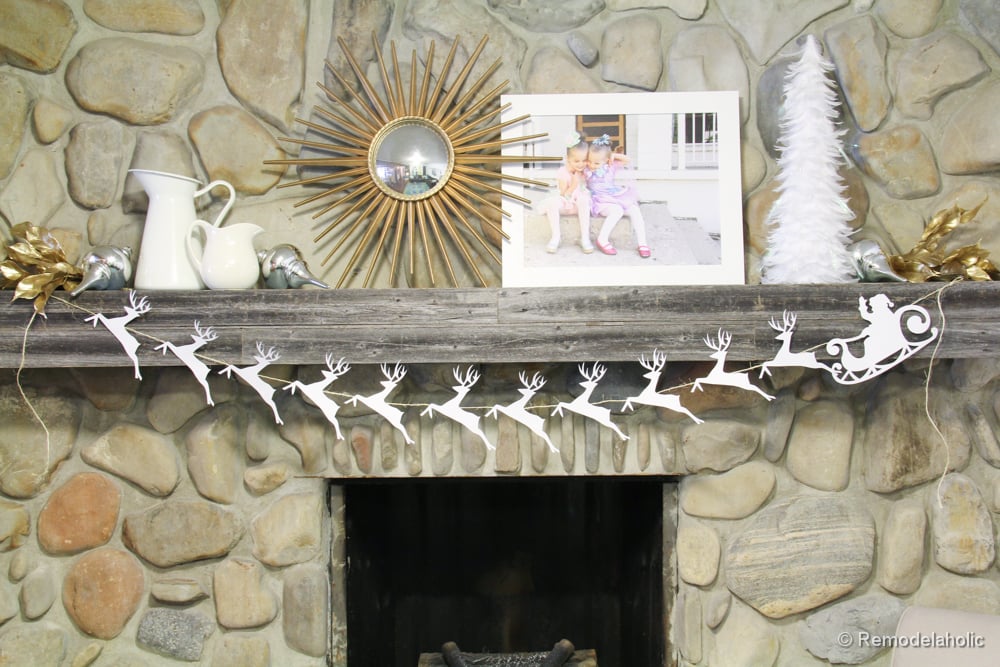
Soon, I will show you how we staged the room (you can see a few sneak peeks if you follow me on instagram!). I hope you will love it! We have been having lots of fun putting it together!
Flooring Details:
The flooring we used: Salem Java, by Impressions Hardwood Collection. However, The Impressions Salem product is no longer available, but it has been replaced with a very similar product- Berkshire.
Impressions hardwood Collection is also running a Design Your Dream Home promotion with designer Jessica Cote offering details for styling hardwood flooring and answering design questions submitted through Impressions Hardwood Collection. AND you can also check out Jessica’s pin boards on Pinterest to see a few of her favorites and inspirations. Thanks to Impressions for supplying the materials for this project.
Cassity Kmetzsch started Remodelaholic after graduating from Utah State University with a degree in Interior Design. Remodelaholic is the place to share her love for knocking out walls, and building everything back up again to not only add function but beauty to her home. Together with her husband Justin, they have remodeled 6 homes and are working on a seventh. She is a mother of four amazing girls. Making a house a home is her favorite hobby.


These are great tips! My husband just put in new hickory floors in our kitchen and dining room. We’re going to continue the floors into our living room in just a few weeks so I can’t wait to help out this time around.
Looks good. Thanks for the tips 🙂
Great tips! Floors are beautiful!!
Thanks Crystal!!
GORGEOUS! (on and the floor too)
Thanks!!!
You are awesome! I have been considering ripping out carpet (4 yr old + dog = way too much time wasted cleaning carpet) and putting down wood flooring, but wasn’t sure I wouldn’t be in over my head. Your tips and pictures might be the nudge I needed!
I don’t do a lot of floating hardwoods, so nice tip on the tape and the spacers! The floors look awesome.