DIY Raffia Wreath Tutorial; Holiday Decorating
I think this is such a cute simple project and you can never have too many ideas for wreaths right? This on e comes form Amanda at The Hand Me Down House and It is such a great creative idea check it out!
I absolutely LOVE fall — it’s one of those seasons that has completely grown on me. Ironically, as a kid I HATED fall — it meant we had to go back to school, stop swimming outside, and start wearing jackets. But now I adore the change — the crisp air, the rustling leaves — all of it. And this year it feels like the season came overnight! It got chilly really fast.
So to celebrate the autumn season, I decided to make a Fall Wreath to hang on the front door.
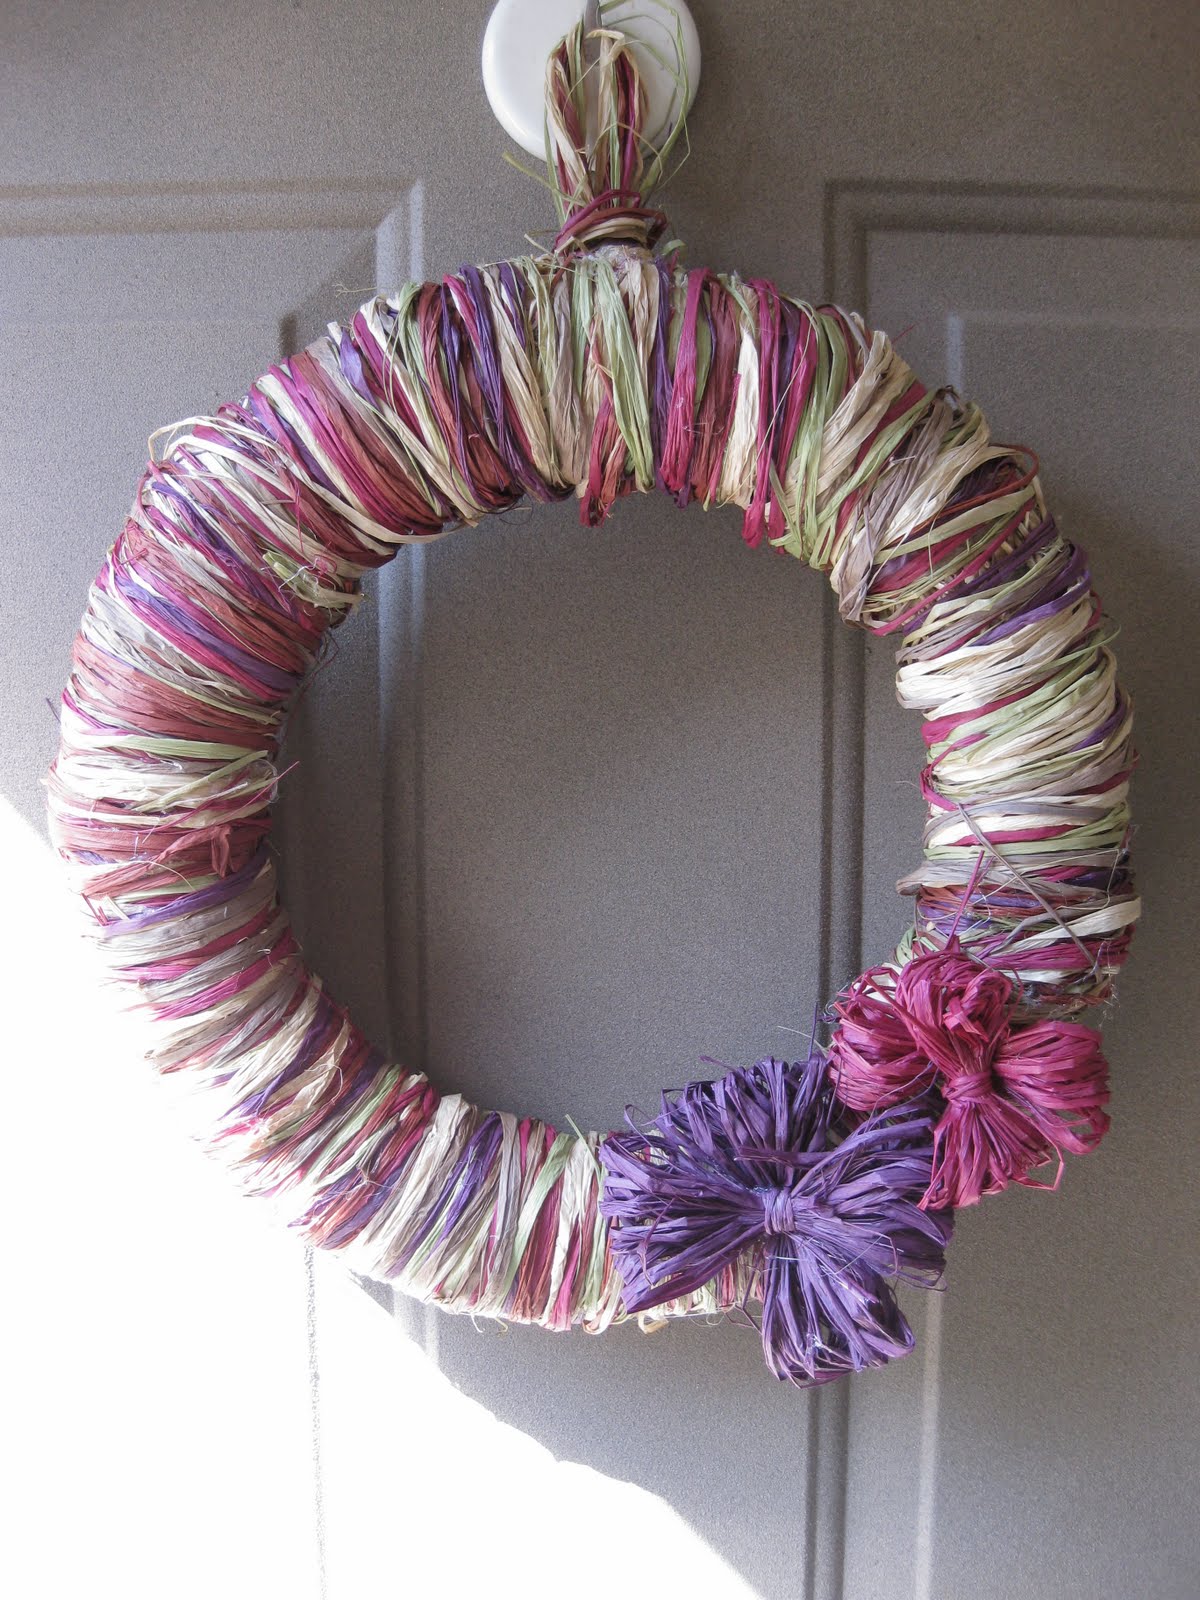
I used some decorating raffia, a wreath form and my glue gun.

I got this raffia at Michael’s for around $4.00 with my 40% off coupon, and I managed to find the straw wreath form at Goodwill for $2.00.
First I took thee or four strands of each color raffia and glued one end of the bunch to the wreath.
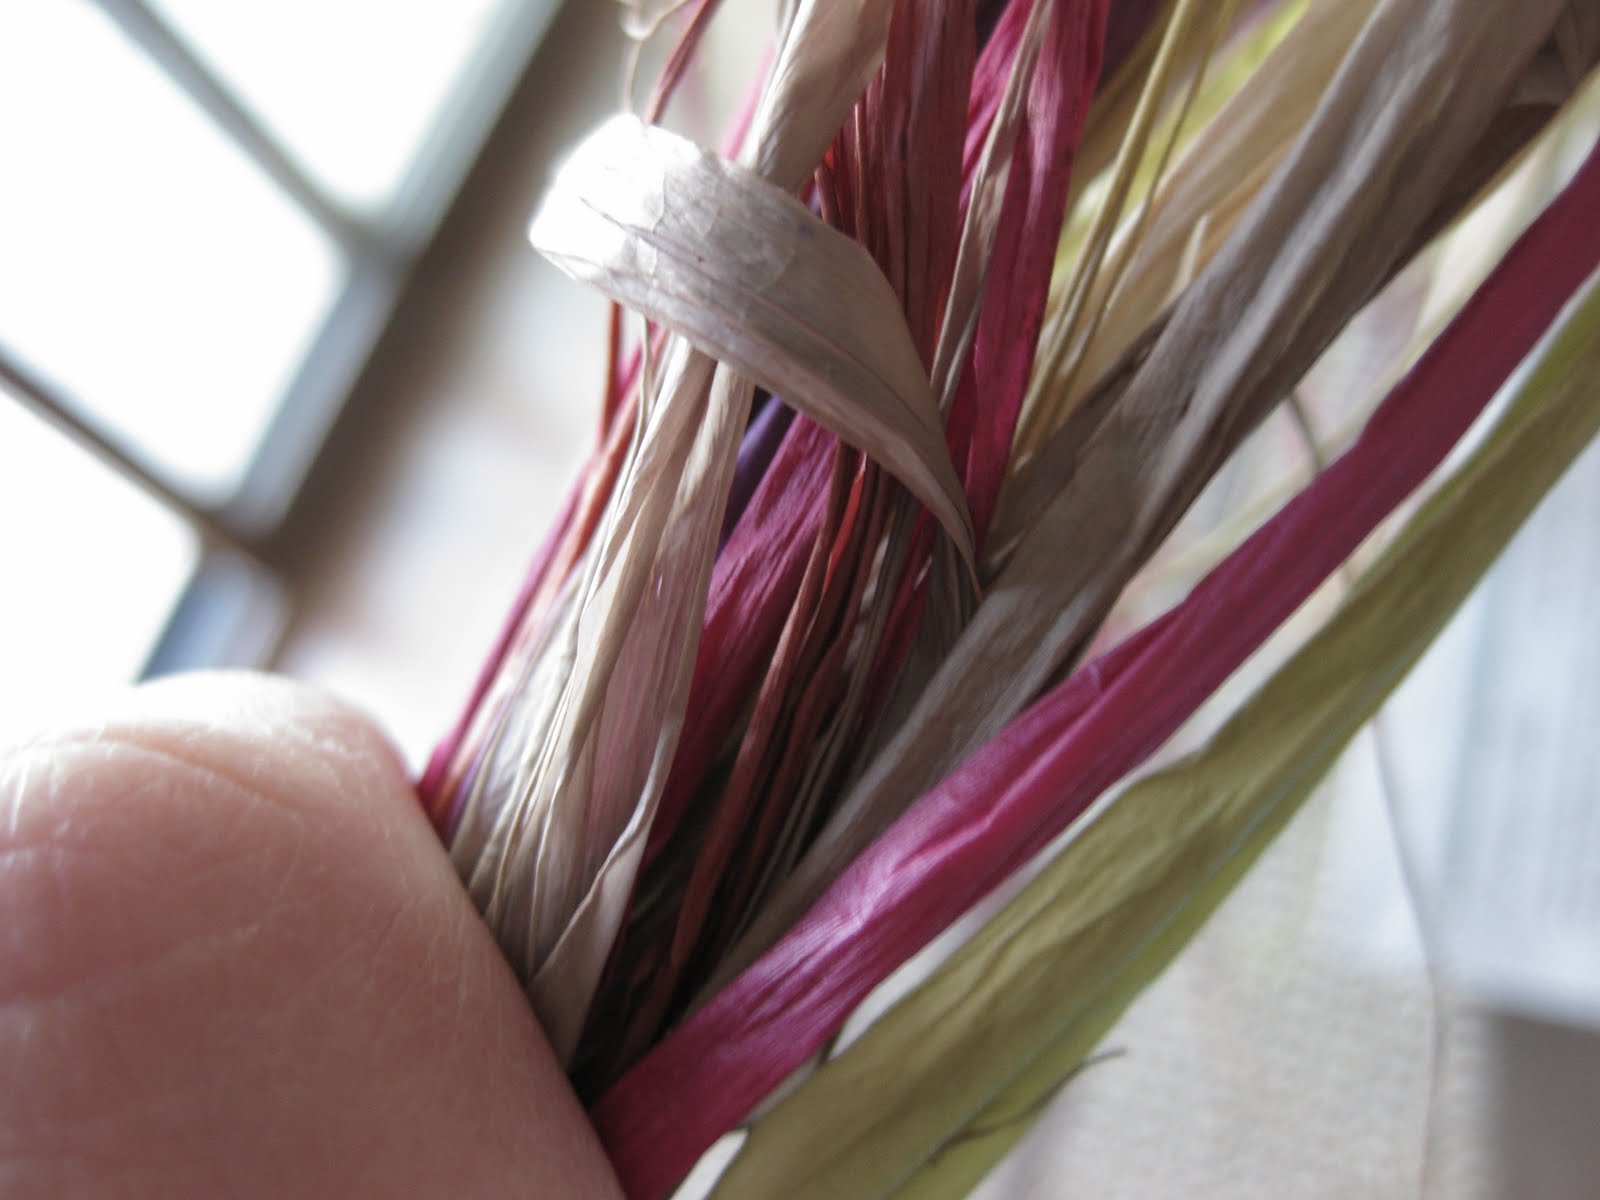
Then I wrapped them around the wreath tightly. I glued the end of the stands to the wreath and then started another bunch of raffia, overlapping the end of the previous bunch so no ends would be sticking out.
I continued doing this until the whole wreath was covered with raffia.
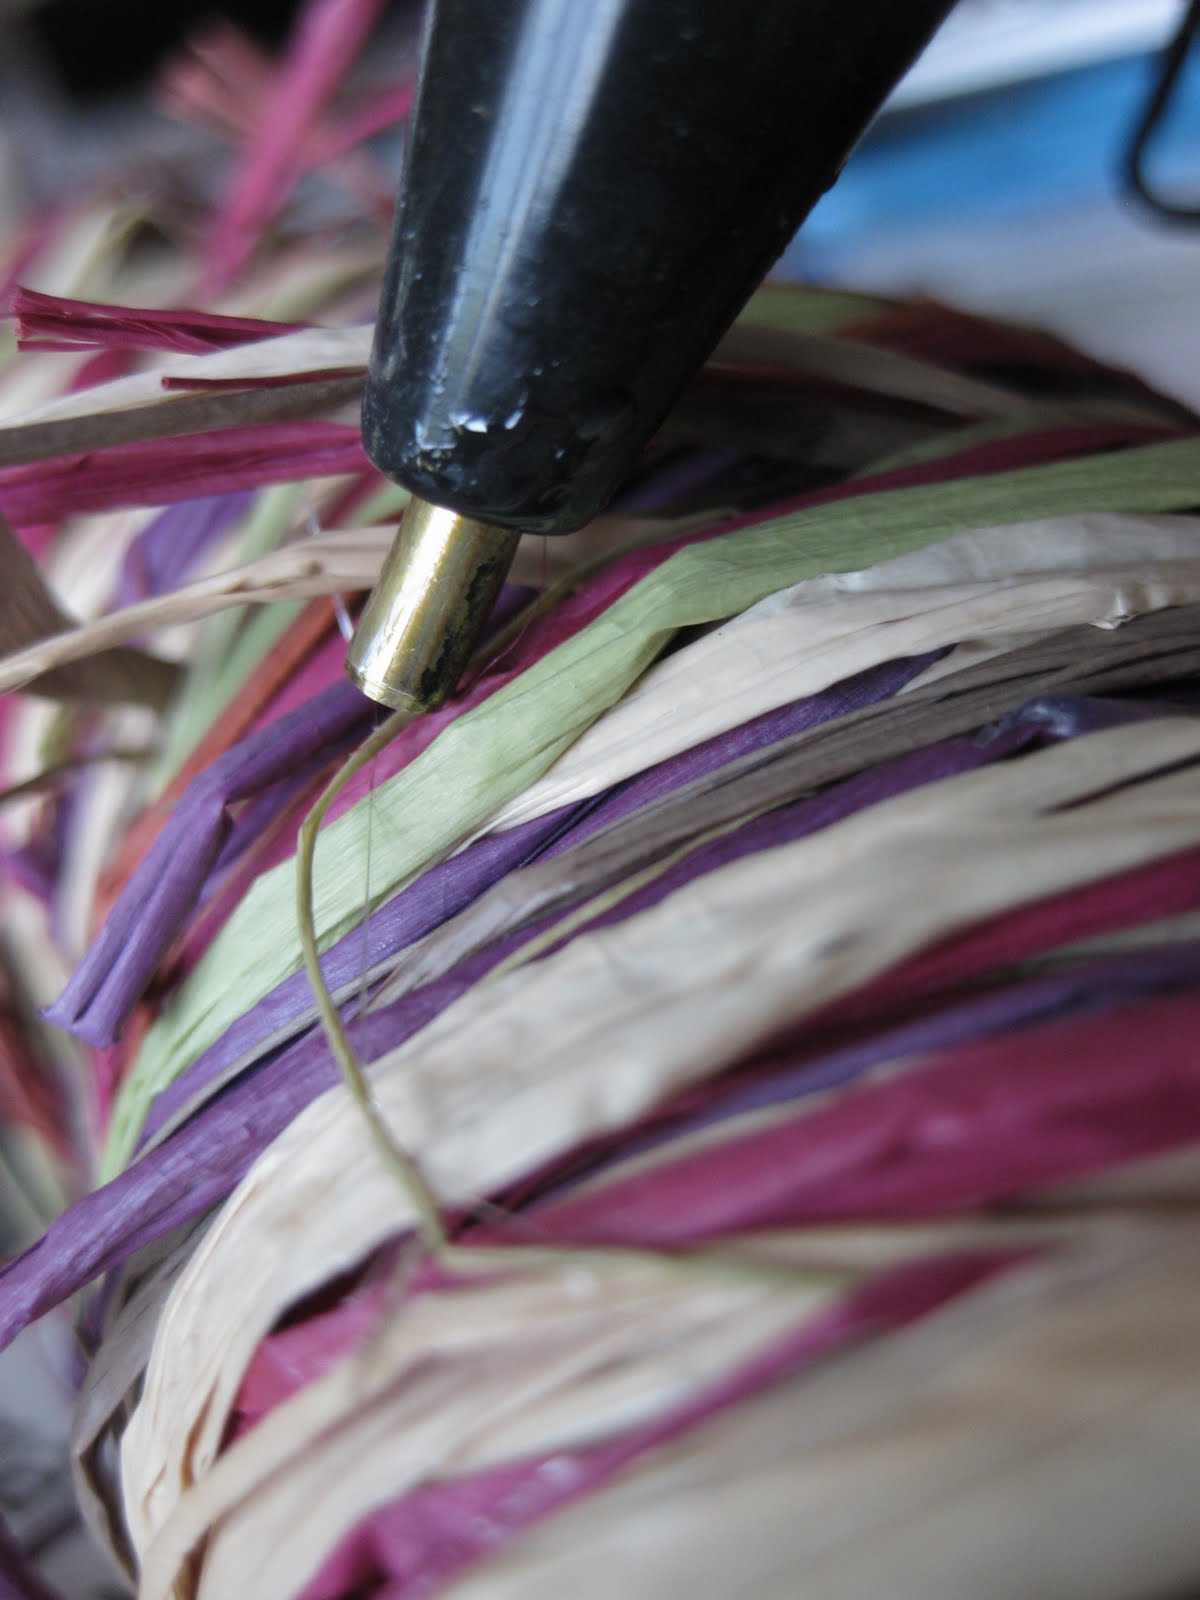
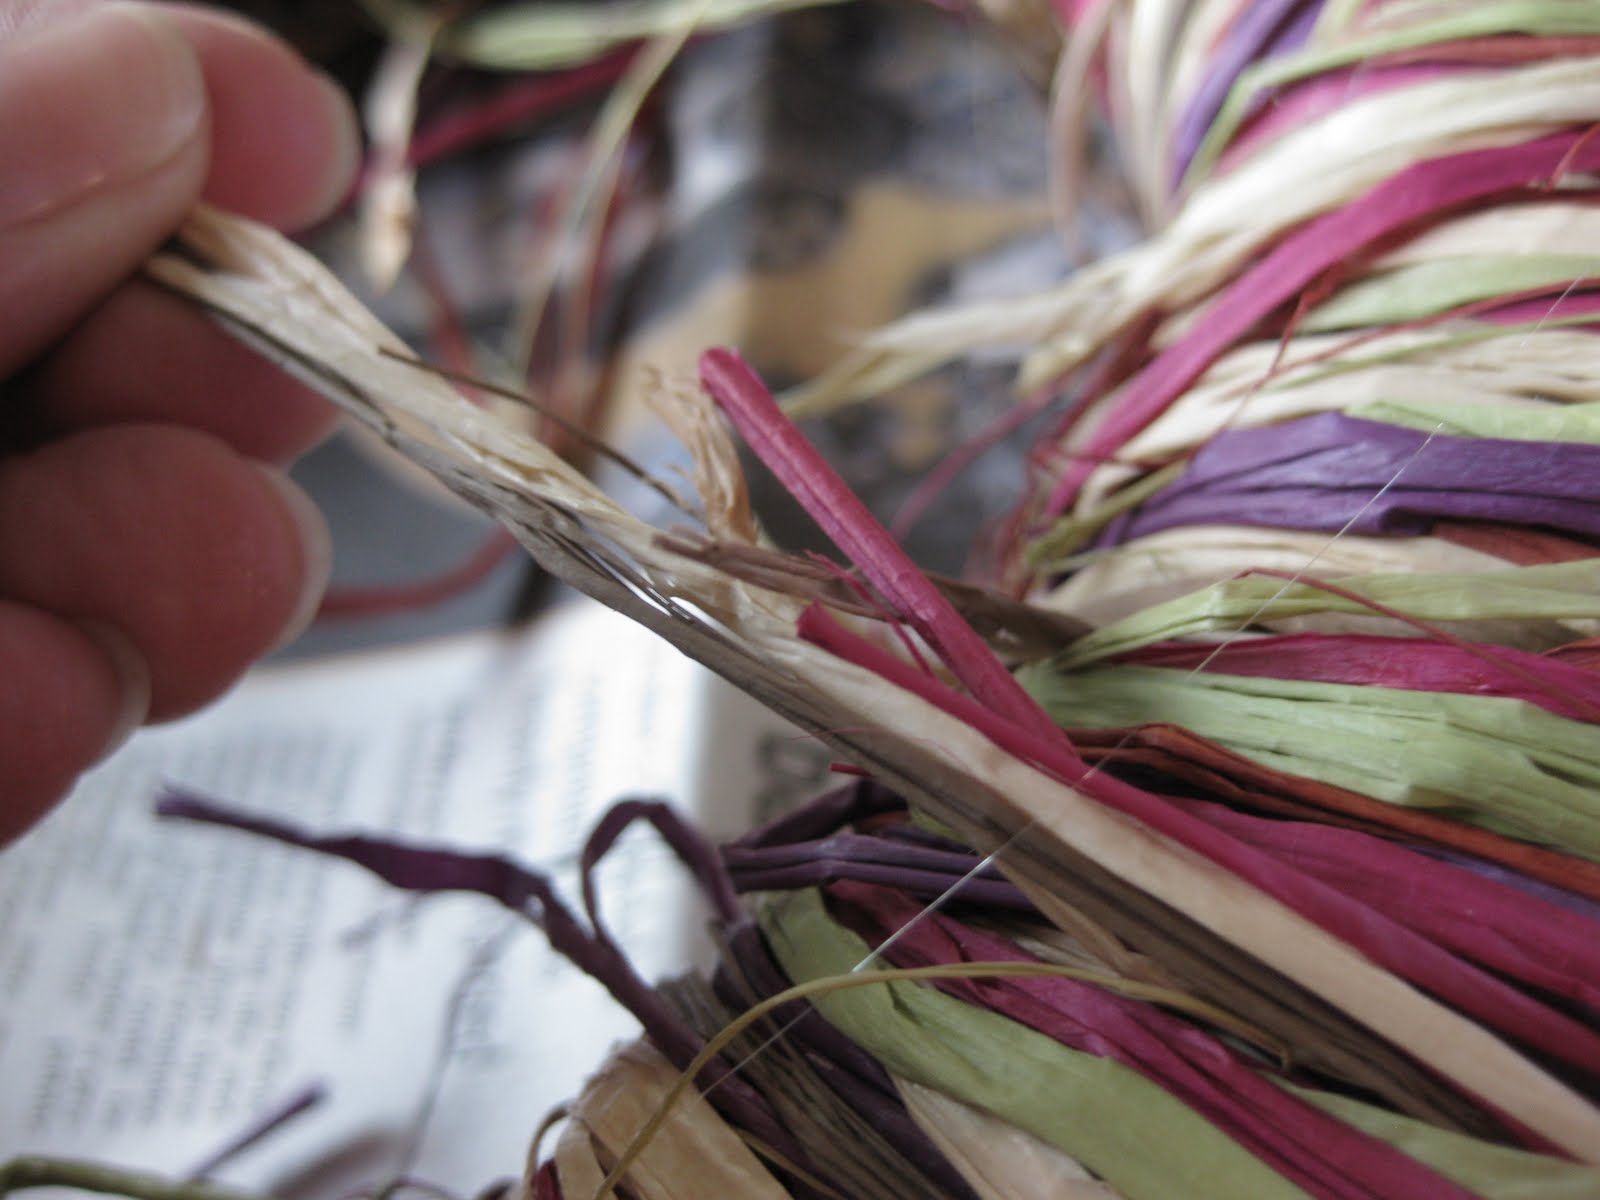
At the end there were a lot of loose ends and pieces sticking out. I trimmed as many as I could with scissors, and then the ones that I couldn’t trim short enough, I glued down (I tried to do most of my gluing on the back of my wreath where it wouldn’t be seen).
Now that my wreath was done, I decided to make raffia flowers. First I took the purple colored raffia and grabbed five to six strands.
I wrapped it around a cardboard form (or you could use your hand) so that it is uniform and even, like this:

Then I wrapped another piece of raffia around the middle and tied it in the back to secure it like a bow.
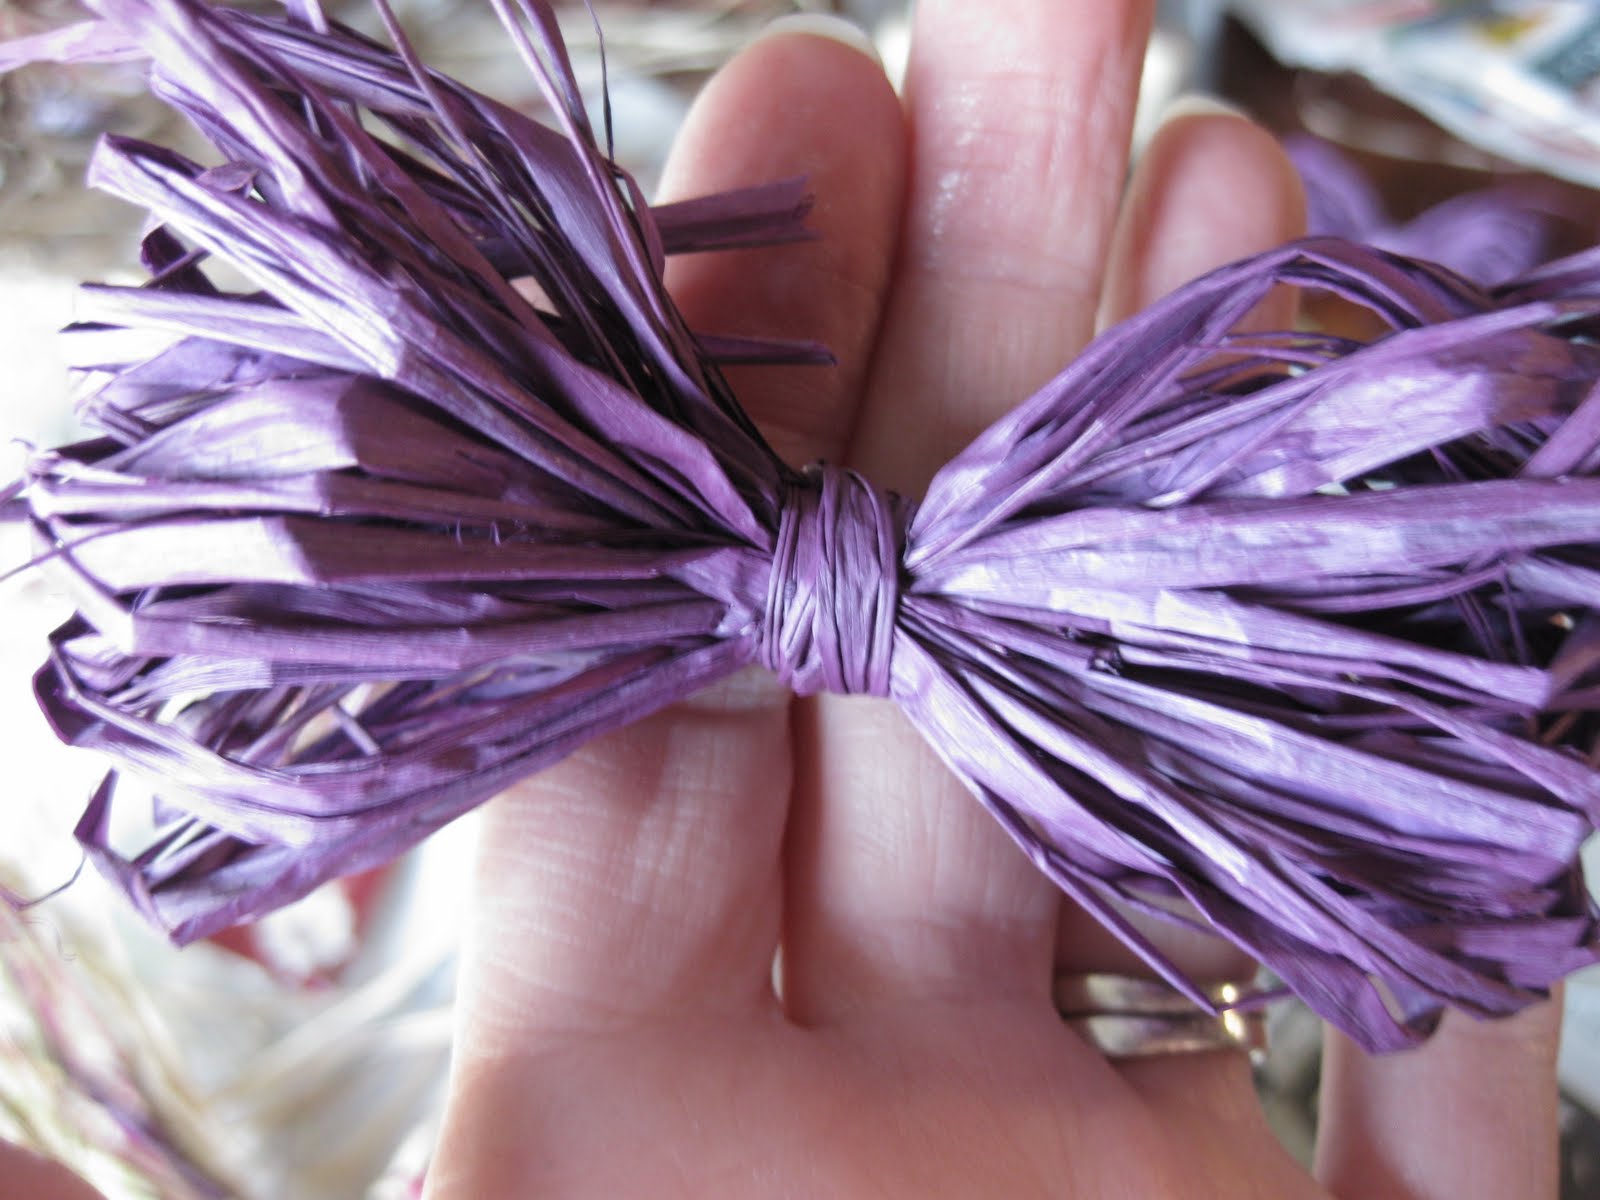
Then I made another “bow”, exactly like the one shown above and glued them on my wreath in an “X” to make a flower.

Finally, I hung it on the door and admired it. 🙂

What do you think?? I wish there was less pink and purple in there, but I still like it — it still says, fall, right? 🙂
Isn’t that fun?
Is this a project you might try?
Cassity Kmetzsch started Remodelaholic after graduating from Utah State University with a degree in Interior Design. Remodelaholic is the place to share her love for knocking out walls, and building everything back up again to not only add function but beauty to her home. Together with her husband Justin, they have remodeled 6 homes and are working on a seventh. She is a mother of four amazing girls. Making a house a home is her favorite hobby.


>Wow, really like this idea. Simple but very effective!
>I just bought me a wreath exactly like yours last thursday at Salvation Army for .99 cents. I am deftinetly going to try what you made, looks so easy and CuTe too.
>:) Thanks so much for the feature!! It completely made my day!!
>I fell in love with this idea as soon as I saw it:) I have two front doors so I needed to do one for each (of course..lol). I decided to make them each a little differant though and they turned out great. Thank you so much for your tutorials and all the great ideas on here. next I am so doing a rag wreath;)
>Yes, I honestly believe i will try this. It is adorable.