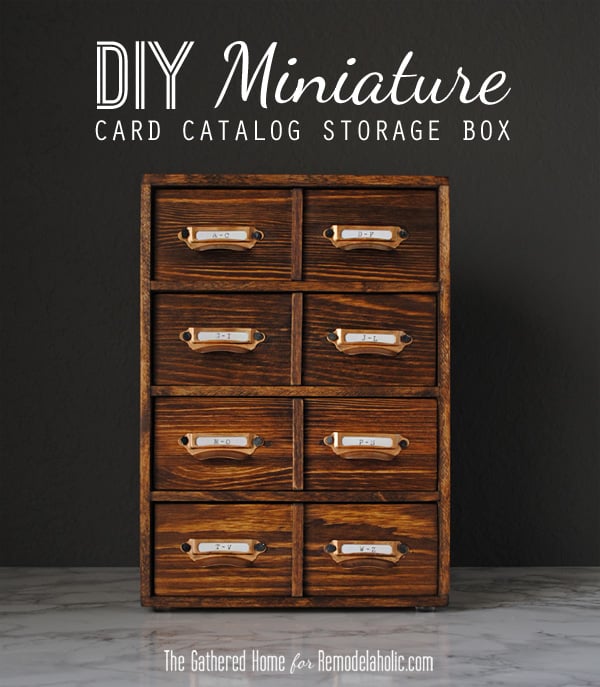
DIY Miniature Card Catalog Storage Box
Hello you guys! It’s Brynne from The Gathered Home! In October, I shared a quick and easy way to update a piece of furniture with patterned paper and in August I showed you my DIY Ikea hack accordion lamps. I’m so happy to be back with you guys today sharing another awesome DIY project that would also make a great Christmas present!
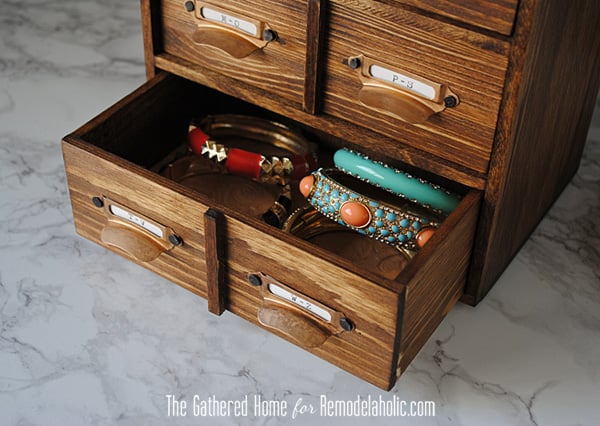
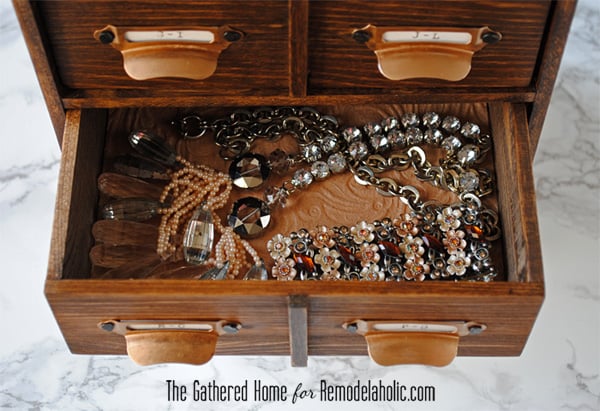
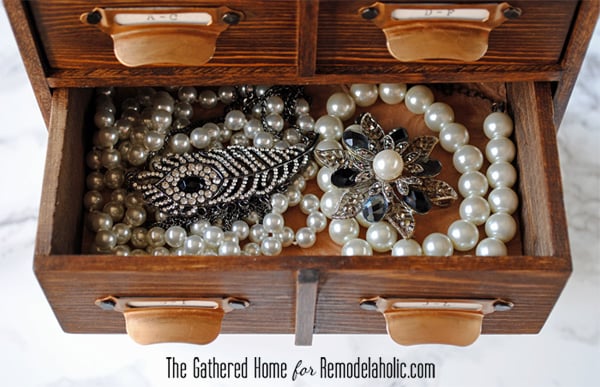
I love antique card catalogs but they are pretty hard to come by, so I set out to make my own miniature version – perfect for storing jewelry, desk supplies or whatever your heart desires!

Miniature Card Catalog How-To
Supplies:
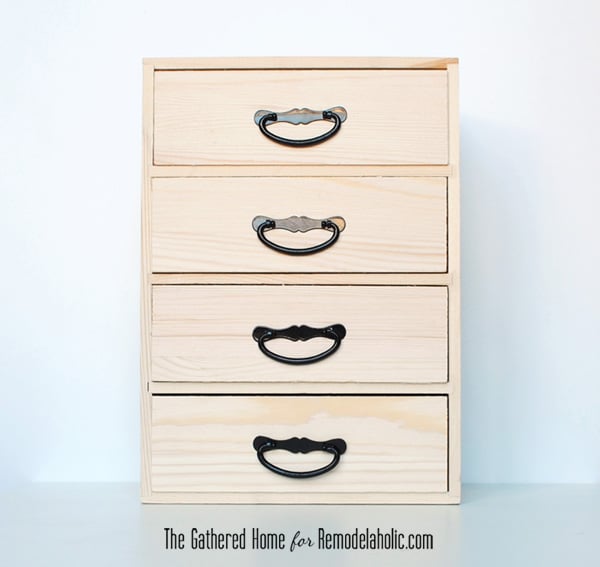
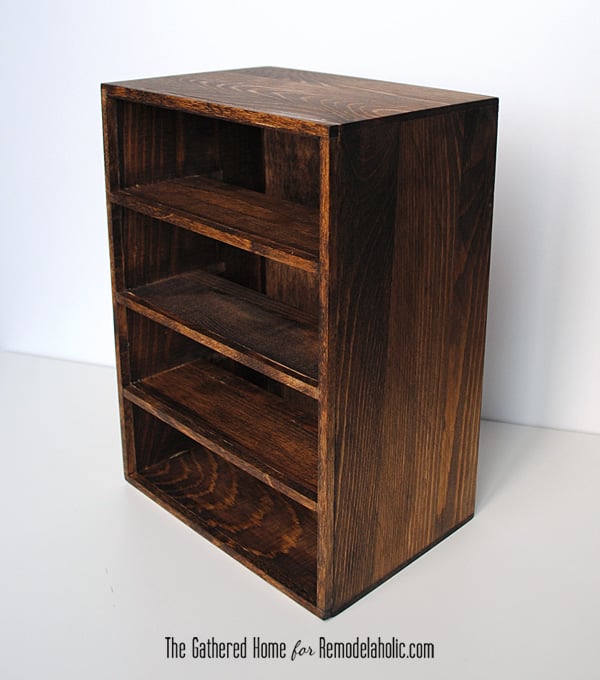
(1) Unfinished wood box with drawers – mine came from Hobby Lobby and was $9 after a 40% off coupon
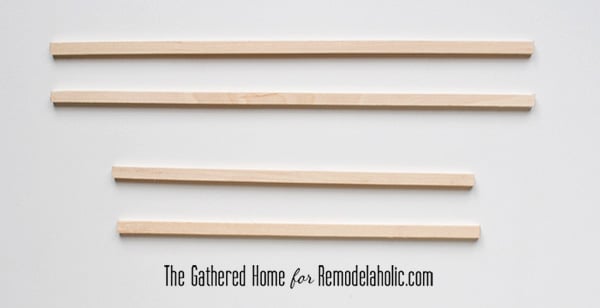
(2) 1/4″ x 36″ square hardwood dowels – $0.79/each
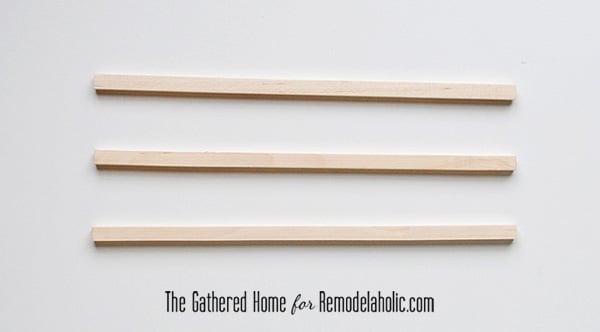
(2) 1/16″ x 1/4″ x 24″ basswood strips – $0.79/each – I found these at Joann Fabrics
(8) scrapbooking card catalog label holders – mine came in multicolor packs of 6 for $3.99/each, found at Joann Fabrics
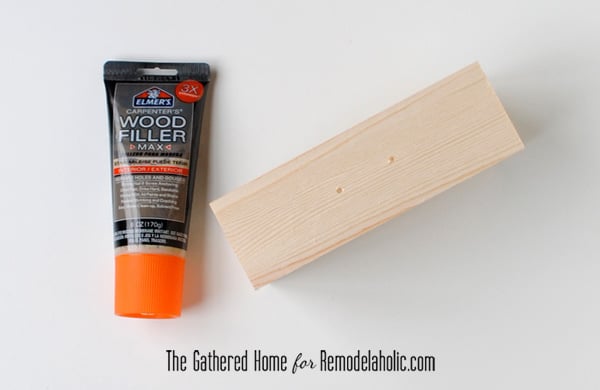
Stainable Wood Filler
Wood glue
220-grit sandpaper
Stain – I used Minwax “Provincial”
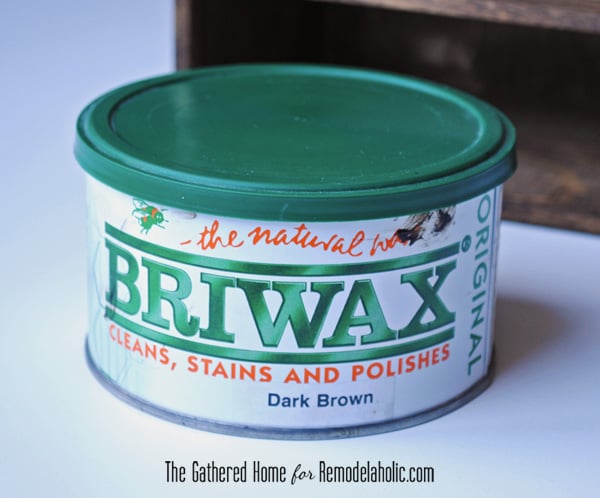
Dark wax – I used Briwax
Antique Gold Rub ‘n Buff
(16) Upholstery tacks
(2) Sheets of felt in your color/texture of choice – I found mine at Joann Fabrics for $0.99/each.
(4) Adhesive Rubber Bumpers
I had some of the supplies on hand already (like the wood filler, stain, wax, rub ‘n buff and upholstery tacks) and purchased some supplies with coupons/on sale so my total was under $25.
Time Needed: Several of the steps have waiting periods, like the staining step and the waxing step, so this project is best spread out over the course of several days. However, each step can be completed fairly quickly.
Step 1. Take your unfinished wood box and remove the existing hardware from the drawer fronts.
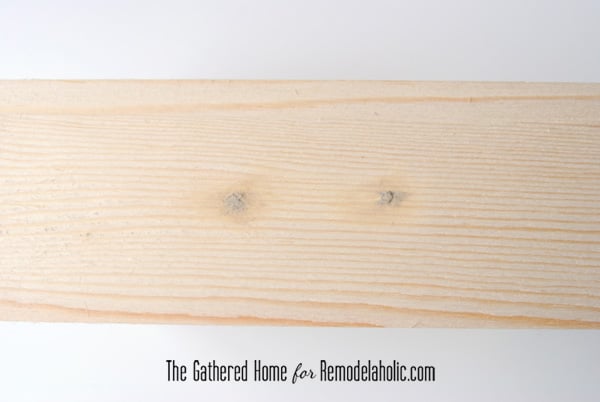
2. Use wood filler to fill in the holes from the hardware in the drawer fronts.
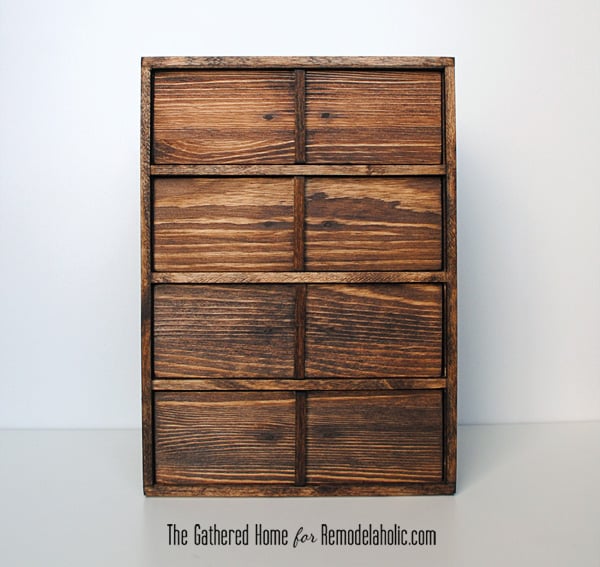
3. Cut the 1/4″ square trim to fit the front of the box – 5 horizontal pieces and 2 vertical pieces – and glue around the front frame of the box.
For the outside of the frame:
For the middle section dividers:
I placed the box on its face with a heavy object on top to weigh it down until the glue dried.
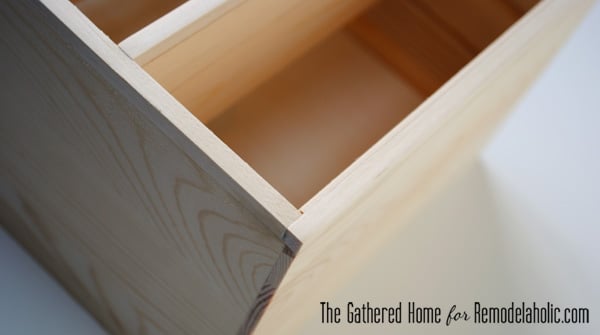
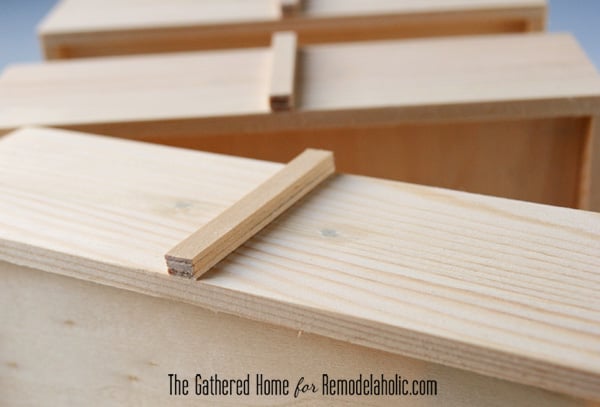
4. Glue a piece of the 1/16″ x 1/4″ trim to the underside of the top piece.
There was a gap between the top drawer and the top of the box frame, so I added a thin piece of trim to fill in the space.
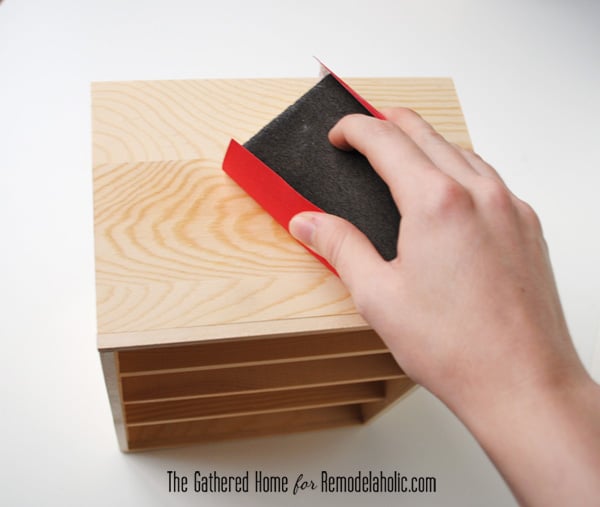
5. Sand the drawer fronts and the body of the box until smooth.
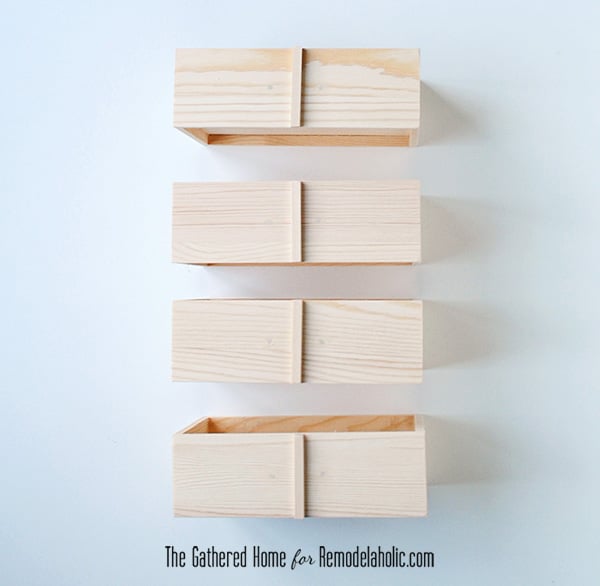
6. Cut 1/16″ x 1/4″ basswood strips for the middle dividers of the drawers & attach with glue.
I wanted to visually divide the 4 drawers in half, so it would look like 8 smaller drawers. I stacked my basswood strips 3-high to match the depth of the trim I added to the face of the box’s frame. Once the glue dried, I sanded all the edges.
All trimmed out and ready for stain!
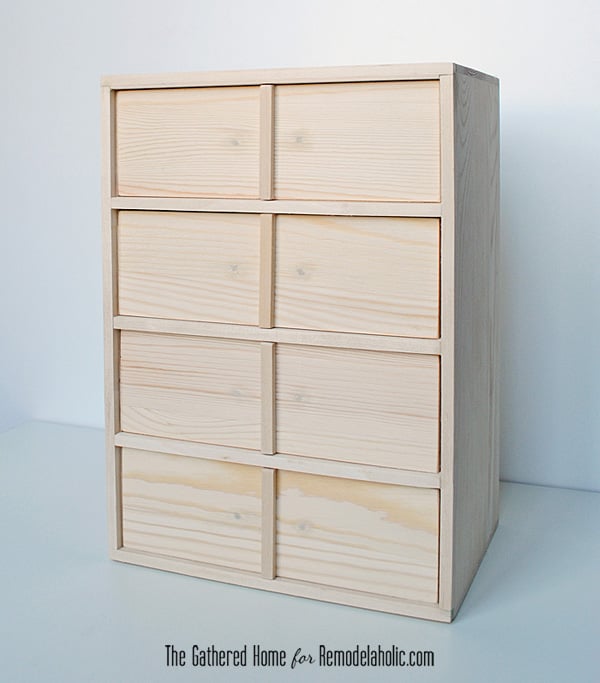
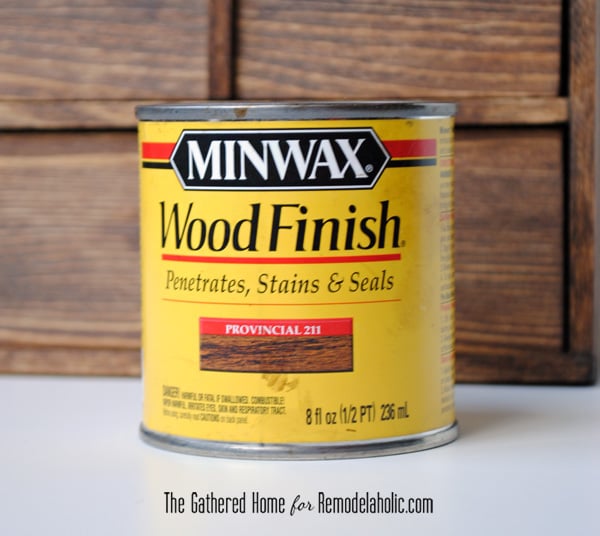
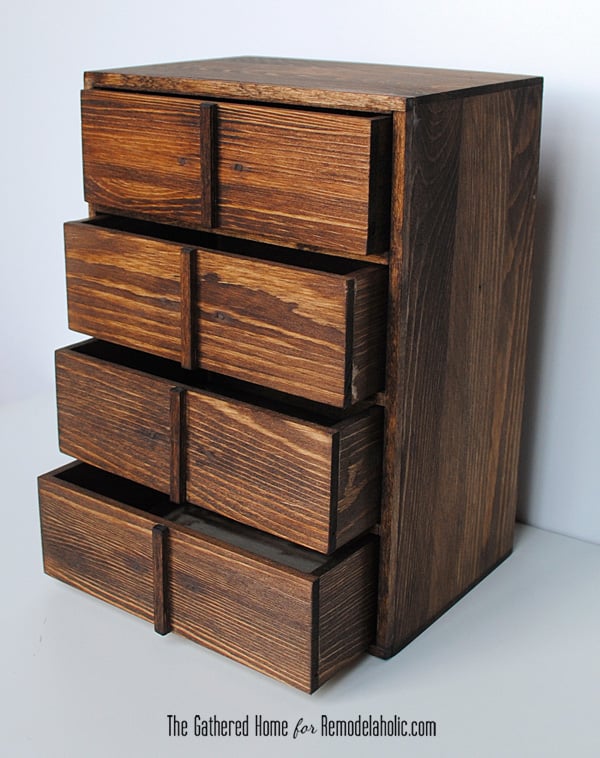
8. Stain the box and drawers.
I decided to stain every surface of the box and drawers including the inside and back side so everything would look finished. (Except for the drawer bottoms – I had a different plan for those.)
I used Minwax Provincial stain, but you could use any color you prefer.
9. Sand once more after the stain dries and finish with a coat of Briwax dark wax.
I chose to use wax over another type of top coat because I love the dimension the dark wax adds and the resulting soft finish. It feels more “antique” to me.
Buff with a soft cloth after the wax dries.
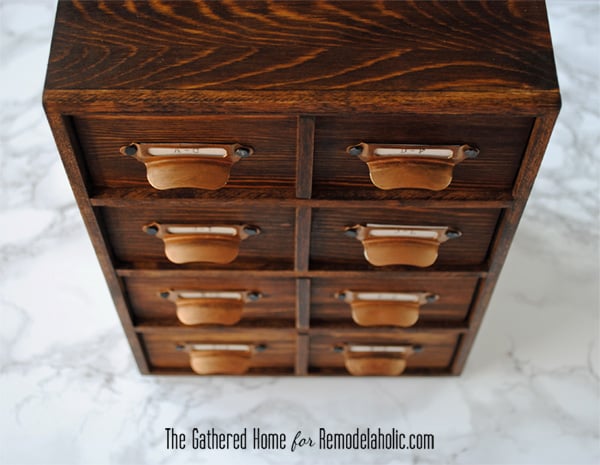
All done!
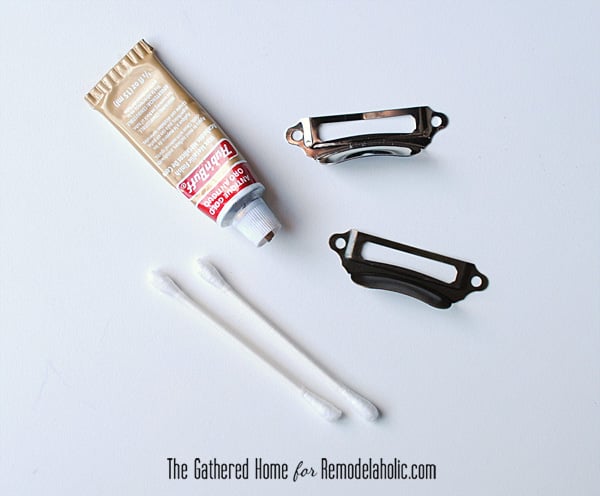
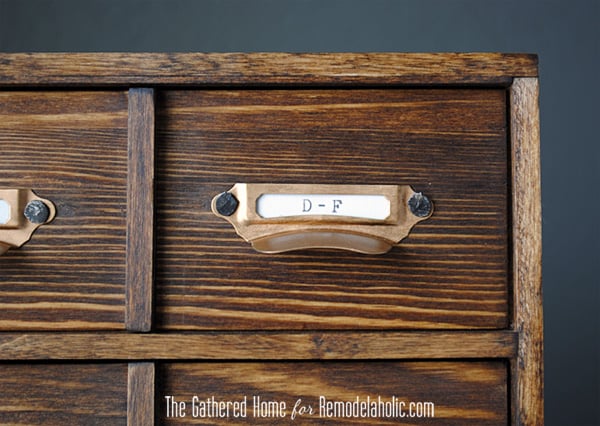
10. Use gold Rub ‘n Buff on the card catalog label holders.
They came in a pack of 6 with different metallic finishes, so I used antique gold Rub ‘n Buff to unify them. You could also use spray paint in your preferred finish.
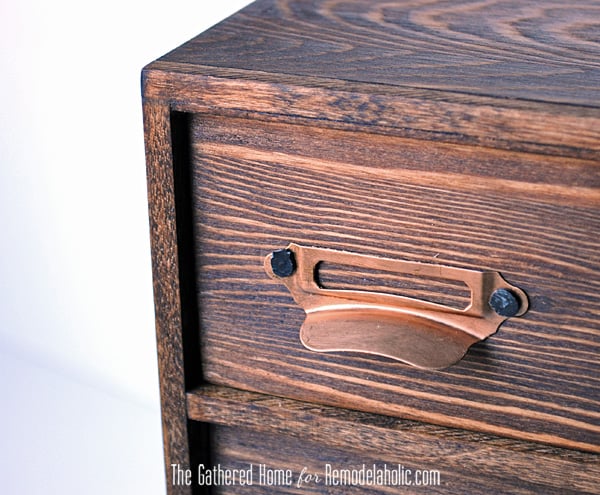
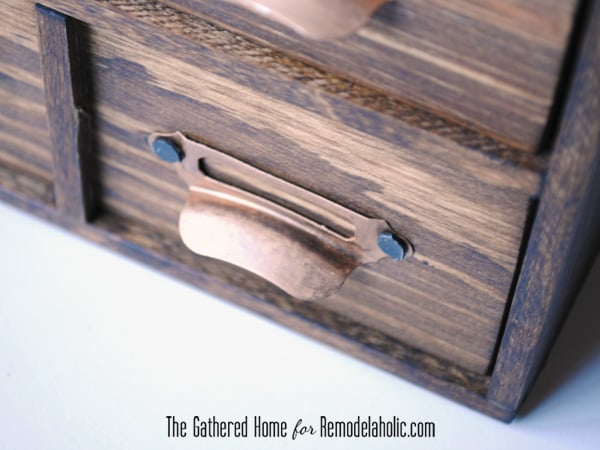
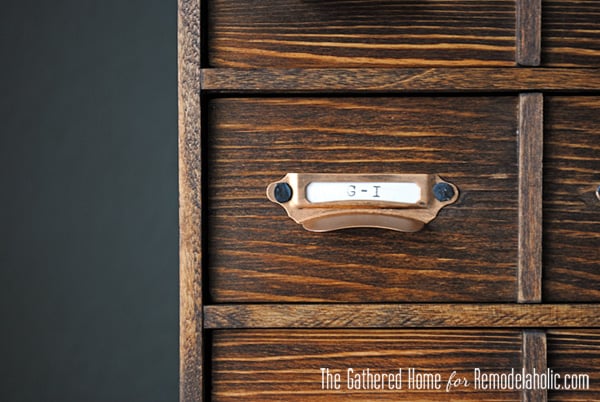
11. Attach card catalog label holders to the drawer fronts with upholstery tacks.
I gently hammered the tacks in. The ends of the tacks actually protruded through the back of the drawer fronts – I just snipped the sharp tips off with wire cutters.
I love the vintage appearance of the upholstery tacks – they look a little like hand-forged nails.
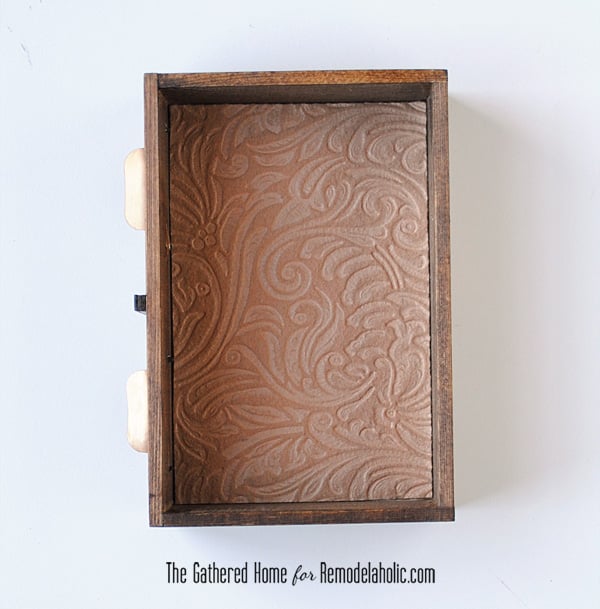
12. Line the bottom of the drawers with felt.
I love this textured felt I found!
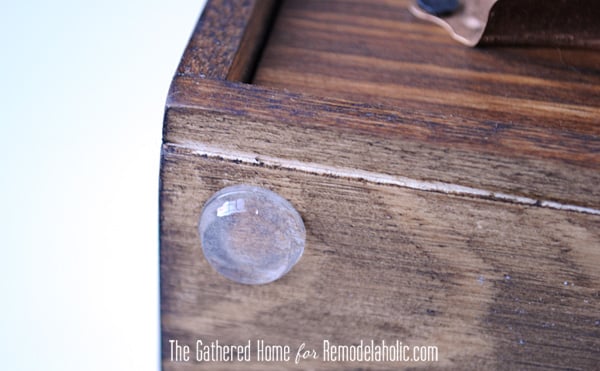
13. Add some adhesive rubber bumpers to the bottom corners of the box.
14. Print miniature labels for the label holders.
I used a free typewriter font (Underwood Quiet Tab) sized at 10 pt and created alphabetical divisions like you would find on a real card catalog. You could also label the drawers with numbers or contents – the labels are easy to change out as needed.
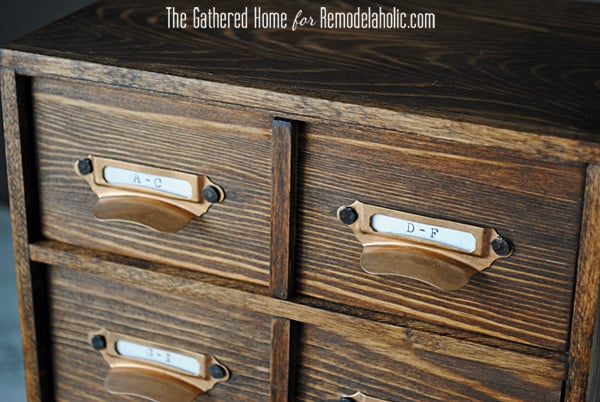
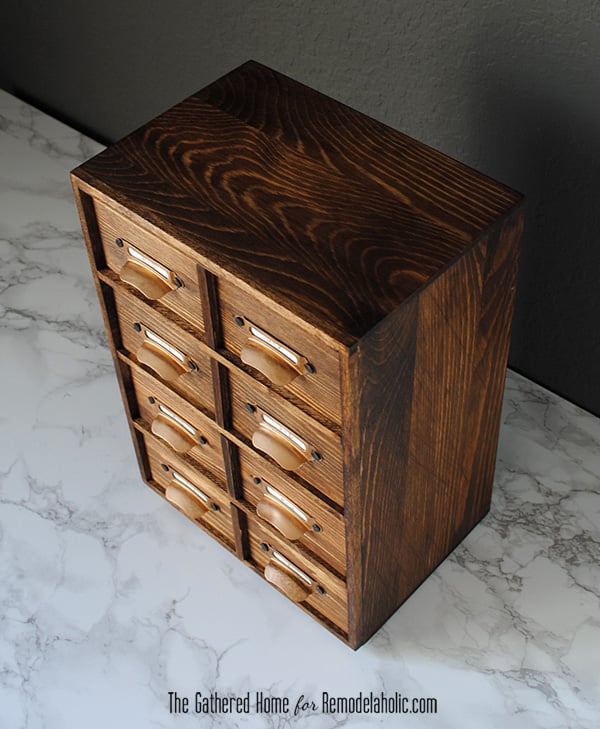
There you go! All finished:
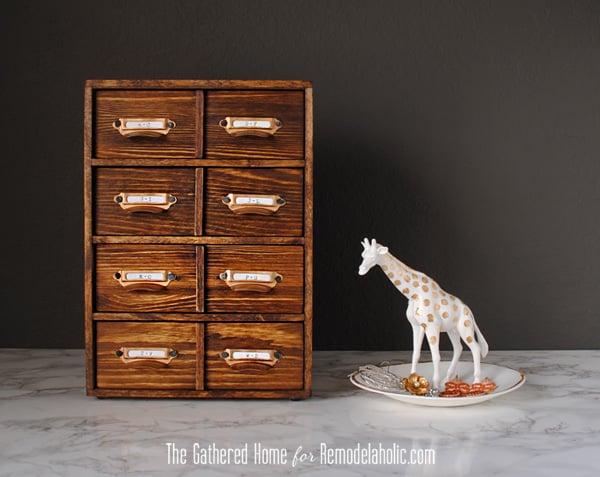
I paired it with my Anthropologie Knockoff Giraffe trinket dish and stashed some jewelry inside!
What do you think? Wouldn’t this make a great gift for a vintage-lover? (Or yourself – no judgement if you decide to keep it!) Let me know if you make one of your own – I’d love to see pictures!
P.S. Looking for more DIY ideas for Christmas? I just shared another vintage-inspired DIY gift idea on my blog – come on by for the tutorial!
Thistlewood, Inspired by Charm, Funky Junk, Shanty 2 Chic and Songbird Blog
 |
 |
 |
 |
 |
 |


Oh wow, this is so gorgeous!
Thank you so much Laurel!
I don’t think I have ever met some nice storage I didn’t like and when it has been Brynne’ified, well that just takes it totally over the top for me. How smart to add the molding pieces to the front like that. I just love this whole thing!! Brynne rocks!!!
Aw, you are so sweet Katja! Making me blush over here! 🙂
This is such a cute idea!! I would never have guessed what it looked like before the makeover. You perfectly captured a vintage feel.
Thank you so much Tanya!
Super cool, it is definitely a looker..
Love this! It would be neat to use for a recipe file too!
Love that idea!