Damask Stenciled Curtain Tutorial
Submitted by From Gardners 2 Bergers
✥ Damask Stenciled Curtain {Tutorial} ✥
Here’s the promised tutorial for my stenciled curtains!
I love this project! It was quite a bit of work because I stenciled 6 curtain panels!
Sounds like a lot of work, right?
Let me tell you, it was 100 percent worth it and I’d do it again in a heart beat!Why? I needed a large quantity, 6 panels to create the looks I was after. This way I got exactly what I wanted: a beautiful damask curtain on a linen-like fabric with the exact shade of gray I wanted. In my eyes, you cannot beat it!
First, here’s a few pics of my inspiration curtains.

This is from Shanty 2 Chic and the fabric is Waverly Bedazzled in Silver. Love it, but it costs $30 a yard (sometimes it’s on sale for $20). Um, thanks, but no thanks.
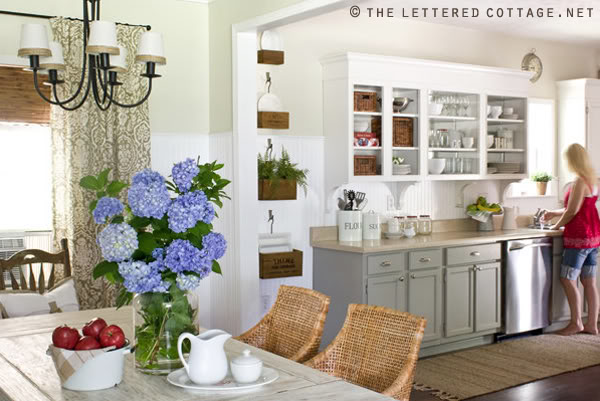
You can kinda see these curtain panels from The Lettered Cottage in this pic. Similar feel, right? Cream and “greige” on a textured cotton or linen, beautiful and vintage-y.
Last, but not least-Stephanie’s curtains- from Frugal Home Ideas. {PS she’s sharing a no sew curtain tutorial on that post}
I choose a damask pattern because I wanted something that looked a little aged, and I thought Anna Damask Allover Stencil from Cutting Edge Stencils would do that perfectly.
When I add something new, I am always mentally trying to balance something new {looking} with something old {looking}.
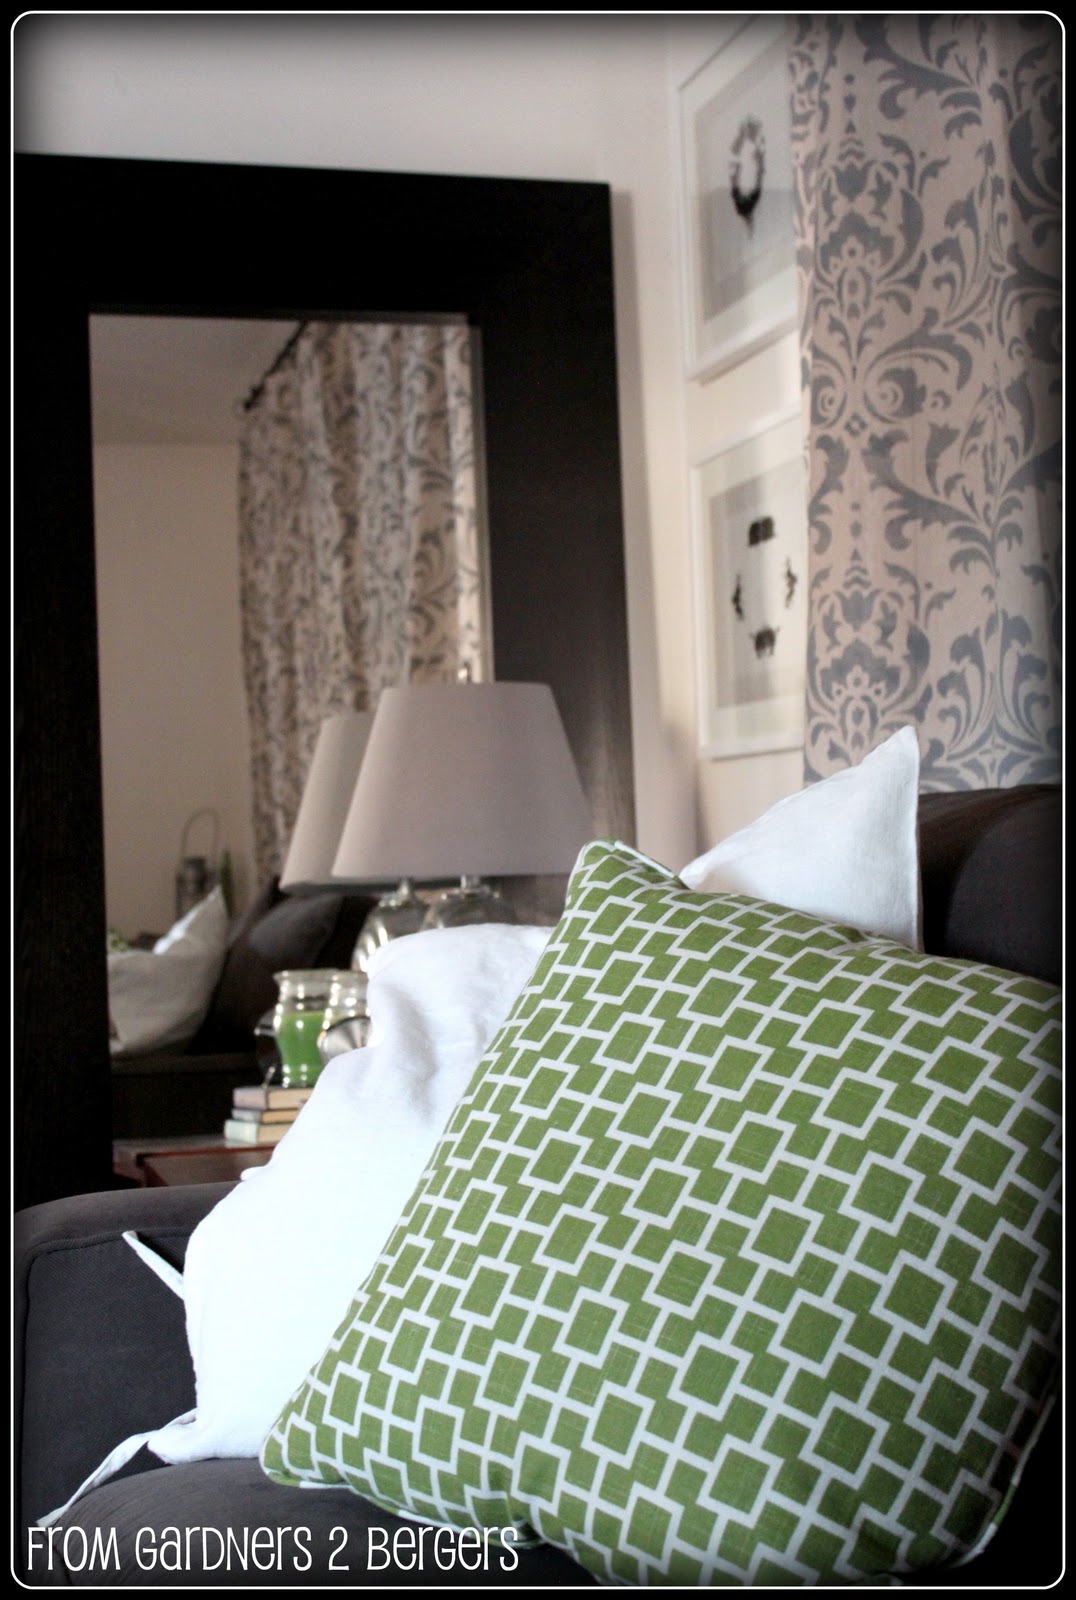
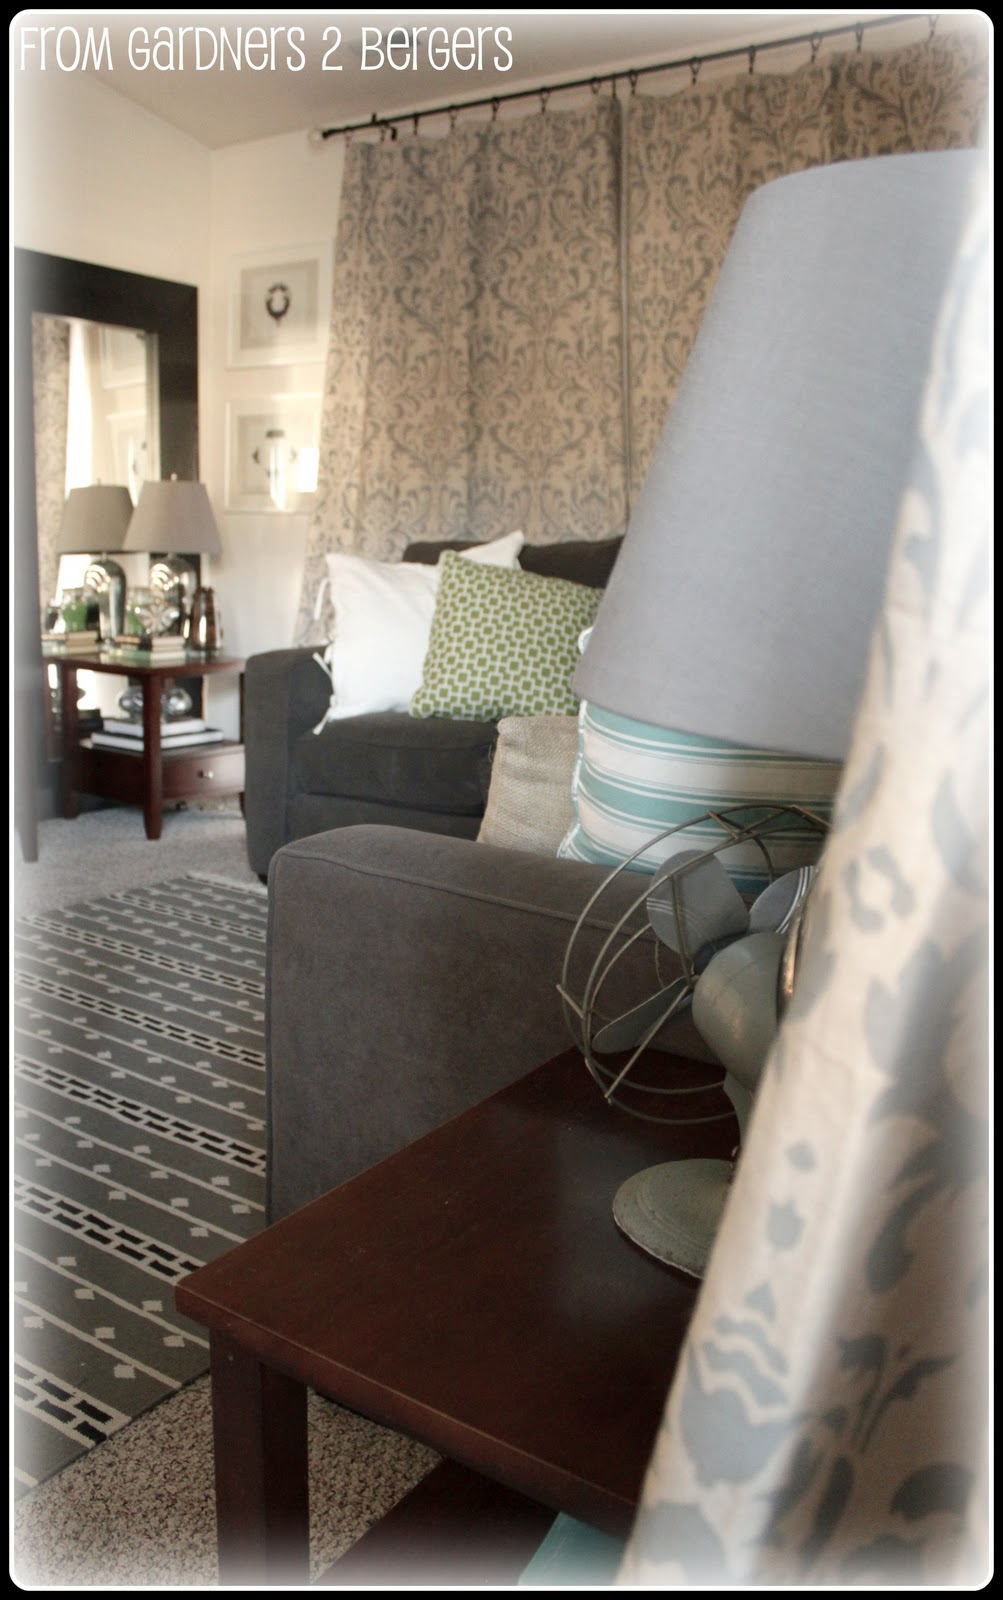
I want a room that looks both modern and vintage. For me, damask equals an aged element. I also wanted a soft, scrolling pattern to balance all the hard elements in my space- the metallics, the modern lines, and the typography everywhere.
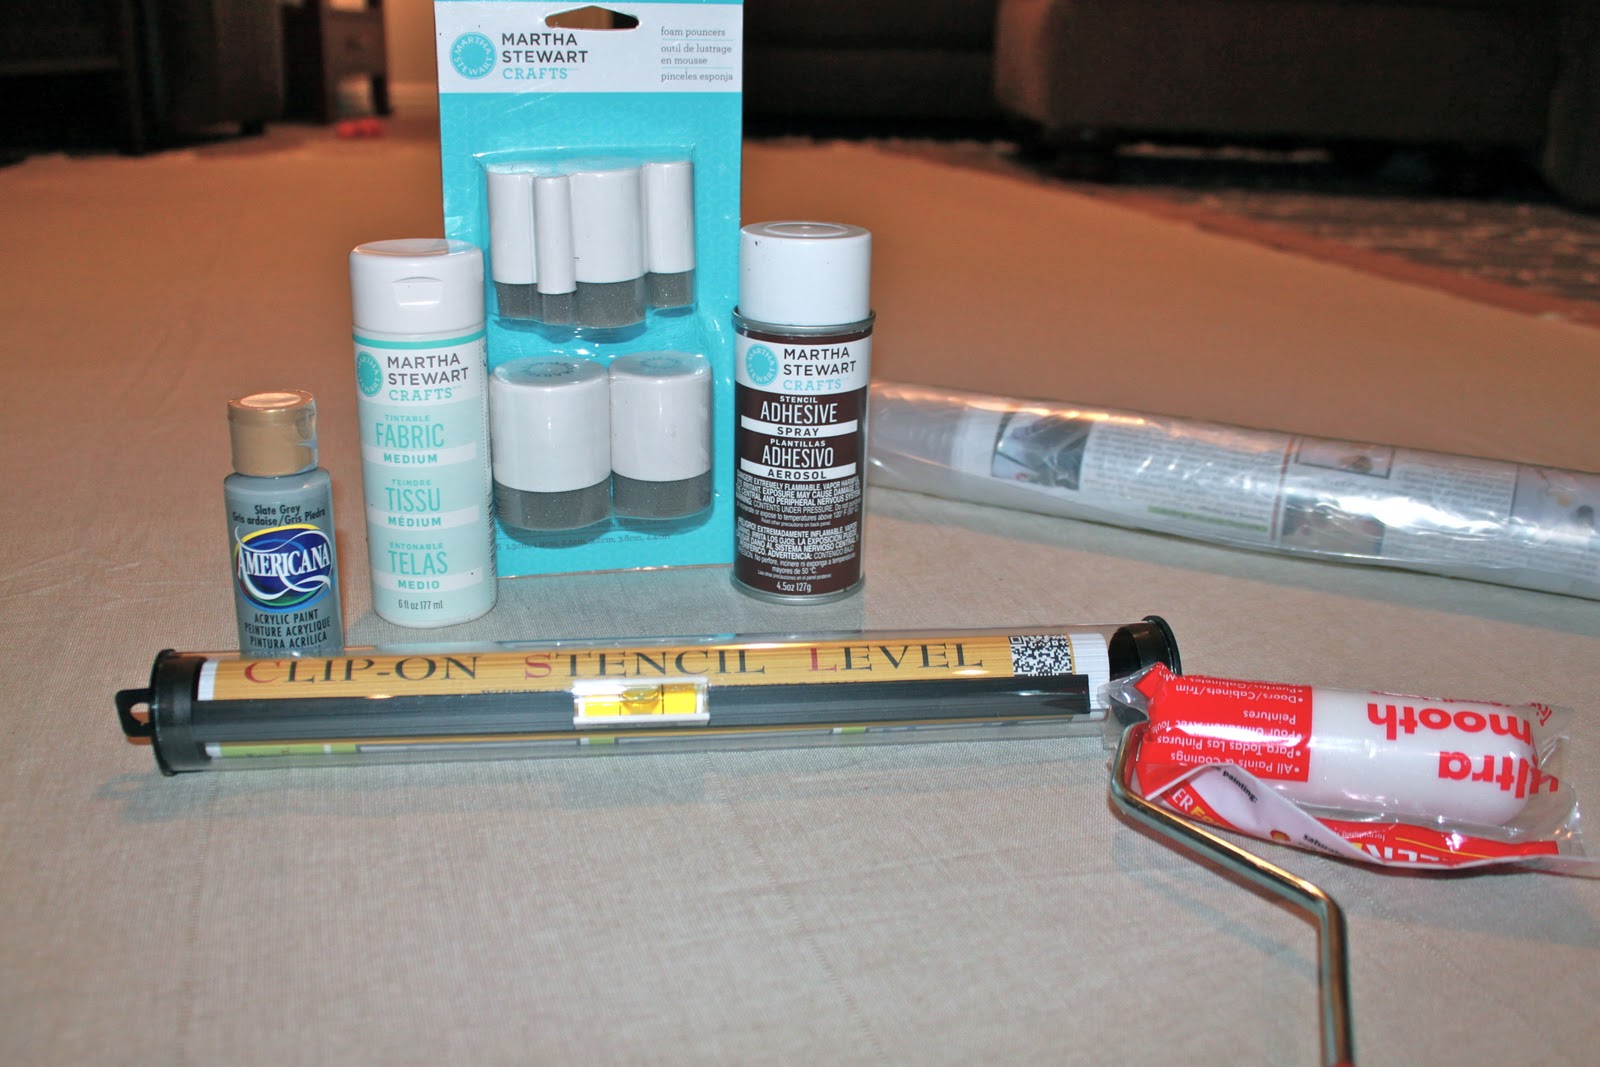
Materials
6 Curtain Panels from Ikea
Gray Craft Paint – 2 bottles per curtain
Fabric Paint Additive- 2 bottles
Paint Roller and Stencil Pouncers
Stencil
Painter’s Tape
Stencil Adhesive
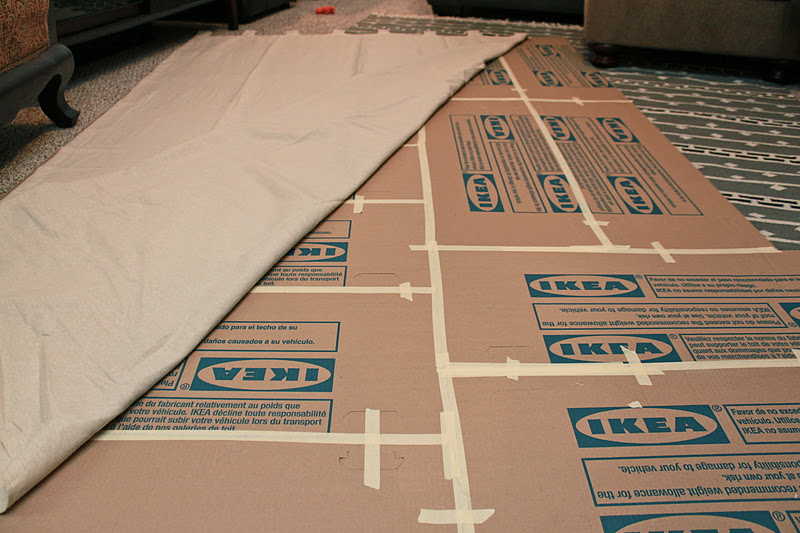
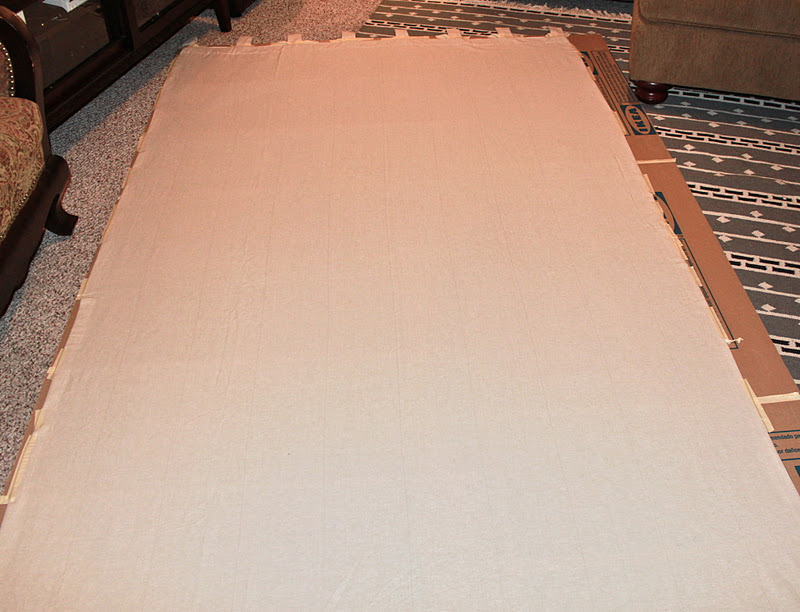
[2] Tape down all the side, making sure the fabric is laying flat and not pulled or stretched in any way.
The better you line up your fabric and secure it, the better your results will be. Prep work is uber important.
 [3] {If you haven’t stenciled a lot before now, watch this video.}
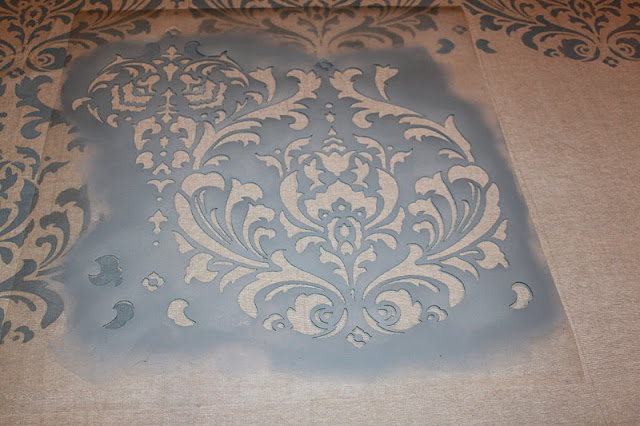
Prepare your paints following the mixing directions. I used Americana in Slate Gray and Martha Stewart’s Fabric Additive for paint. See that little gray dot? That was my only test swatch on the fabric. In hindsight, I’d say I’m lucky I like the end result as much as I do! Ack!
[4] Spray the back of your stencil with stencil adhesive, this is especially important if you have a very detailed stencil with a lot of open cutouts. The more you move the roller to paint all that pattern, the easier it is for the stencil to shift. With the stencil spray adhesive I didn’t have a single problem with the stencil shifting.
I followed their directions {from the video} about how to load the roller for stenciling and how to roll off any extra paint {see the paper towel with paint on it?} And guess what?! I did not have any paint bleeding under the stencil for my whole project!!

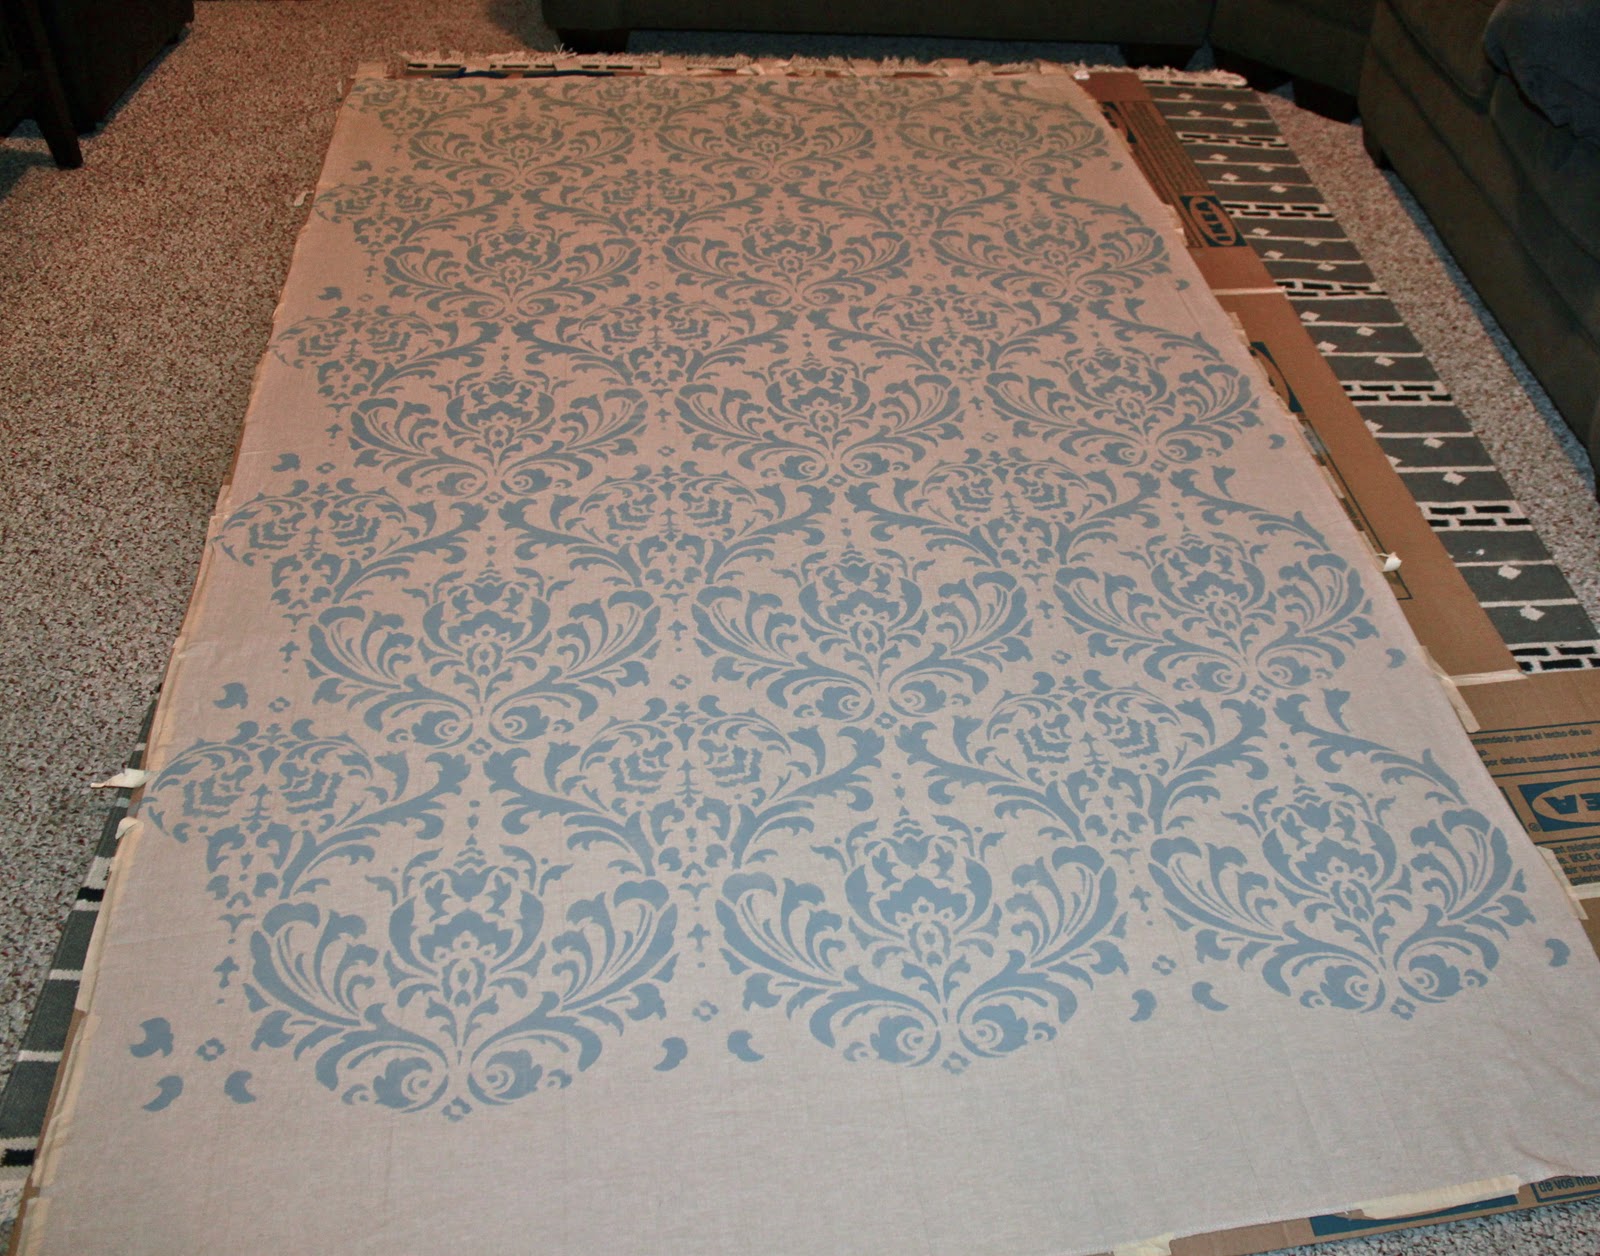
[5] Use a roller to do all-over stenciling like a damask, space out your stencil- you know, plan your attack. I started the top of each panel with the same part of the stencil for each of the six panels, so when you look across the room the pattern would line up.
I used the roller from Cutting Edge Stencils and it worked very well! It’s different from other rollers in that it has a rounded end and is made of the perfect foam density for stenciling.
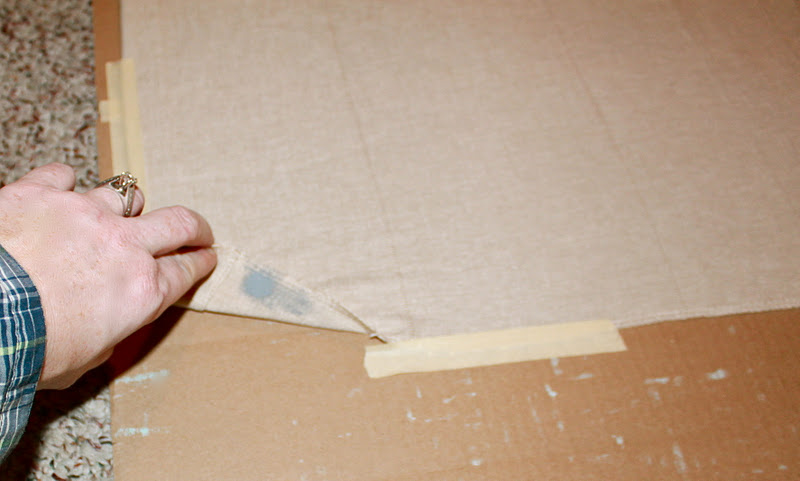
 [6] Go back to fill in the top, bottom, and sides. Make sure to line up the stencil with the cutout indicator marks.
You can see how the cutouts line up perfectly with the already stenciled curtain. This was at the bottom of the curtain and everything still lined up perfectly. I’m telling you- taping everything down is super important!
[7] Let your curtains dry overnight, at least, then iron them to set in the paint. Since mine were the Lendacurtains from Ikea they also needed to be either hemmed or ironed with the fabric tape to create a hem. Not bad for 10 bucks a panel.
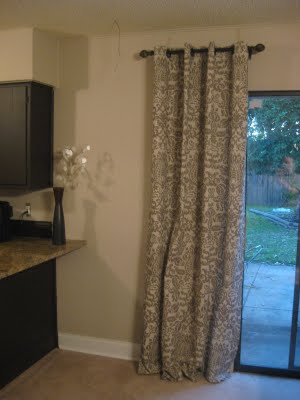
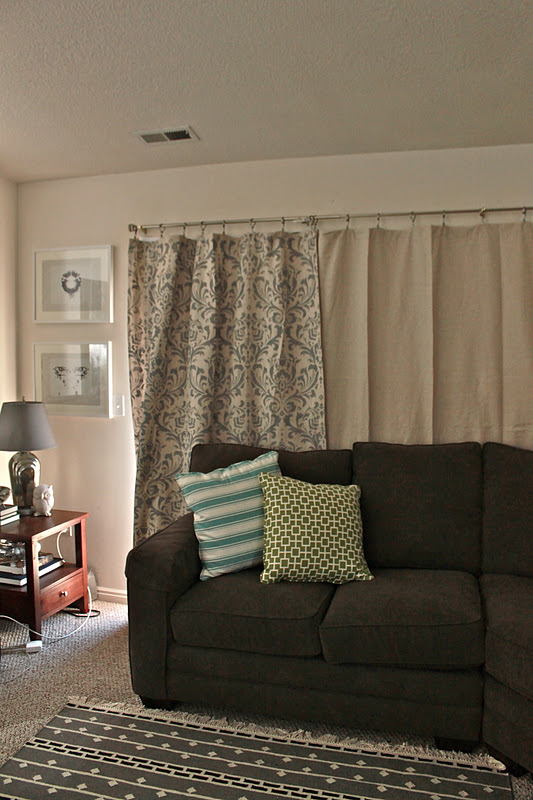
Here’s a pic of the difference between one painted and one straight out of the package. {I love my stencil!}

BEFORE:
AFTER:
It took me 1-2 hours to complete each panel. I think I am probably a slow “stenciler” {stenciler=one who stencils, probably not a word?}, I had a feeling I would be. I just get so precise when I’m doing a project. Great results are worth the time spent, as 6 custom curtains would have cost some serious coin.
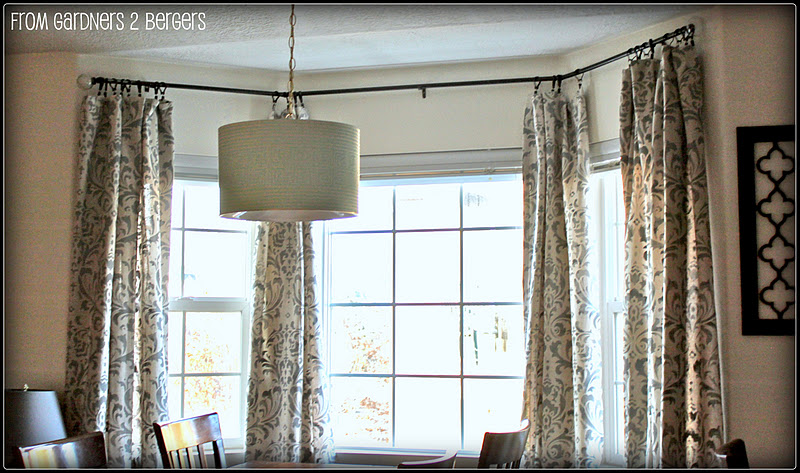
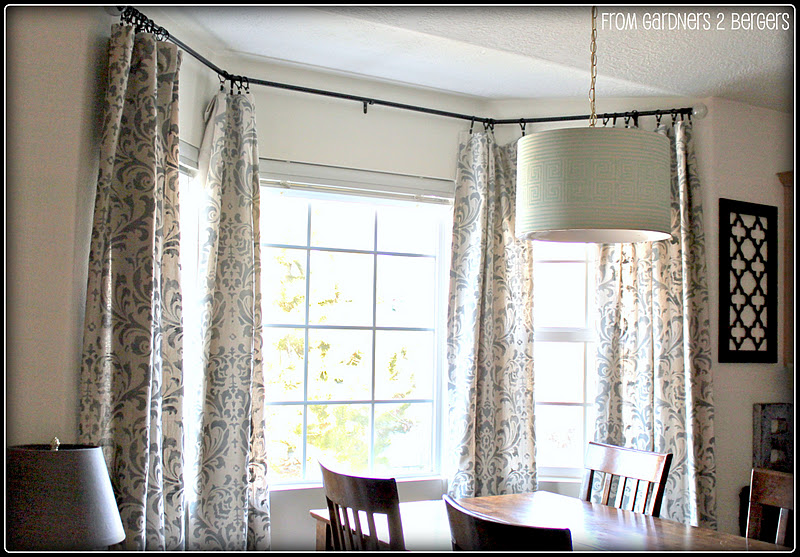
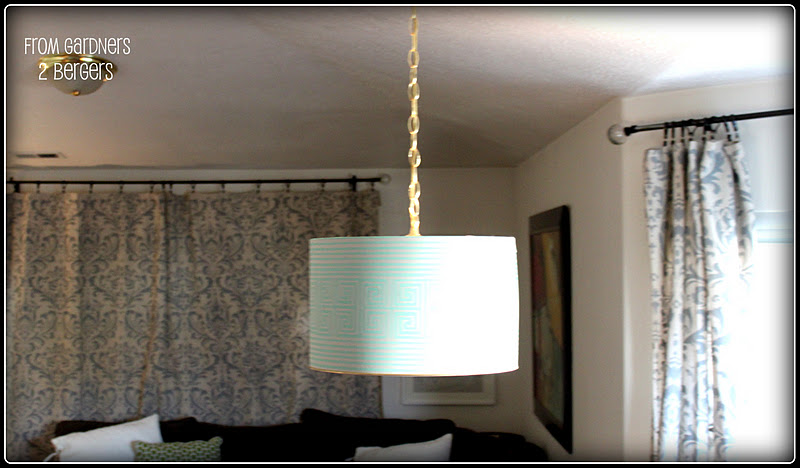
Would you believe I also made the curtain rods? Another tutorial, for another day!

What a lovely result from all of Becca’s hard work! You can view more stenciled projects below:
Beautiful Stenciled Laundry Room
Master Bedroom Stenciled Wall
Stenciled Drapery Tutorial


What a GREAT job. They look fantastic! And they actually don’t look that hard to do. 🙂
xoxo,
~Jeni
I love it! Looks wonderful!
Thanks Remodelaholic, for having me today! I really appreciate being able to share my stenciled curtains with you and your readers!!
Becca
just amazing..I need to have some stencils for trying this super nice idea 🙂
Shut the Front Door! I love love anything damask and am totally lacking curtains! This has made my day! Love IT!
~Jen @ hutchinsonherd.blogspot.com
I love to stamp and stencil on fabric to create personalized designs. Curtain panels are on my “to do” list. Your panels are beautiful. What an impressive undertaking.
I seriously love this post. Question about the IKEA curtains – on the website they have tabs at the top, but your curtains don’t. Did you remove them?
Hey Arigels,
Thanks or checking out my tutorial.
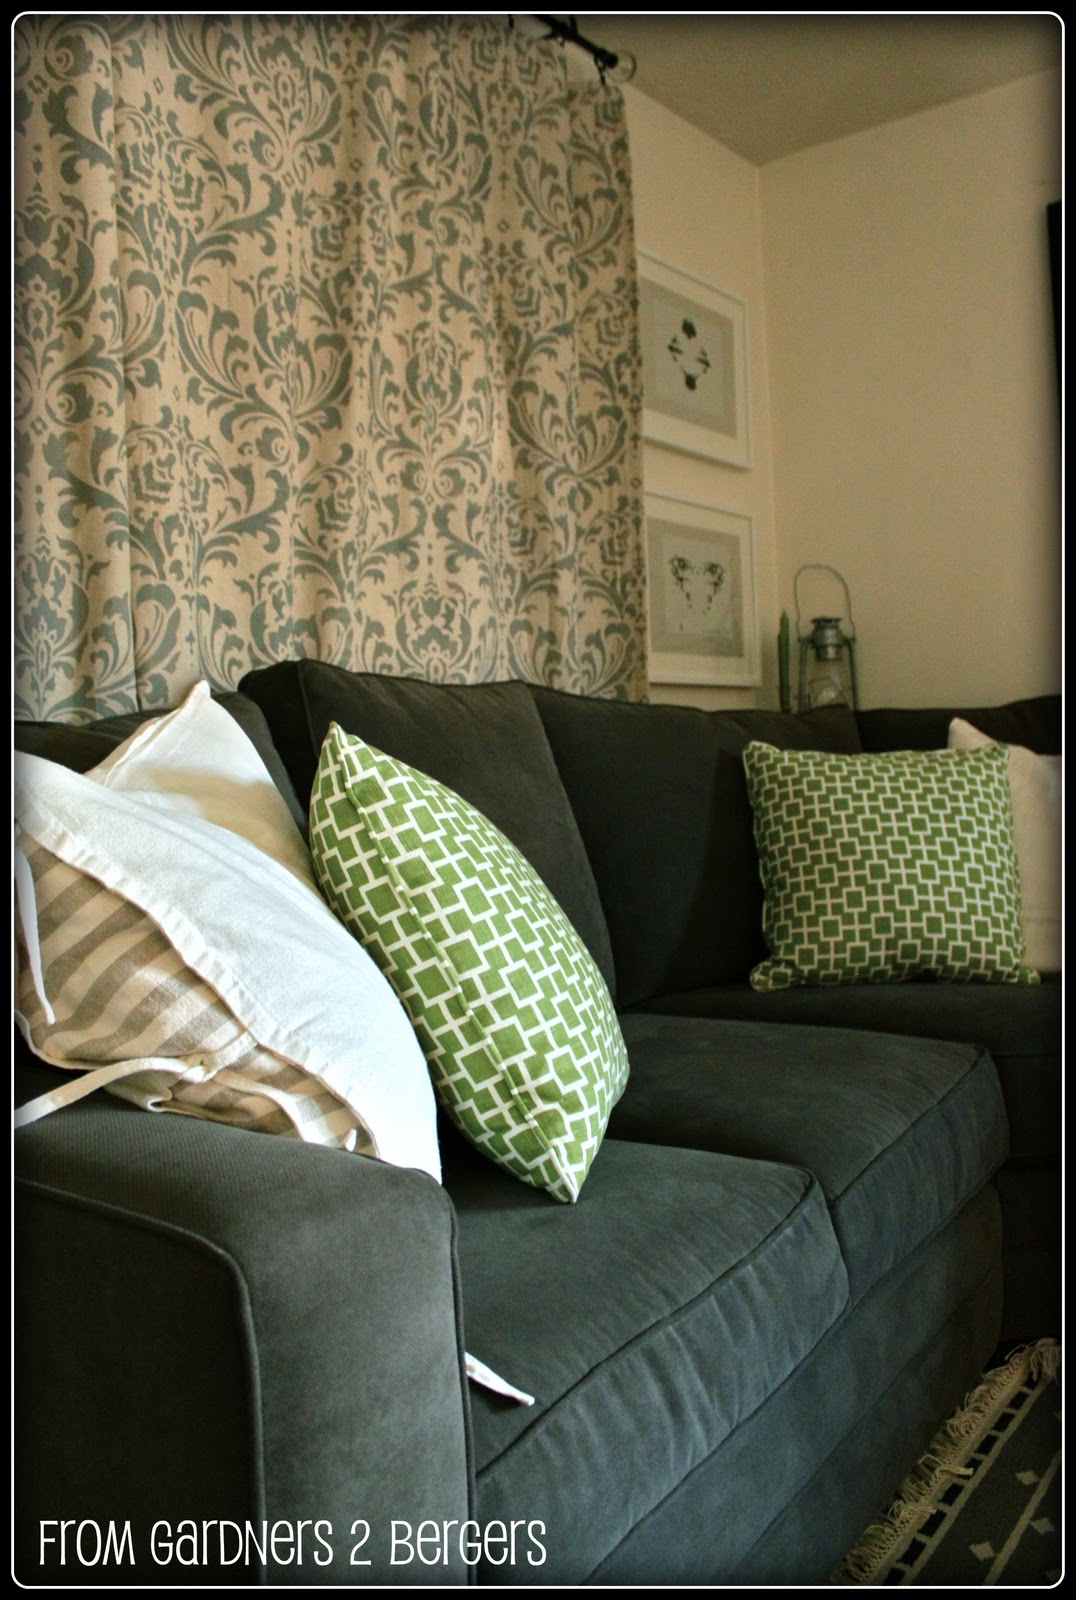
If you look at my pics in the middle of my post when I’m stenciling the curtains, they DO have tabs. For my end pics I just had the tabs folded over, then clipped the curtain rings on. So you wouldn’t really have to remove the tabs if you didn’t want to. Since taking my pics I have cut them off, though. 🙂
Thanks again for your comment!
Becca
This is amazing, very well done and they look fantastic in your home. Thanks for posting the tutorial.
Just what I was looking for! And I just bought these curtains from Ikea. Can you tell me if they are the white (bleached) curtains or the beige curtains. Thanks!
Hi Anna!
Thanks for checking out my post! The curtains I purchased were the beige/tan ones. I’m sure either would look great, though!
Let me know if you have any other questions!!
Becca
Love this idea. I wonder if I can find a stencil of a monster for my boys room. I have jean material,navy blue,and white striped panels in there already with their monster bedding. Maybe a white shade with the monster outline in one of the colors of the monsters. Cool idea!
Where did you get the angled rods?
Hey Tammy!
Thanks so much for checking out my curtains! I really appreciate it!
I actually made the curtain rods. Bay window curtain rods were really expensive- like upwards of $60. I made these for 10 bucks- including the finials on the end and the spray paint!!
Here’s the link, if you’re interested!
https://gardenberger.blogspot.com/2011/12/diy-curtain-rods-sliding-glass-door-bay.html
Thanks again for your comment!
Becca
These are beautiful! I have been searching for curtain fabric for a long time and couldn’t find what I wanted. I think stenciling might be the right way for me to go too!
I have a question though, where did you get the fabric paint, and are your curtains washable or will the paint come off?
Thanks!
Ashley
What’s up to every , because I am really eager of reading this website’s post to be updated regularly.
It consists of fastidious material.