Built-in Closet Hack
I can’t believe that we have already been working on Etta’s room for a year now. I know a lot of you do projects faster than that, but I guess I am all stealth like a glacier, and it is not the only project we are working on, so we get to it as we can.
But we made one large leap forward in that past month or two that basically means the room building portion is FINALLY done. And I can get to decorating… which I gotta be perfectly honest I am SO bad at getting done. I feel like the main projects are done and I move on to the other big projects. But I really do want to try to have this project DONE! So maybe, in the next 6 months I will hang art up and finish one or two other things (how is that for a commitment?) – in my defense, we need to build my kitchen!!! I care more about the kitchen then pictures on the wall, but I digress.
Remember how I mentioned that awesome huge project? Well here it is a (sort of brand new) built in closet for my little girl! I can’t wait to show you how we did this. (and can I just toot my horn and say, that besides some super heavy lifting, I actually did a LOT of building this time, I haven’t done as much since having the kiddos and giving birth to the blog, but I wanted to be more involved this time, and it was good to get back into the building!)

%20%23closet%20%23built-ins%20%23bookcase)
This post may contains some affiliate links. Please see our full privacy policy and disclosure here.
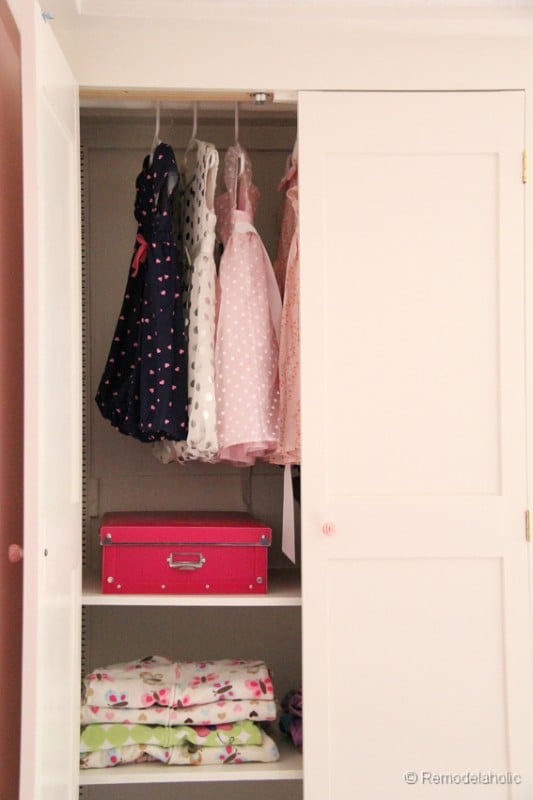
So this project all started out because I decided to make the closet space in Etta’s room into a bed nook… still not really finished with my ultimate plans for that, but at least for now, it looks pretty cute! This meant we needed a new closet.
I think you all know how I have a love for built-ins. Let me sing it from the mountain tops ” I LOVE BUILT-INS!” My husband isn’t too jealous, I think he loves them too. Since moving in, we’ve been using an old wardrobe that we made into a hidden office armoire about 5 years ago (you can see what we did when we got the old cedar armoire here and how we built the shelves for the inside here.)
Well, I have loved the armoire, we had it in Lydia’s room for the last couple years, but I just felt like my love of built ins was stronger. (Am I sounding a bit stalker-ish…for built-ins that is, maybe?) Also, the last two moves have really beaten it up, we broke a few of the legs off in the move, we repaired them, but I just was feeling a lot less love for the thing. Then I got one of my ideas… what if we used it to create a built-in closet? Sounds good to me. So that is what we decided to do!
**By the way, this isn’t exactly a tutorial, it is more of a guide of what the possibilities are for upcycling furniture! I can clarify anything that you may have questions on, but since this was a unique furniture piece you will have to take this as a guide, not an exact tutorial!
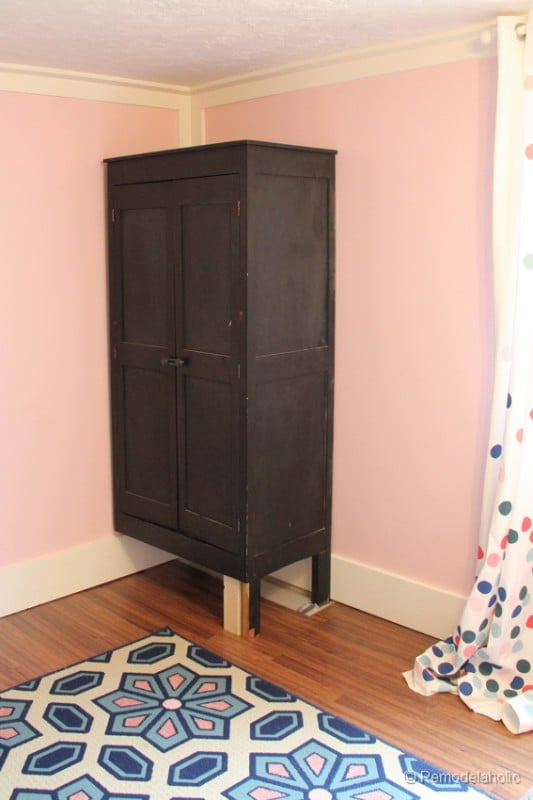
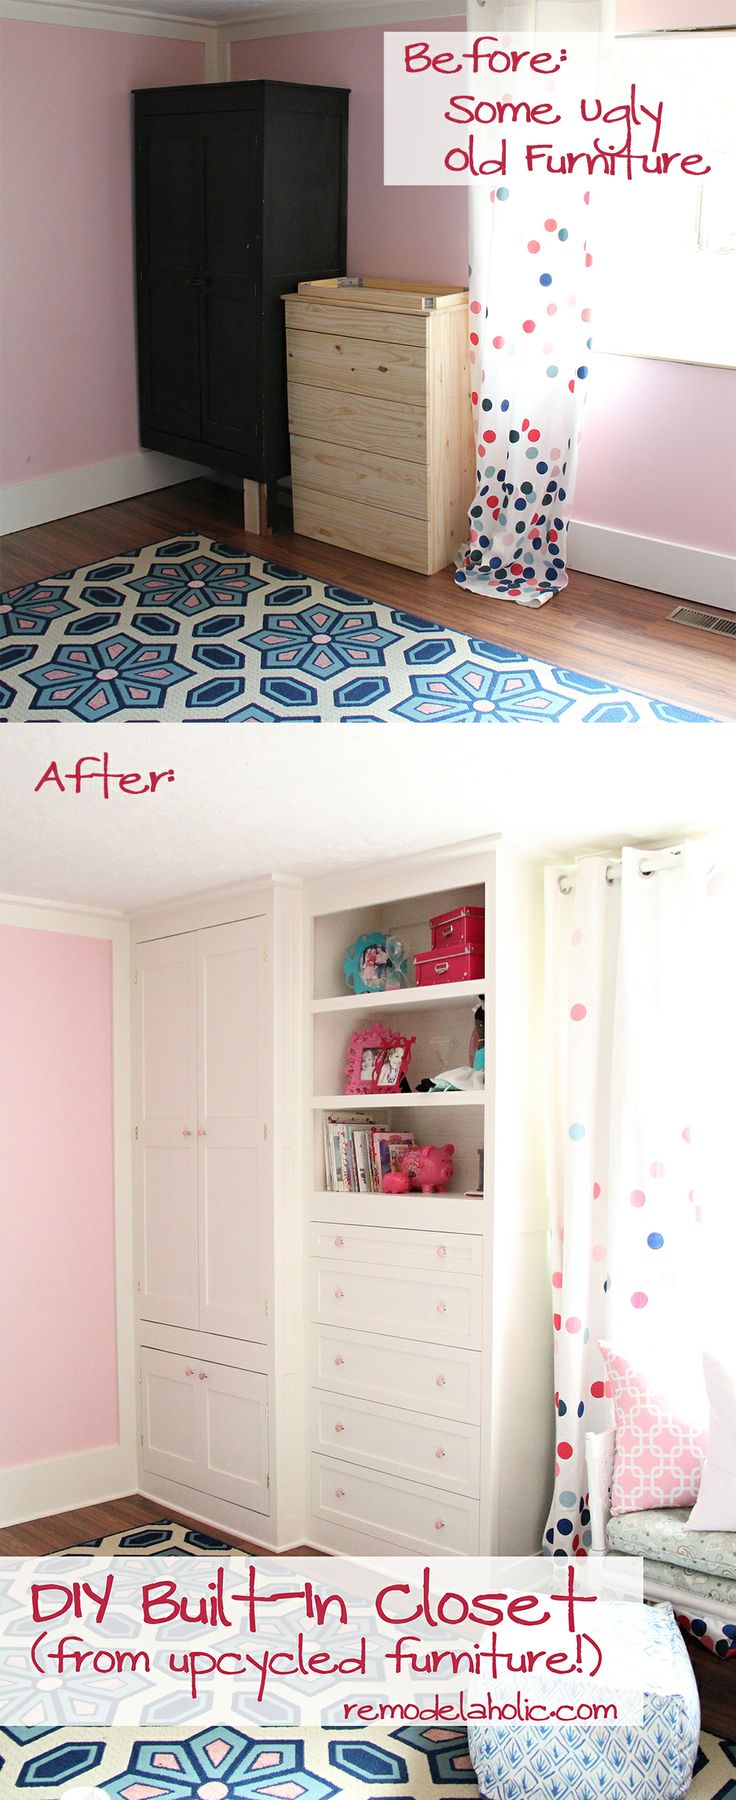
Before:
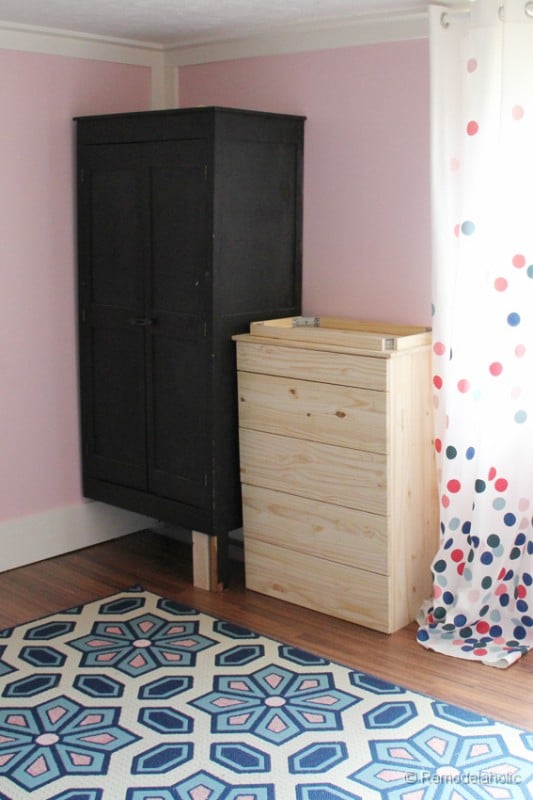
(forgive Gimpy, we removed the rest of the legs to install the flooring) It was screwed to the wall in the mean time for safety!! To complete the awkward stage of this project, we ran by Ikea, and bought a small Tarva dresser to accompany the closet. It may or may not have stayed like this for 4 months. I just can’t say. (you could use this armoire from Ikea if you don’t have a random one kicking around like we did)
 |
 |
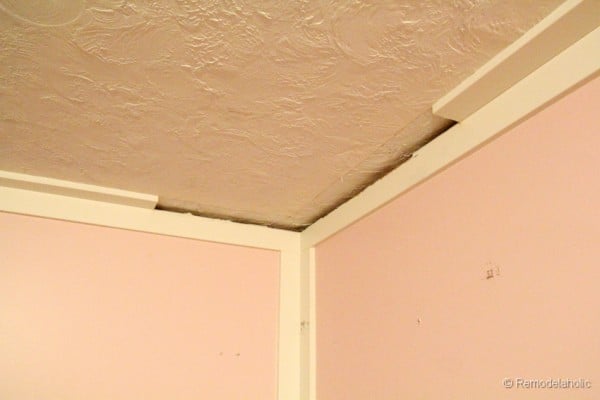
There is nothing like finishing a project to have to undo a bunch of work. In order to attach the armoire to the wall and ceiling we had to cut out a portion of the crown.
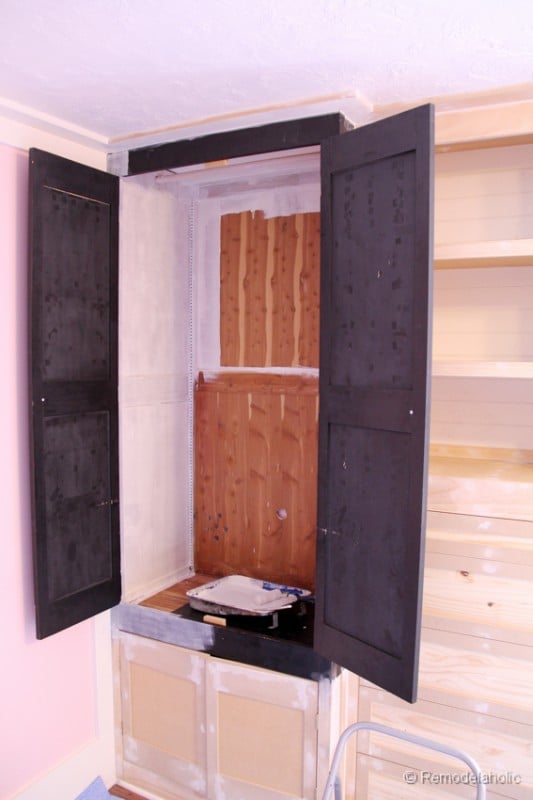
Justin removed the top of the armoire and screwed in a few 2 x 4’s flush with the top through the sides. Then he screwed the whole thing into the joists above. He also built a base of sorts that lined up with the inner panel of the side of the armoire. This helped so that we could add matching trim like the armoire (our goal was to make the two pieces cohesive as possible)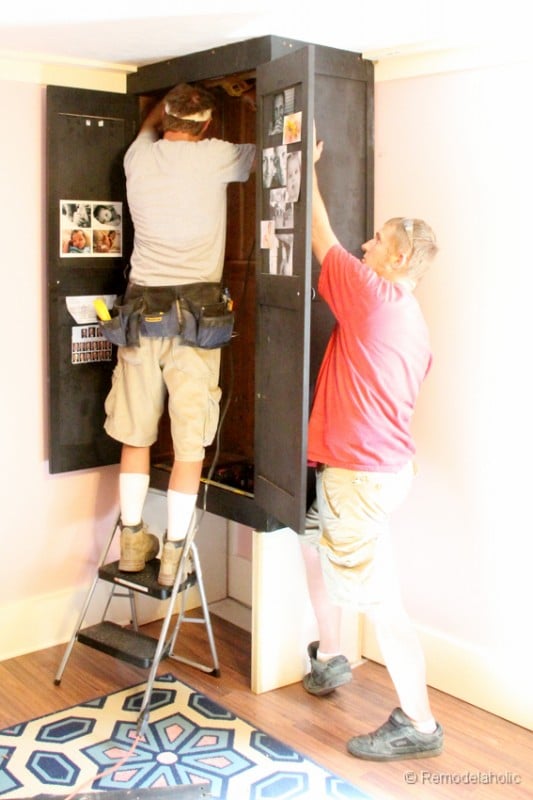
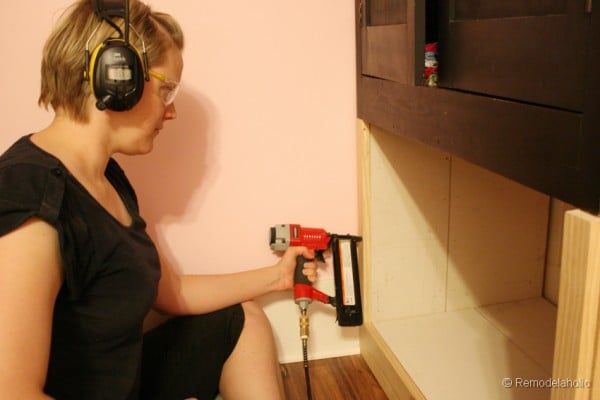
Once the armoire above was in place, I made a face frame for the bottom section and nailed it in place. And I should mention, don’t forget your eye and ear protection!! I was using my 3M Tekk Protection set! LOVE the built-in radio set! It is awesome!
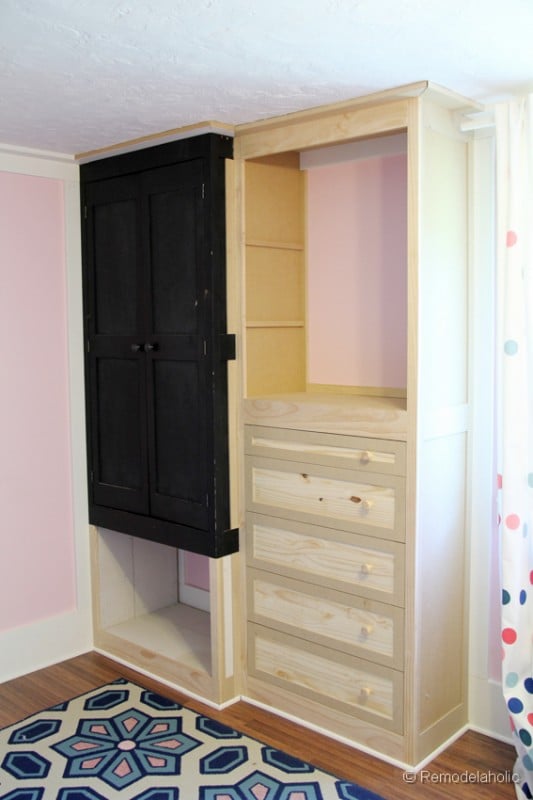
With the main portion of the armoire in place we were ready to start on the dresser.
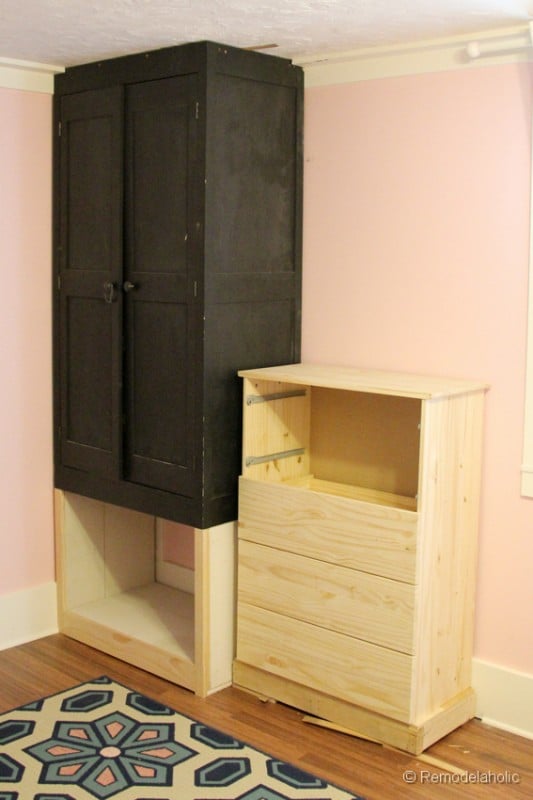
We started off by building a small stand that would bring the bottom drawer to the same level as the bottom shelf next to it. We just used some scrap 2 x 4 in a box shape and nailed them together really quickly. Once it was in place we screwed it to the wall as well.
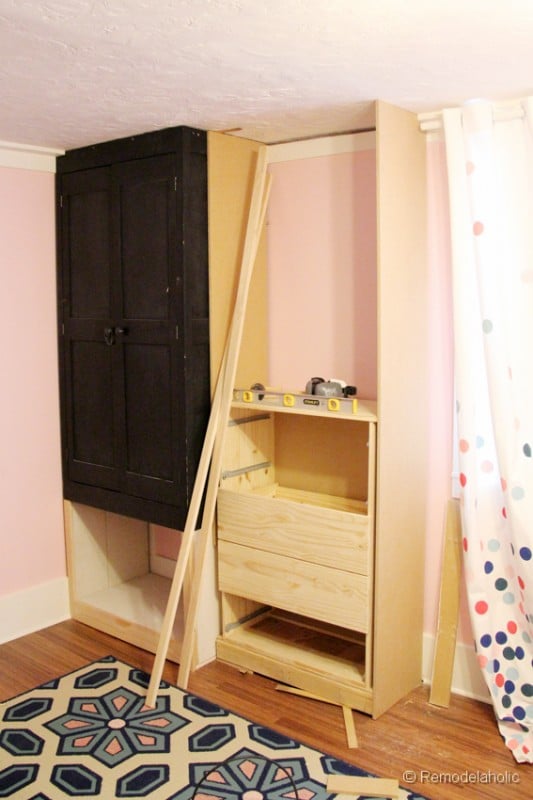
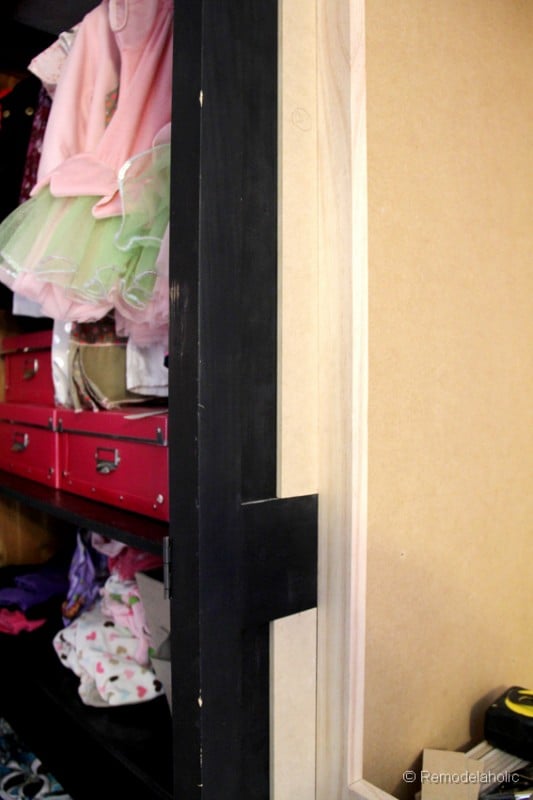
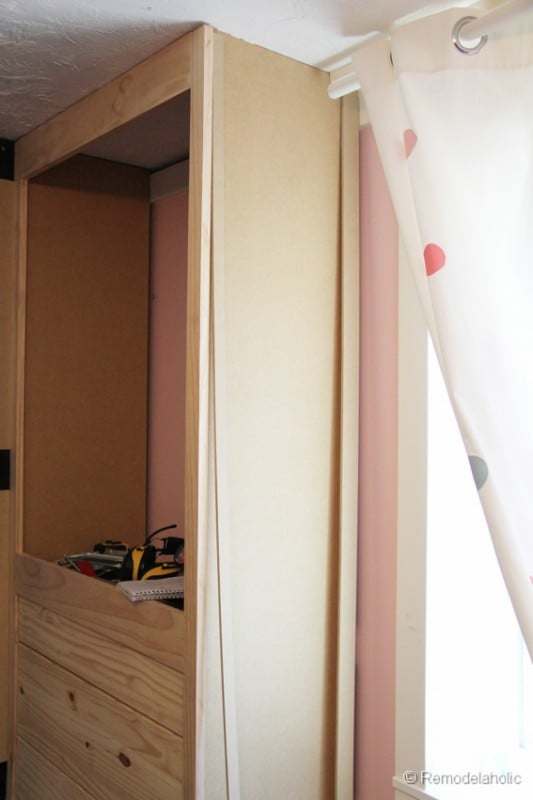
Next we put in two sides, and using a kreg jig I created a simple face frame. We installed the sides and face frame being careful to keep the face frame out about 1/4 of an inch from the front of the drawers. (because we are attaching a shaker style frame on the front of the drawers to match the armoire, see below) Once the face frame was up we filled in the gaps on the side to create a shaker style panel, especially on the two sides.
 |
 |
 |
 |
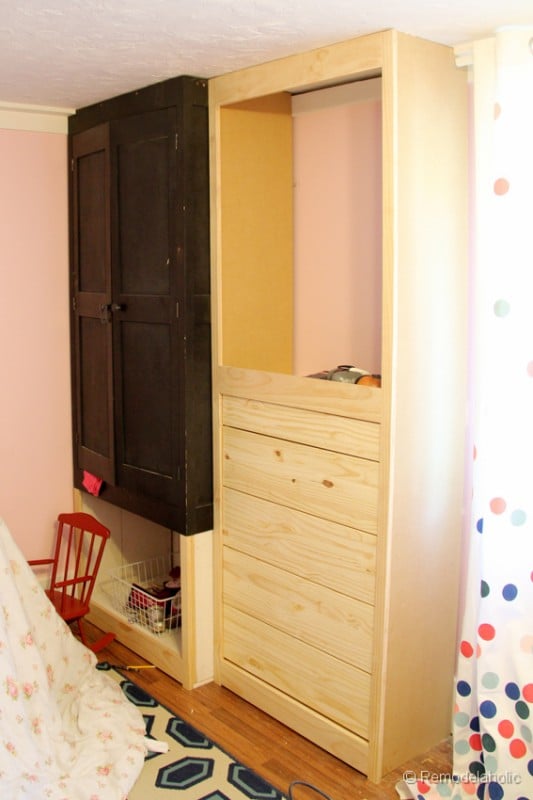
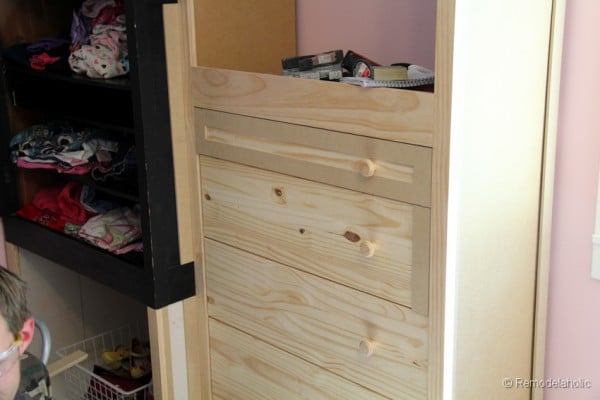
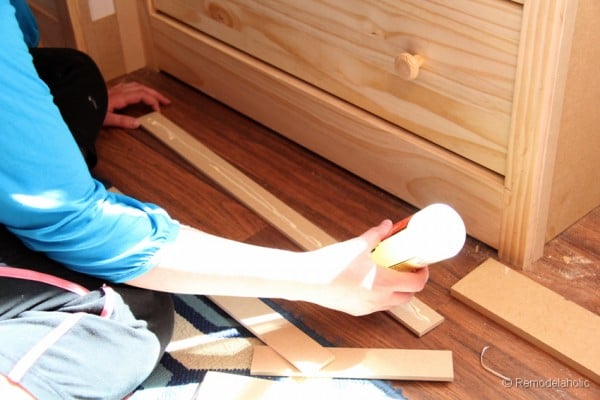
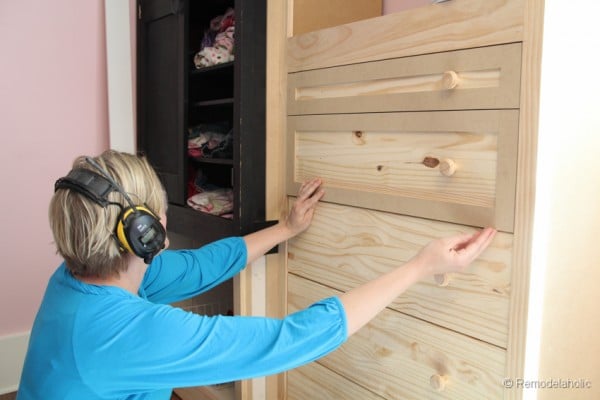
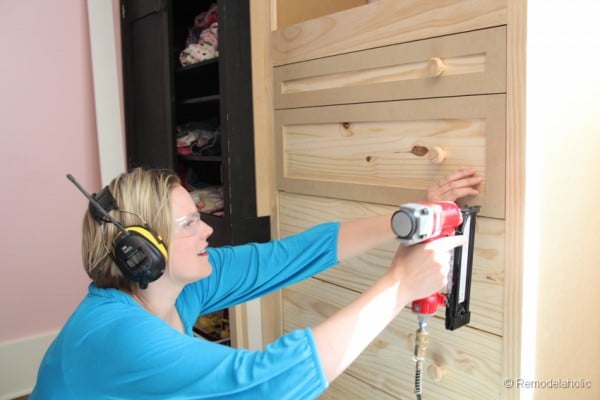
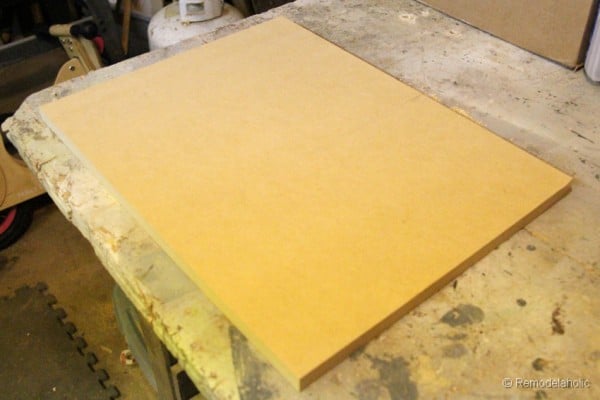
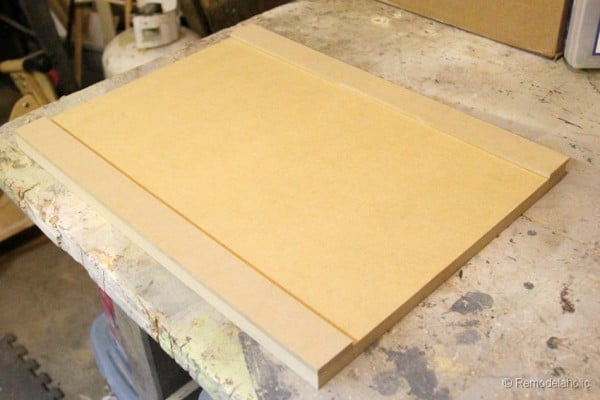
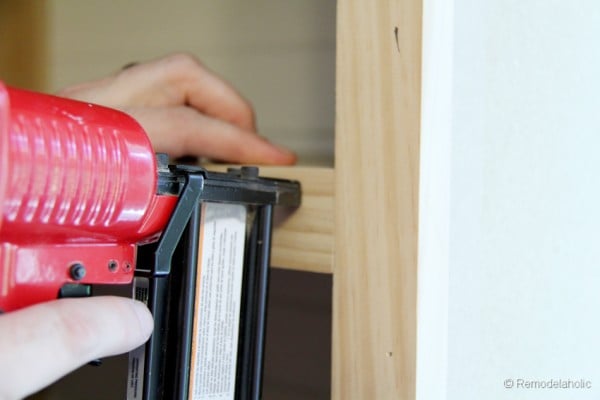
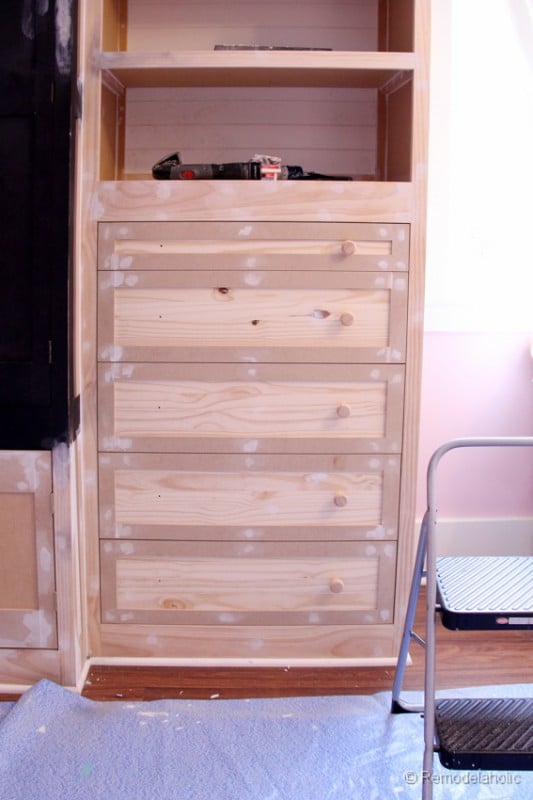
Now to get started on the drawer face frames! We used a 1/4 inch MDF bender board that we bought at Home Depot. It wasn’t in the molding isle, it is in the plywood isle… (Just FYI, we used the same stuff in our board and batten wall. It is my new favorite!)
We actually just eyeballed the space approximately 1/8th inch space between drawers, cutting to length as we went. We glued and then nailed it in place with a small brad nailer.

 |
 |
 |
 |
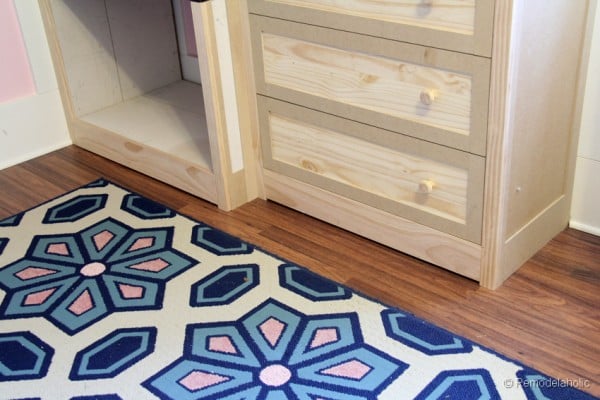
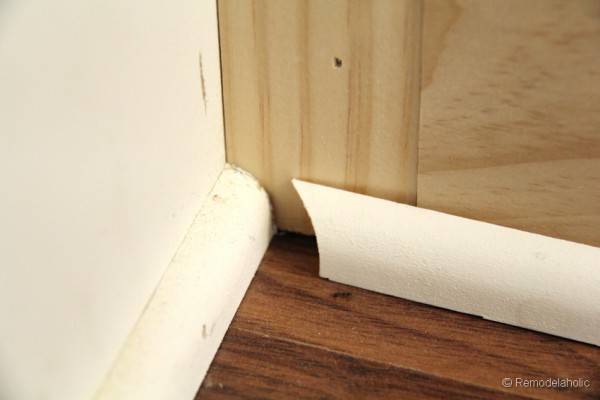
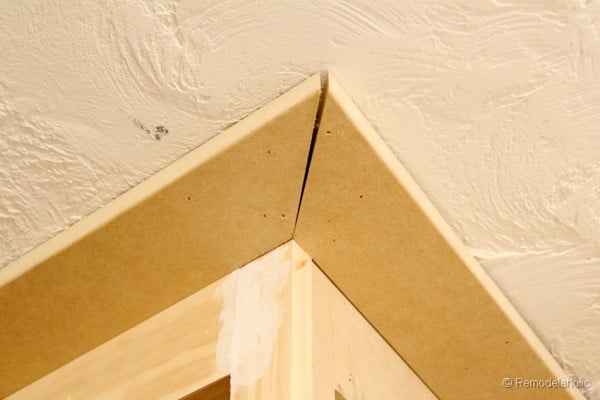
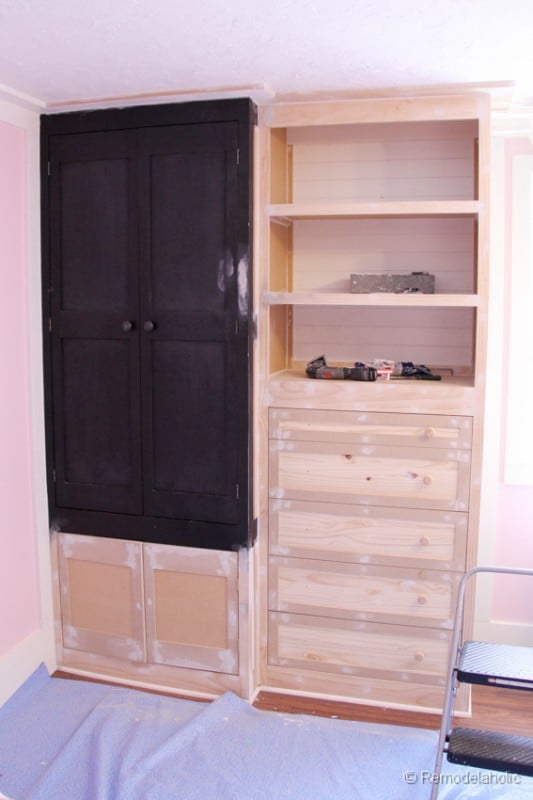
Once the drawer fronts were in place we added the base cove and crown back on.
 |
 |
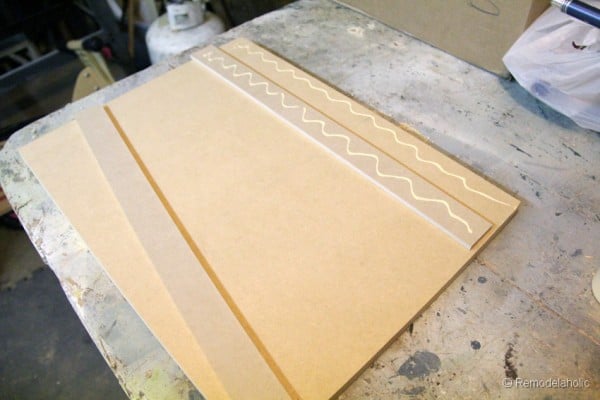
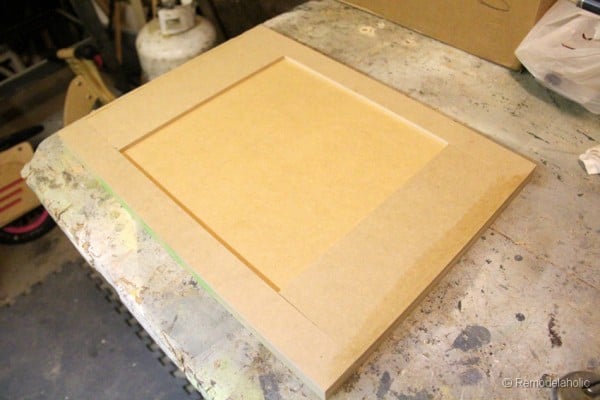
We had to build two more doors to match the closet doors above. We used the same technique as he drawers, just adding the shaker panel to a flat door, with glue and nails.
 |
 |
 |
 |
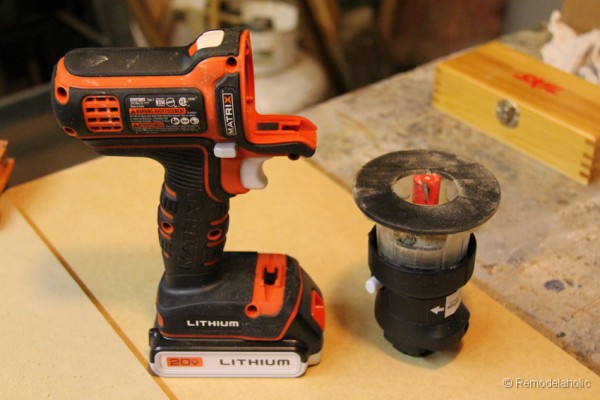
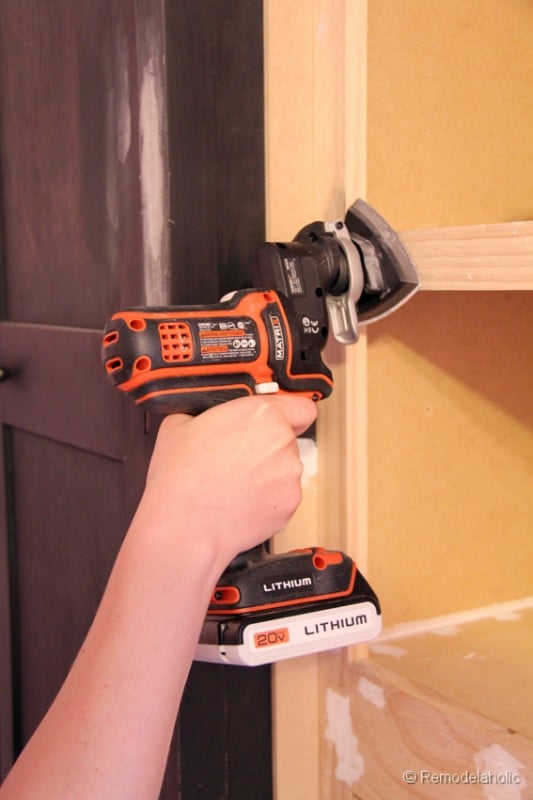
In order to make the doors fit we actually had to route out a groove on the back… and just our luck, we’ve burned through two routers this year alone! So, we tried our Black and Decker Matrix router (you can find one at Amazon) and it worked like a charm!
 |
 |
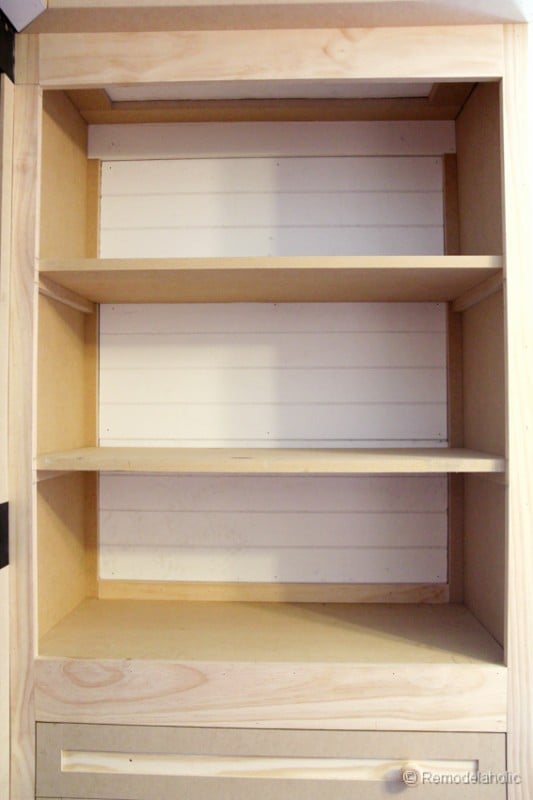
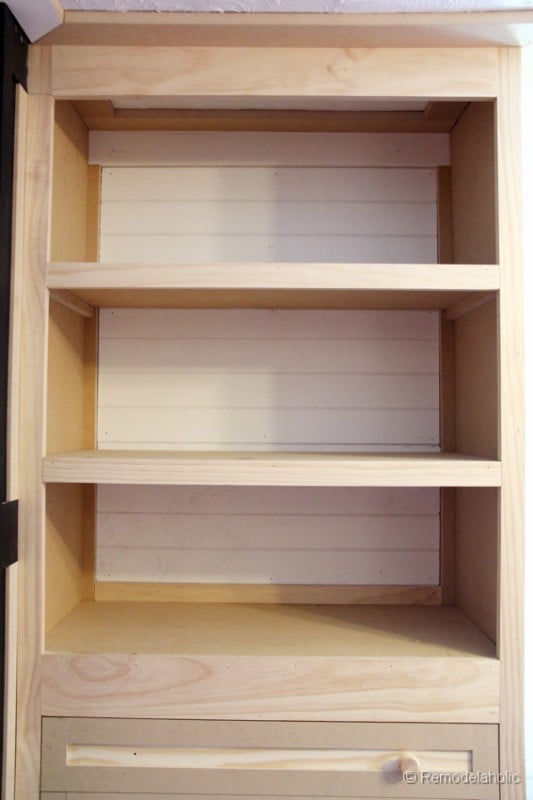
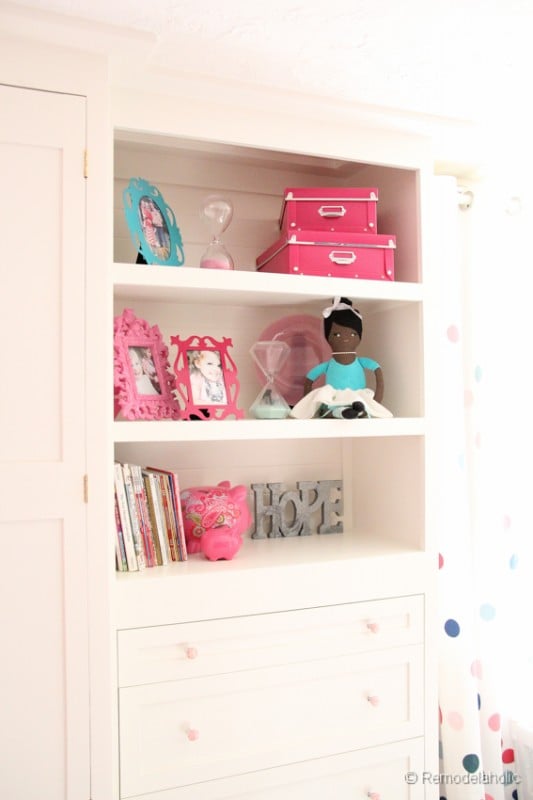
For the bookshelves above the dresser, we had some scraps of v-groove board left over from Etta’s bed nook wall, so we made those work, glued them to the wall and just caulked the seams. Then we installed the shelves and a nailed on a front face frame for the shelf (the shelves are fixed, not adjustable)
 |
 |
 |
 |
 |
 |
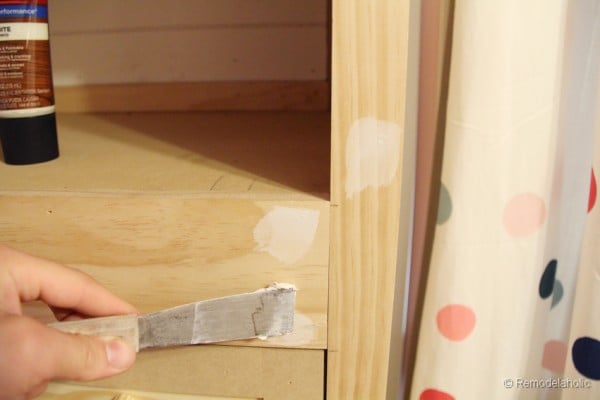
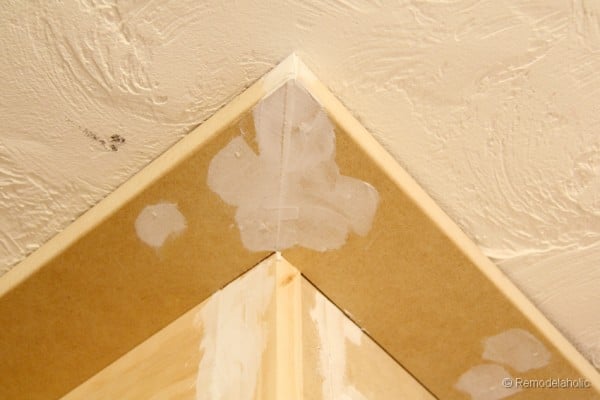
Okay, so now for the clean up time! We had a LOT of patching to do, lots of little brad nail holes. We used 3M Patch Plus Primer plus they have a 3M Wood Filler that is also great! And it is SO fabulous!

I LOVE this new patch. I have tried so MANY patches in the past and this one has the best of everything. It goes on nice an smooth, so there is less sanding later. Fills in BIG gaps easily and doesn’t shrink as it dries, and finally any sanding is FAST! Did I mention it didn’t shrink!!! EVEN IN HUGE GAPS! That is amazing no refilling 10 times to get it smooth!
 |
 |
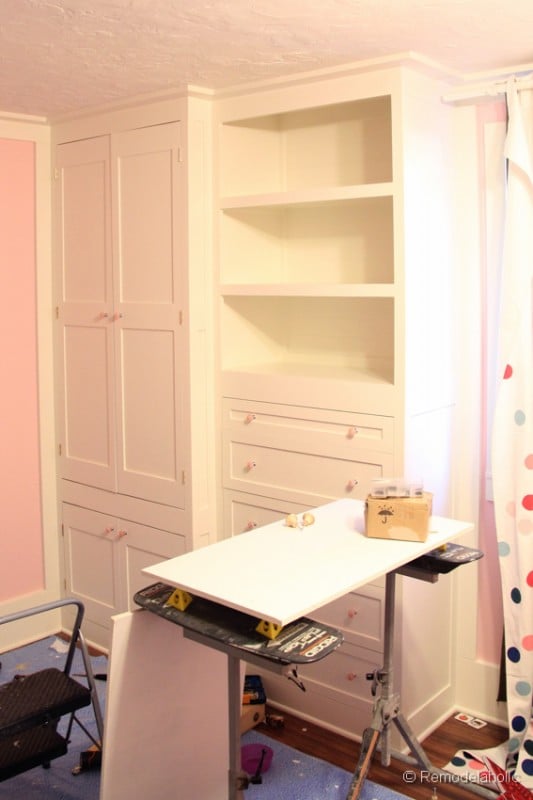
Lots more sanding, caulking and block building later we were ready to paint!
 |
 |
 |
 |
Ya gotta start somewhere. Oh man it took some time to paint over it all, and be careful with the finish the whole time! I primed it first, with just the general primer, two coats just to be sure nothing showed through. Then I used Sherwin-Williams Pro Classic Interior Acrylic Latex Enamel in SW 7566 Westhighland White. The walls are Emerald line stain paint in SW 6582 Impatiens Pink.
 |
 |
When we were done painting, I had to deal with this, before I even got to enjoy the new built ins… this happens when all the toy and clothes storage is getting painted.

YIKES!
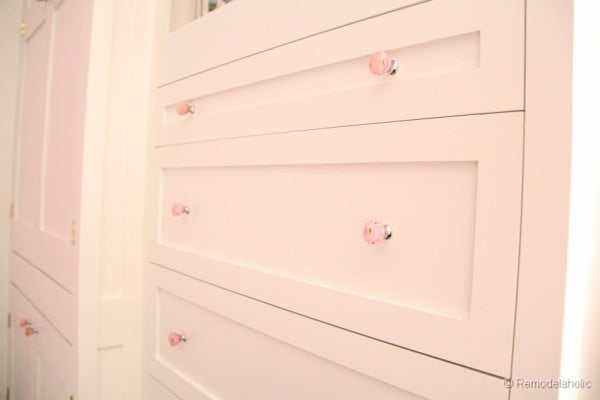
Okay well, let the drum roll begin: This is what we were finally left with, and I am totally in love!
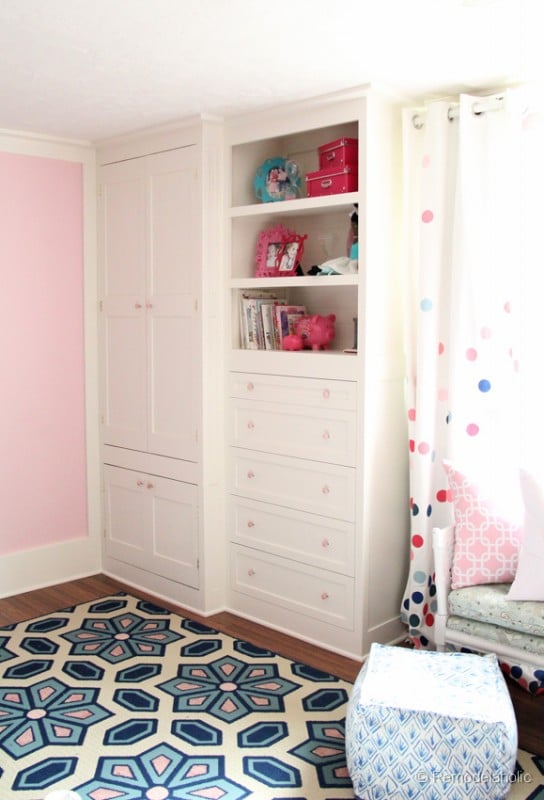


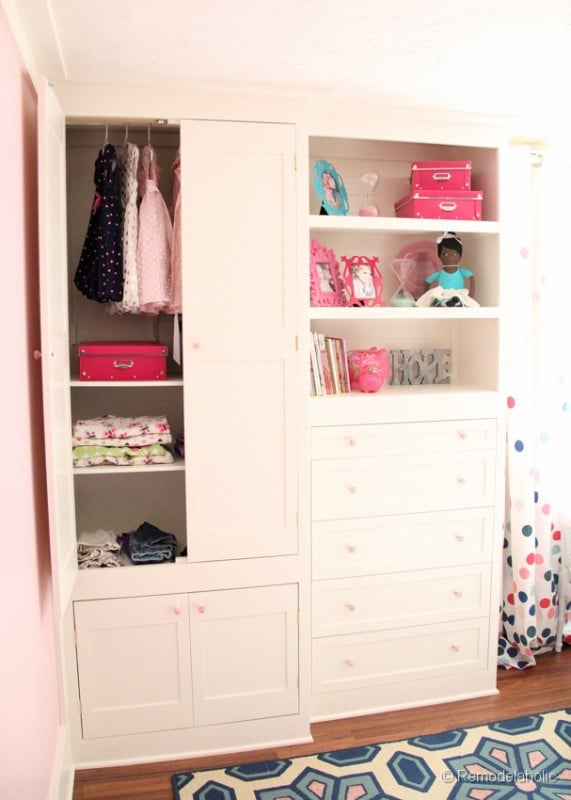
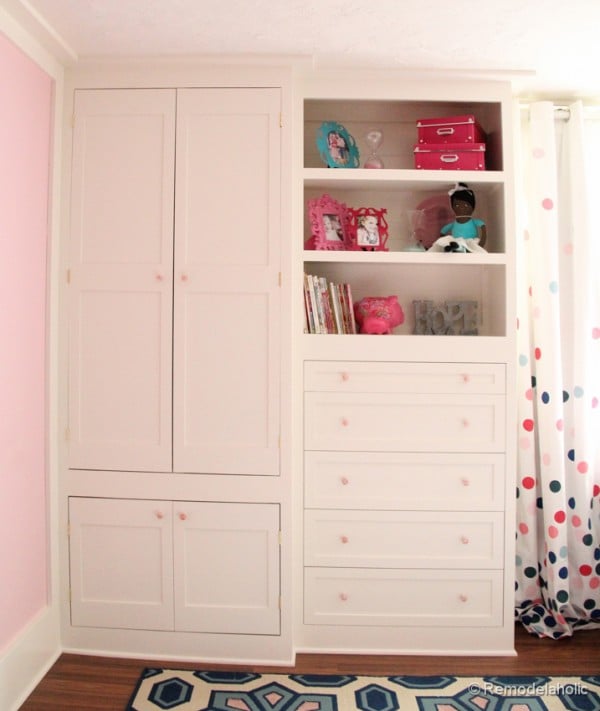
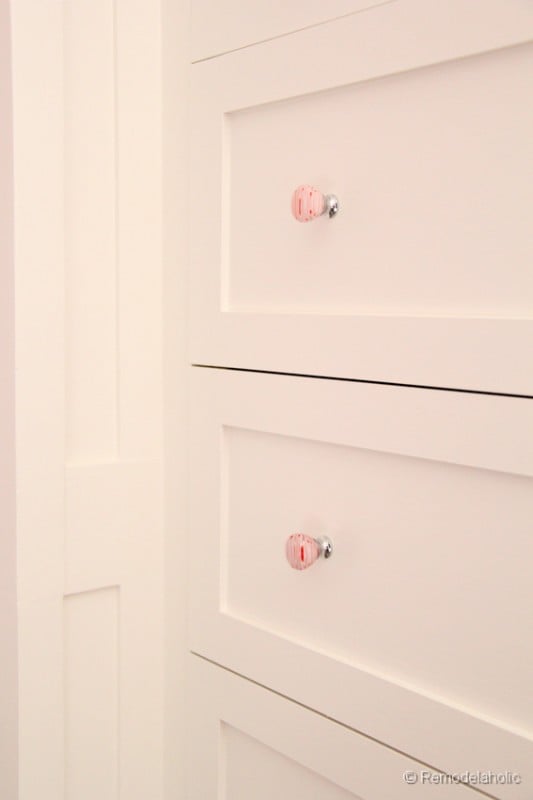
I got the adorable pink glass pulls for D. Lawless Hardware (the same company I bought hardware from a few years ago on the great wall of built ins project!)
Kitty Approves!

To see any of the other projects from this room, go here!
This post is a collaboration with 3M DIY. To keep up-to-date on projects, products and sampling visit 3MDIY.com or check them out on 3M DIY Twitter Page and 3M DIY Facebook Page!

Also see another closet transformed, using an IKEA Closet Organizer

Cassity Kmetzsch started Remodelaholic after graduating from Utah State University with a degree in Interior Design. Remodelaholic is the place to share her love for knocking out walls, and building everything back up again to not only add function but beauty to her home. Together with her husband Justin, they have remodeled 6 homes and are working on a seventh. She is a mother of four amazing girls. Making a house a home is her favorite hobby.


I am wondering what type of wood did you use to have it come out nice and smooth. I am just beginning woodworking. It looks like plywood but it is so smooth after you paint it. Is it a type or brand
Brilliant! It looks amazing!!
Thank you!
This post made me start looking around at all my bits and pieces of furniture rescues to see which ones I could turn into a closet. Crazy cool project!
Thank you! It’s one of my favorites!
Hi! Maybe I’m not reading closely enough. Did you build the dresser portion or was it purchased?
We bought the dresser portion and built it in.
Love this! This totally just gave me an idea on how to rebuild our closets in our 1960 Colonial Home. Thank you!
Thanks for the comment, Anna. We’d love to see pictures!
Excellent work. I loath mdf, but it does have its uses. and it was used to decorate, not build or support. Its inside. Hopefully you did a most excellent job of painting so very little chance of it getting wet, which would destroy it.
I need the fix it and remodel bug.
Thank you
Beautifully done.
Where did you find the fun rug?
Thank you
Thanks, Mary! You can read more about the rug here: https://www.remodelaholic.com/2013/03/painting-a-rug/
So gorgeous & inspiring!! Love your website!!! What did you use inside the armoire to hang the rod and shelves? I went to the Container Store and the consultants there said I couldn’t use their Elfa system in our existing built-in closet… boo!
Theresa, we are so excited that you love our site!!! With the rod there was a hole drilled in on each side in a support that is holding it up. And with our shelves we added an adjustable shelf track. Please keep visiting our site for more great info.
Love this rug! May I ask where it’s from? I would love to find something similar for my girls’ room!
We got it on Wayfair.com
Absolutely gorgeous! I love how this diy fabulous project tired out. Thanks for sharing
Thanks as always for your kind comment, Ivory!