Tutorial: How to Build a Ladder Plant Stand
I actually started to work a bit outdoors, since the weather it’s starting to be nicer here in Okinawa, Japan. But all we have is a small balcony with ugly concrete flooring, so I started searching the web for inspiration for makeovers and I am happy to say that I am in the middle of giving our balcony a makeover. So today I’ll be sharing a cute Ladder Plant Stand I made, it is super practical for a small space and will hold all our veggies and flowers.


How to Build a Ladder Plant Stand
by Oh Everything Handmade
MATERIAL
- Total 253″ of boards ( buy – three 6 ft x 3 1/2″ + one 3 ft x 3 1/2″ )
- 2″ square legs ( 3ft tall )
- Kreg Jig
- Screwdriver
- Electric Drill
- Measuring tape
- Pencil
- Saw (electric or handsaw)
- Clamps
- Nails
- Screws 1″ and 1 1/2″
- Corner brackets
- Stain or Paint
- Waterproof wood finish
INSTRUCTIONS
Leg Assembly

- Cut all the ends of the 35″ boards at a 22.5º angle. Make sure they are both the same length after the cuts
- Cut the back legs at the same height
- Add glue to each board and secure with clamps.
- Use a Kreg jig drill bit to drill a sinking hole for the screw (see images 2-3 above).
- Screw both legs together with a 1 1/2″ pocket screw
To give the top board a better hold I attached corner brackets, the top boards are 16″ long and 3 1/2″ wide. Gluing the two boards together before assembly is recommended.
Horizontal board assembly

- Measure 11″ from the top down on both legs
- Drill pocket holes on each end of the support boards (see image above and below)
- Align and level the horizontal boards between legs (TIP: to keep the boards in place use clamps but only tighten them slightly so you can still move the horizontal board)
- Use 1 1/2″ pocket screws to attach the boards onto the legs (additional gluing is optional)
- When attaching the front board make sure it is lowered by 3/4″ – measure 11 3/4″ from the top down

Attach the shelves
- The boards for the second shelving measure 8.5″ x 3 1/2″
- Drill pocket holes at the bottom (one side only)
- Gluing the boards to each other is recommended (make sure to let them dry before continuing)
- Align, level and attach the boards with 1″ pocket hole screws
- Use scrap wood for the sides (this it to cover any gaps and to close of the shelving)

- Use wood glue and a clamp to secure the wooden piece on the side (as seen above). I also used two screws on the bottom to connect the pieces
Bottom Board Assembly

- The boards for the bottom shelving measure 15″ x 3 1/2″
- For the sides I used 3/4″ thick scrap wood that I cut to 1 3/4″ x 15″
- Add pocket holes to one side of all the boards, including the side boards
- Once everything is attached, glue and nail the front piece on – my measurements are 1 3/4″ x 15 1/2″

Sand, Stain, and Apply a Waterproof Finish
- I only sanded the corners and where I had written on
- Once sanded, dust the ladder shelves off and start applying the stain or paint
- I used black water-based stain, mixed with a water-based weathered wood stain
- Stain mixture: 3/4 part black stain with 1/4 part weathered wood stain
- Let dry overnight and apply 1-2 coats of waterproof sealer


Want more gardening ideas? Check out this garden fence from Betty over at Oh Everything Handmade:
![]()
DIY // HOW TO MAKE A GARDEN FENCE
For the past month or so I have been growing some garden tomatoes (successfully), however after I put some belt pepper seedlings into the ground I had to find out that our wild rabbit likes the leaves… not good at all! That’s why I haven’t planted my other veggies yet, the fear of mr. rabbit …
[READ MORE…]
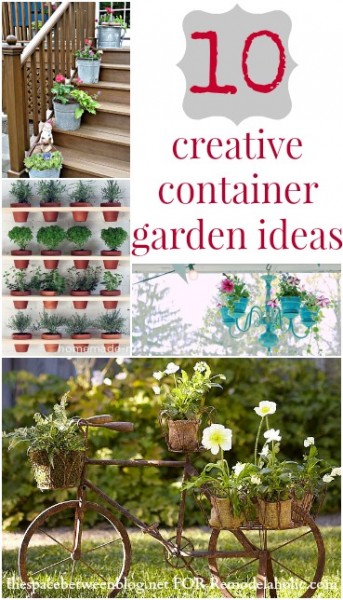
and more garden ideas like these here on Remodelaholic:


Betty is a “stay at home mom” by day, an aspiring entrepreneur, crafter, DIYer and blogger by night. She loves to share budget-friendly home improvements, fun DIY projects and nifty, thrifty makeovers with you on her blogOh Everything Handmade.
Molly is a farmhouse-obsessed DIYer who likes her dogs and long walks on the beach. Find more of her shiplap and burlap style at MyWebsite.com.