$5 Solution: DIY Jewellery Organization

DIY Driftwood Jewelry Organizer
The list of materials for this project is very short. You literally need a couple of large pieces of driftwood (I collected mine during a day at the beach last Summer), three packs of 1/2 inch brass cup hooks (like these) and four 2 inch screws.

To start, I put the cup hooks into the driftwood, which was really easy because the wood is so soft. You literally just apply pressure and screw them into the wood using your hands. It’s that easy!

I spaced them out somewhat evenly with about 3 inches in between each hook, but you can totally change this up depending on what type of jewellery you want to hang. I knew I’d be using mine primarily for necklaces and a few bracelets and I wanted these pieces to stand out, like they’re a piece of art – hence all of the space!

To attach to the wall, I used the screws and looked for studs in the wall to make these extra secure – though necklaces aren’t that heavy, better safe than sorry! No studs? No problem. Just use some anchors and you’re all set!

You’ll notice the wood here has no hooks in it – I realized it might be easier to put them on when it was already attached to the wall, and wouldn’t you know it, I was right! This way I got to see how the wood would sit and where the hooks could go to make everything look as even as possible. I had some very warped pieces, so it was also helpful to see where exactly they would be touching the wall as well.
Once you have enough hooks on, start hanging that jewellery!

You can see that the driftwood is not only useful, but kind of beautiful, too! I love the warmth and texture it added to this wall in our master bedroom (full bedroom makeover right here). You can see the far right piece doesn’t have hooks all along. That wasn’t because I ran out of hooks! I figured the jewellery might look too cramped , so I left that part alone.

And, as you can see form the side, it does stick out a little, but isn’t disruptive or dangerous at all! The necklaces aren’t close enough to the dresser for that to be an issue, so everything can live harmoniously in here!

I’ll give you a final close-up so you have a better idea of how the hooks look. Also, you can see that there are many possibilities for how you can put the hooks onto the wood – whether you like them staggered, closer together, etc.

I hope you’ve been inspired by this project to organize your jewellery in a way that allows you to see them every day! I know this is a far better method for me, because these guys were living in a box, all tangled together, hardly being used at all! Now that I see them and it’s easy to put them away, I feel much more inclined to actually use what I have!
Do you have some other awesome way to organize your jewels? I’d love to know what it is!
Until next time, lovelies!
———————————
More lovely jewelry organizing ideas:
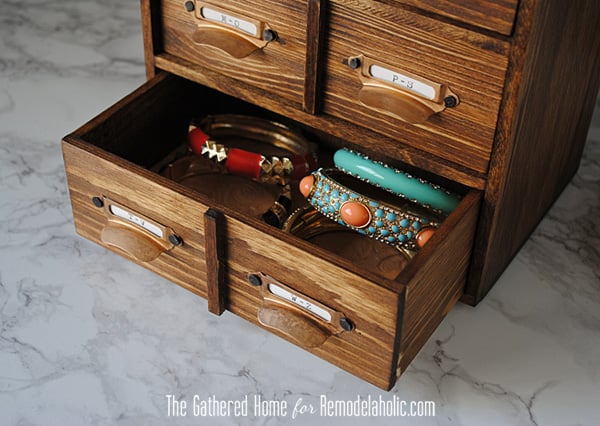
Mini Card Catalog Jewelry Box DIY
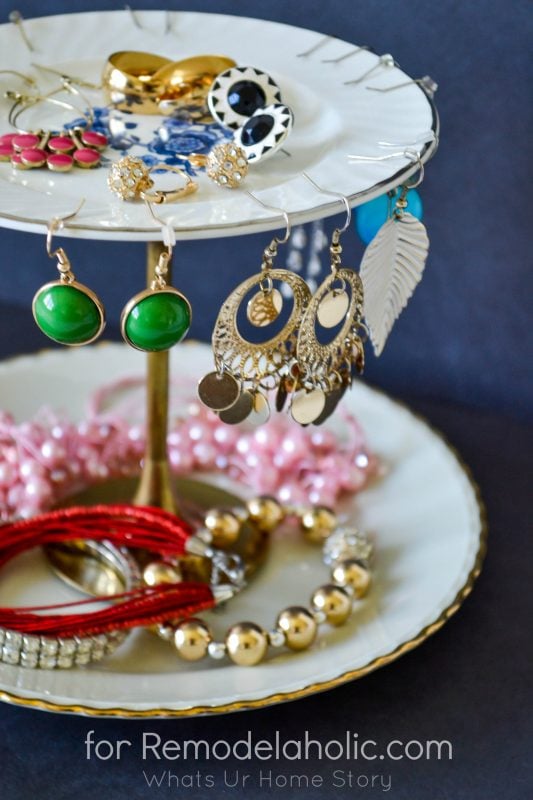
More creative jewelry organizing solutions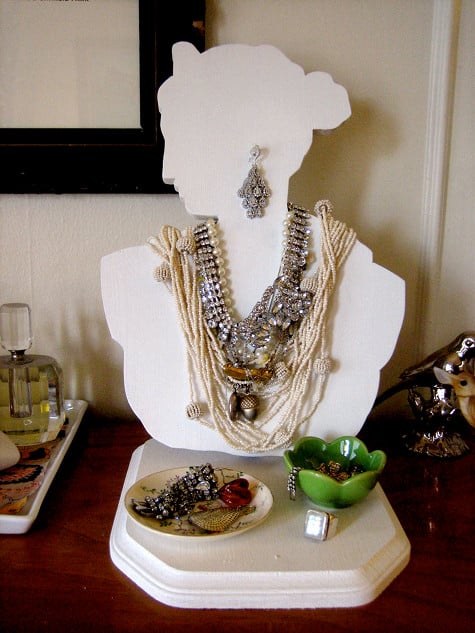
Thalita is a mom of twins, teacher, and blogger over at The Learner Observer. She is a frugal DIY-er and avid lover of thrift store scores with a passion for making over spaces with pieces that are both meaningful and beautiful. Favourite colour? White. Favourite food? Ice Cream. Favourite Pastime? Instagram, where she shares an abundance of pictures of her twin boys along with her latest home reno and decorating adventures!


Hello, thank you so much for posting. I have a lot of driftwood and my biggest issue is hanging them. Did you just screw the wood into the wall from the front? I didn’t see any screws. I sell some of my pieces but I would have so much more if I had a solid method to hang. I currently have one hanging by rope but I like how yours is connected to the wall. Unfortunately driftwood doesn’t always have the room to attach hanging hardware. Any tips would be very much appreciated! Again, thank you for posting! Your room looks great!