The Perfect Place to Sleep, Master Bedroom Makeover!
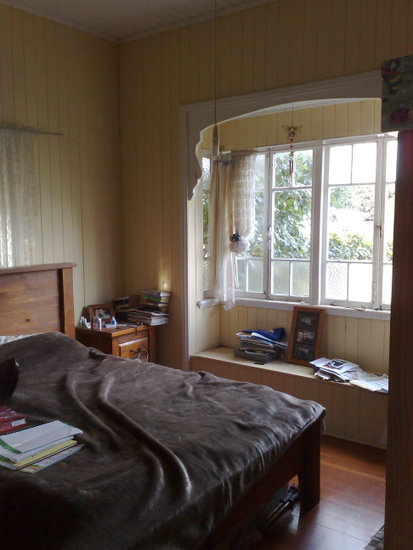
The master bedroom! This is what it looked like when we bought the place, with the previous tenants’ belongings still there.
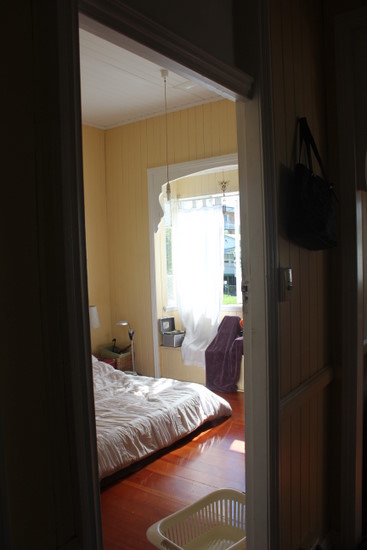
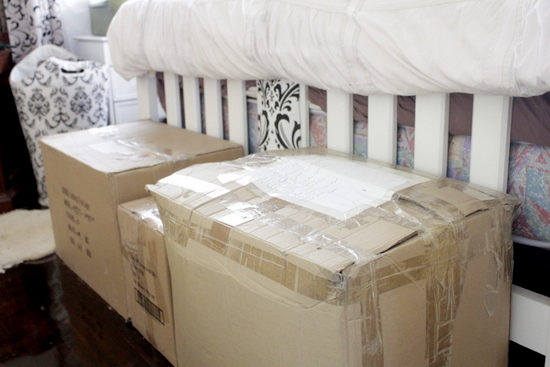
And this is a glimpse of what it looked like when we moved our bits and pieces in, although most of our furniture was still stored – thus the mattress on the floor.
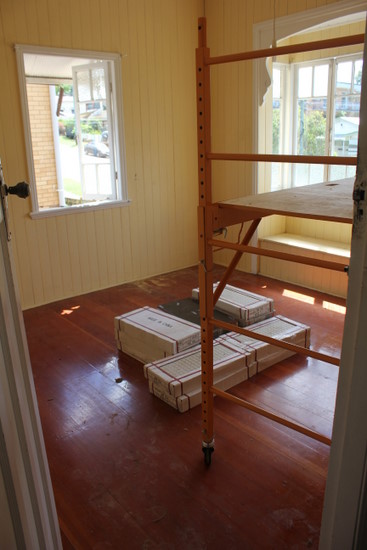
And then we moved ourselves out again and began the process of painting and redoing the floors.
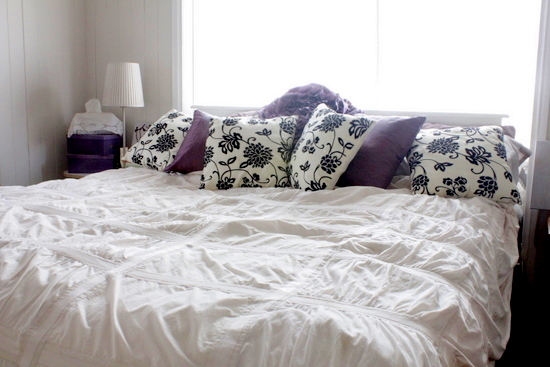
And now, after just a bit of hard work and quite a bit of time, this is it today.
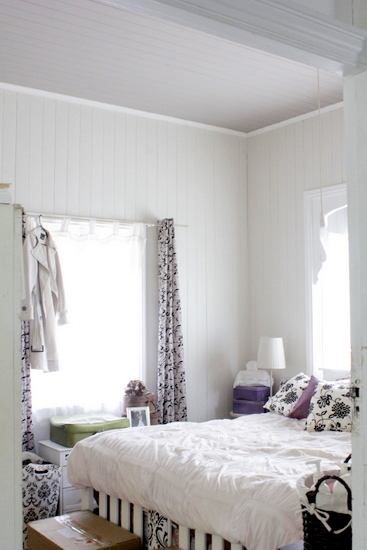
It doesn’t hurt the comparison that my camera skills have also improved a little bit.
This was an old suitcase that belonged to my father’s late step-mother (my late step-grandmother?).

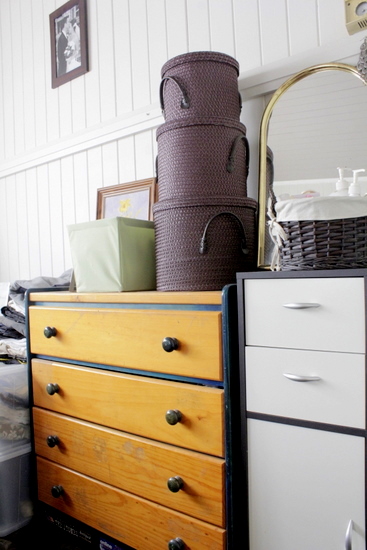
I bought this little white drawer unit on Gumtree for $40 recently. It’s a cute little thing, although some of the drawers need to be fixed. The laundry basket I actually got for about $10 from a dollar store when we were down in Lismore for a friend’s wedding a couple of years ago. It’s served me well, and I love it.

Everything is still very much a work in progress, particularly this awful green-and-timber dresser. Give me time! I can’t wait to attack it with a few coats of paint! Or maybe replace it with something taller… we’re very short on storage here.
Tom’s bedside table also probably won’t stay natural timber coloured. We got it for free from a friend of Tom’s that was leaving to go interstate. That timber statue thing on top of it is a carving he got overseas. It’s an eagle grasping a snake in its talons. I hate it. Any ideas on how to convince him to get rid of it?
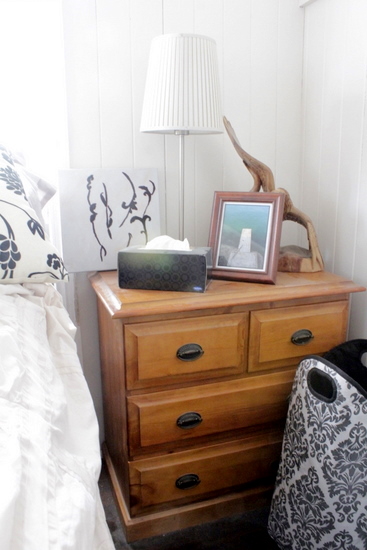
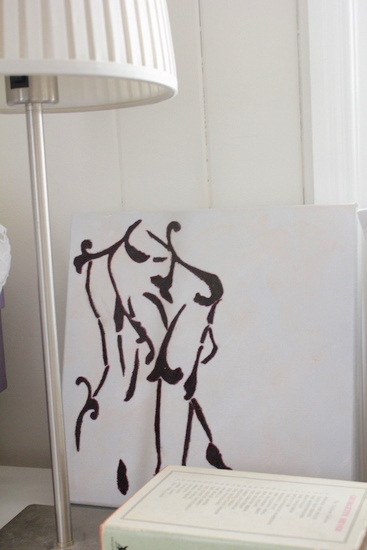
Something I am pretty proud of is that canvas. Can you tell what it is? Back when we were still living at our last house I used trace paper to trace the pattern of the fabric in our curtains (the same ones that moved with us to this house). I then cut out pieces in that pattern from some scraps of purple velvet that my mother had in her amazing fabric collection.
Then I downloaded some sketches of naked men and women off the Internet (arty ones, thank you very much), projected them onto canvas, traced the basic outline, and then fitted my leafy patterns into those outlines. And we were left with two little matching canvases, the man one for Tom…
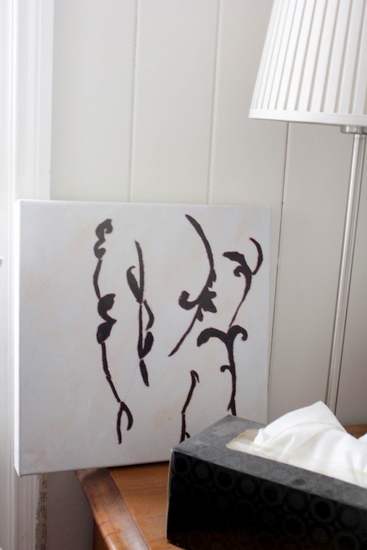
And the lady one for me.

At the foot of the bed, across the room from the big window, is this eyesore. You saw the two end wardrobes in an earlier post (here), which I found for sale for $20 each. I toyed with the idea of having a little dressing area in between them, or a chest of drawers, but really, having come from a lovely big walk-in-robe at our last house, we needed more hanging space. So I managed to find this almost-matching-if-you-ignore-the-colour wardrobe to fit perfectly in the centre (which also happened to cost $20).
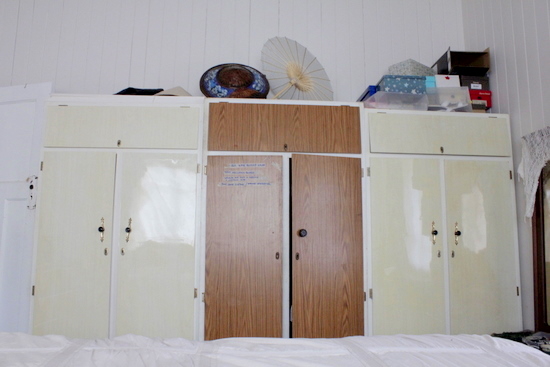
Eventually we will push the wall behind them back and build these babies in so that they don’t detract from the space in the main bedroom, and of course we will definitely make them look prettier. They serve the purpose for the moment, though. All in good time.
Something I was struggling terribly with until about a week ago was my shoe situation. I had absolutely nowhere to put my shoes, so I ended up with a pile of them on my side of the bed that I would fall over every time I got up in the morning.
And then, with the advent of our recent bathroom-destruction and consequent removal of the linen closet that was built into the little corridor to the old bathroom, I discovered this. In my genius-ness, I had purchased this over-door hanging shoe rack from a dollar store before we even moved into the house, thinking it would go nicely with our curtains. And then I stowed it away in the linen closet and forgot about it. With the linen closet gone now I rediscovered it, and it’s working beautifully for me!

Of course the room is nowhere near finished yet, so there is still plenty to keep me busy. As you can see in the above picture, we don’t even have a door knob on our door because it kept falling off. I have yet to paint all of the trim, hang artwork, and make the wardrobes pretty, etc etc.
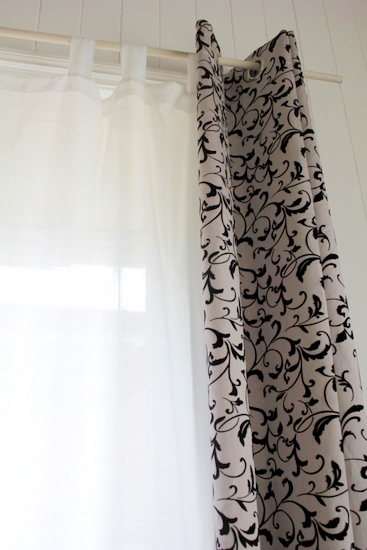
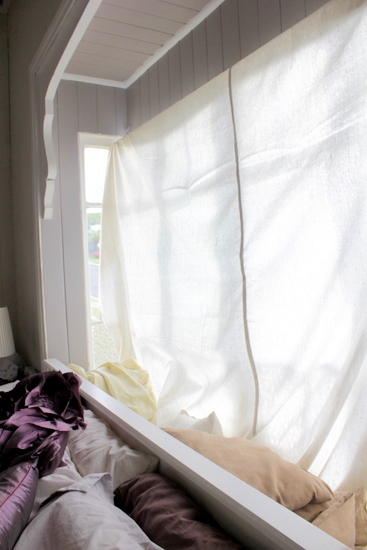
It’s also not ideal to haev a drop sheet acting as your curtain, so I probably need to address that.
You may also have spotted in the very first photo that we have this attractive situation happening at the end of the bed.

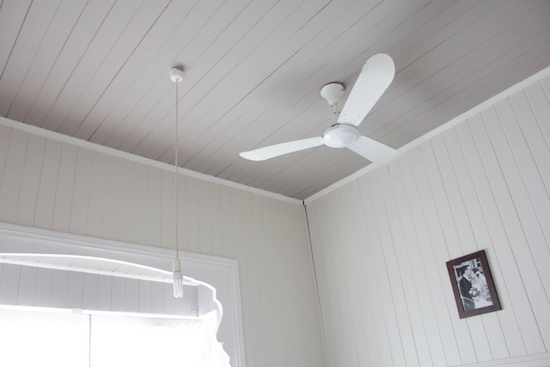
And update our electrical situation so that the fan and light(s) are positioned in locations that will actually be useful to us…
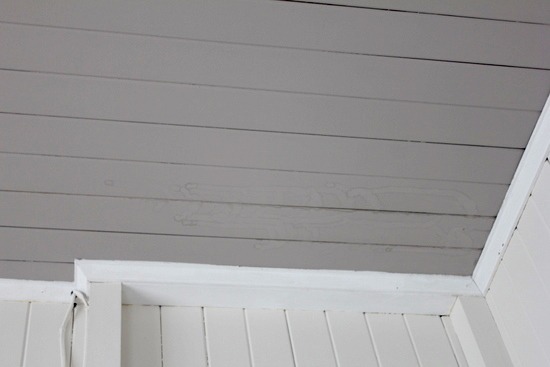
Oh and another minor issue is that the roof leaks right onto our lovely painted ceiling whenever it rains heavily…. oh dear.
But we’re taking it one step at a time, and we’ve got a few other improvements keeping us very occupied at the moment!
Let’s just think about how pretty it is compared to the original, ok?
Cassity Kmetzsch started Remodelaholic after graduating from Utah State University with a degree in Interior Design. Remodelaholic is the place to share her love for knocking out walls, and building everything back up again to not only add function but beauty to her home. Together with her husband Justin, they have remodeled 6 homes and are working on a seventh. She is a mother of four amazing girls. Making a house a home is her favorite hobby.


I LOVE THE PANELS! What a drastic difference! It looks fabulous~job well done 🙂
I see progress! I love that you are letting us peek in on what’s been done and sharing what is yet to come. Keeping it real. I’ve been in my house for over a year and I still have 2 boxes to unpack. I guess if we haven’t missed them, we don’t need them?
Beautiful room now! it had good bones and you brought them out with the white and grey paint!
How to get rid of the statue? one word….glitter!
Amazing transfromation
It is beautiful! I love the purple touches. Maybe hubby will let you paint the eagle talon thing solid black or white. Just a beautiful room. I know you are so proud! ~Sandy~
Bless your heart! It sounds like you are powering through quite a set of challenges. The room looks 100% better, even if it’s only 50% done. Best of luck as you continue your projects!