Surfboard Decor, Perfect for a Beach House!
This project by Cheri at I am Momma Hear me Roar is such an incredible project! Look what she did, I am sure you will love it as much as I did:
Last week my entry for So You Think You’re Crafty won the “Water/Sea” round. Today I’m going to show you how I made it. You can click HERE to go vote for this week’s round. The theme is “Edible” and there are some cool entries.
To make this towel rack you will need a large sheet of MDF. I purchased a sheet that was 4’x8′ and a half inch thick. (You’ll have extra MDF for another project.) I think the easiest way to get the surf board shape is to cut one long strip first so it’s still 6′ long, but about 2′ wide. (Usually they will cut make a few basic cuts for you at no cost at the Depot.) Then sketch out a surfboard shape and cut it out. Sand the edges. (Find a cute nephew to model the cut board.)

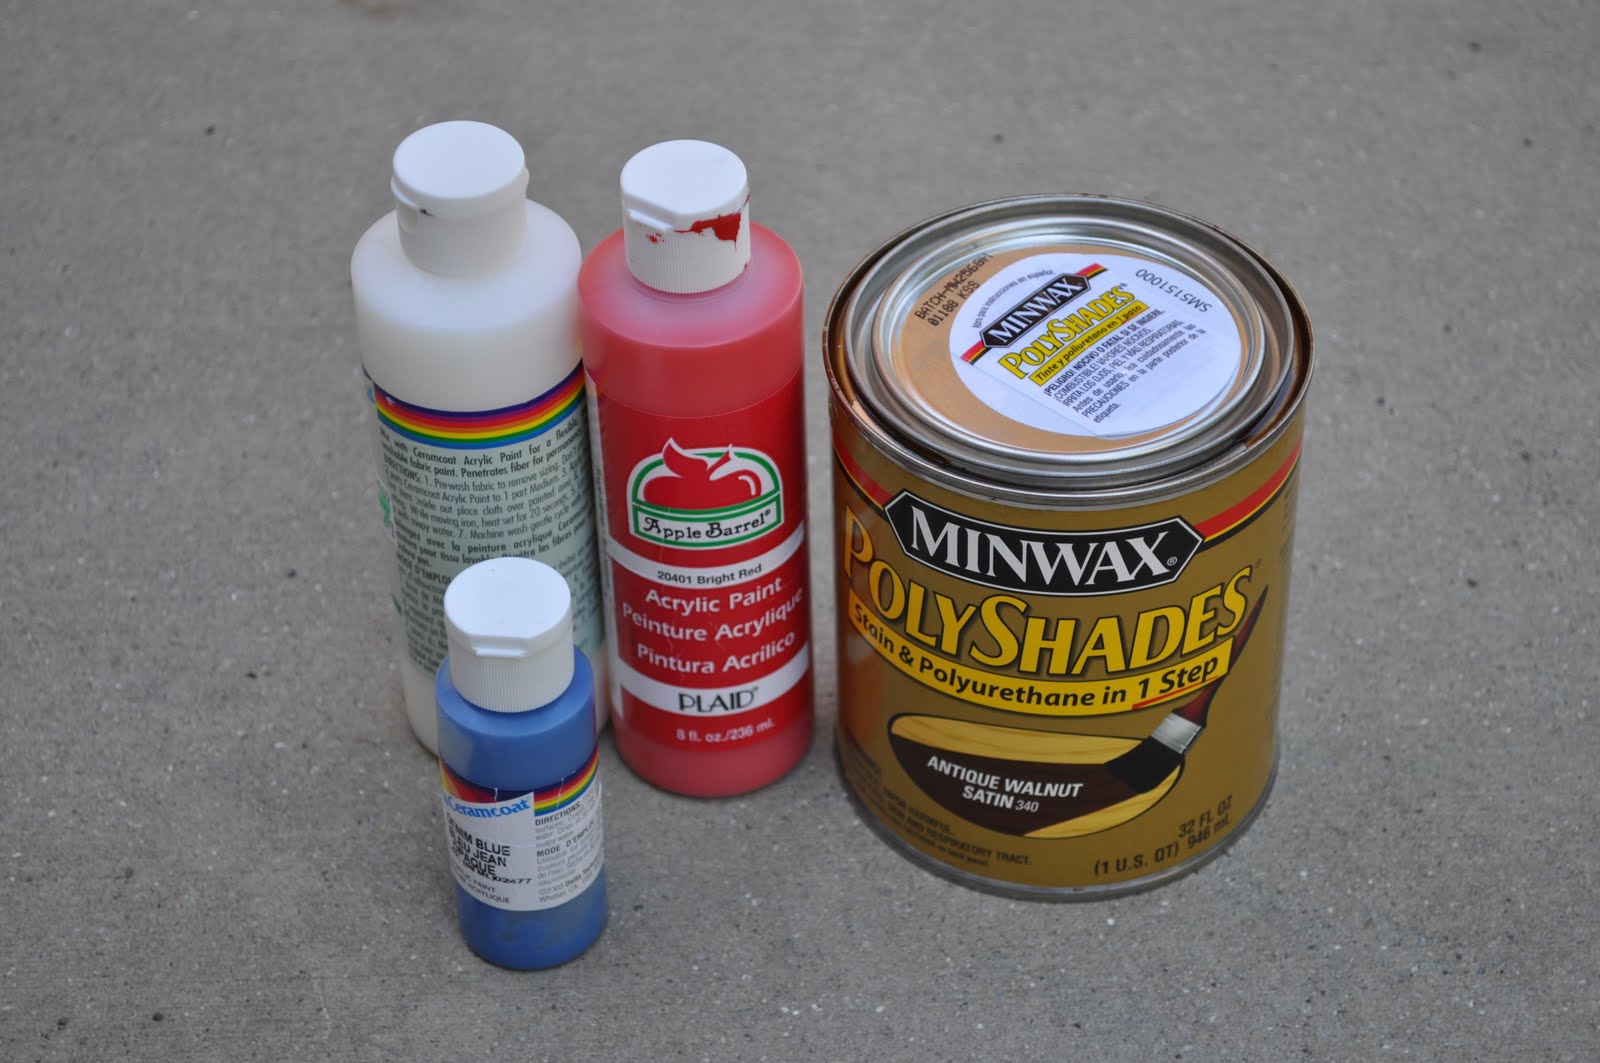
Paint the surfboard. You can use regular acrylic paint like you’d find at the craft store. Paint the whole board white (or whatever color you’re currently loving).
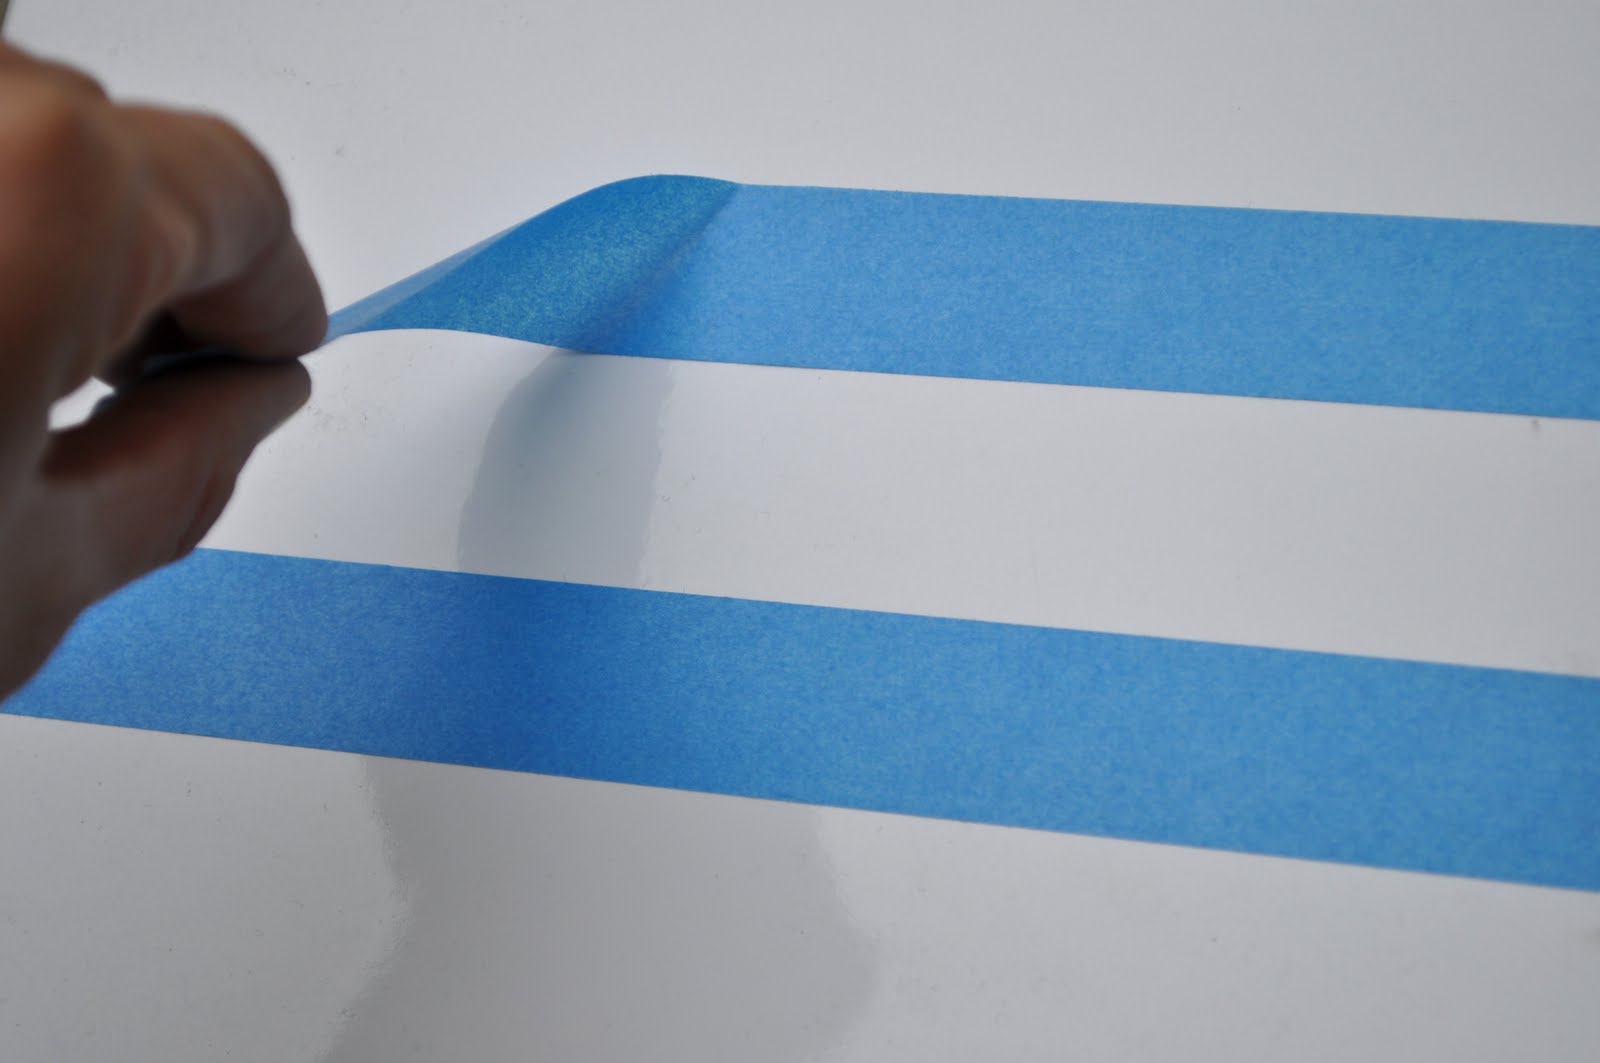
Next paint the stripes. Painter’s tape is a must for this one.
Now it’s time to paint on the name, which could be a surf board brand OR I used the last name of the family who the surfboard was for. I usually free-hand it, but if you’re not comfortable doing that, find a font you like and print the text off your computer. Turn the paper over and scribble all over the reverse side of the paper where the text is. Line up the paper where you want the letters to appear on the surfboard. Take a pencil and outline the letters. This will create a faint outline of your text on the surfboard. Now paint in the letters.

To give the board an aged look, rough up the edges with sand paper. If you want it really antiqued you can get out the electric sander. Once it’s roughed up as much as you want, add the polyurethane + stain shown in the picture above of the paint. I like to dip a rag into it and rub it on to my liking.
Lastly, screw on your hooks (following the instructions on the package) and hang your board. My sister painted the pictures above and used the same stain to antique them as well.
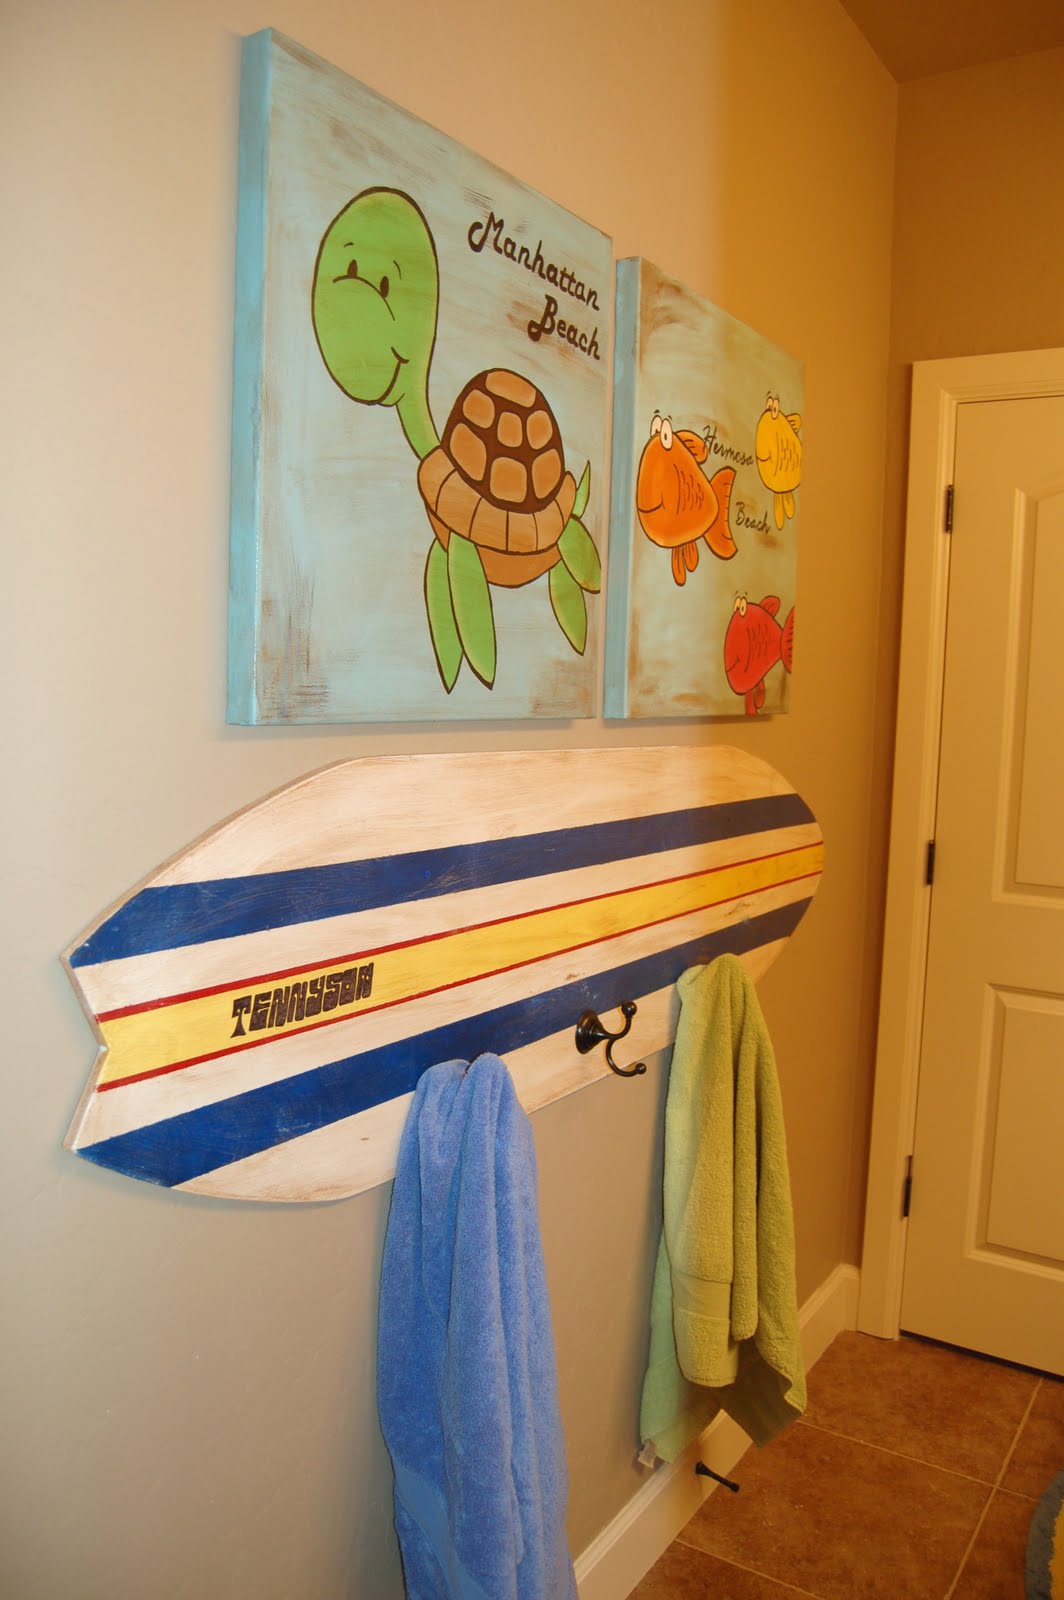
That’s it! Now you’re ready to find a big wave in the bathtub. Surf’s up dude!
Cassity Kmetzsch started Remodelaholic after graduating from Utah State University with a degree in Interior Design. Remodelaholic is the place to share her love for knocking out walls, and building everything back up again to not only add function but beauty to her home. Together with her husband Justin, they have remodeled 6 homes and are working on a seventh. She is a mother of four amazing girls. Making a house a home is her favorite hobby.


>I loove this it looks great!!
>I love this project…it is adorable!
>Hi Cassidy. I hope your having a fun weekend. Cheri did a fantastic job on this. It's just too cute. Thanks for sharing it with us. Now I'm off to visit Cheri.
Hugs…Tracy 🙂
P.S. I posted a my giveaway Fri. I hope you can stop by and enter.
>I just love how you're garage looks like my garage! Look at all that stuff!!! ((hugs))
>Thanks for posting this, Cassidy. I sure appreciate it!
Cheri
>Very cool! I have been wanting to 'knock off' the Pottery Barn Teen Skatedeck wall decor for my son's room. I'll be I could make something similar using the technique you shared. Thanks!