Spray Painted Window Trim On Exterior Door
Spray Painted Window Trim On Exterior Door
contributed by Sharon This Thrifty House
OK–don’t roll your eyes, but I have yet another post about the wonders of spray paint!
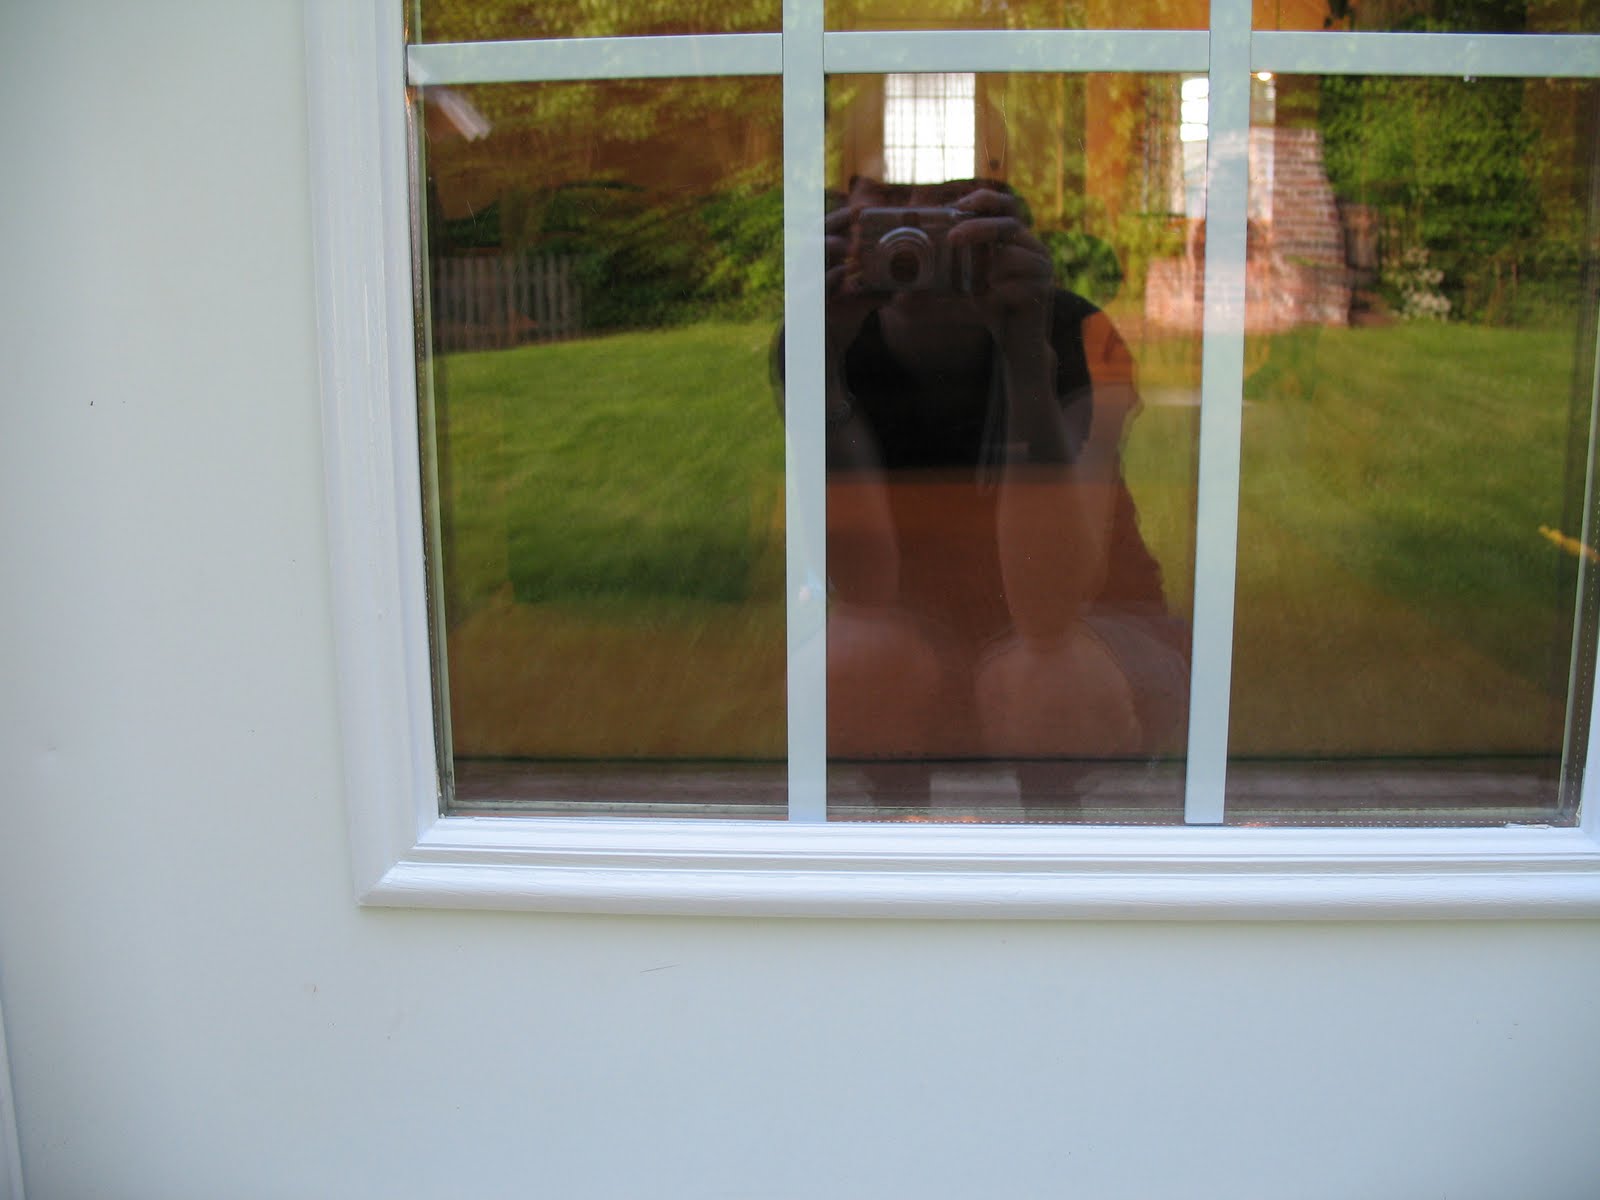
My front and back doors have been bothering me. They have this wonderful plastic trim around the window that over the years the sun has turned an awesome shade of YELLOW!
Exhibit A:
(I do not have an awesome camera to do this picture justice–just know that it is pretty yellow!)

So I turn to my new trusty friend: Spray paint.
I chose one that is specifically designed to use on PLASTICS.

AND I saw one of these tools on someones blogs once–and finally found one at WALMART–for somewhere in the $2-$3 range.
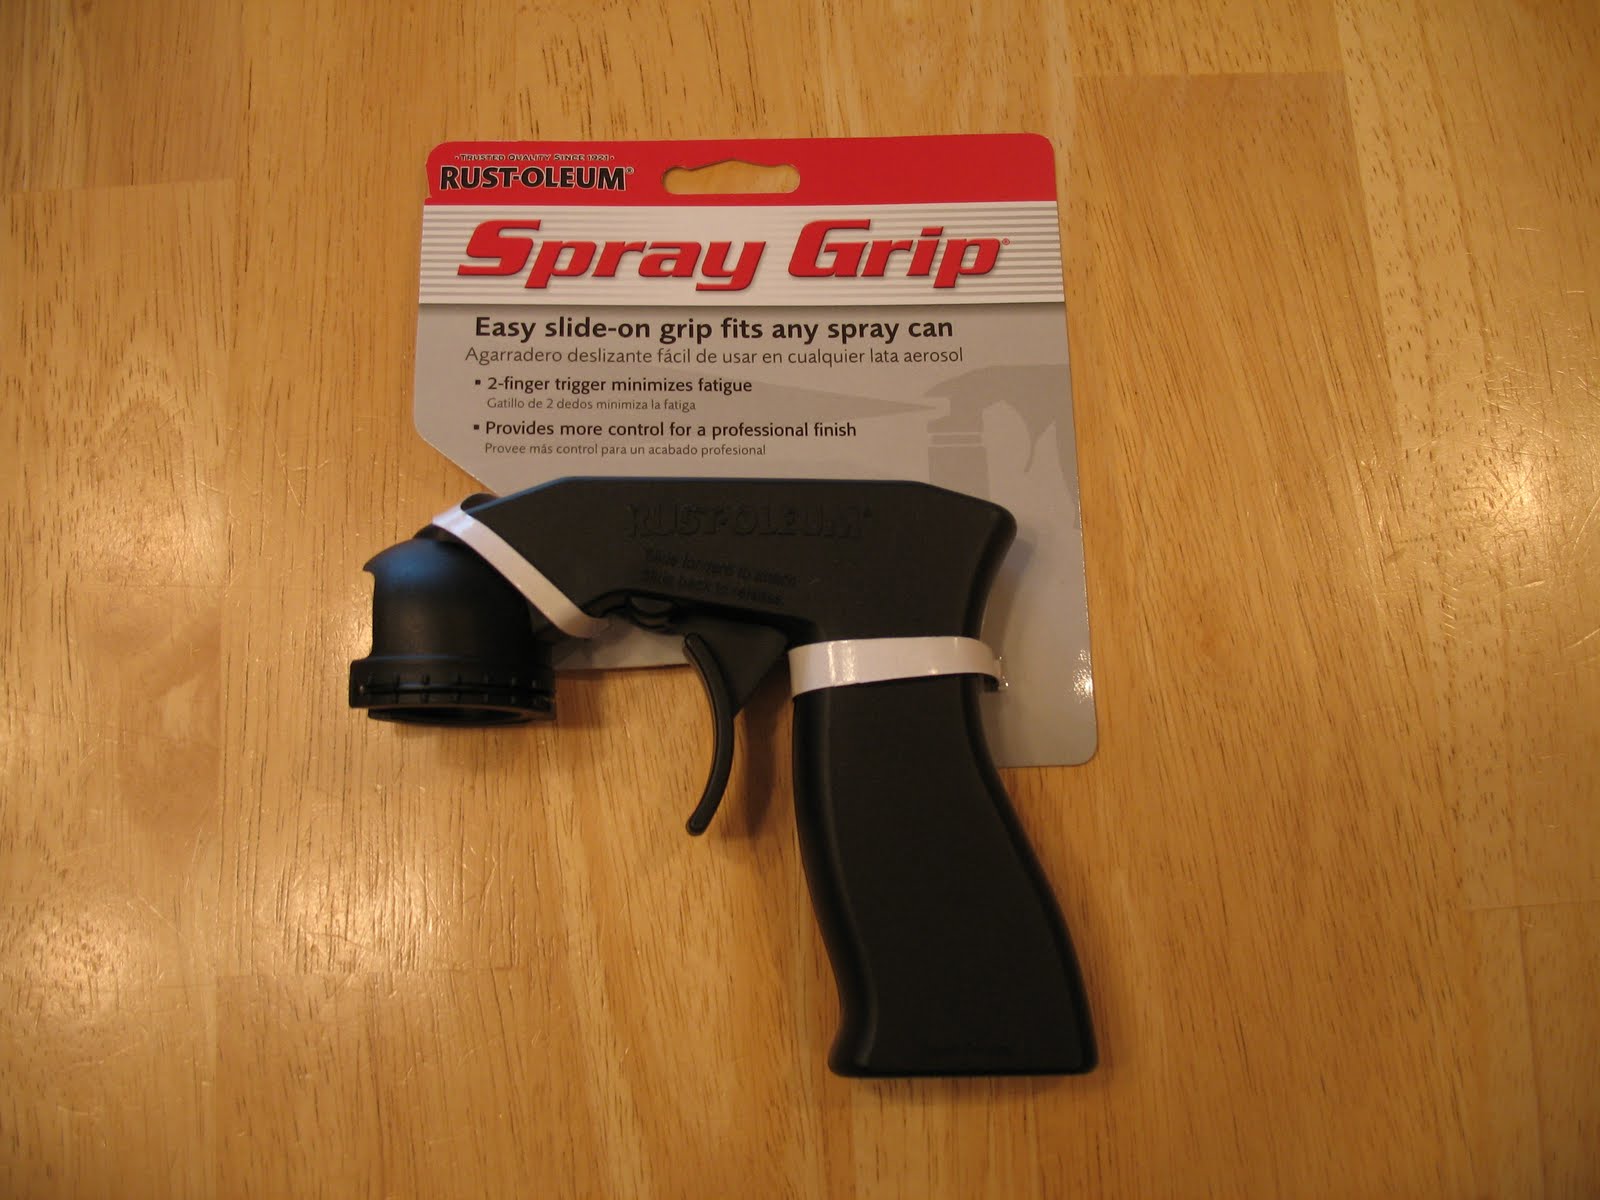
I figured it was a good investment in the health of my spray painting finger considering all the spray painting I am doing. And let me just say–IT WORKS AWESOME!!
If you spray paint at all–you really should get one!
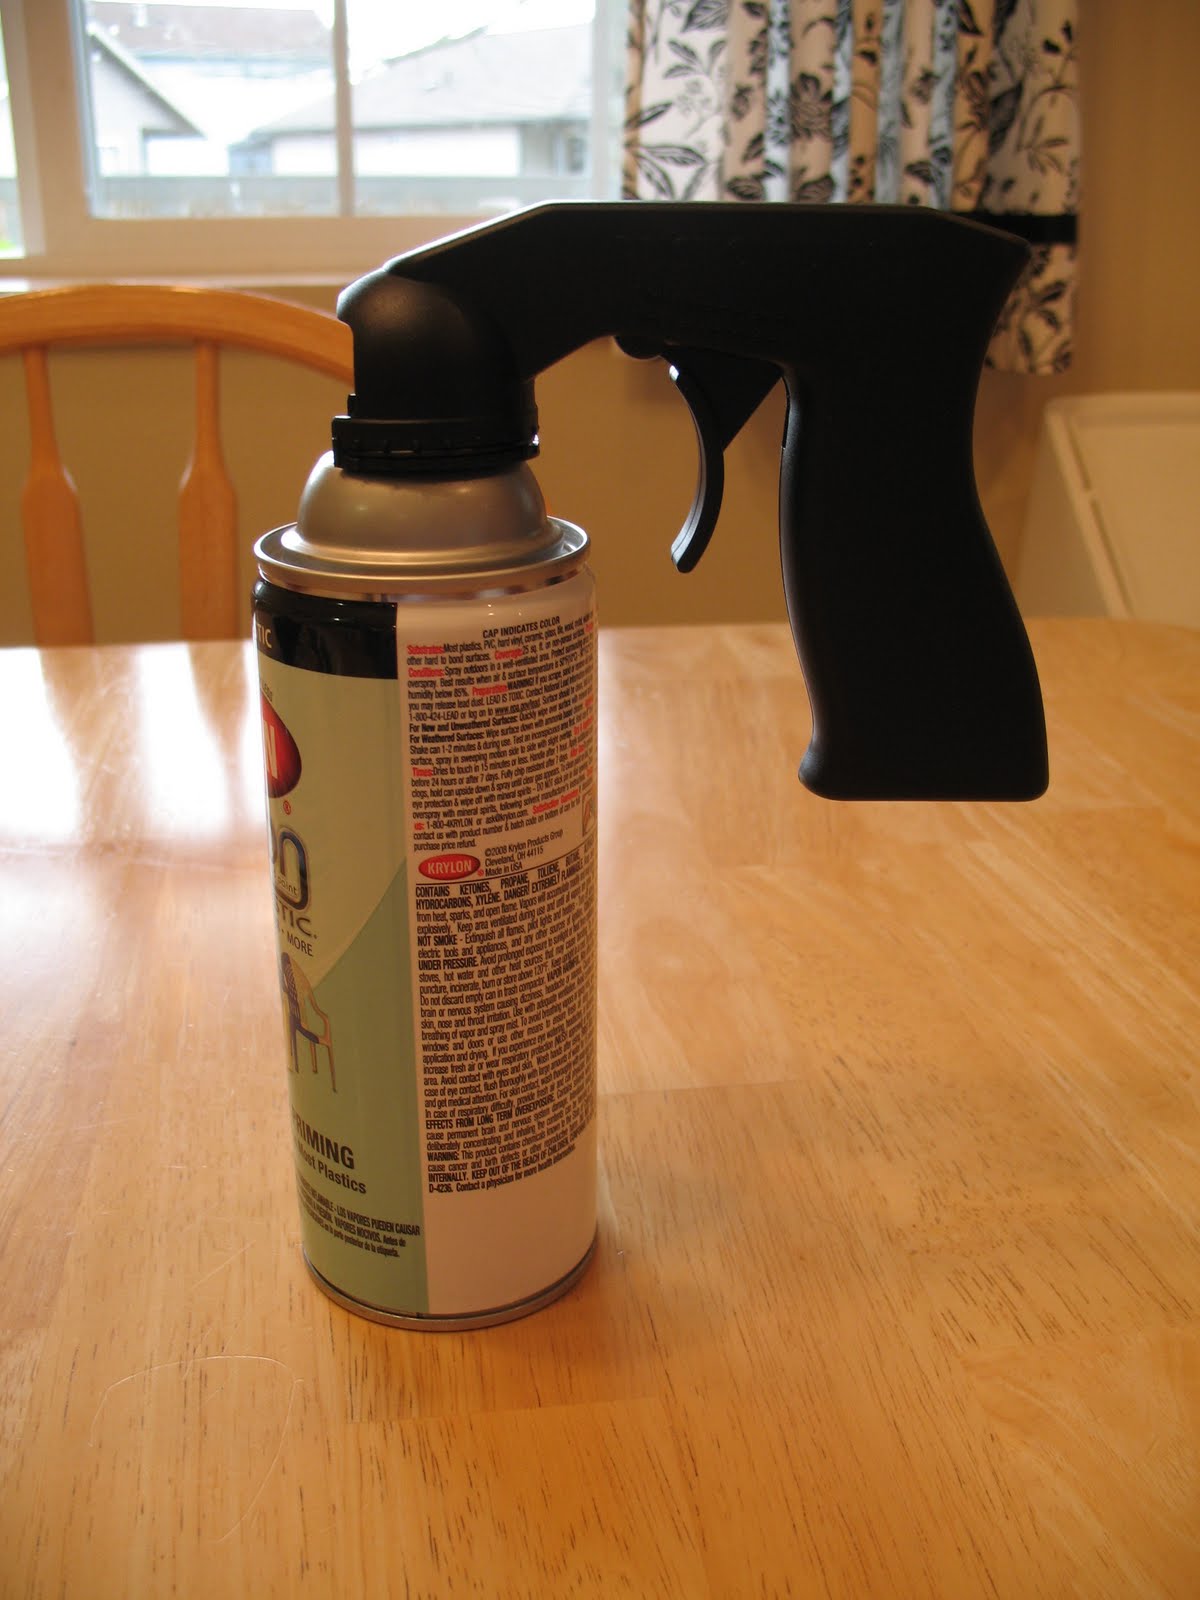
It looks like this once you slip it over the can of your spray paint.
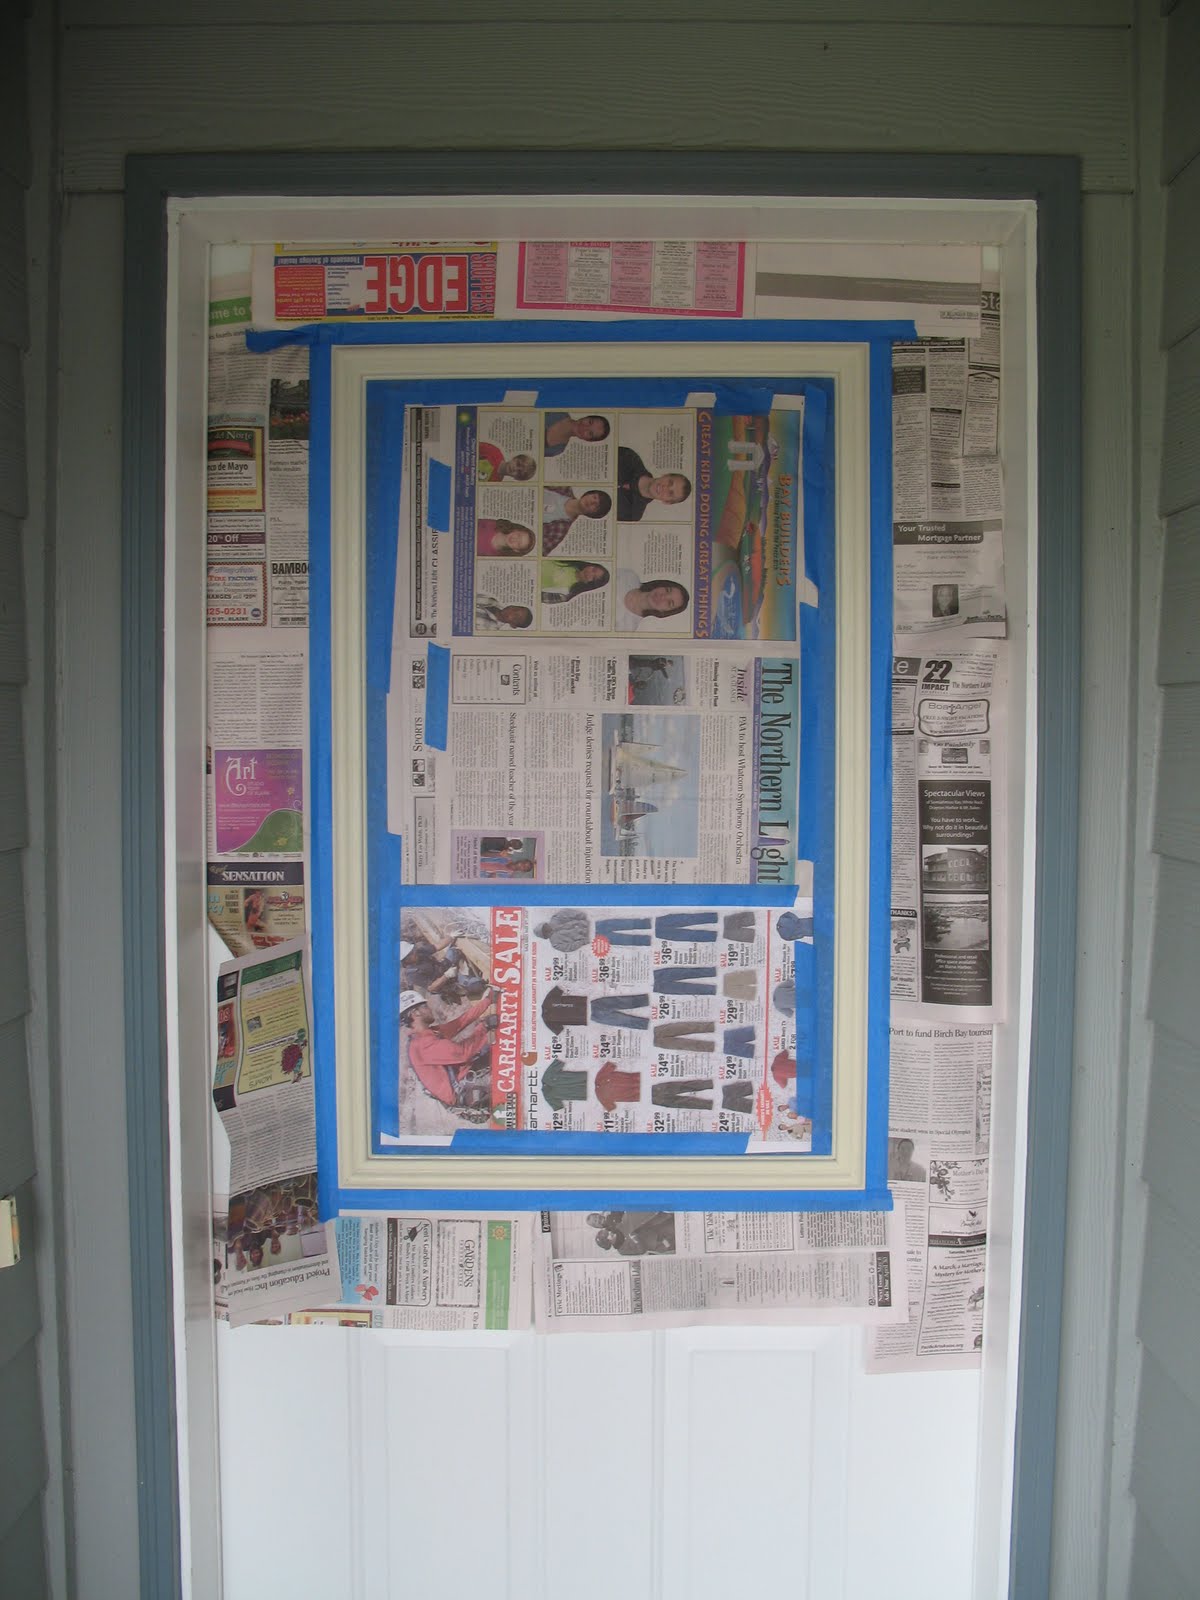
So then I taped off the areas of my door that I didn’t want to get painted.
And then I went to work!
I applied 2 coats of paint. And I think it looks AMAZING! It looks like I have a brand new door!!
Here are the results:
 |
 |
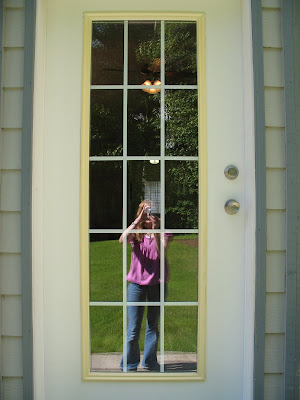
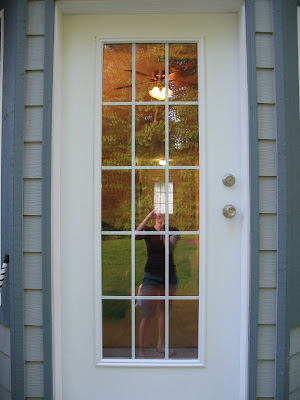
Before / After
I can’t wait to do the same thing to my back door! It is MUCH YELLOWER (is that a word?) and will make an even better before and after picture!
I can’t wait to do the same thing to my back door! It is MUCH YELLOWER (is that a word?) and will make an even better before and after picture!
As promised in THIS other post when I did the trim of my FRONT DOOR–I am writing this post to show you the before and afters of my BACK DOOR spray painting trim project.
I just finished it and am SO HAPPY with the results!
I just wish I had done this YEARS earlier!
Here is the trim in its sun damaged YELLOWNESS before:

The hardest part of this project is the prep–taping and papering.
(And since that isn’t hard at all–that tells you how EASY this project is!)

OK–are you ready?
This change is pretty dramatic and AWESOME!
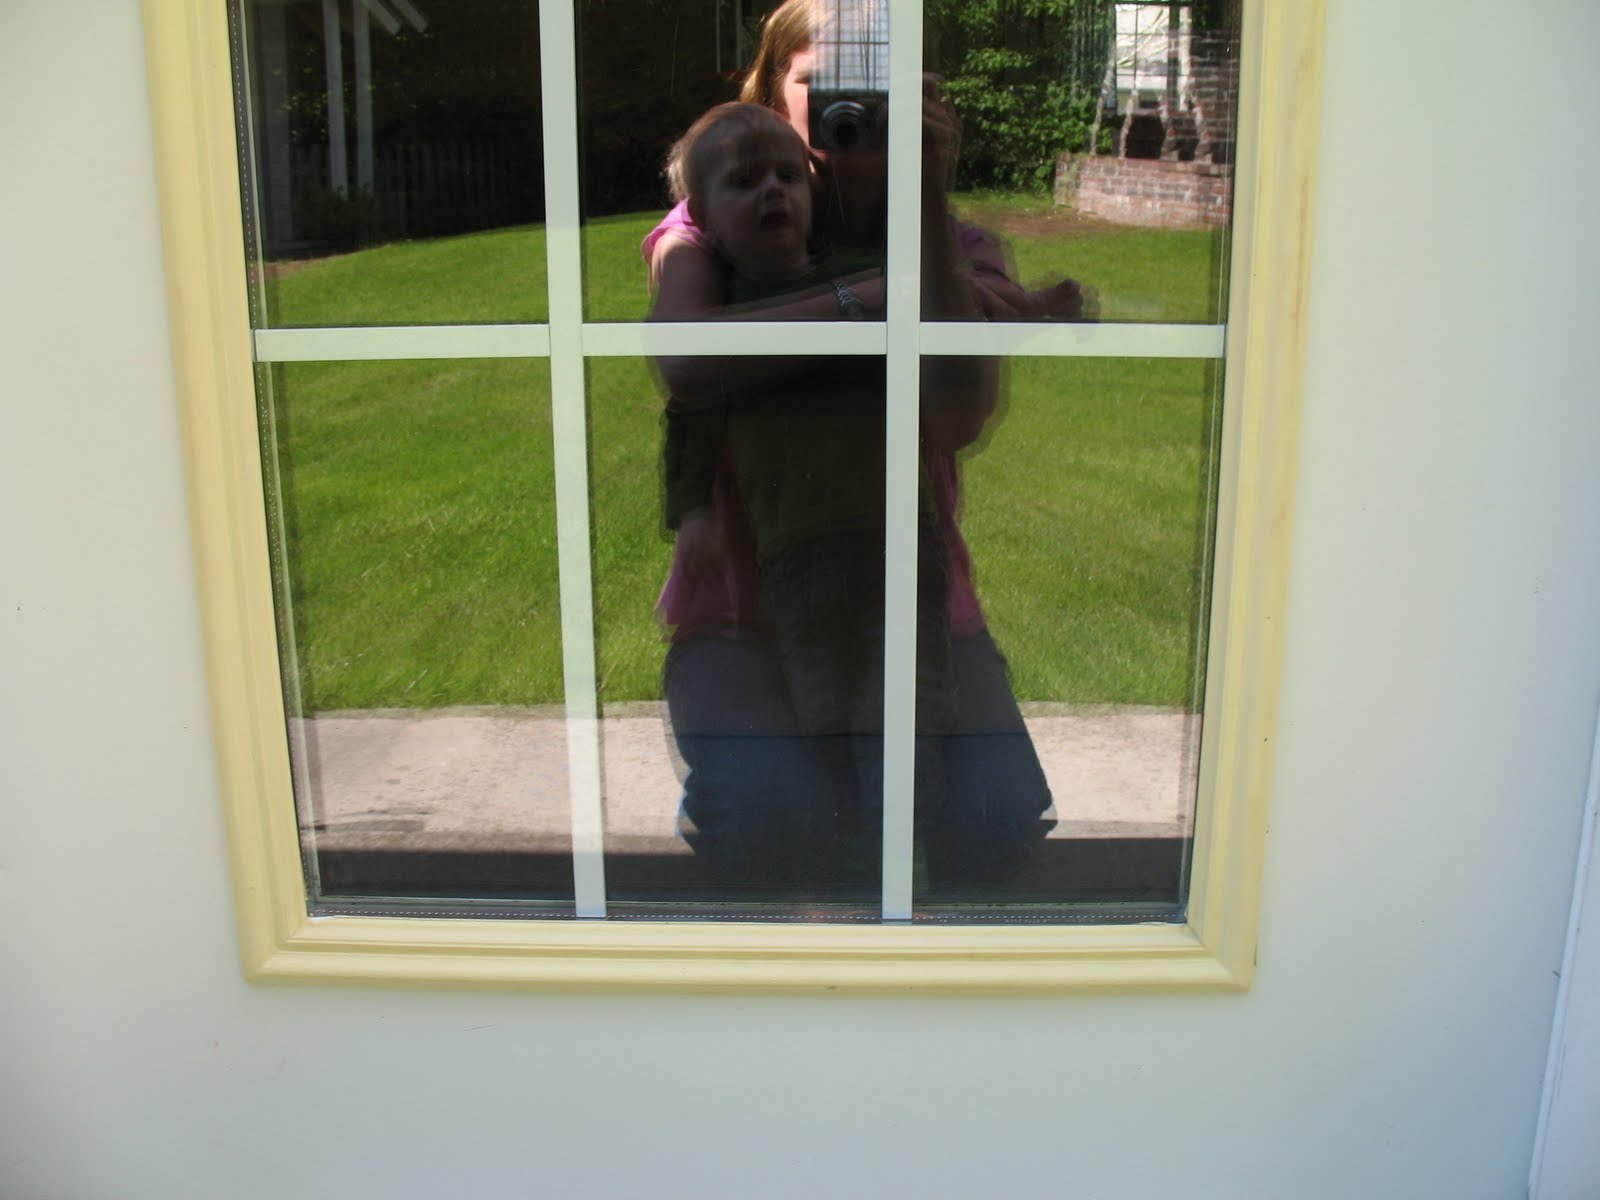
BEFORE:
(And yes, that is my little one on my lap in the reflection–this is how a lot of my projects are done–with my little ones right at my side! They are such big helpers…right?)
AFTER:
BEFORE/AFTER
 |
 |
Now let me just say it again….I LOVE SPRAY PAINT!!!
Cassity Kmetzsch started Remodelaholic after graduating from Utah State University with a degree in Interior Design. Remodelaholic is the place to share her love for knocking out walls, and building everything back up again to not only add function but beauty to her home. Together with her husband Justin, they have remodeled 6 homes and are working on a seventh. She is a mother of four amazing girls. Making a house a home is her favorite hobby.


>I also have a little of that yellow trim going on around my house on some outside doors. I really need to paint it and have thought that for quite some time now. How lazy is it that I just don't want to have to tape all that paper up there? I know, really lazy. I will get it done. Thanks for the inspiration.
Hey there ! This is a very late reply since you posted this about 9 years ago I think but how did you keep the spray paint from getting all over your house? I really want to do this and don’t feel like hand painting that trim. THANKS!!!
>That turned out great. I have to paint my door and I'm thinking of going black!
>That looks great! My mom touches up her doors like that every few years.
>I love that finger saving little spray paint gun thingy you used…..gettin' one tomorrow! Thank you
>Sometimes it's the smallest change that make the biggest difference!
>I have the same problem. I will have to make it beautiful like you did. =)
blessings
barbara jean
>Huge difference!
>OK seriously, this idea is genius! Um, how many times have I hand painted that annoying piece around the door? Too many to count. Spray paint is so much easier! I'm saving this tip and will most definitely reuse it.
~Allison @ House of Hepworths
>That is just fabulous! My "to do list" has painting the front doors this will be so much easier.
Thanks for sharing!
>Things like this are things that only the homeowner really notices, but they make a world of difference to the person who lives there! I can totally sympathize. I've got about 8 bajillion things like this that need to be completed around the house.
Thanks for the tip of the spray grip. I'll pick one up tonight!
>wow, what a great idea! I have the EXACT same doors..they weren't put in too long ago, but they'll probably yellow, just like yours…keeping this in mind!
>I love simple projects that make you feel so good about your house!
as to that red door above: I painted a red door once to. The secret is to use a dark grey primer coat. I only needed two coats of red paint.
Great work! Wish I had seen this before I hand painted mine. Any ideas on how to fix/replace the plastic if it has broken? On my door, the “sections” are formed by the same plastic border overlying the glass (12 squares). Two sections of moulding have broken and I have spent way too much time on repairing/painting the interior of the door to start with a new one.
Brilliant! Thanks for sharing.