How To Make An Indoor Swing

Last summer we did all we could think to do to keep our kiddos entertained during the sweltering heat but let’s face it, those long, hot days when I have to work and they can’t go outside means they are stuck inside with not much to do. I really think at one point I’ve seen the kids literally bouncing off the walls.
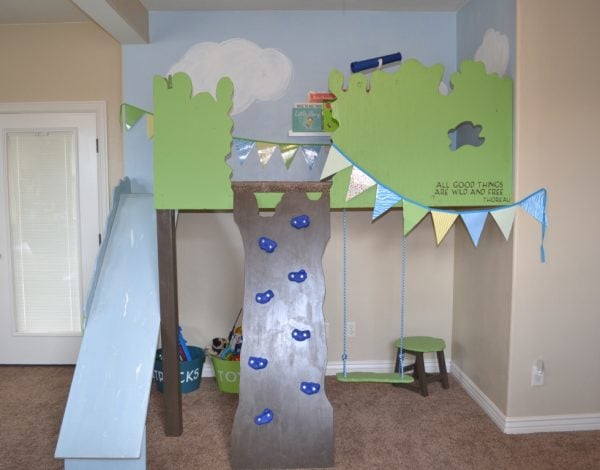
One of the ongoing projects in our home has been our playroom. We wanted to make it a space they could use all year, but mainly during the summer. Initially, it was closed off by the previous owner in an attempt to sell the home as a four bedroom (except the space he made had no closet, so it was just a big room). A year or so after moving in, we knocked the wall down to open it back up. After a few years, though, I started a business and needed a dedicated office. I decided to put up another wall, but only take what I absolutely needed (you can check out that project here).
When all was said and done, we were left with a big empty space for the kids. After throwing out a million or so ideas, the hubs and I decided that we would make the kiddos indoor swings. Both of our kids love to swing and they loved the idea! Since the playroom is downstairs, we knew we had strong joists in the ceiling (something we saw first hand during our bathroom remodel) so we knew they could support the weight of the kiddos. All that was left was to make the swings.
How to Build an Indoor Swing
Materials (for one swing)
1- 1″ x 4″ x 8′
1 – 2′ x 4′
2 – 16″ x 22″ x 3/4″ pieces of plywood
2 – 16′ sections of kernmantle rope (you can buy this at REI or Academy)
4 – 3/4″ x 4″ eye hooks
2 1/2″ pocket screws
Swing hardware set
5/32″ drill bit
Drill
Stud finder
Brad nailer
Kreg jig
Cost: Around $30
Step 1: Create the inner support
Cut your 2′ x 4′ into (2) 13″ pieces and (2) 20.5″ pieces.
Drill pocket holes on each end of each 20.5″ piece using your Kreg Jig.
Attach the 20.5″ pieces to the 13″ pieces using the 2 1/2″ pocket screws.
Note: I also like to nail the pieces together for extra peace of mind.


Step 2: Create the outer shell
Cut your 1′ x 4′ x 8′ into (2) 14.5″ pieces and (2) 22″ pieces.
Attach the 14.5″ and 22″ pieces to the inner support creating an outer shell.


Step 3: Attach the top and bottom
Attach the 16″ x 22″ x 3/4″ piece to the top and bottom of the outer shell using a brad nailer.


Optional step: Add wood banding to the edges
For those who don’t like unfinished edges, wood banding is wonderful (and simple to apply). Simply cut the strip about 1″ longer than needed and apply it to the edges with an iron. Once you’ve ironed it, smooth it with a block of wood and trim the excess off.


Step 4: Stain or paint the piece
We opted to stain our swings using Sherwin Williams Sherwood stain in Dark Walnut.
Step 5: Add the eye hooks
Measure and mark 1″ in and 1″ over at each corner of the seat base.

Using the 5/32″ drill bit, drill a hole.

Screw the eye hook into each hole (I have found that threading a long screwdriver through the eyelet helps tighten the eye hook).

Step 6: Attach the swing hardware set to the ceiling
First, determine how much space you want to give the kids to swing. We didn’t want them going crazy, so we allowed for 3 feet clearance (36″ from the back wall). Measure out the desired distance and, using a stud finder, locate a stud for each of the two swing hardware screws.

Using a drill bit (refer to the package for the appropriate size) drill a hole into the stud.

Next, twist the swing screw into the ceiling.

Step 7: Attach the swing to the swing hardware
Thread the kernmantle rope through the swing hardware in the ceiling and tie each end around the eye hooks on the swing. That’s it! Note: If your children are young or have balance issues, use a clamp to stop the rope from causing the swing to tip frontward or backwards.


We have had the swings in the playroom for 6 months and I am happy to report there are no holes in the wall. If you are worried your kids won’t be as diligent, you can always add plastic bumpers to the back corners of the swings to shield them from impact with the wall. Additionally, if you are worried they will be in the way, you can add another eye hook to the bottom (underneath) side of the seat and attach it to a hook in the wall (an idea we toyed with but ultimately decided against).
These swings have been a huge hit for the kiddos – and their friends! Our next project for the playroom? We are creating indoor monkey bars along the walls and ceilings!
————————————-
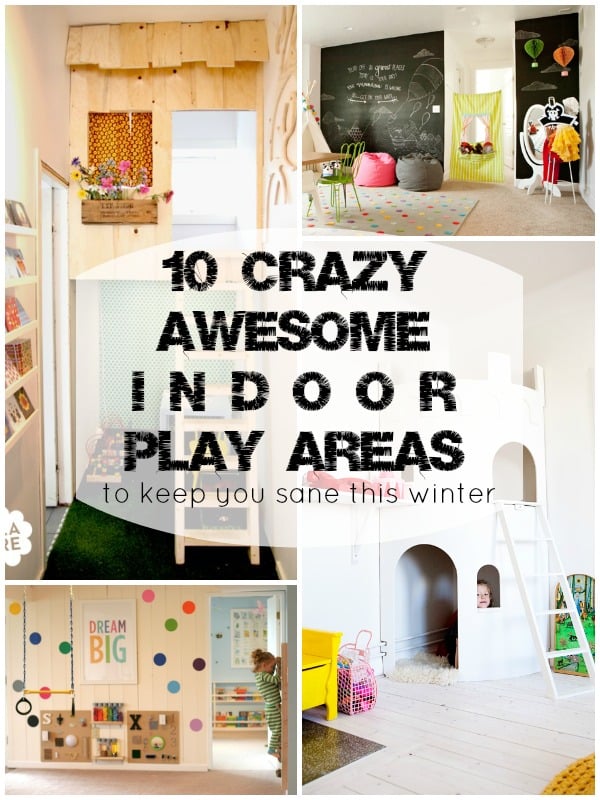
Looking for more fun ideas for kids’ play areas?
Indoor Treehouse with Slide by I Am Hardware
Cottage Play Kitchen (made from upcycled furniture!)

IKEA Hack Lego Table by Designer Trapped in a Lawyer’s Body


Jill has been working for years to make her house into her forever home. With a love of high-end details, Jill works to recreate a high-end look on a DIY budget.


What a fun project, great job Jill!
LOVE these! And best fabric ever!! 🙂 Lucky kiddos
Hey!! So I’m really wanting a swing in my room but my room isn’t very big and I’m not sure how to get it to stay in the ceiling
Love the idea! How did you do the seat cushion?