I am so excited to be here at Remodelaholic. Thank you so much, Cassity, for asking me to be a guest today.
A little about me…. I am a Banker with 10 years of Real Estate Investment experience. I also happen to be the Biggest Home Design Enthusiast ever. The Yellow Cape Cod, my blog, is where I share projects from my home as well as inspiration from others that share my passion for design. The Yellow Cape Cod provides online design consultations to help others create a home that they love, on any budget.
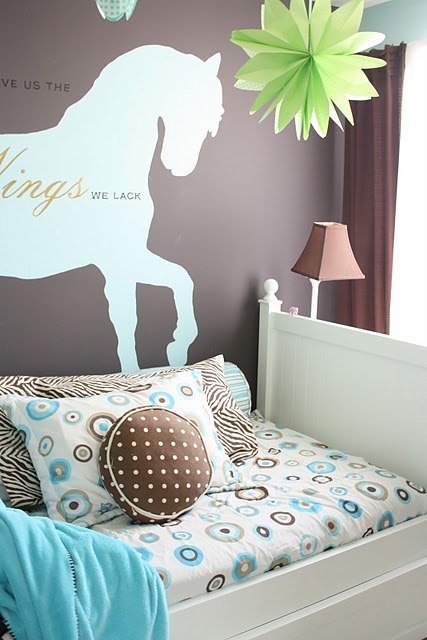
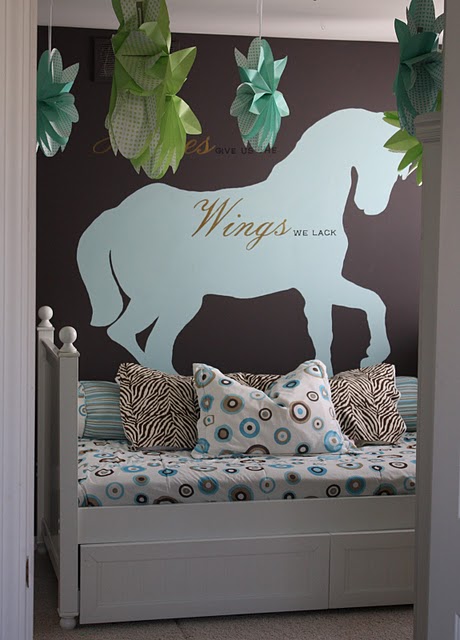
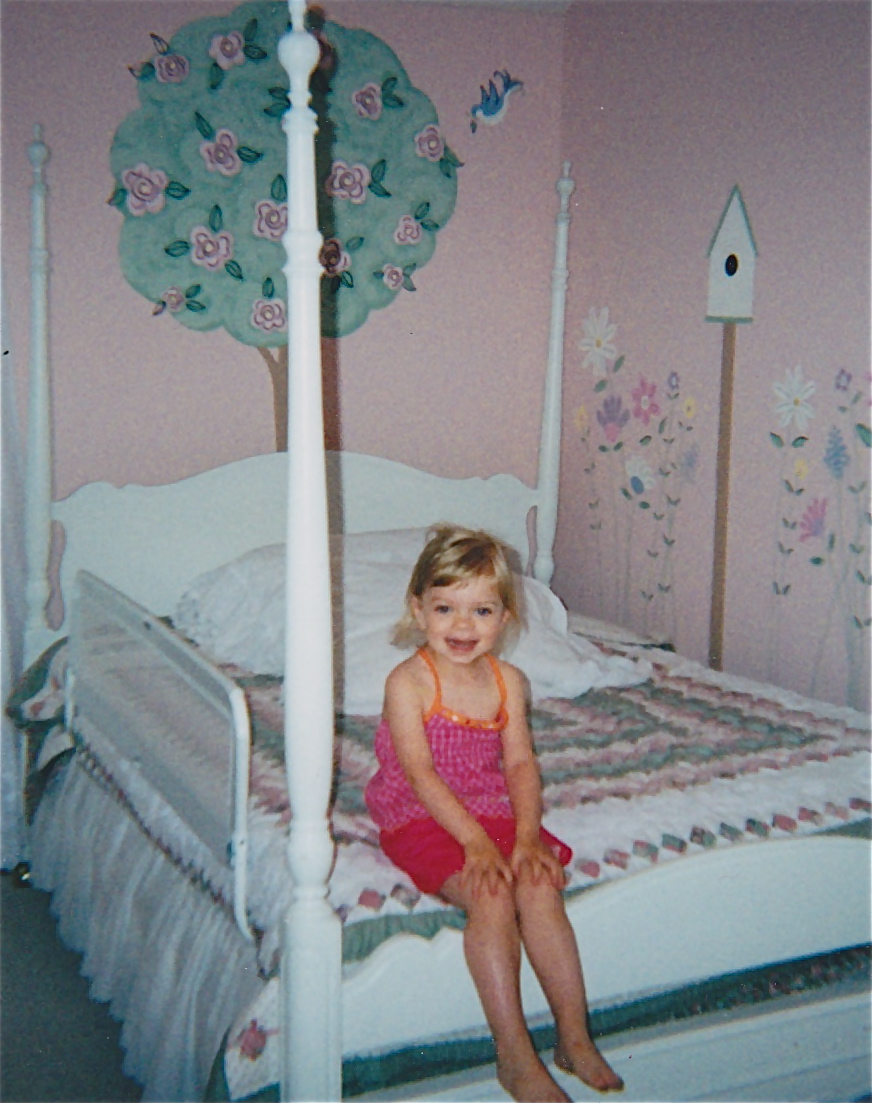
My daughter went on a surprise trip to Greenwich, Ct. and New York City with her Grannie. While she was gone… I took the opportunity to clean out her room and spruce it up a bit.
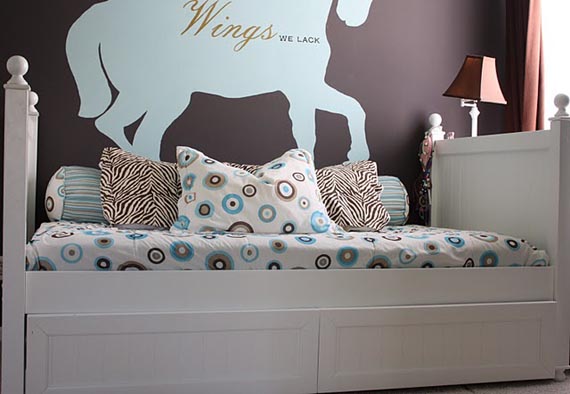
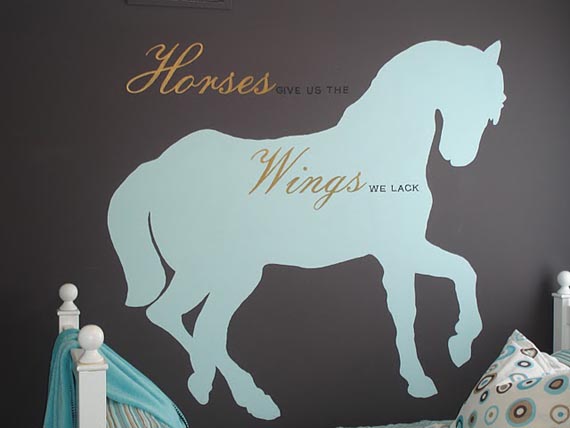
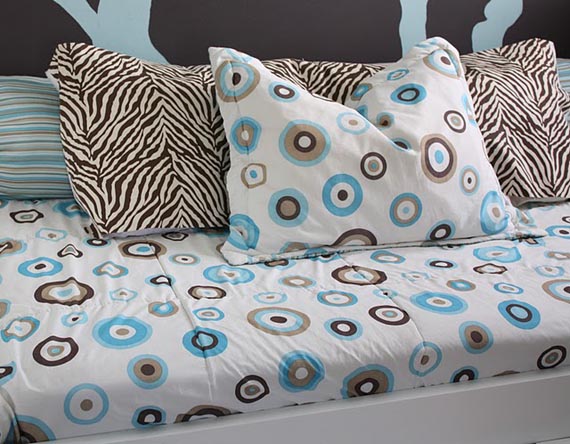
The design was centered around her love of horses and the dot bedding she chose. She has grown up a bit since then. I think it’s important that her room grow with her.
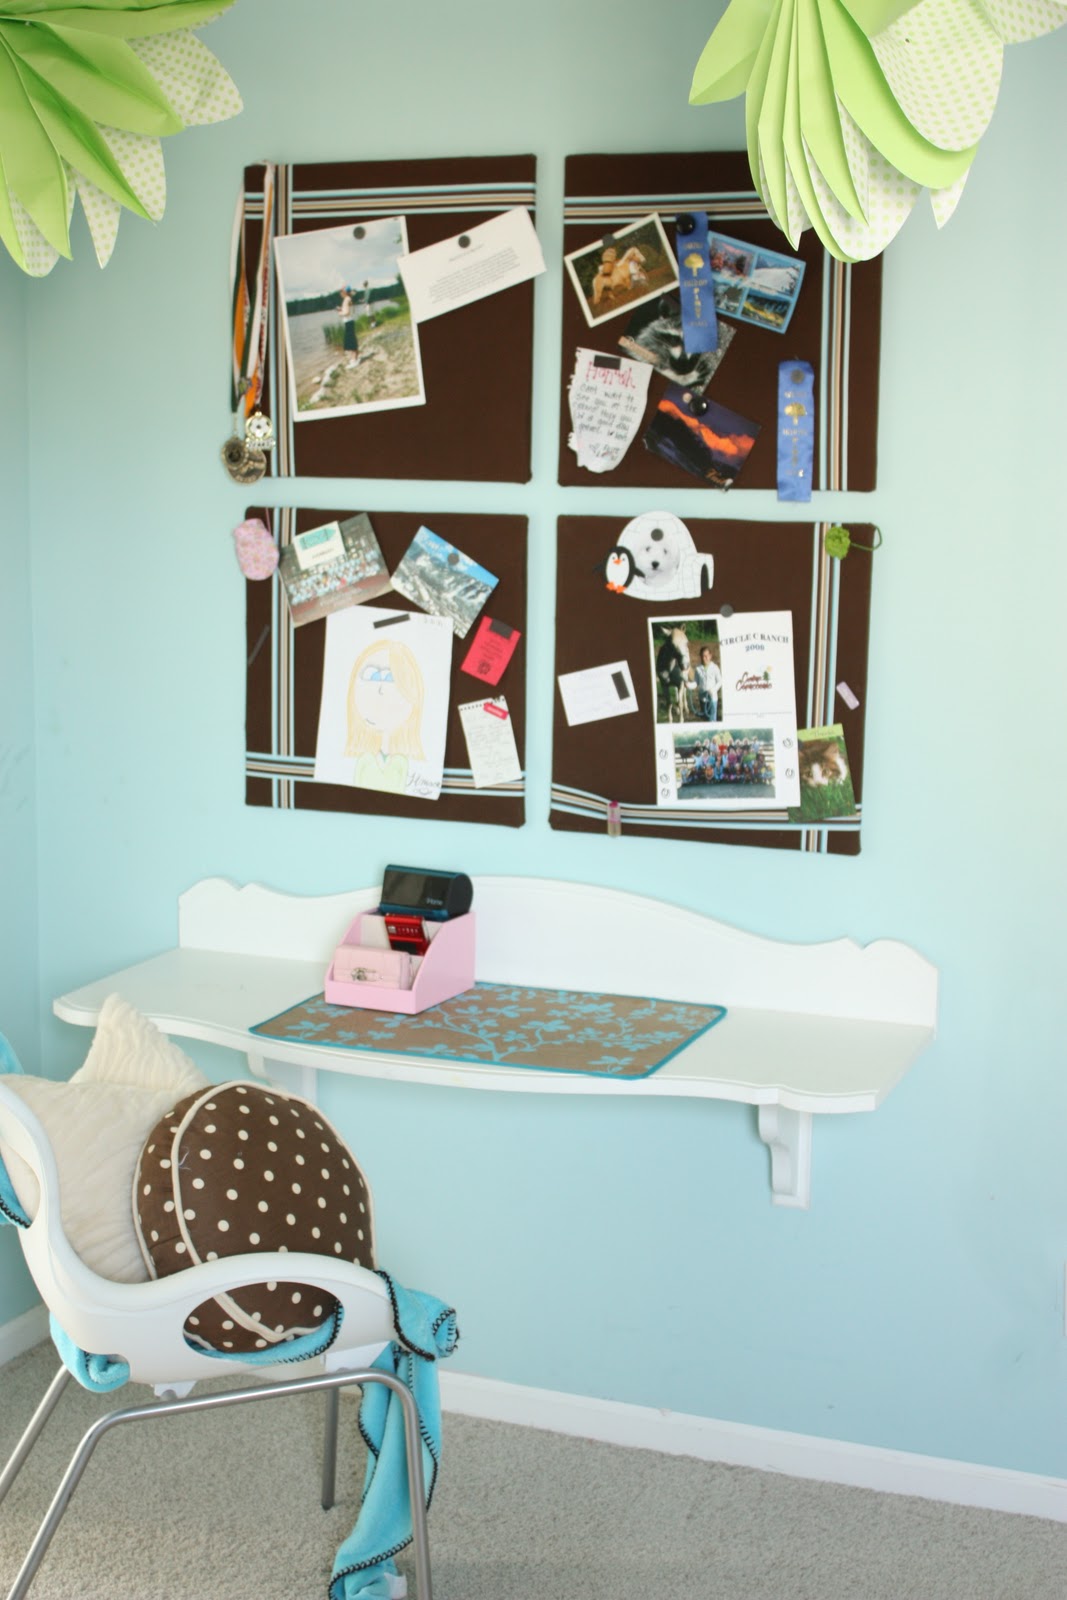
A few of the changes I made this week include the addition of the zebra print. She picked it out on a recent trip to the fabric store and asked me to incorporate it into her room. I used it on the bed, and as a background for some of her favorite photos.
The Jewelry box was a thrift store find. I gave it a coat of spray paint to coordinate with her room.
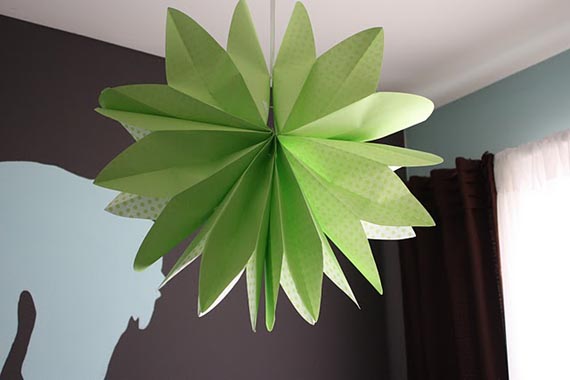
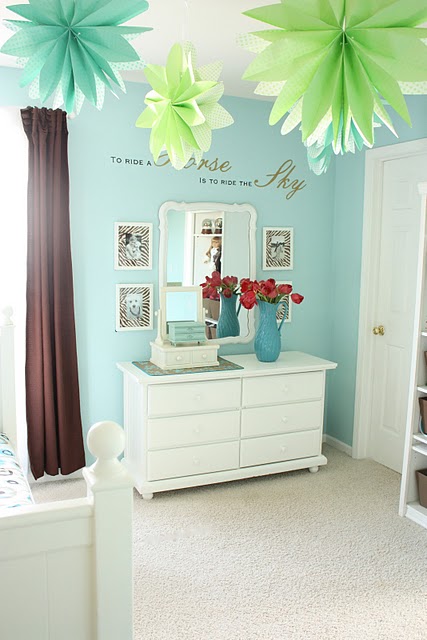
The stars were a Martha Stewart kit. We hung them up at Christmas time and decided to keep them around for a while.
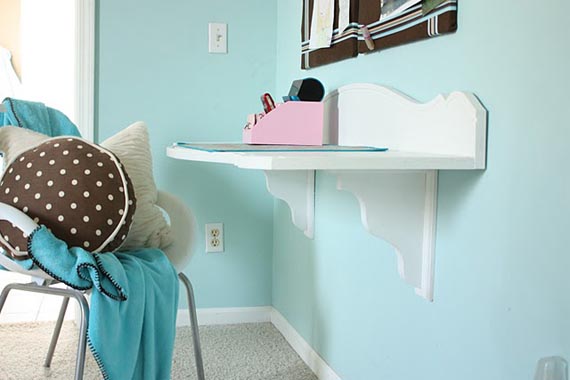
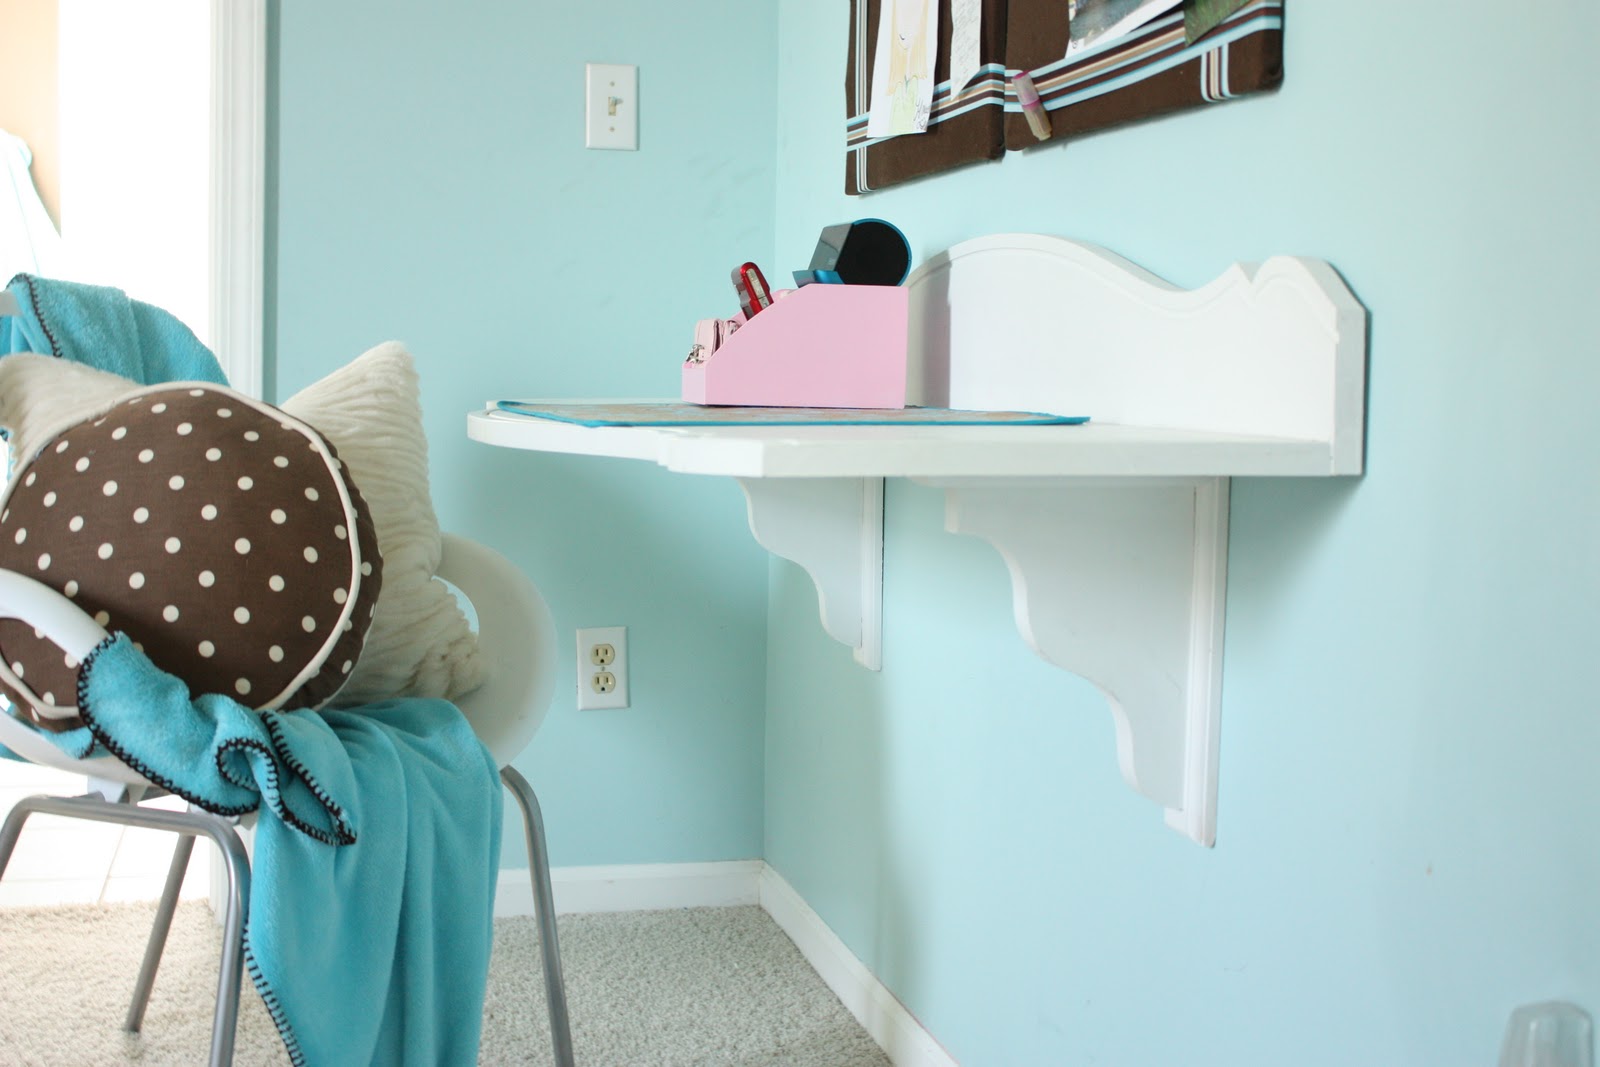
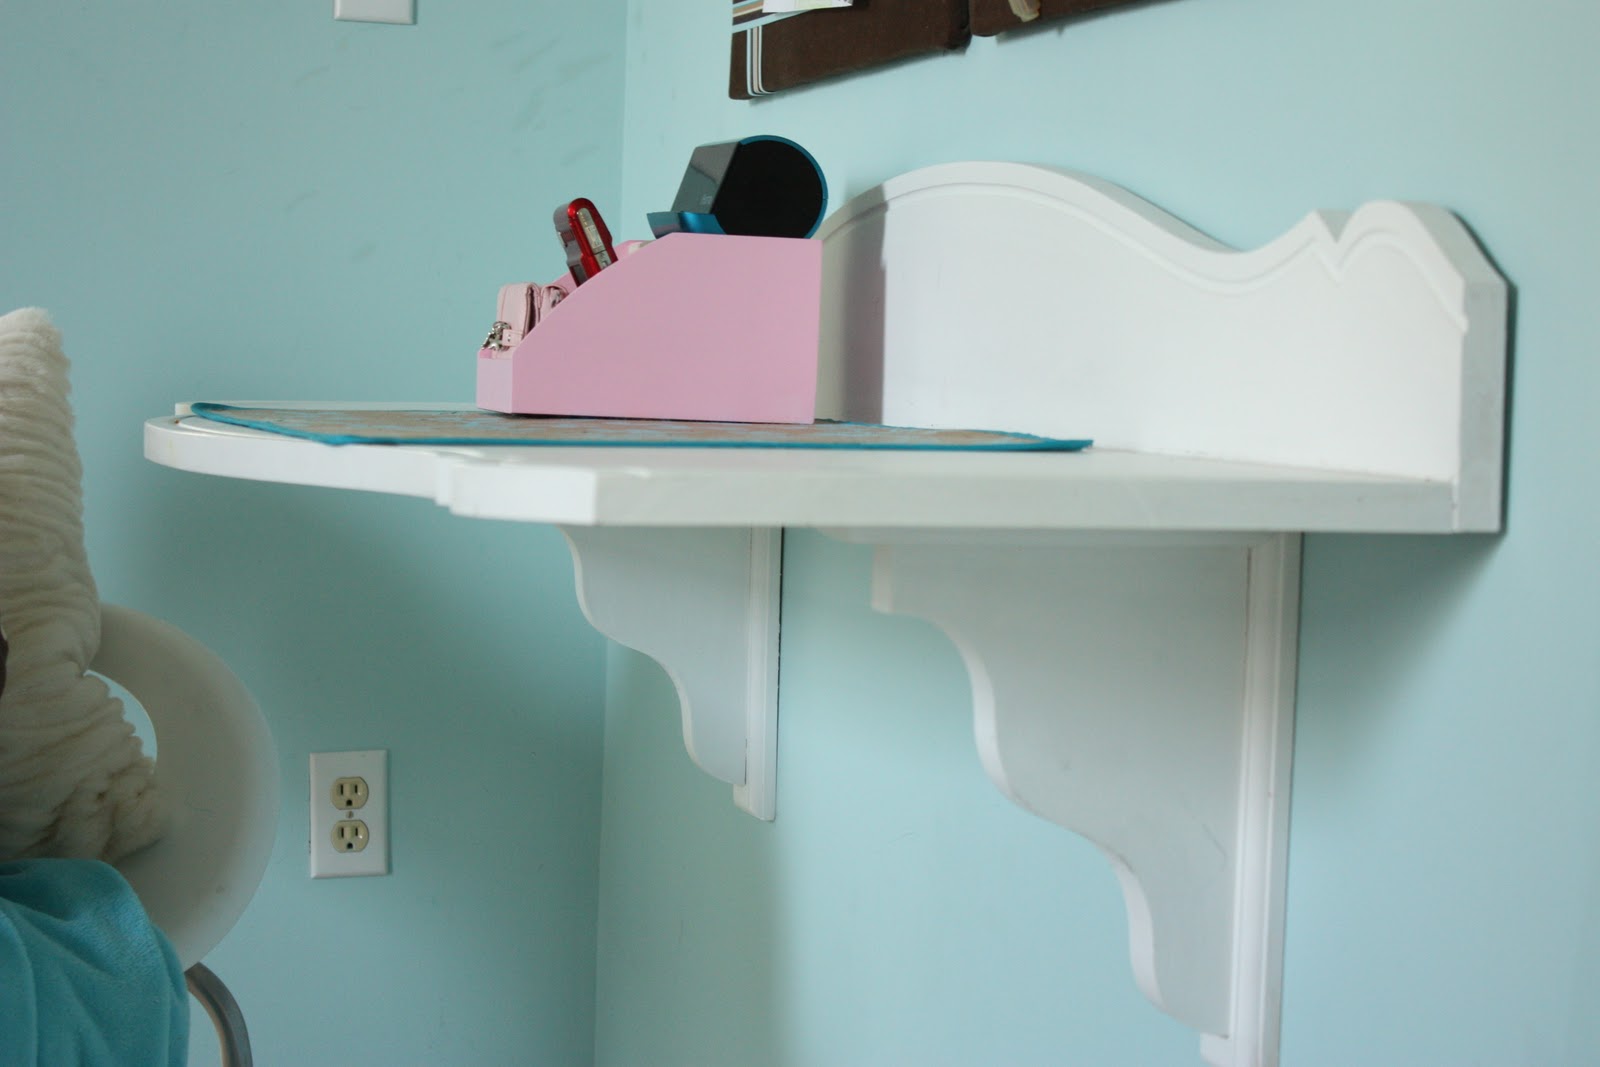
And last but not least, here is the re-purposed desk project we made for the room. It began it’s life as a vintage four poster bed. When she made the switch from the crib to her first bed, Grandpa and Grandma bought it for her at an Estate sale.
(Before)
When we moved into our new house a few years later, it didn’t fit into her new room. We were both emotionally attached to it and couldn’t part with it. That’s when we decided to re-purpose it into a desk.
(After)
With the help of Grandpa, we used a circular saw to remove the headboard and footboard. Then simply screwed them together on a 90 degree angle, caulked the seam, filled in the screw holes with a little wood putty and touched up the paint.
(After)
I picked up two large wood brackets from Home Depot and screwed them to the bottom of the desk. We mounted the brackets to the wall and into the studs.
It is now a functional, stylish “Tween” desk with lots of sentimental value.
I can’t wait to see what everyone else has been up to at the next Remodelaholic Link-Up Party. You are all so incredibly talented. Thank you so much, Cassity, for hosting these great parties and for having me today!
Cassity Kmetzsch started Remodelaholic after graduating from Utah State University with a degree in Interior Design. Remodelaholic is the place to share her love for knocking out walls, and building everything back up again to not only add function but beauty to her home. Together with her husband Justin, they have remodeled 6 homes and are working on a seventh. She is a mother of four amazing girls. Making a house a home is her favorite hobby.
EEK! This was actually a guest feature so i don’t have the color! So sorry, my advice grab some paint chips and try to match your screen, photos and computer screens all tend to be slightly different…


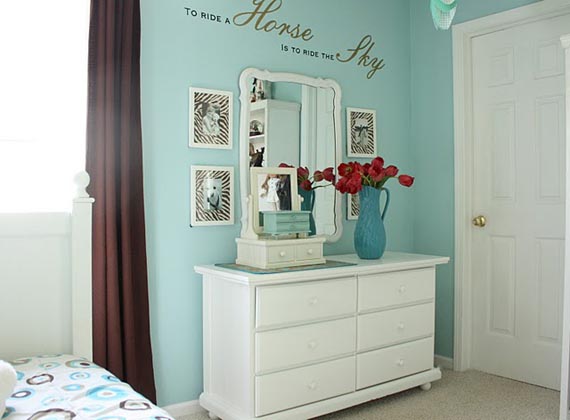


Hey just wondering what color you used on the walls? I LOVE it!
Thanks,
Amy
Oh and is the horse a Wallie??? If not how did you do it???
I was also wondering what color the walls are. My daughter is in love with this room!
I love the whole room! Can you tell me where you got the bedding? Thanks!
I also want to know what color you used on the wall?? So good!
EEK! This was actually a guest feature so i don’t have the color! So sorry, my advice grab some paint chips and try to match your screen, photos and computer screens all tend to be slightly different…
Love it and so does my daughter. Could you share wall color and where you found the sheets?
I love the horse silhouette. How did you do that? My daughter want me to remake her room into a horse room. Thanks!