French Farm Style Kitchen Renovation

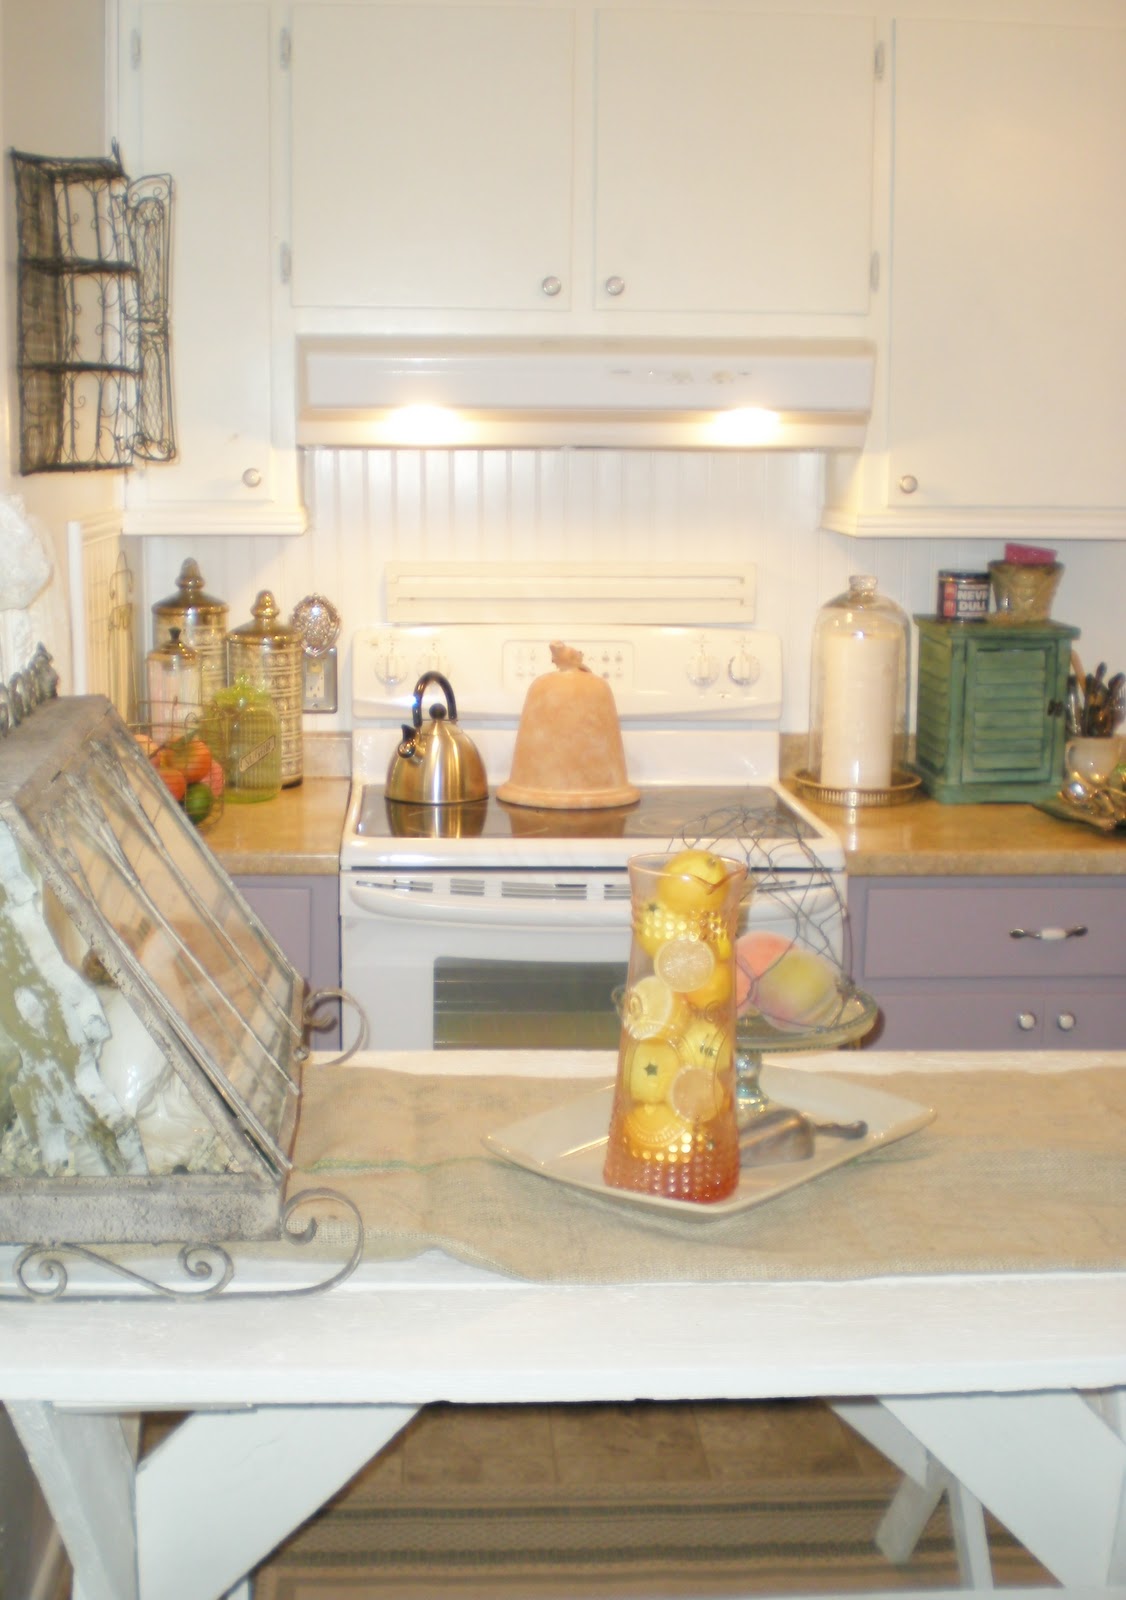
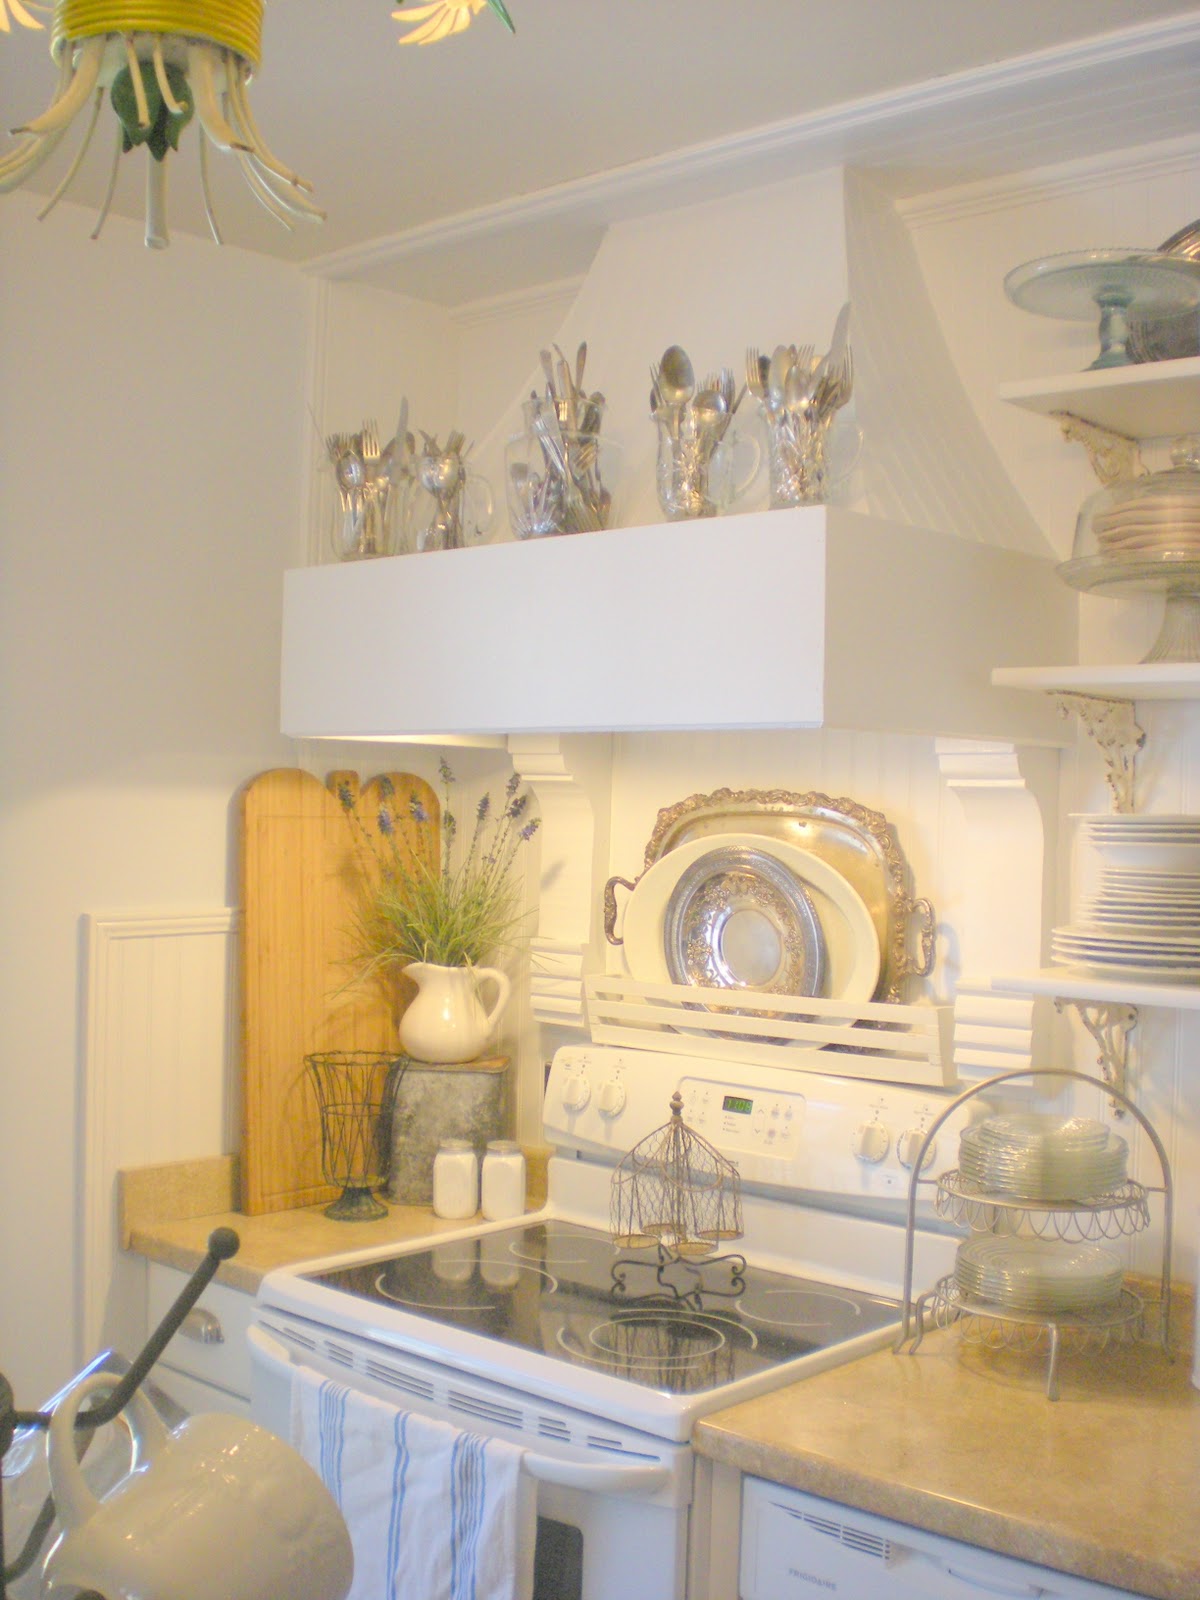
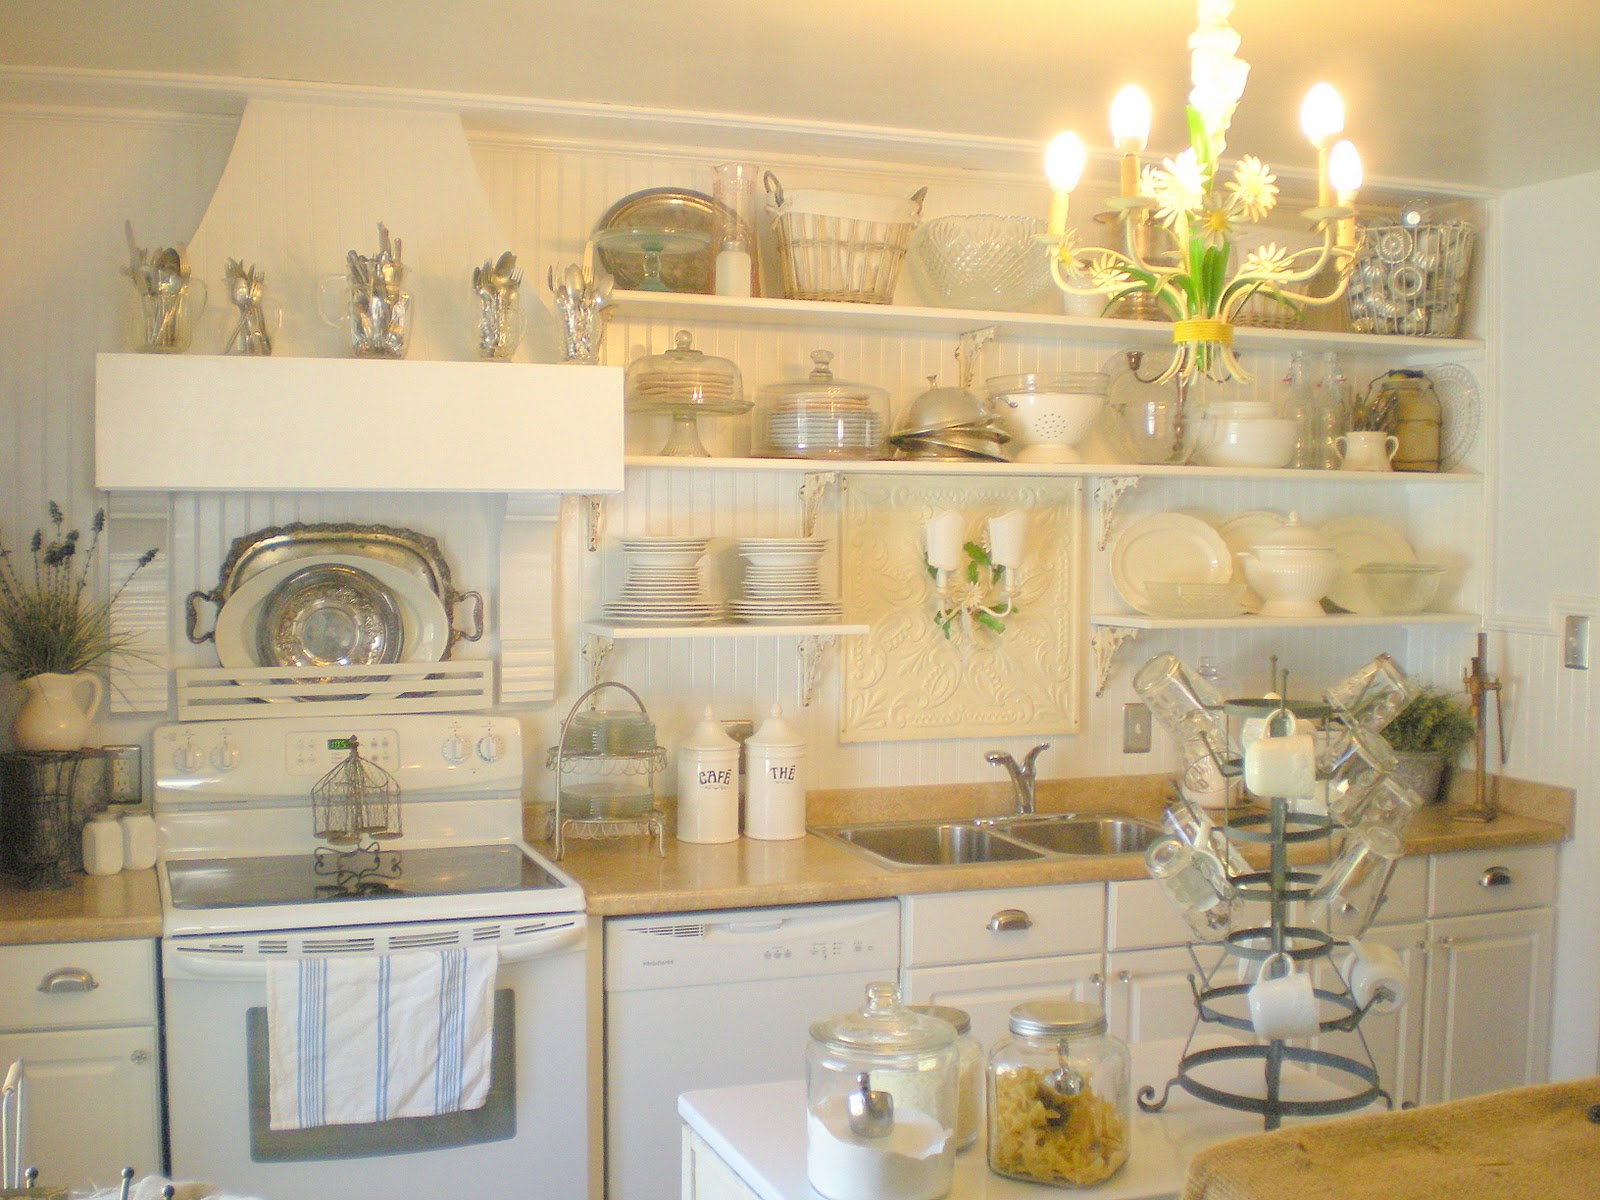
I had painted my ugly pine cabinets and replaced the counter top, sink, and hardware when I moved in. I also added a bead board back splash and a new vent hood. I hung a favorite vintage Italian tole chandelier. I was making do with it until I could afford to renovate it.

Unfortunately, a water leak make me rethink my game plan less than 2 years later. In that two years I lost my job and was unemployed for just shy of a year. Needless to say I wiped my savings and maxed out my credit cards–I’m still a long ways away from recovering and now faced having to renovate the kitchen.
Kitchens and bathrooms are the most expensive rooms to renovate. Knowing that most kitchen renovations start around $10,000.00, I did what any true romantic would and broke down and cried. Alas, the romantic lifestyle embraces everything life throws at us–good and bad. So I counted it a blessing that I could now justify the remodel even though I couldn’t afford it!
I liked the before, in fact, I spent quite a bit of money transforming the thing that was my kitchen into the kitchen in the before photos above. Here is a photo (below) from Google showing you a similar kitchen to mine when I first bought the house–I don’t know where my photos are! I had similar, but blue, counters, identical cabinets, and uglier hardware. Thankfully my house came with NEW appliances!

I re-used my counter top, sink, faucet, light fixtures, and appliances. This alone saved me over $1,000.00! I used stock kitchen cabinets which came to about $350.00 for the base cabinets, including hardware.
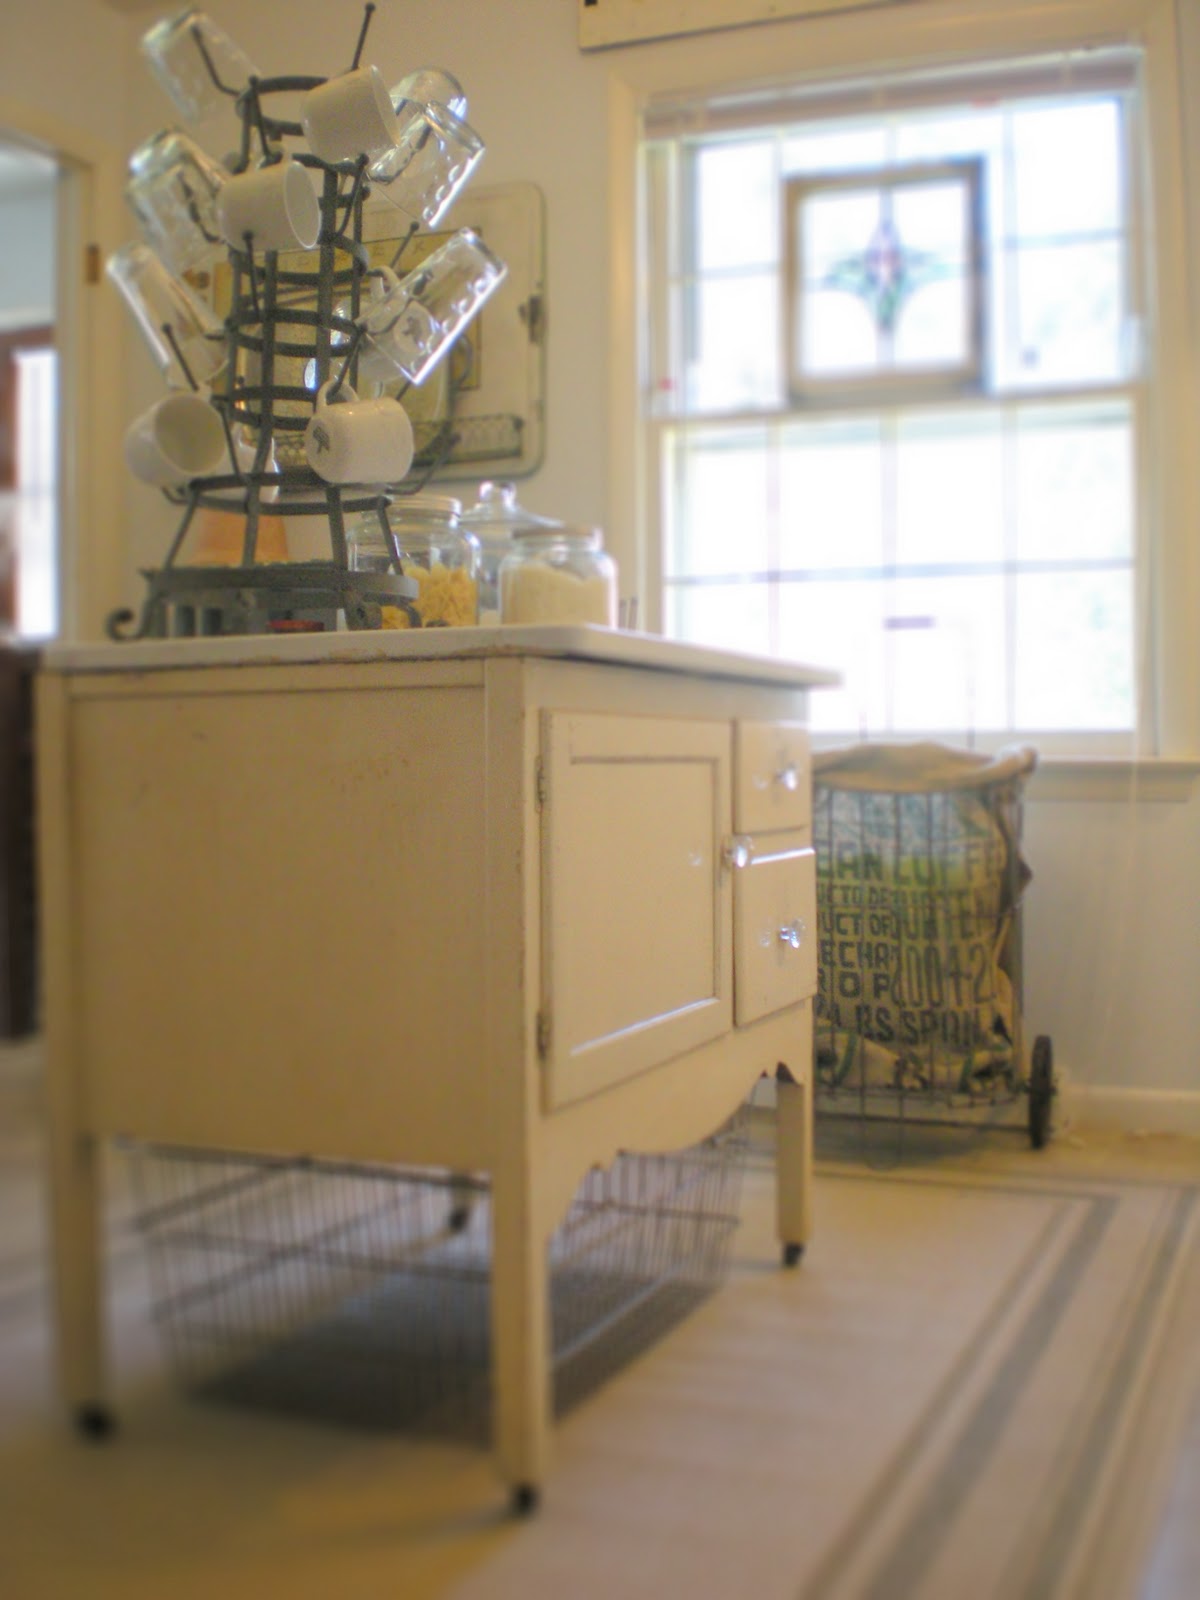
I begrudgingly moved the picnic table outdoors because it didn’t fit with the addition of a dishwasher. I moved this Hoosier cabinet base to the kitchen from the laundry room to serve as an island and additional storage, as I lost several cabinets and drawers from adding the dishwasher. A dishwasher might sound like too big of a splurge on such a tiny budget, but the cost of a 24″ base cabinet was about the same as the dishwasher! You can see my trash can in the background. I put a burlap coffee bag liner into a vintage grocery cart and lined it with a regular plastic garbage can to protect the burlap.
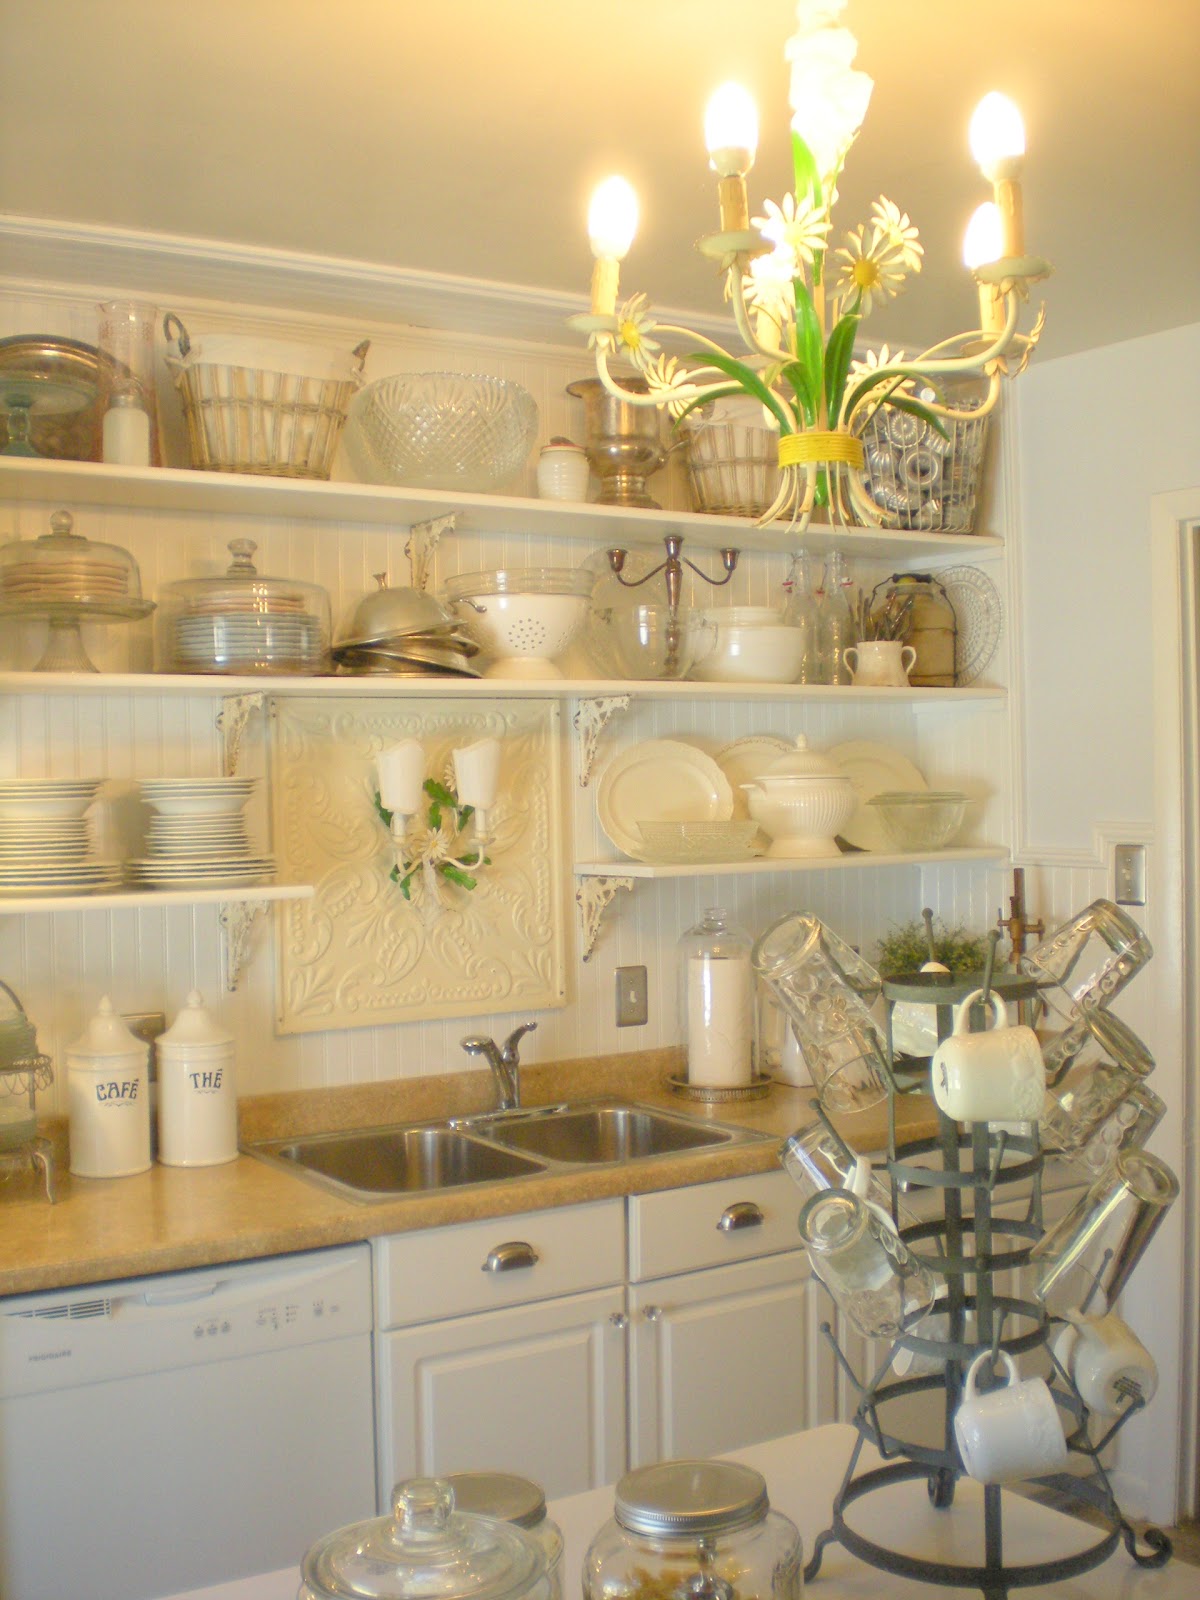
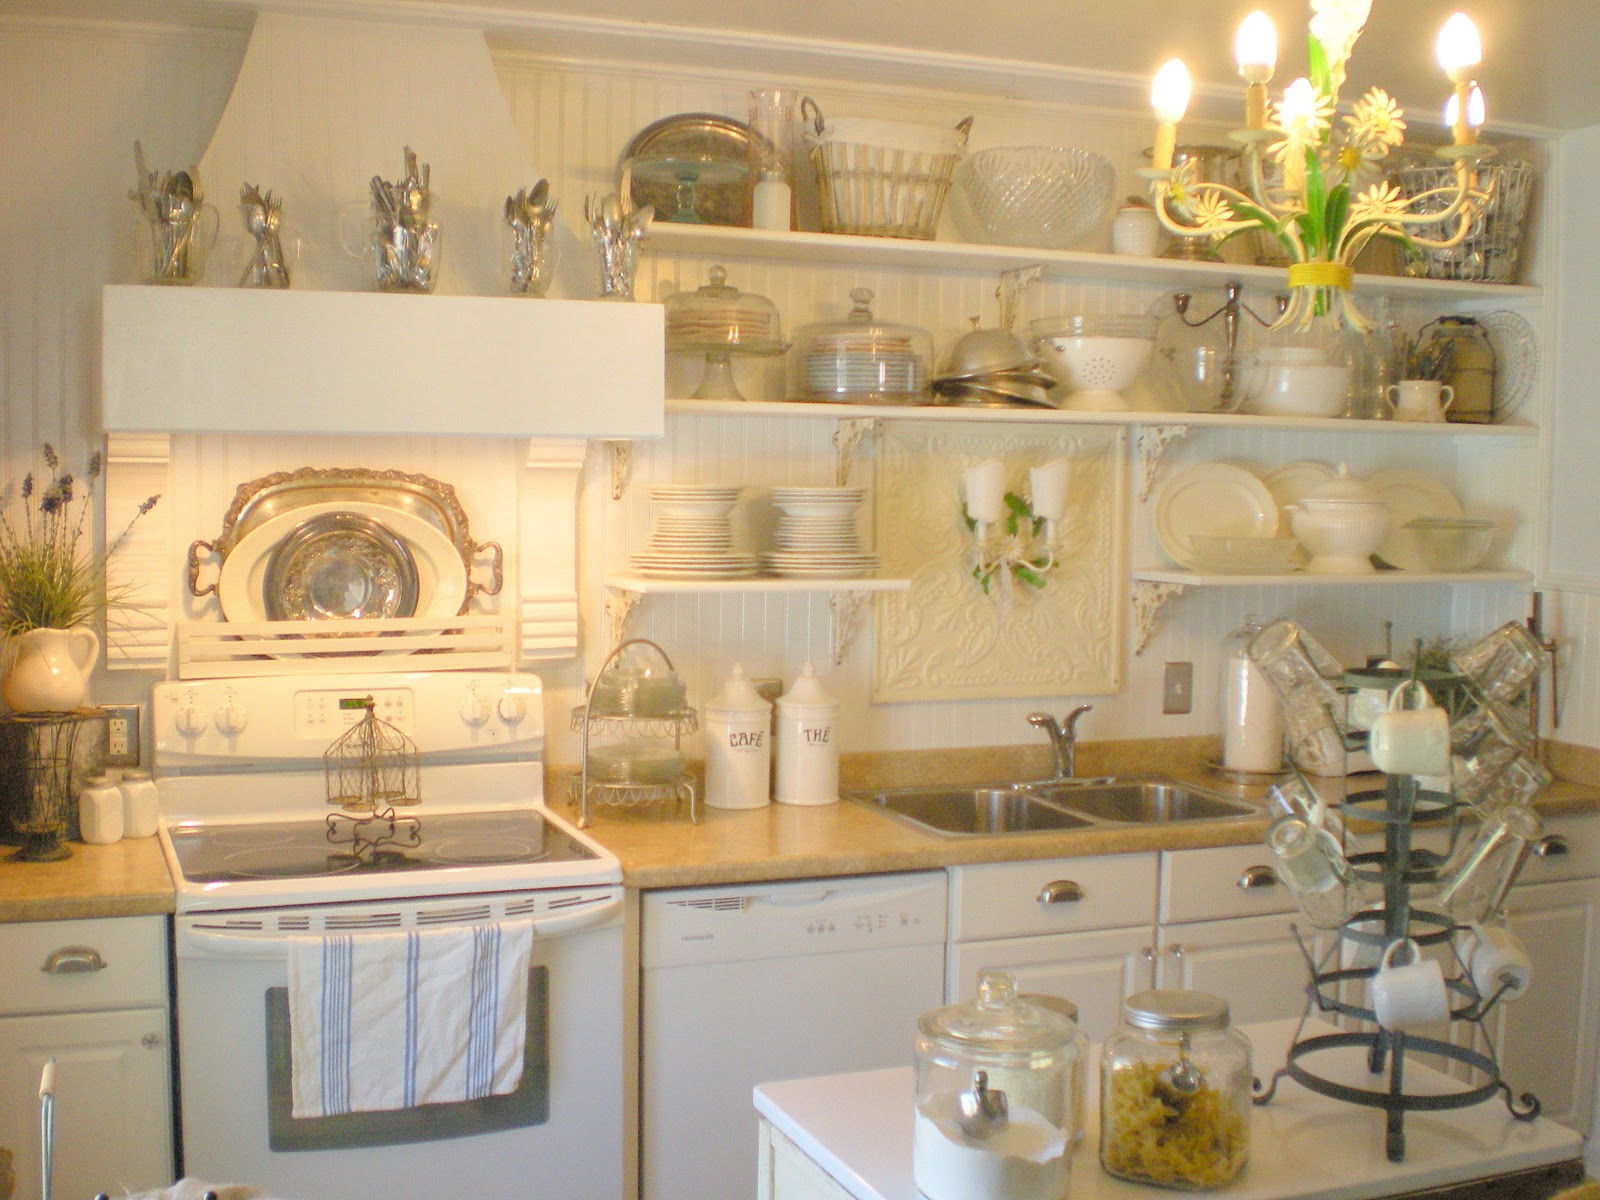
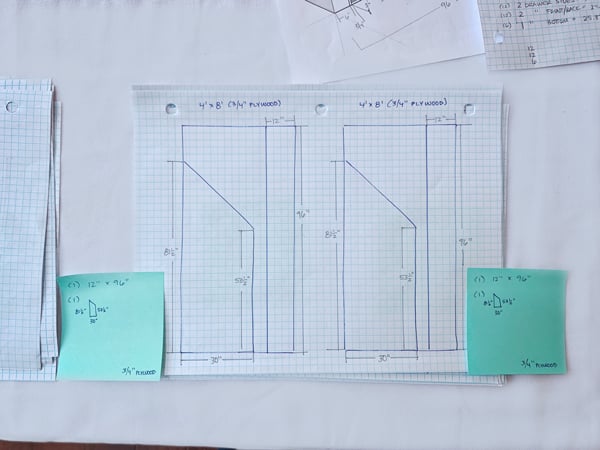
Opting for open shelving was another cost saver. Upper cabinets would have cost close to $600.00 for matching cabinets to my base cabinets. I had the shelf brackets in the hall closet waiting for a project. It was $40.00 for the shelving board.
Because I did remove the upper cabinets–there came the problem of damaged drywall. My solution to this was to use bead board. It took four sheets of bead board to cover the back wall. Not only did it add charming character to the room, it saved me a ton of money. At $20.00 a sheet, $80.00 covered the whole wall without the mess of drywall dust!

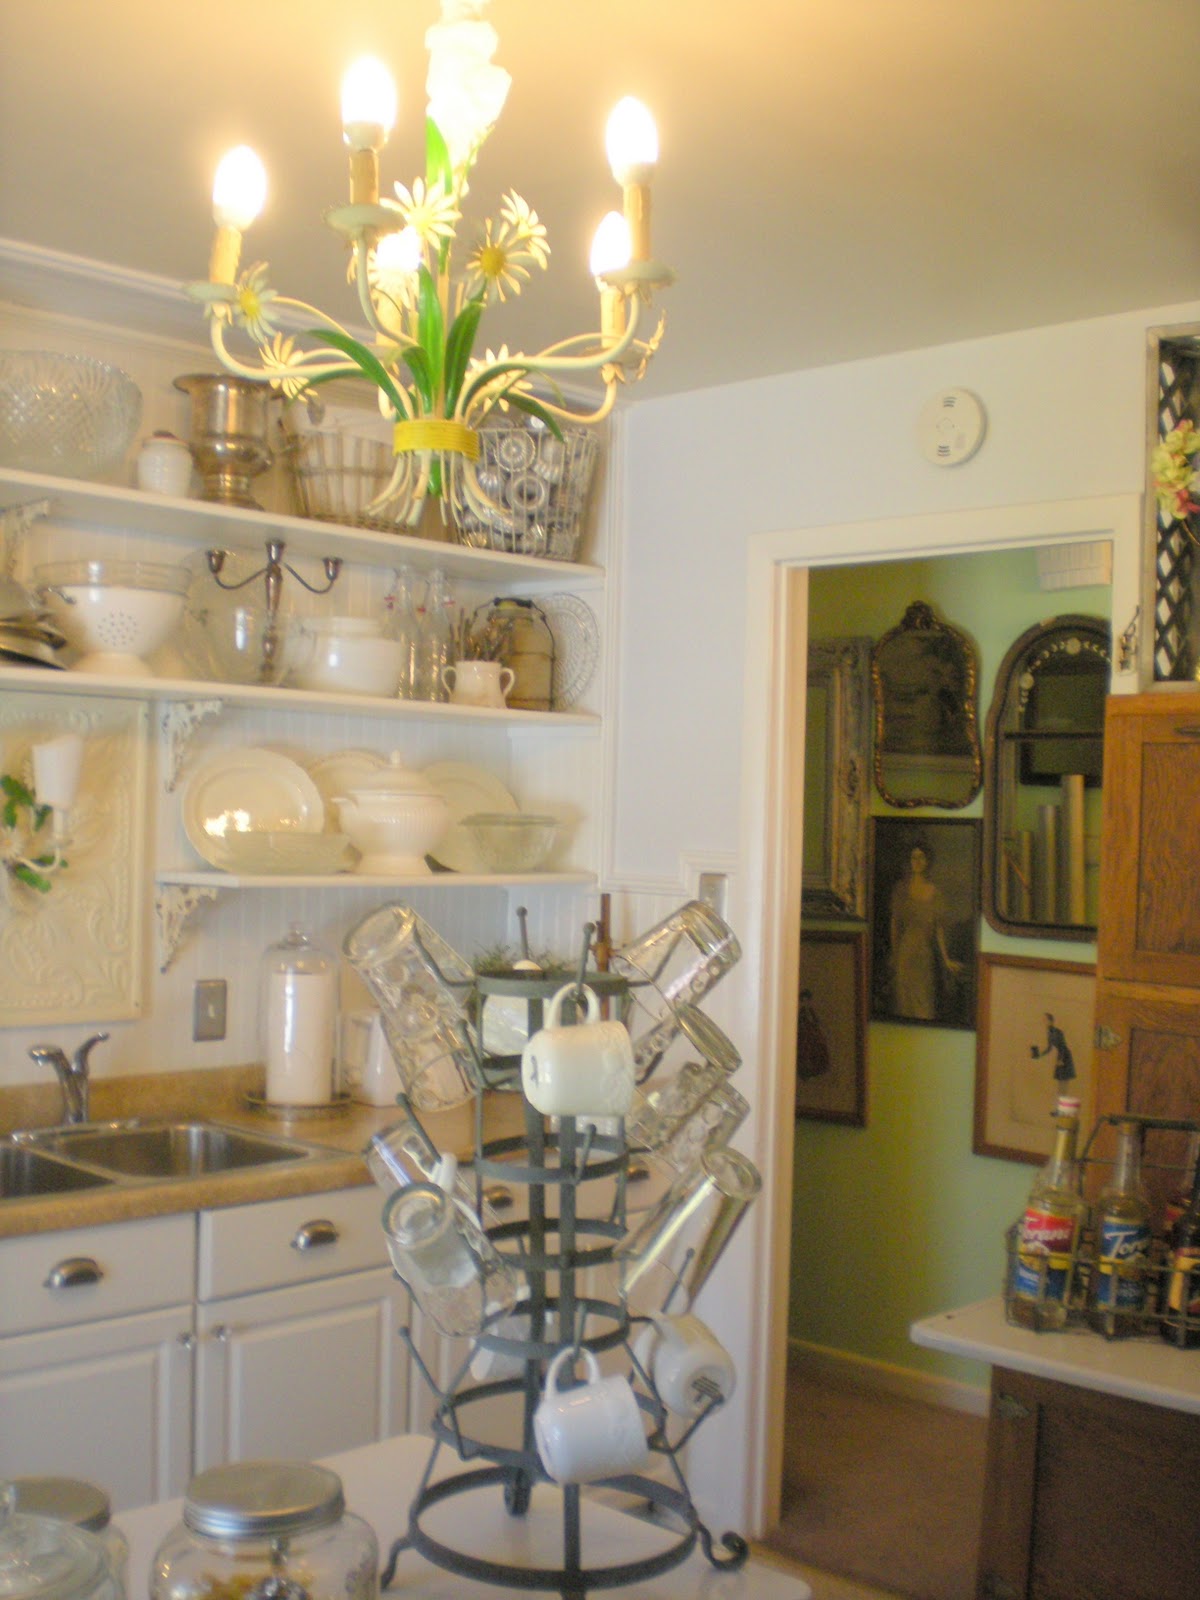
My kitchen island was moved in from the laundry room. It gives me extra prep space and storage. The huge wire postal basket below it was $5.00! I thought about painting the back, but I really like the rawness from it. It helps break up a mostly white room without being to intrusive.
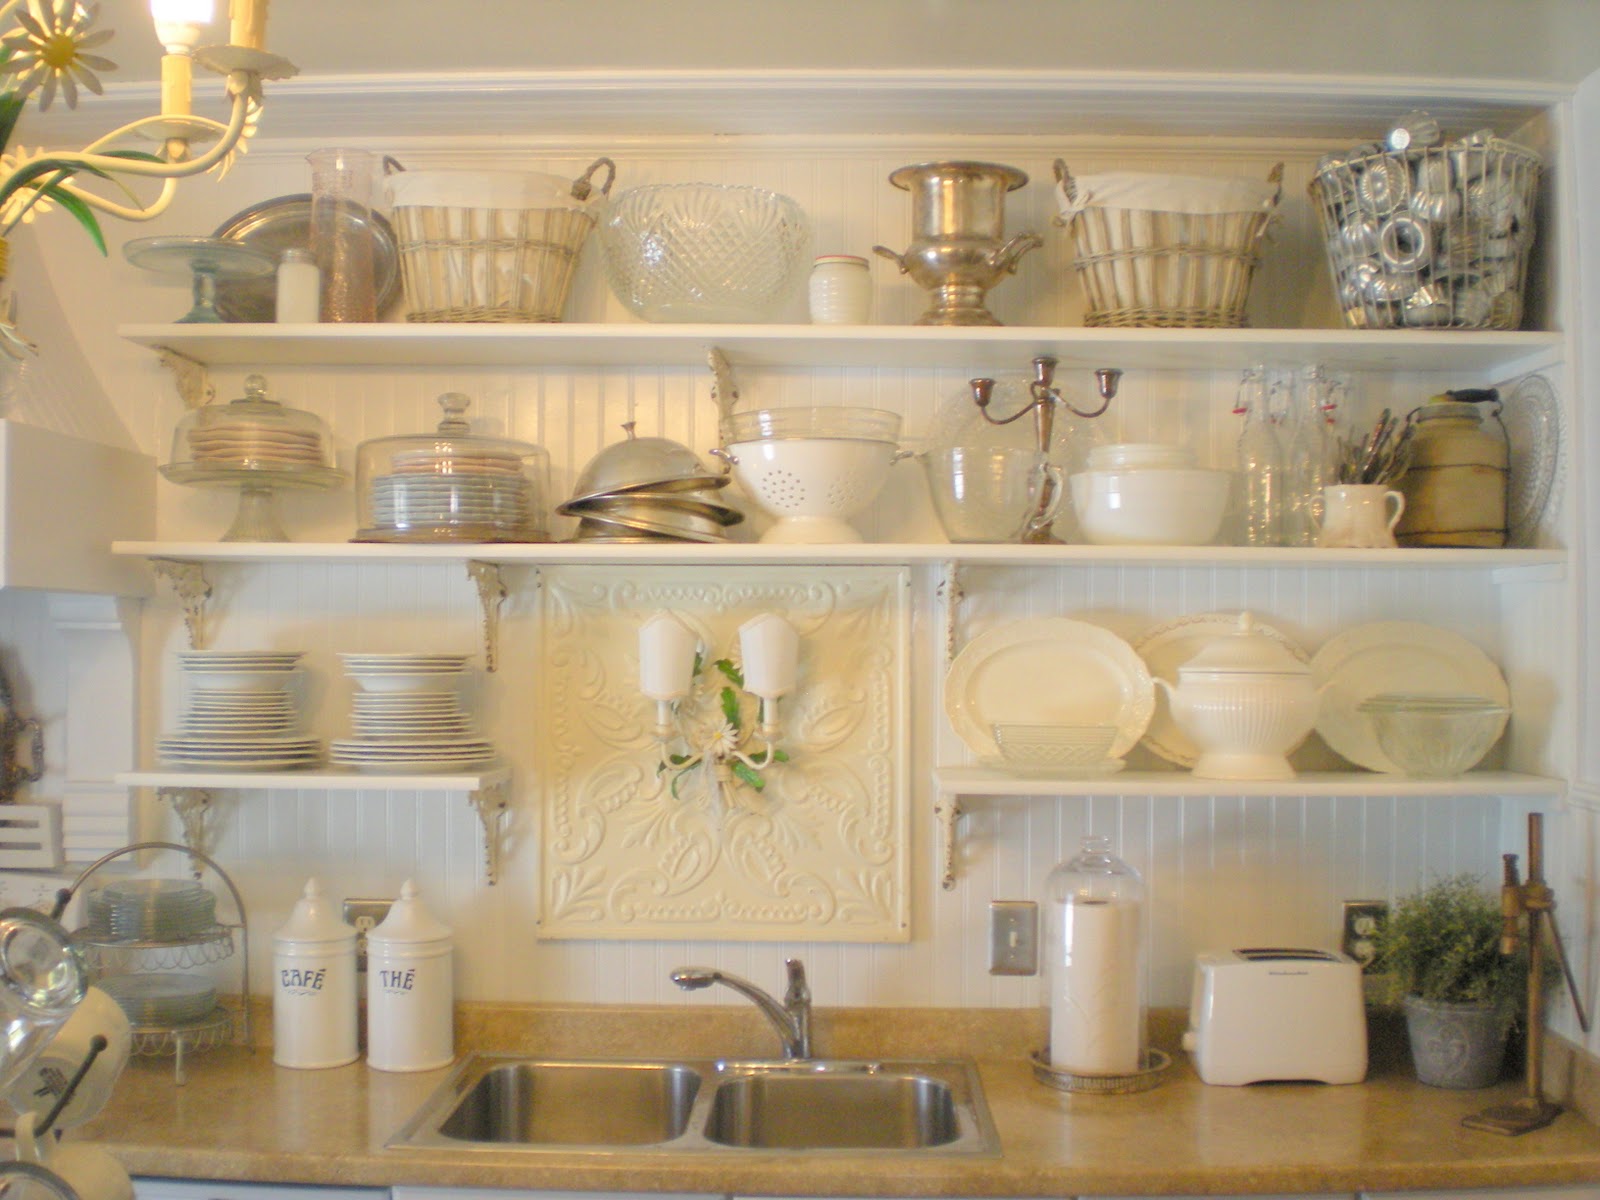
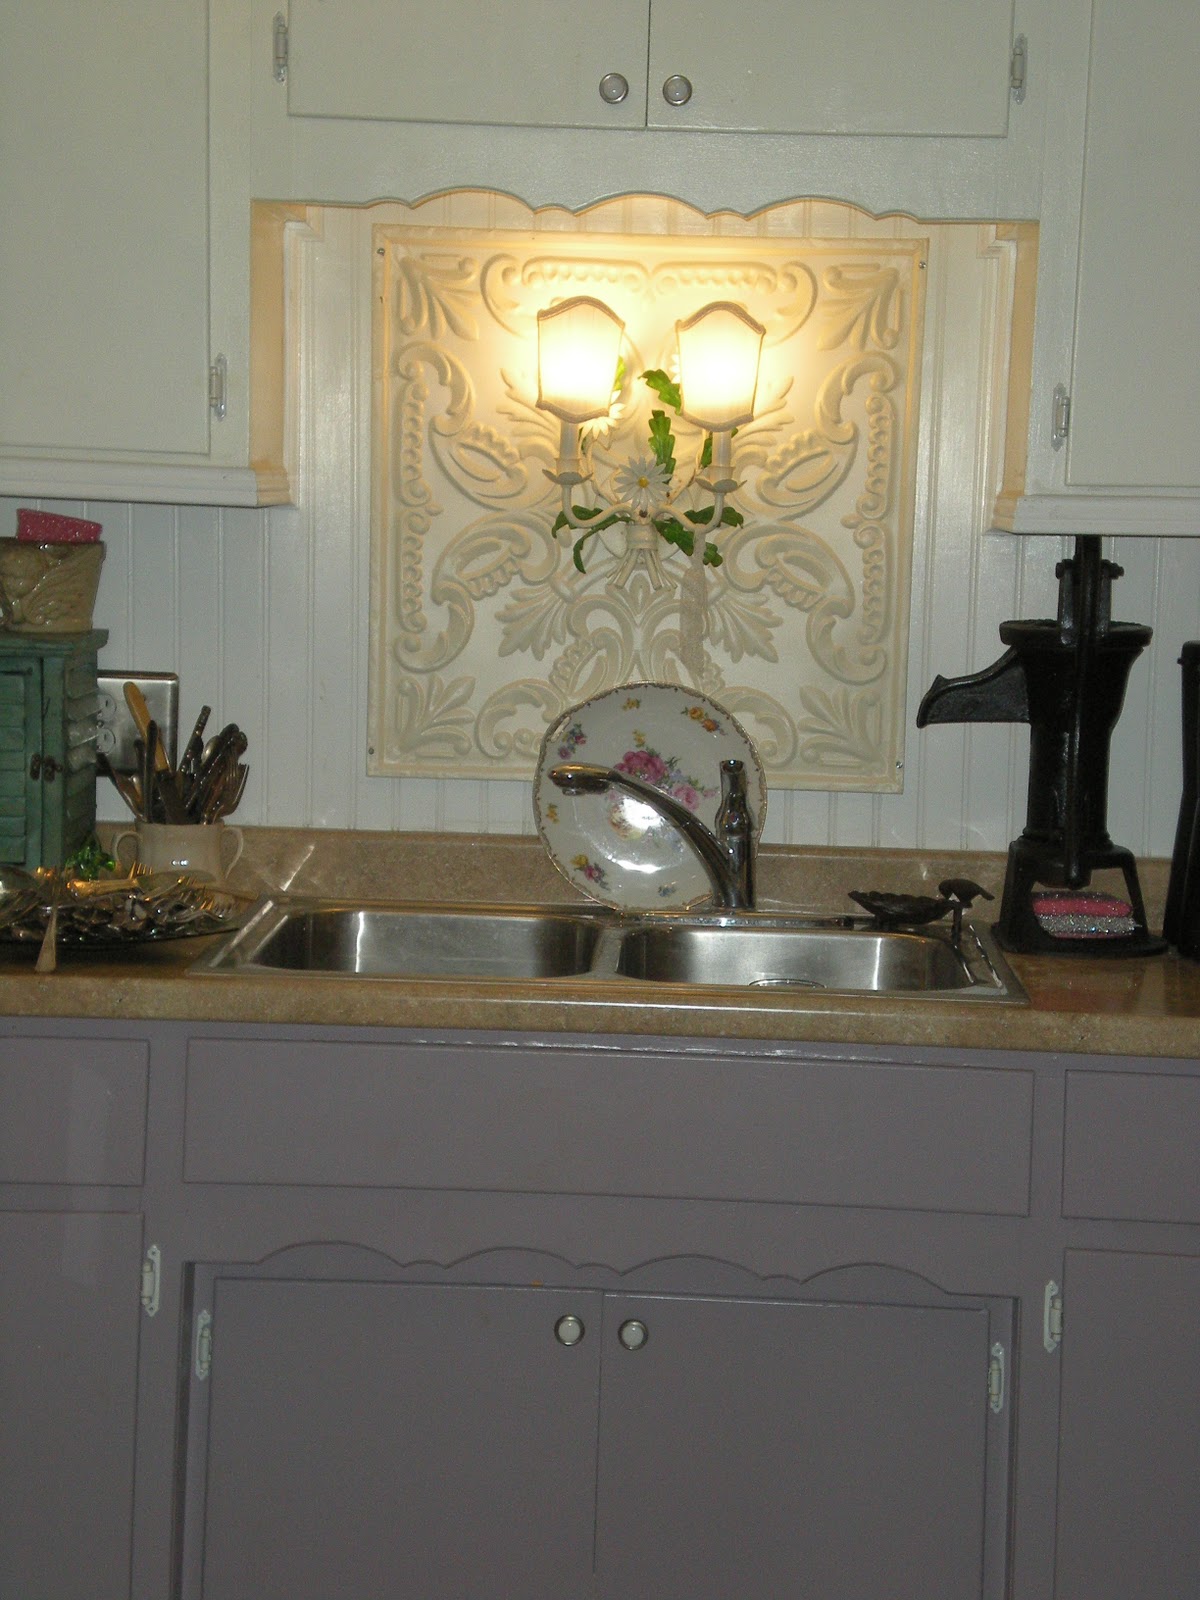
I reused my light fixture behind the sink, as well. This is another vintage Italian tole piece that happens to match my chandelier! In case you’re wondering, the gold metal doohickey is a bottle corker! Something you can’t see is the garbage disposal I added. That added $80.00 to the total.
If you love my daisy tole chandelier, you’re in luck, Land of Nod has a budget friendly reproduction one for sale!
Below is a video slideshow of my kitchen:
Cassity Kmetzsch started Remodelaholic after graduating from Utah State University with a degree in Interior Design. Remodelaholic is the place to share her love for knocking out walls, and building everything back up again to not only add function but beauty to her home. Together with her husband Justin, they have remodeled 6 homes and are working on a seventh. She is a mother of four amazing girls. Making a house a home is her favorite hobby.


what size brackets did you use 4×6? and what is the depth of your shelves? just beautiful!
Bette,
This was a guest feature so I am not positive, but judging by the look of the shelves, and the plate size relatively they look about 11 inches deep. That is a are pretty standard size, and there is shelving like that available at your local hardware store. Not sure about the bracket size, but I might go slightly larger that 4 x 6 if it were me…I really like my dishes, and I would want my shelves nice and strong!