I have the most super best friend from college. Smart and funny, she’s the only one that can get me out of a funk when I am having one of those days. Now that we are “grownups” we live 3 hours apart but still talk a million times a day. She is what I’m not…I am what she’s not. We joke that when you put us together we make the perfect woman! We started this blog several months ago to give us something fun to do together. Marlene is into fashion, wine, dining out, skin care, and the finer things in life. She’s a wife, mother to two adorable little boys, and a private jeweler at Ascot Diamonds. I, on the other hand, rarely get out of exercise clothes, love projects, and welcome a challenge anytime. I love to clean, build, create, paint, and generally have 5 projects going on at the same time. We are Accessorize and Organize!
This is the story of how I transformed my breakfast nook in my 60 year old house…
Can you believe this use to be my laundry area? Seriously!
My family of four moved into a 1950’s ranch 3 years ago. At 2200 square feet, we love the size of our house, but don’t love its lack of storage. We have no laundry room, pantry, garage, or basement! I didn’t want to have to put the washer and dryer outside where the hookups were, so we ran them through the wall and turned the breakfast nook into a laundry area. It always bothered me! All of our guests enter through the back door (in the kitchen) and there sat our washer and dryer, beside the stove and refrigerator, in all its glory!
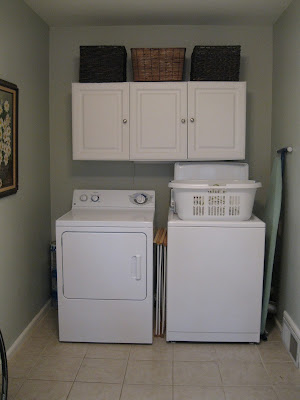
Six months ago we were selling an old love seat. Before it sold, we moved it into the kitchen for “temporary” holding before the new owners came to pick it up. I realized how much I loved having a seating area in the kitchen. This is the room the family gathers in and I spend a great deal of time in. The washer and dryer were sitting in what could be a great breakfast nook out family could enjoy. This is what it looked liked:
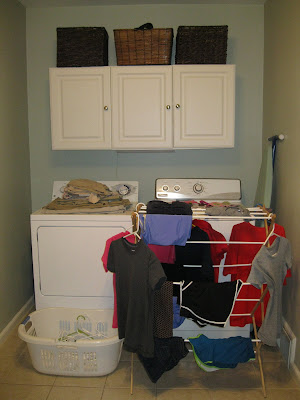
Ok…so that’s what it looked liked on a good day. This is really what it really looked liked:
And the kitchen ended up looking like this:
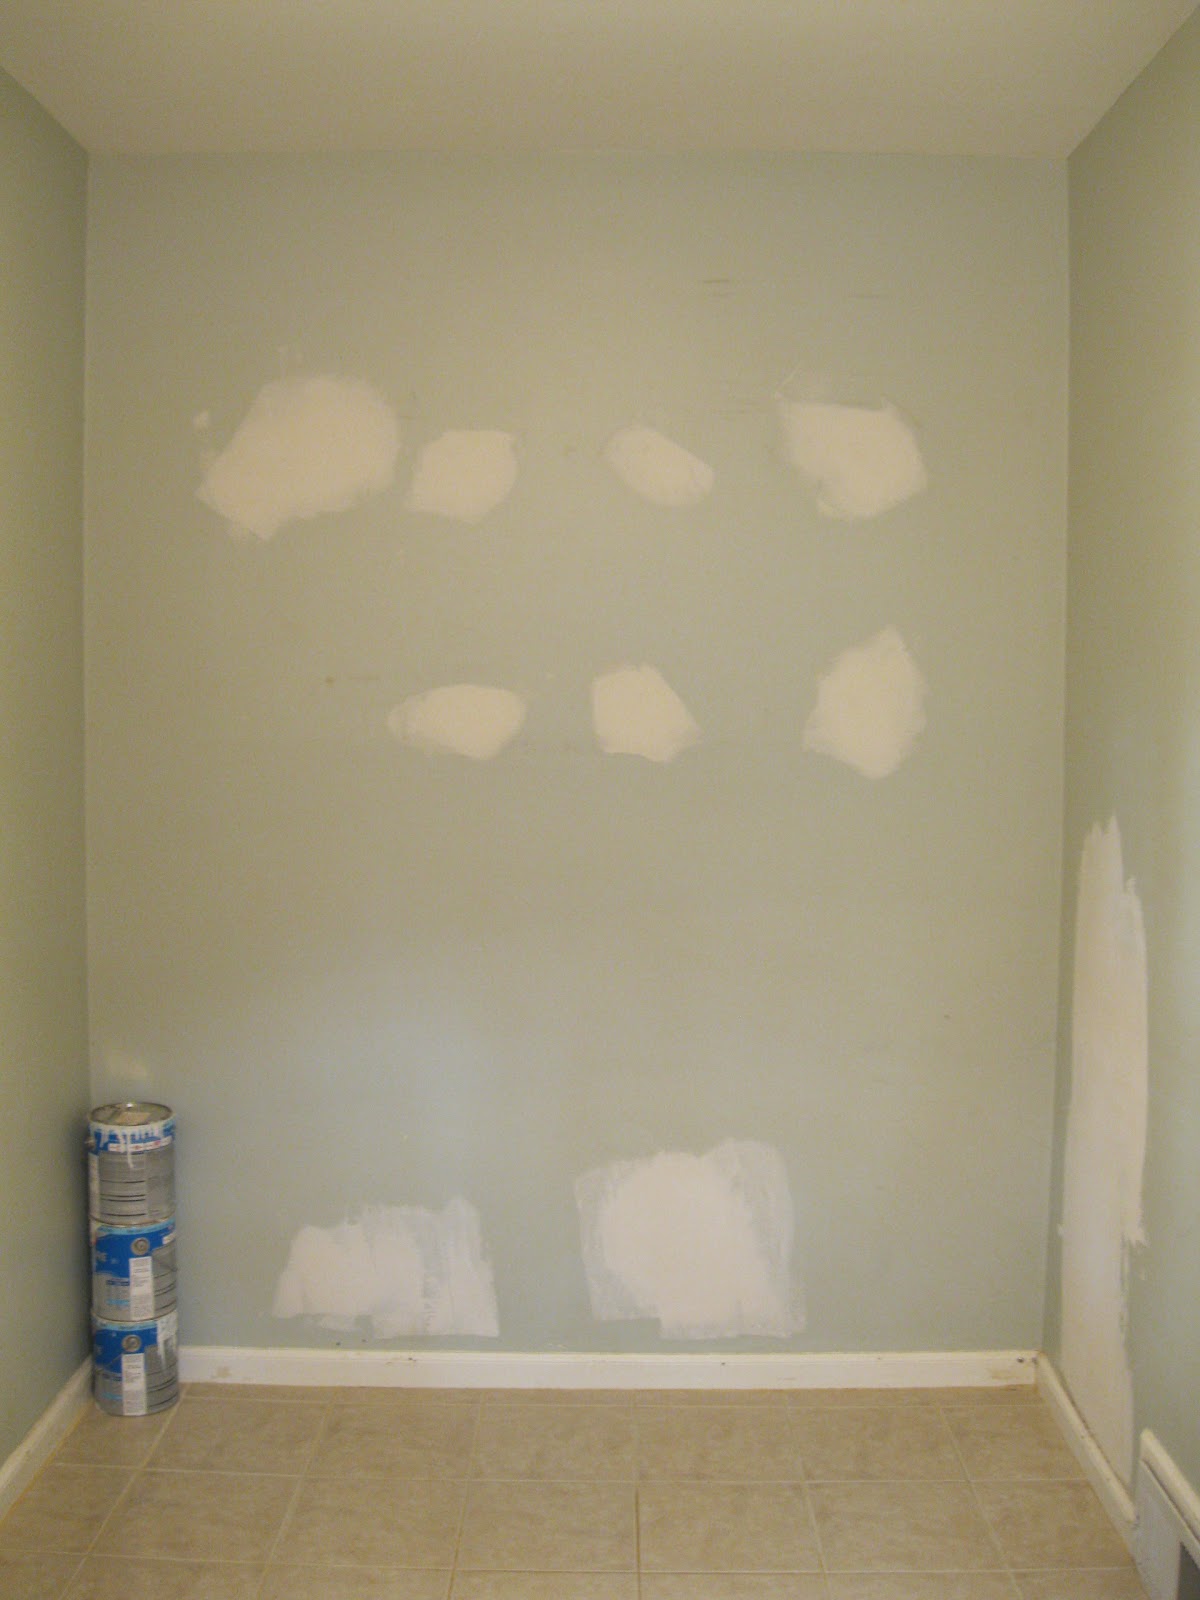
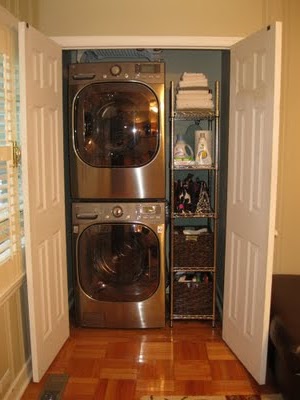
When the love seat was picked up, my husband and I came up with a great plans for our washer and dryer. We were able to convert a small closet into a laundry nook. All of a sudden we had a blank canvas and were super excited…
I wanted a built in kitchen bench with a nice cushion on top that could serve as seating for a small table or a comfortable place to curl up with a book. If you have ever had any custom carpentry work done, it can get very pricey which wasn’t an option. One day I stumbled across this at my local Habitat ReStore:
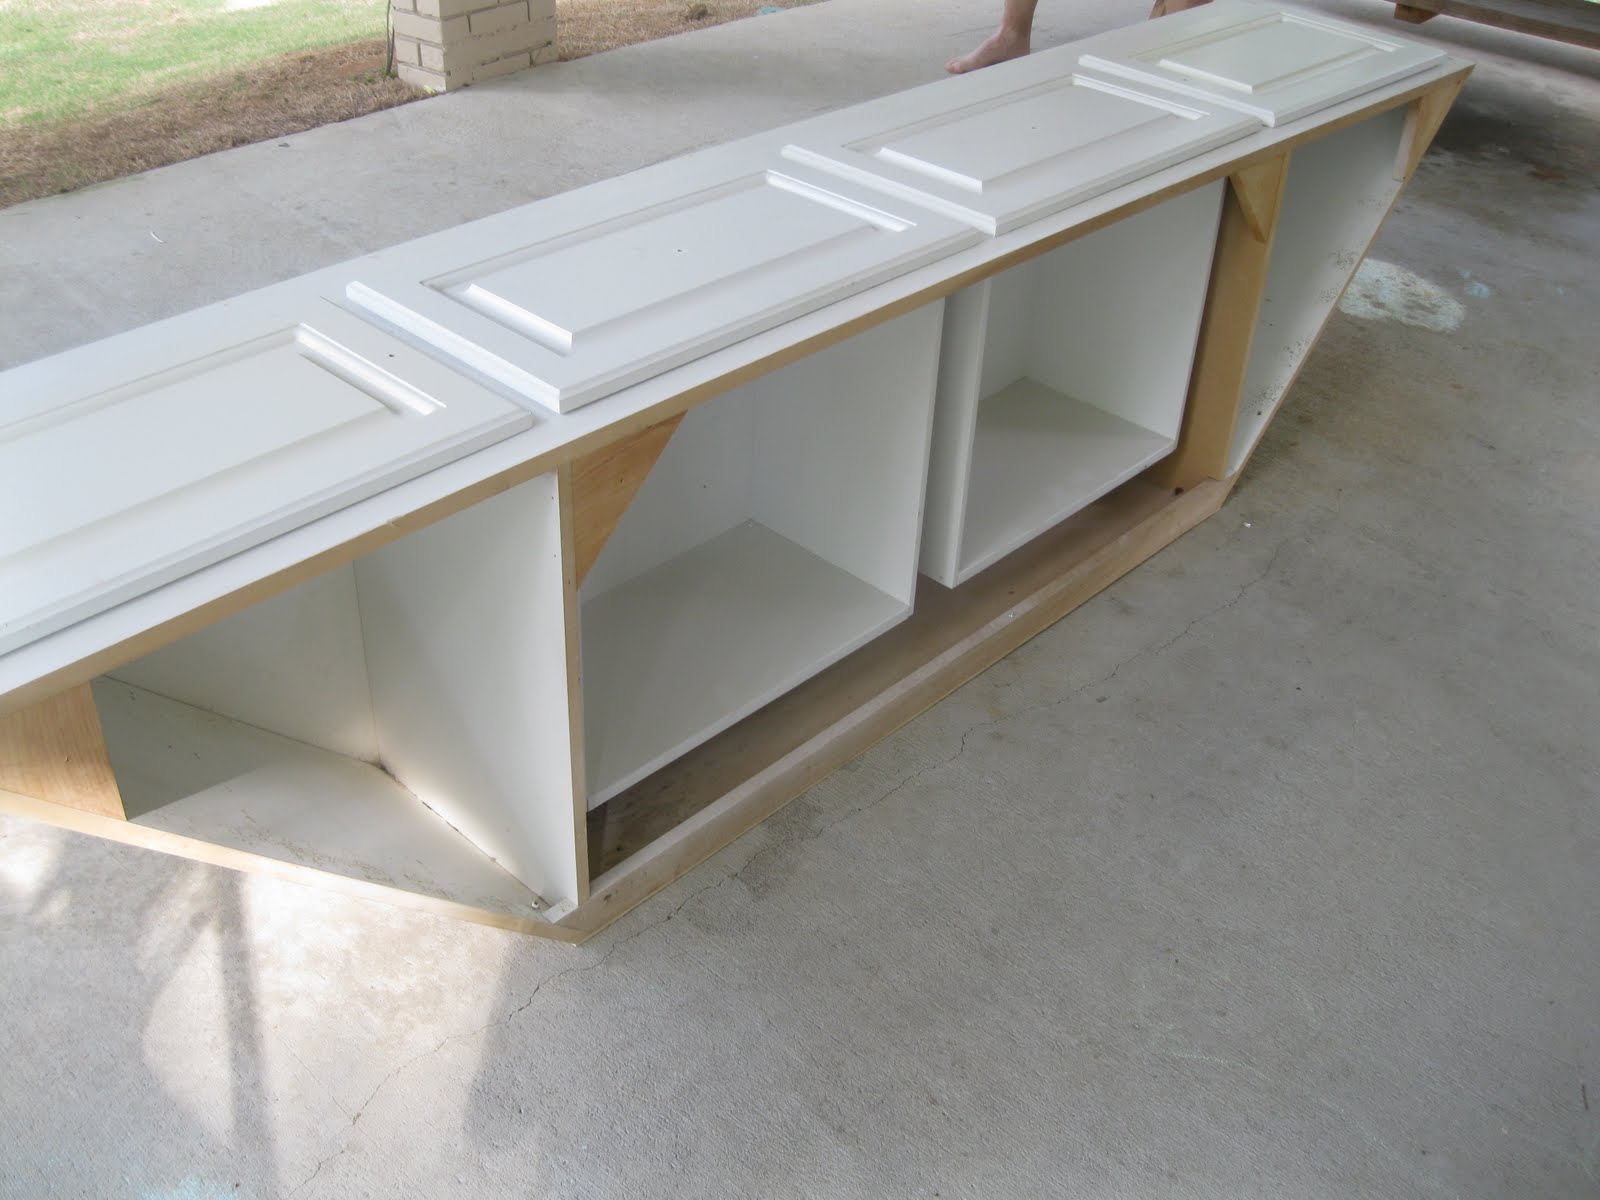
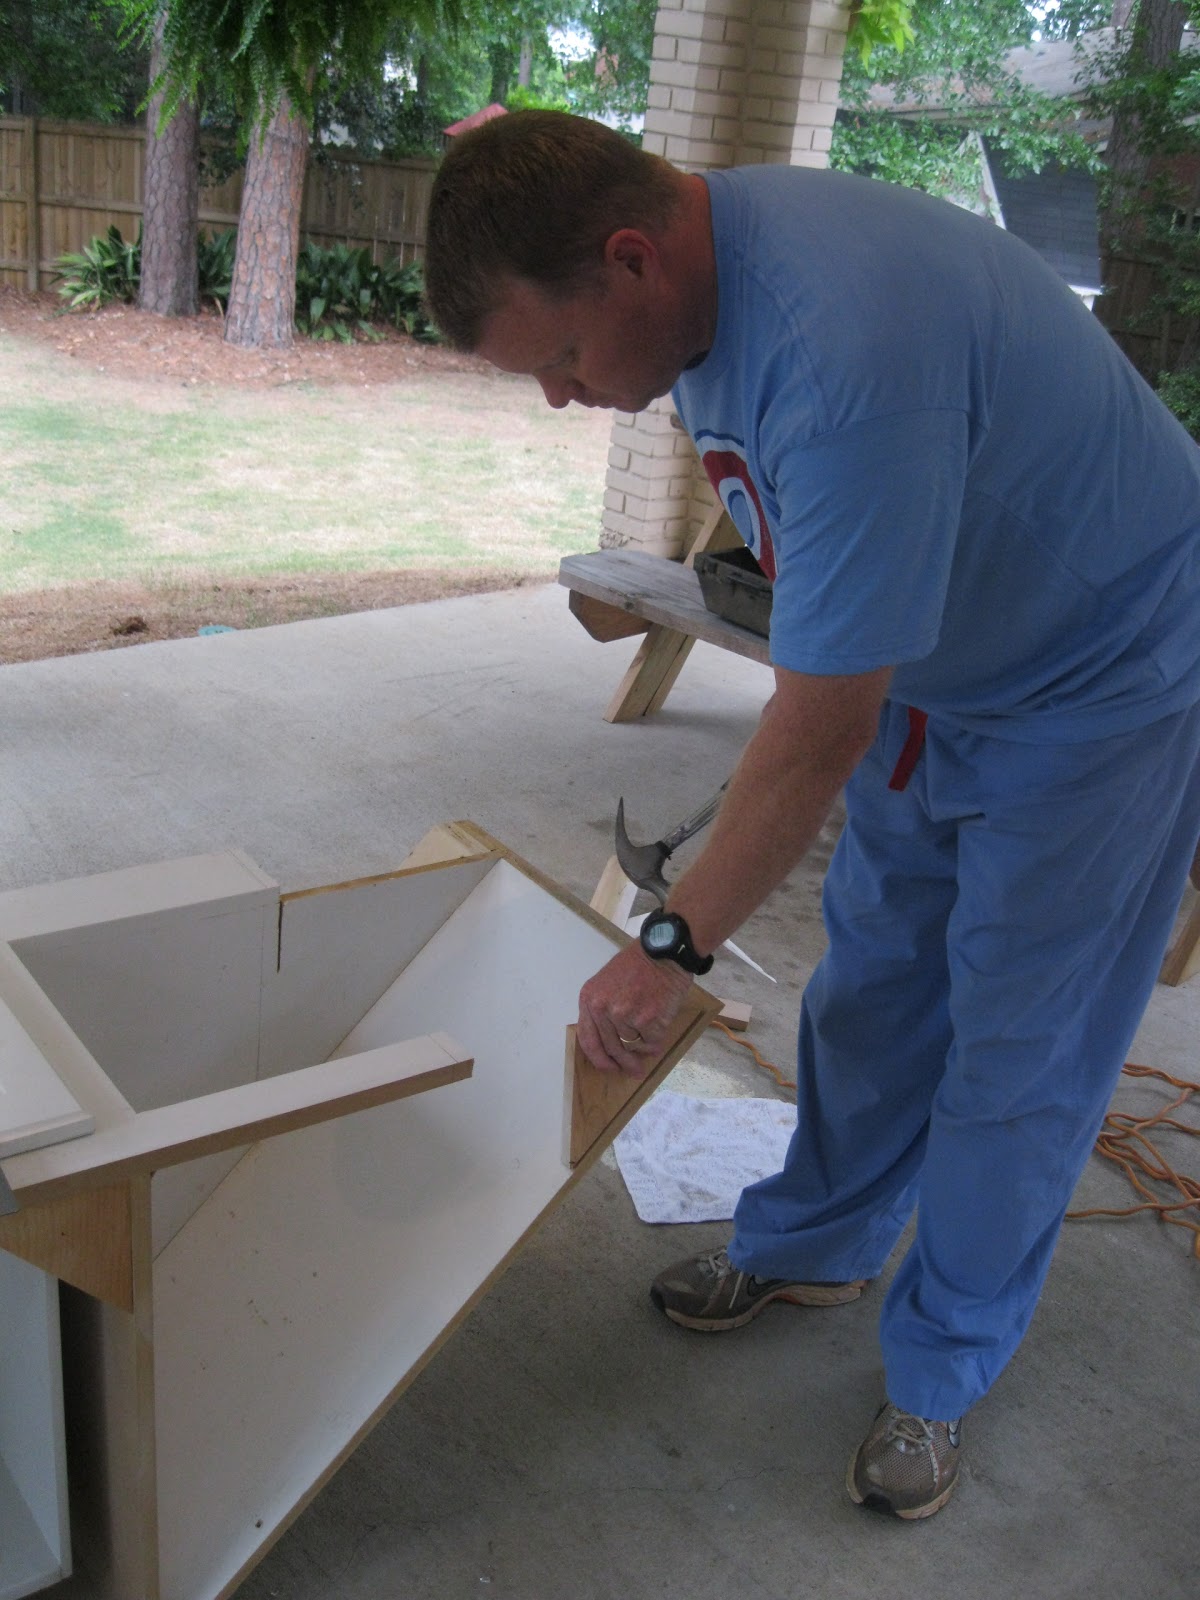
That’s right…it’s a painted, wooden bench that was custom made for a bay window.. Hmmmmmmm….I thought…will it work? Can I make it work? Should I try to make it work? I thought about it for a few days and decided to take my husband back to take a look. We talked and looked and looked and talked and decided that maybe…just maybe…it was worth a try.The bench had a price tag of $125, but we were able to talk them down to $75 fairly quickly. Still, it wasn’t good enough…so $25 later we were down to $50 and I was happy. I still couldn’t pull the purchase trigger, so we went home and I decided that if it was still there the next day it was meant to be. Don’t you love my logic? Well…it was meant to be! I bought the very dirty, needs work, custom bench with an unattached top and drawers that don’t pull out, that didn’t fit in our 1950’s kitchen! It was great, it didn’t end up in a landfill, and I didn’t have to buy anything new! We went to work right away...we removed the top and drawers and because it was two feet too long, we began our cuts on the sides:
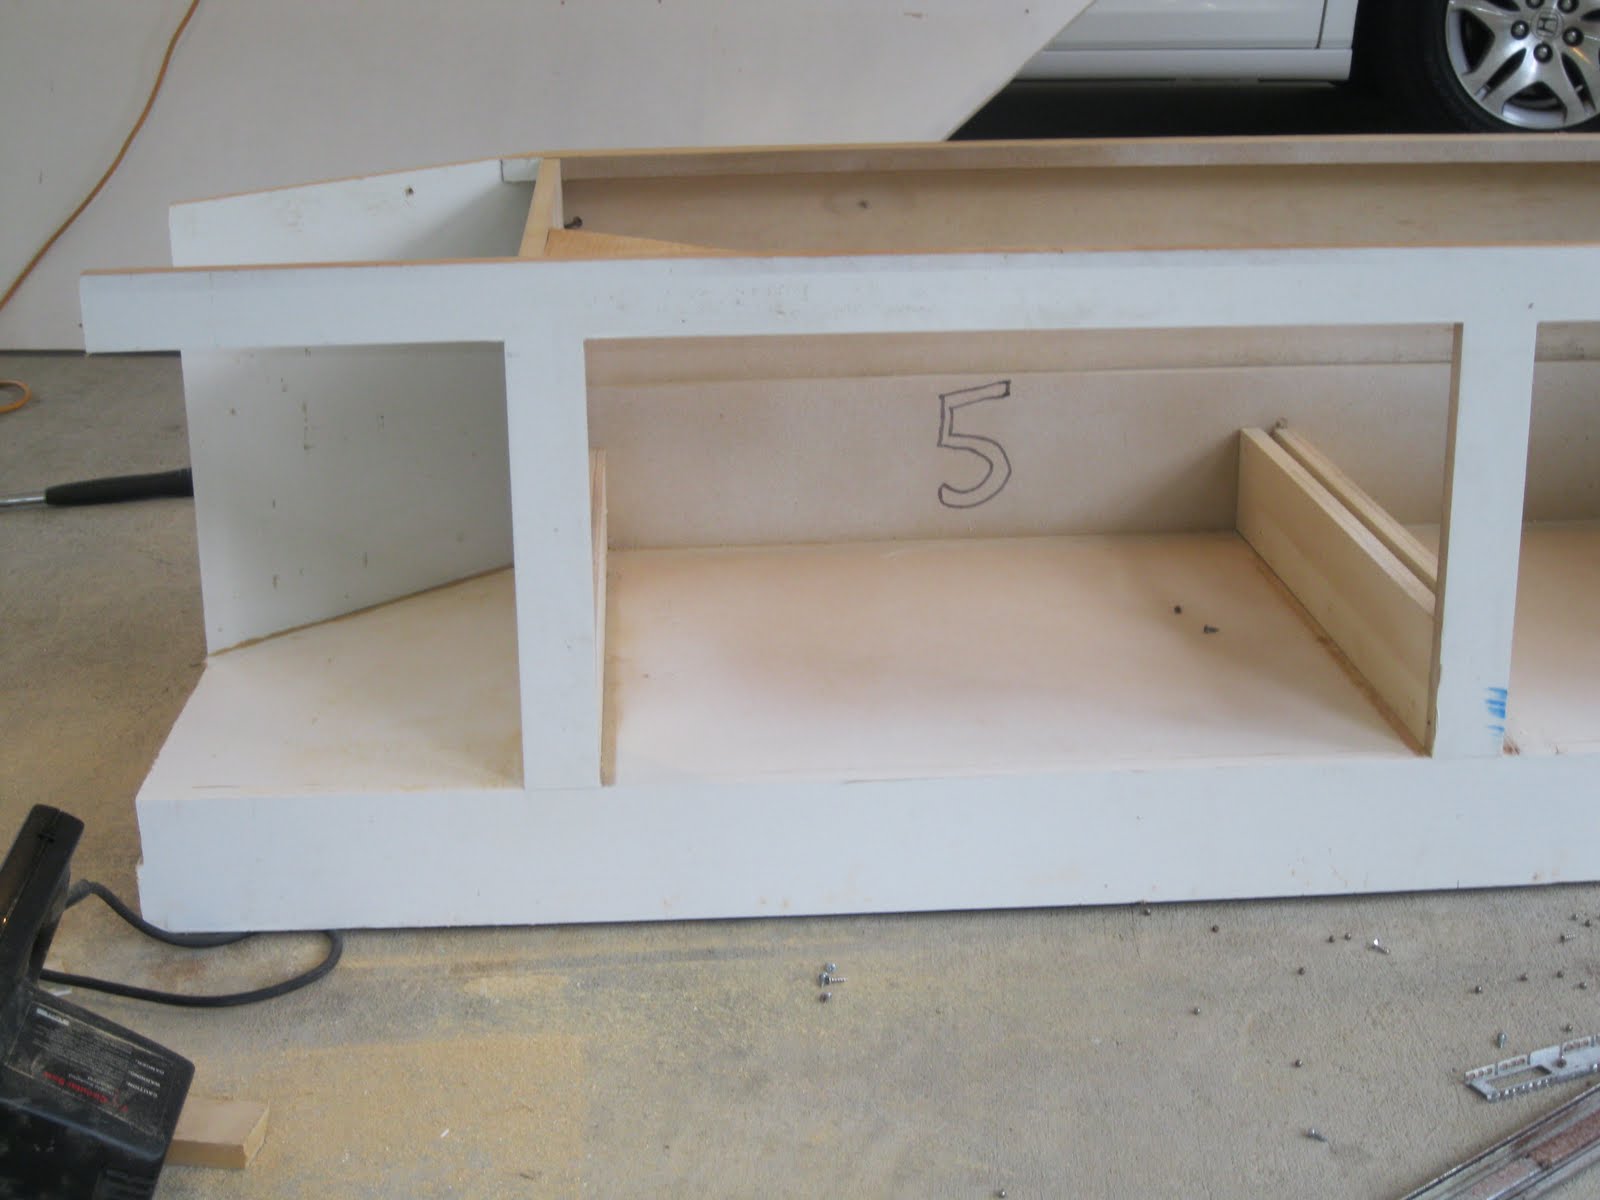
After all the cuts were made my husband cut two new sides and used wood screw to attach them. When the sides were attached ( I primed them first), I got busy with the hand sander, sanding down the entire bench. A few coats of paint later we were watching the paint dry, ready to move this beauty inside! We were doing great sticking to our uber small budget! Having only spent $50 on the bench, we used sand paper, scrap wood, and left over paint. We even had left over hardware (remember the cheap cabinets that were over the washer and dryer?) that matched the rest of the kitchen. Instead of buying new drawer hardware (the old tracks were rusted and wouldn’t move), we took out the drawers, removed the tracks, took off the drawer tops and turned them into cabinet doors using hinges that were on the previous cabinets.
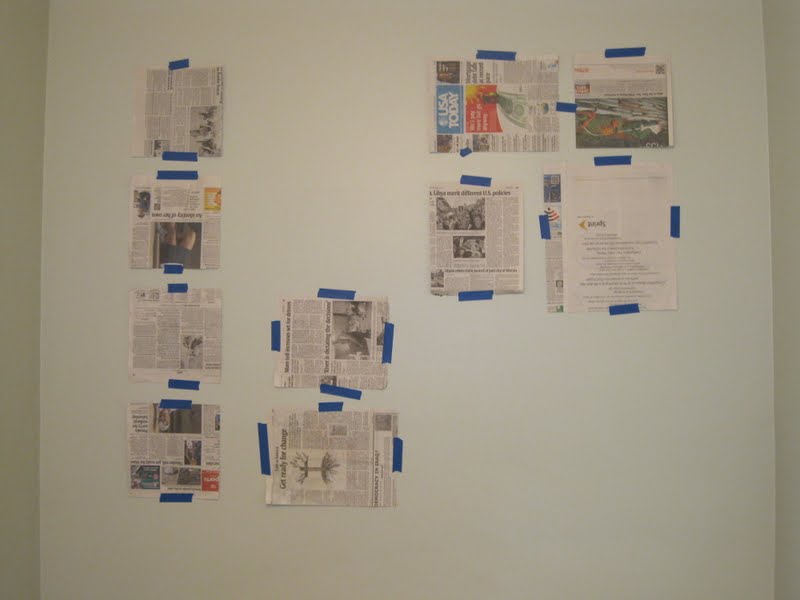
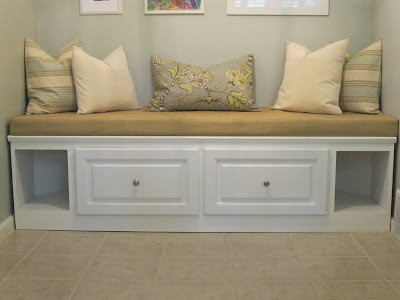
With the bench built, I moved on to the next three parts of our project: pillows, wall decor, and lighting. I waited for foam (2″ thick) to go on sale at Joannes. The day it was 50% off (I also had a 20% off coupon on any purchase) I bought a 76″ piece to cover the bench. I had previously purchased pillow forms and used scrap fabric I had saved from other projects. When it came to the walls, I knew I wanted a gallery wall with white frames. All the frames came from Michaels (hello 50% off with a 15% off coupon)…can you see a pattern here?…or TJ Maxx. I went through old art work I had saved from the kids to make a bright, happy, make me smile area. Then there was the light. Yes, that was a super find too! Visiting my favorite thrift store one day, it caught my eye hanging from the ceiling. It had been marked down to $10 and I while I wasn’t sure if it was going to work or not, I was willing to take the chance. It does, and it is bright!
The new breakfast nook rocks my socks! We take great pride in knowing we did it ourselves and we saved tons of money. I’m so proud of the hard work we put into it and the way we did it. It’s great having a spot for the family to hang out when I am cooking. The kids have a great spot to read or work on homework and it enables us to grab a few more minutes together when everyones schedule gets crazy! We increased the value of our house and increased our family time!
Cassity Kmetzsch started Remodelaholic after graduating from Utah State University with a degree in Interior Design. Remodelaholic is the place to share her love for knocking out walls, and building everything back up again to not only add function but beauty to her home. Together with her husband Justin, they have remodeled 6 homes and are working on a seventh. She is a mother of four amazing girls. Making a house a home is her favorite hobby.