Afternoon Bookshelf Refresh with DIY Paper Book Covers


I decided that instead of trying to hide away all these books (some we use fairly regularly), or make do with how messy they looked (some were pretty beat up), I’d give them a refresh in the form of kraft paper dust jackets. Since we do use them, I wanted to know what each book was so having a title was a must. I’ve seen some lovely dust jackets using ribbons and such but I know my husband would tear them off looking for that one elusive book he needed. I love how quickly this pulled together the shelves for a less cluttered look! And it only cost me $5 and an afternoon.


How to Update Your Bookshelf with Kraft Paper Book Covers
by Colleen from Lemon Thistle

To give your own bookshelf this update, you’ll need:
- Kraft paper parcel wrap
- Cutting mat and craft knife
- Square
- Scoring tool
- Black marker

Start by laying out your cutting mat with the parcel wrap. Just like you’re wrapping a gift, pop the book on there and measure the size. For the book dust covers, you’d like them to be fairly evenly sized with the book covers (not much excess) which will make them easier to stand up if you wish. If I had a proper square (#wishlist), I totally would have used that. I tried a makeshift square paper cutter which worked pretty well, but by the time I hit book 5, I was just using the edge of the book to guide my knife (risky, I know, and I’m okay with it). Cut a piece of paper long enough to fold inside each cover, and around the spine.


When your paper is cut, centre the book so the tabs that will fold inside the covers are about equal. Use your scoring tool to score against the spine and the edge of the book (where it will fold). This goes really quick and it helps give neater folds. I used my scoring tool from my Cricut, but if you have something similar, that would work.


Flip the book over and do the same on the other side, then pop the jacket off to write the title between the spine score lines. I chose to use all caps and wasn’t all that careful with my writing. I really like the way it looks! I have boxes of books, you guys so this only shows some of them, but if you’re doing as many as I did, you may want to skip popping the cover off to write, and just write directly on the spine (I ended up doing that).


Then, stack ’em however you like! Pretty simple, huh?! I’m really happy with how it pulls together this shelving space. I can’t wait to fill the rest of the shelves with books and pretty things now that I’m not discouraged about my tatty book collection now! Would you try this? How do you style your bookshelves that house real books?
Product Sources:
- Fujifilm Instax Mini 8 in Raspberry (before) and Blue (after)
- Tarnished Silver- Vintage sugar and creamer
- Dried lavender and vase- Michaels
- Gold tealight holders- Target
- Faux Succulents- Make it Fun Crafts
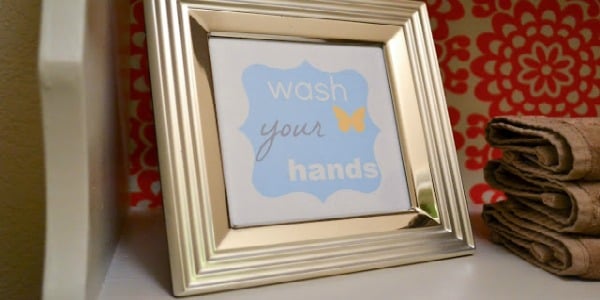
- Make a Splash Sign- DIY here
Other Posts You Might Like:
Styling a Bookcase (when you have kids!) / DIY Built In Shelving / Books on Hooks Storage Solution


Need a bookshelf to beautify?
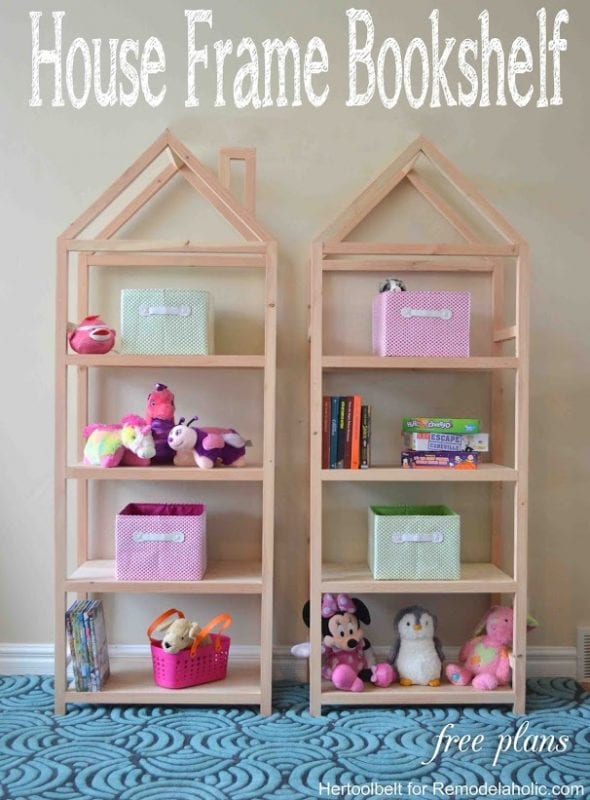
We can help! Try one of these DIY bookcases:
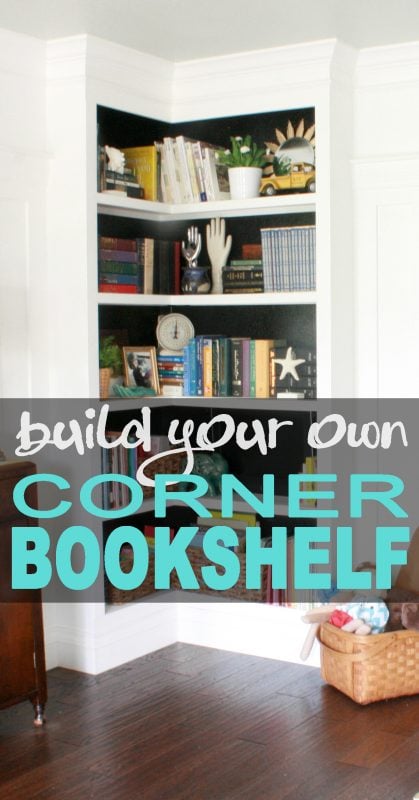
build your own built-in bookshelf or corner bookshelf
DIY bookshelf with adjustable shelves

bookcase + storage hutch combo

I'm the DIY and lifestyle blogger behind Lemon Thistle: home to DIY, hand lettering, home décor and design. I’m a mom to three kids under three, I love to entertain, and my awesome hubby and I are working our way through major renovations on our new home. I believe you can have a beautiful life, home, and party without spending a lot.


Colleen, I was just thinking of doing something like this in my family room. I love the hand written titles! I love how it totally ties the book shelves together having them all covered. Love it!
Thanks so much Sara! It really made SUCH a difference for next to no commitment 🙂
This is a great idea! I did it on my office bookshelf and It looks so much better and neat now. Thank you for sharing the idea, your blog is just amazing as always <3