Basement Bathroom Drywall and Cement Board Installation
Today I wanted to show you the progress we are making on our new basement bathroom with the help of our partners at National Gypsum and their Purple XP Drywall and PermaBase Cement Board products. We are really excited on how it’s turning out.
We also have a giveaway for one lucky Remodelaholic reader. Read to the end to find out more information.
So, I don’t typically wear a hard hat around the house remodeling, but I thought it was very appropriate for hanging drywall on the ceiling, besides it matches the bathroom drywall- my wife will be so proud. No need to have drywall fall on my noggin.

Cassity showed you a bit about the basement bathroom before just this morning. Sorry that we forgot to get before pictures- I am sure we will find them a year from now! Anywho, now that all the walls are framed in the bathroom and everything behind the walls are in place, I am going to show you how I installed the ceiling and wall boards.
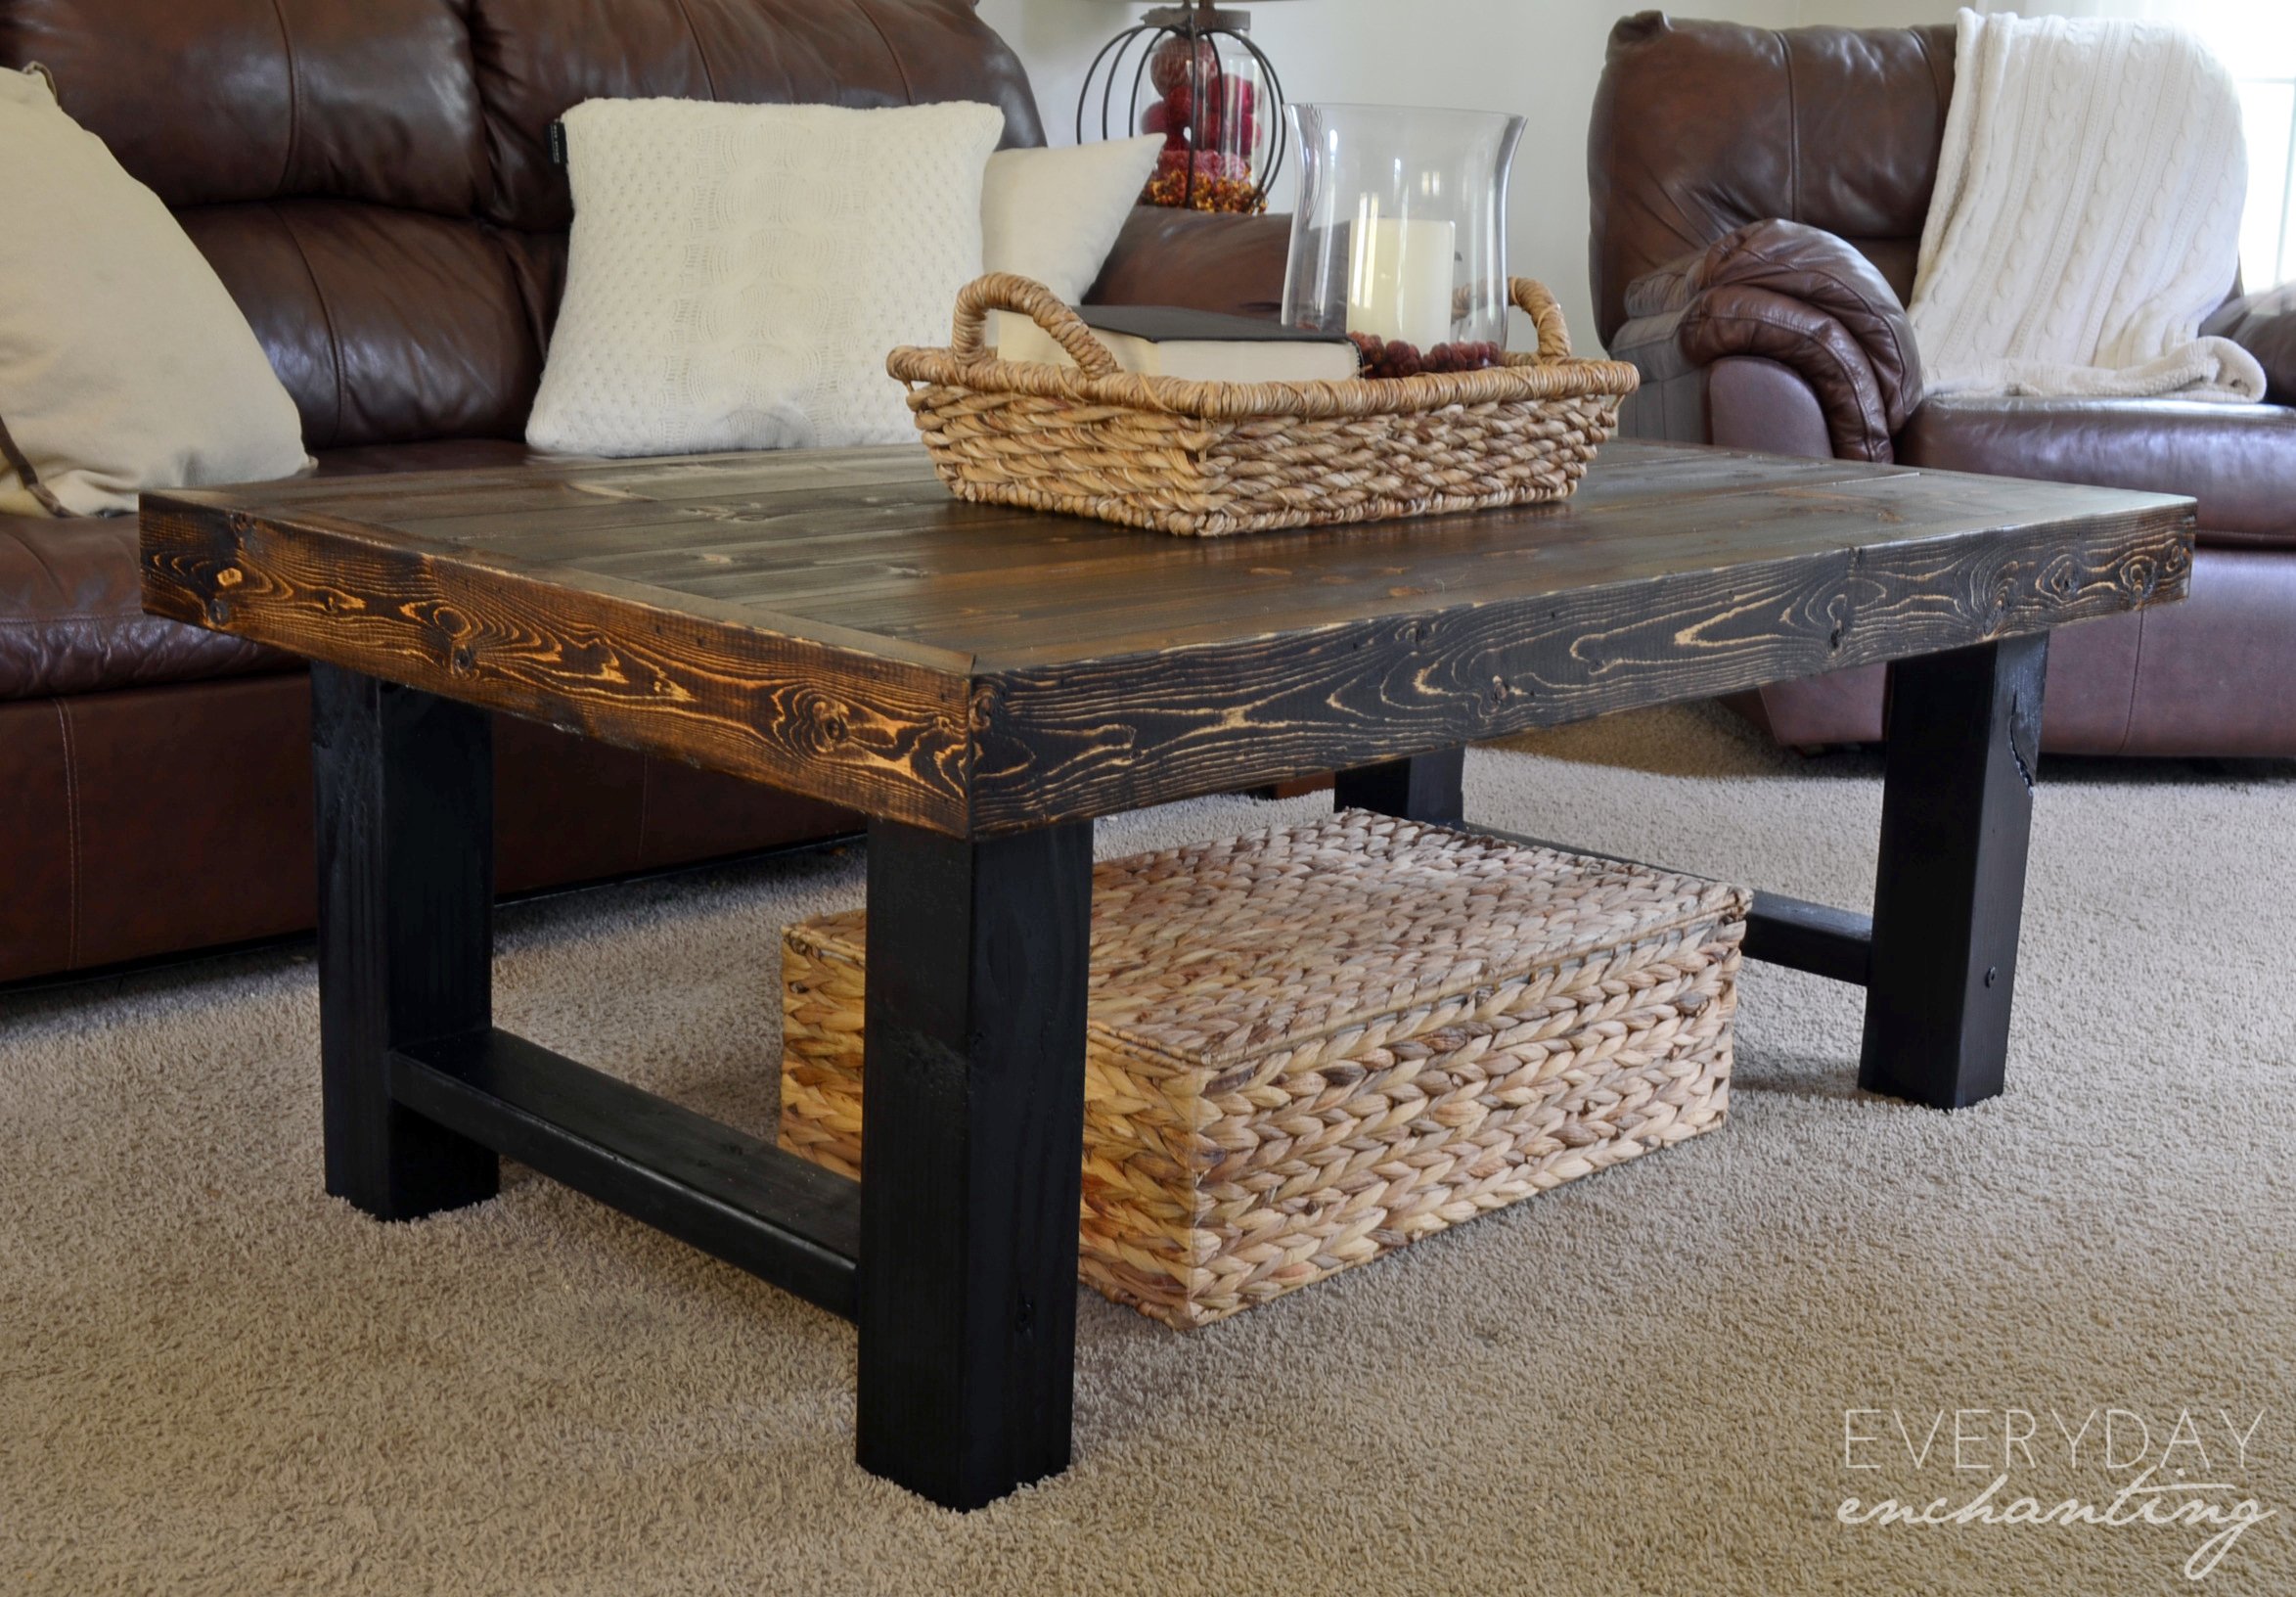
It is REALLY exciting when I get to this point in the project, because it really starts to feel like a room. It’s a lot easier to visualize the space with walls and ceilings in place. and considering how much work this tiny space has been it is nice to have that all behind me, and the fun stuff ahead.
With this bathroom our plan is to use a lot of tile on all walls. We have not yet nailed down the exact tile, but we have seen some really nice tiled bathrooms that are getting us excited. As for the ceiling finishes, I will be finishing it smooth with paint like all the rest of walls in the rest of house. We might add some texture later on, in the form of diagonal wood planks but with water vapor abounding in a bathroom we may have to skip this idea. For now we will just keep it simple.
For the longest time I wasn’t quite sure on how to install the walls around the bathtub to help keep out the water and prevent it from future water damage. Should I just use drywall? Do I need a plastic barrier? How do I keep it watertight? How do I avoid mold and mildew issues behind the walls? I was constantly talking to people trying to find the right way to install the walls around a shower.
I finally found the solution to all my questions. I recently learned about the PURPLE XP® product line by National Gypsum. I told you about it in this post here. They do have a great website ASKFORPURPLE.com, where you can find out all you need to know about the great features of the PURPLE XP® products. You can also find out where to by it as well which is really handy. There you can find diagrams on how to install it correctly as well.
So in the bathroom remodel, I’m using two of the PURPLE XP® products. The first one is the PermaBase PLUS® Cement Board. I will be using it on all the walls in the bathroom. This is a great product because we are using a lot of tile. The cement board will provide the best bond for for the thin-set and tile. I will need to add an additional waterproof membrane around the tub and sink, because it is vapor permeable and unaffected by water, but it is not a water barrier. Another great thing about the cement board is that it is lightweight. It has foam beads in the mix that makes it lighter and easier to carry to the job site. It also cuts easier by using just a utility knife. It’s the same technique with drywall, just score the edge and snap it, then cut the back edge loose. You just have to cut a little deeper to get through the fiber mesh that holds it all together. Buying a utility knife with breakaway blades was very necessary to keep a sharp knife. I will show you pictures below of how to cut it.
For the ceiling I will be using the Purple XP® Drywall. This is great for bathrooms because it is mold, mildew and water resistant. I don’t know about you but I enjoy a nice hot steamy shower after a long day of remodeling.
Let’s get on to the project and show you some pictures on of how things are turning out.


These are some of the shots of the tub side of the bathroom right after finishing all the plumbing wiring and HVAC. We are SOOO excited to have a 6’x3′ tub though. The problem is that we need a bigger water heater now to fill it. That will be another exciting story to tell later.
Installing the Bathroom Drywall Ceiling
Here are some pictures of getting the sheet rock measured and ready. I installed the ceiling first because I wanted the walls to be under it to help support the edges of the ceiling. It just made sense to me.
It was super easy to cut with a utility knife. A straight edge came in handy to keep the cuts straight. I did notice that I measured 1/4″ less that the actual measurement to have the drywall fit nice in the space. It does not have to be too exact. Just give yourself a little wiggle room.

After you cut the front side, purple in this case, just bend it back and it will snap. Then take the knife on the back side and cut of the rest of the paper.

This is the drywall for above the tub. If you notice on the framed images, at the beginning of the post, there are pipes that I am trying not to drill a hole through. So I drilled 4″ holes where the light boxes will be before I hung the sheet of drywall.


To help with the installation, I built a T-support to hold the drywall up while I screwed it in place. You can see it holding up the drywall on my right. I screwed two 2×4’s together to make a T. It was about the height of the rough ceiling. This “fancy” tool saved a lot of back ache.
Once the ceilings were in place it was time to move on to the walls!!
Installing the Cement Board Walls
Now it’s time to work with the PermaBase PLUS® Cement Board PermaBase PLUS® Cement Board. Measure out there you want to cut. Again I gave my self about a 1/4″ wiggle room with the measurements. Use a straight edge and cut with a utility knife along the printed side of the board. That side is easier to cut and it is the side that needs to be on the outside. of the wall itself.

Once it is cut just snap it back.

Then cut the back side with the knife. The knife I used only lasted a couple of cuts, but it was the breakaway kind that you didn’t have to replace the blade every time. Just buy a bunch of extra blades to have ready.

On areas where I had to cut out a corner and not all the way across, I used a reciprocating saw to cut the shortest side.

Then just use the utility knife for the longer side.

Once cut just snap it off and cut the back side. Really easy!

For areas where I needed to drill holes, I used an old drill bit. I would start a hole then come back with a reciprocating saw to cut it out.


When attaching it to the wall make sure to use cement board screws and not drywall screws. I was using 1 1/4″ cement board screws. They wont rust. You can use them on drywall as well.
Also the spacing is 8″ for the cement board (where there are studs). Double the amount for drywall. This will make it extra strong for holding tile.

When installing over a tub you do need to make sure that the cement board sits right on top of the tub. On the tub sides, against the walls, we had the tub company install a small lip to keep the water from going back behind the wall. The cement board sits in front of that lip edge. This will keep water from going back behind the tub.

Here are a couple of pictures of all the wall and ceiling boards installed. It’s starting to look like a room.


The next step is to tape all the seams and corners. I used ProForm join tape and ProForm joint compound. There is an alkaline resistant fiber tape that must be used on cement boards to hold the joints together. The tape has a sticky back to help it hold to the wall before you cover it with thin-set.

After taping the cement boards, mix up some thin-set mortar and cover the tape. I only used thin-set on the cement boards. On the drywall ceiling I used plaster. We are waiting on our new window to come in so we haven’t finished the sill work yet, but that will be really soon!


After about three to four coats on the ceiling and sanding in between, we are ready for paint and tile.
I am glad to be done with the walls and ceiling in this bathroom. This was a big under taking for such a small room you just can’t imagine the details that had to be considered in order to close up all the walls! BUT I love the peace of mind of knowing that my bathroom will have extra protection that PURPLE XP® gives.
Well, what do you think about these products? Have you used PURPLE XP® before? Be sure to check out their great website of information at ASKFORPURPLE.com
Giveaway Time!
National Gypsum will be giving away a PURPLE XP® labeled tool box and a $100 VISA gift card.

Be sure to leave a comment about where you would want to use PURPLE XP® in your house so you can win some product for your home!
(PS: Sawdust Girl is giving away her own tool set and gift card, so you can double your chances of winning by entering on her site, too)
Thank you to National Gypsum for sponsoring this post and helping to support our blog! AND for teaching us the best ways to get this bathroom finished, I can’t wait!
Be sure to pin this to save it for later:

I am the husband of the amazing Cassity of Remodelaholic. I love to problem solve and to design and build things inside and outside the house to make life better. I am a professional Landscape Architect by trade and love the outdoors.


I would love to redo our master bathroom!
I have a friend in Houston who lost everything in the flooding. I would have it sent to her to help her rebuild her home.
What a thoughtful friend and a wonderful idea! Our hearts and prayers are with your friend and all those in Houston who now need to rebuild <3
I want to use it in my bathroom.
I would use Purple XP to finish our basement
I wish I had used this in my bathroom. When I bought this house three years ago, it had to be gutted. It had sat empty for three years and was a fixer – upper. The only thing inside the house that didn’t have to be torn out was the wallboard, except in the bathroom. As soon as I started to pull down the paneling ( this house was all 70’s paneling) my hand went right through the wallboard. The bathroom ended up being gutted down to the studs. The purple wallboard would have been nice to have had.
Basement or the panel room both places tend to have higher moisture. Looks like a great product1
We are moving into our new house next month (fingers crossed there are no more delays). We will need to refinish the basement ourselves- This stuff looks great!
We are just beginning to finish out our basement. It would be awesome to use Purple XP! Thanks for this opportunity! ????????????????
Wow! Y’all did a GREAT job. Sounds like a great product to use in future DIY room renovation.
We have a bathroom off our rec room that has rotted drywall by the bottom of the shower. Guess the previous owner took shortcuts that will cost us to replace. This tool box and gift card sponsored by National Gypsum would help move along the repairs to this ugly eyesore.
Basement
I would use Purple XP in my bathroom. I love my little 1950’s bathroom, but it is getting tired. I actually dread the day when I have to say goodbye to the mint green tile. 🙁
I would like to use it in my master bathroom!!!! Thanks
Wow! Using Purple XP would be terrific. We can use it in the two bathrooms we are remodeling. It would be a terrific win!
I would LOVE to be able to redo our downstairs bathroom! The whole room is so dated!
I would love to try this to finish my basement bathroom. I just bought my first house in March of this year.
Not sure where you’re at with the basement now but I wanted to recommend going with a tankless water heater instead of getting a larger one. We have a large bathtub that took essentially an entire tank of water to fill. The problem was that in order to get the right temp without running out of hot water you had to fill it first with hot water and then “cool it down” with cold water. Not exactly the safest with small kids. So we went tankless and love it. The little ones I worried about are now grown teenagers and with the tankless water heater we never have to worry about the grumpy one not having enough hot water to shower in the morning because he’s the last one up. And teenage boys take a lot of showers (don’t ask, I don’t want to know). So we always have hot water.
Thanks for the tip, Susan!