A Few Updates Make all the Difference! Kitchen Remodel


I loved my cobalt blue kitchen. Afterall, blue has always been my favorite color. (Yes, I love orange too, but blue has been with me through thick and thin and you can’t forsake a friend like that!). But after 7 years, the “change” bug was really biting me. And leaving quite an itchy spot!!
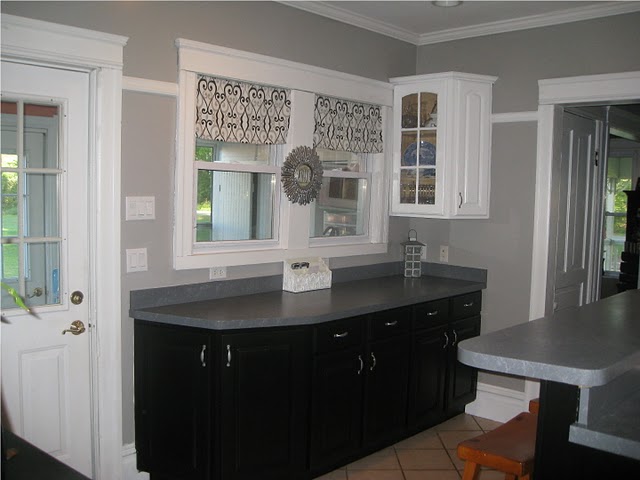
Those cupboards always bugged me. Man I wanted to paint them. But it just seemed so sinful. But a good friend nudged me in the “go for it” direction, so I went for it, baby! My white and cobalt blue kitchen is now what my dad calls machine gray. Sounds pretty, eh?
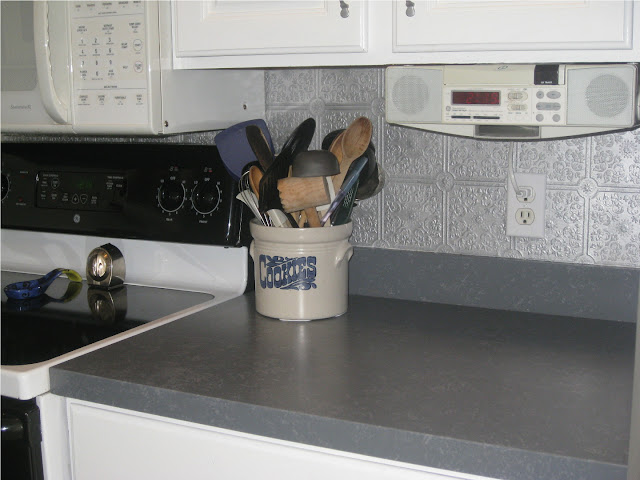
Cabinets are black on the bottom and white on top, painted with Behr Semi Gloss Enamel. It was expensive paint at about $35 a gallon, but last I checked, that’s a penny in the bucket compared to buying new cabinets!! We went with that brand because that’s what the dude at Lowe’s said would be our best bet. I also took all the hardware (pulls) off and spray painted them silver. Again, quite a bit cheaper that new. However, if you have to buy new, don’t go anywhere until you look at Ebay. I don’t know why, but brand new on ebay is waaaaay cheaper than in the store and there is an amazing variety to choose from.
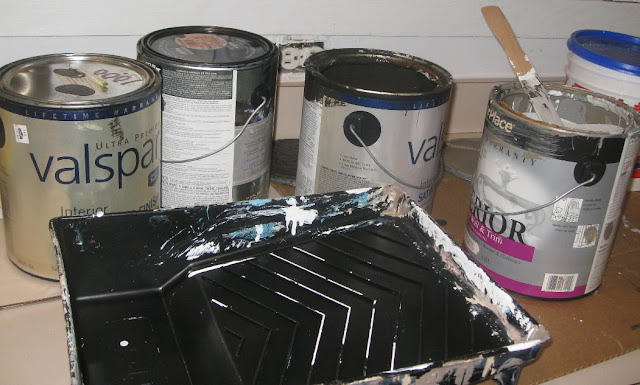
Money saving tip: mix your own paint. This can be scary, but just use your brain and remember that blue and yellow make green. I had some white on hand, some black, some blackish brown, some gray….
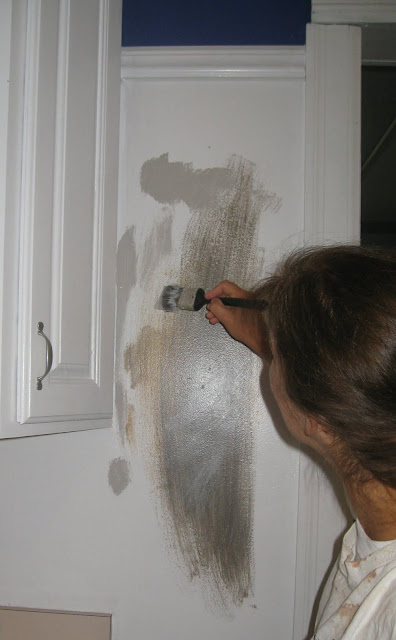
We (me and my dear mother who came from Iowa to help me with this overwhelming project) stirred it all together and tested it on the wall until I had something I liked.

Beautimous!!! no?? I’m like a proud parent looking at this here corner of my kitchen. 🙂

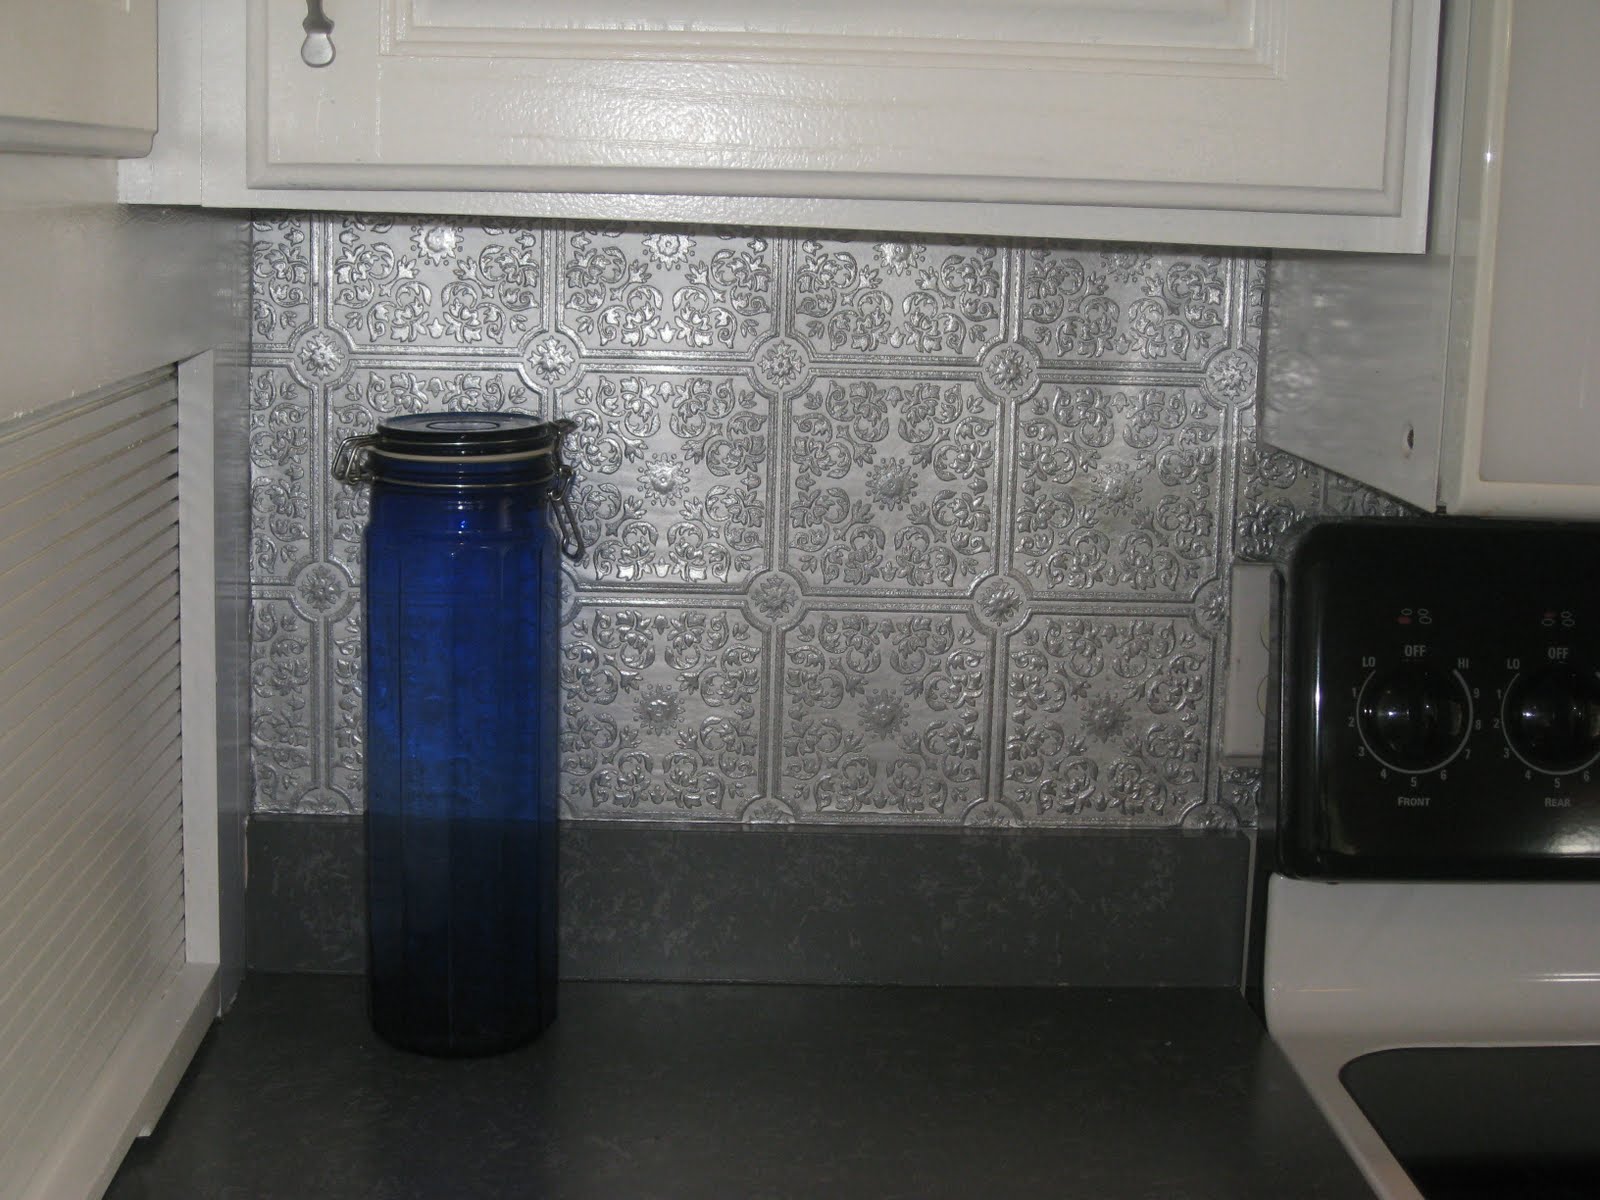
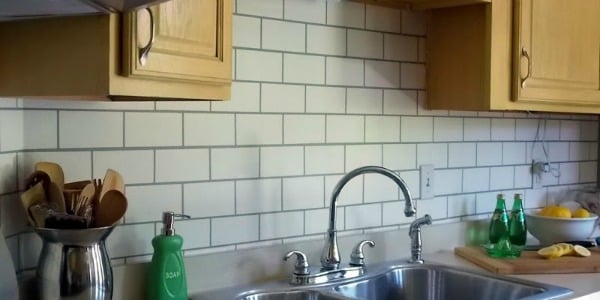
Can’t say I’ve ever had a “back splash” per se, just painted it the same as the walls! Shall I even go so far as to admit, I never really thought about doing cool things on that space of the wall until a few years ago? Back splash? What’s a back splash?
I was making a mad dash in to town one Saturday to run 5 errands in
enough time allotted for about 2 errands. As I’m coming in to town, there is a big sign spouting “Rummage Sale”. I’m still a recovering garage sale addict, so slips now and then are inevitable.
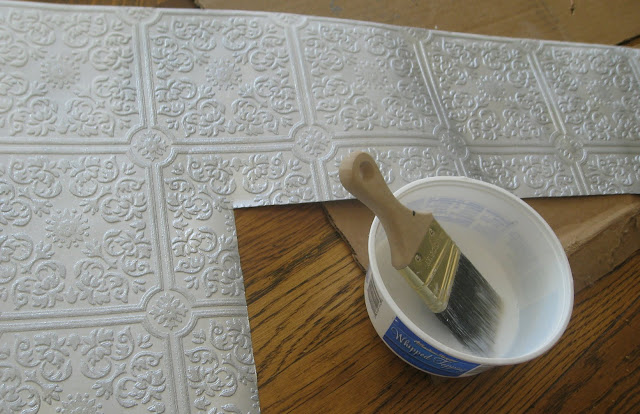
I stop. Amidst my amazing finds was a huge roll of paintable wallpaper!!! For a QUARTER! I was thinking that stuff might make a neat back splash, and I was even willing to pay for a roll at Lowes. It always pays to stop, no matter how big of a hurry you’re in!
Mom measured and cut it down to the size needed, then I took it outside and spray painted it silver.

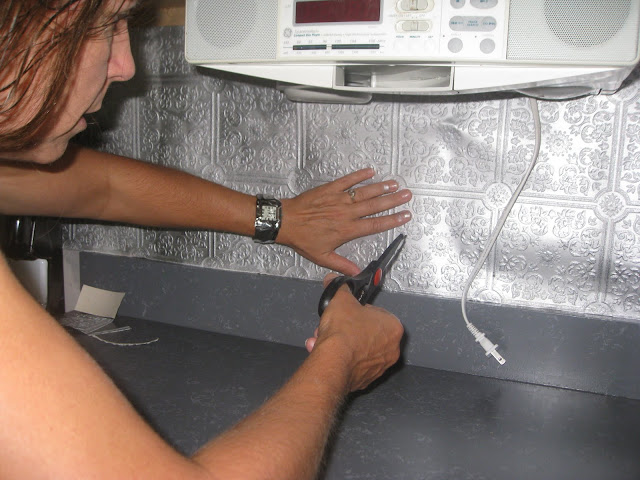
We used Elmer’s Glue mixed with a little water to adhere it to the wall. Afterall, we’re into using what we have on hand, and wallpaper paste is not something I had on hand!
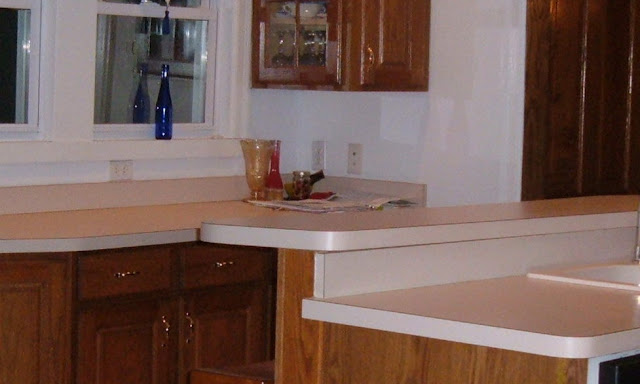 counter tops when we bought the house
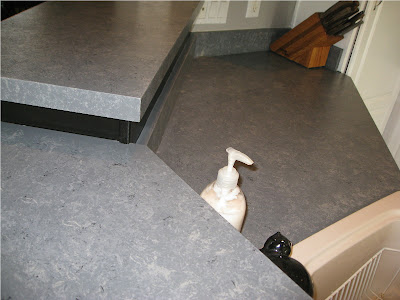
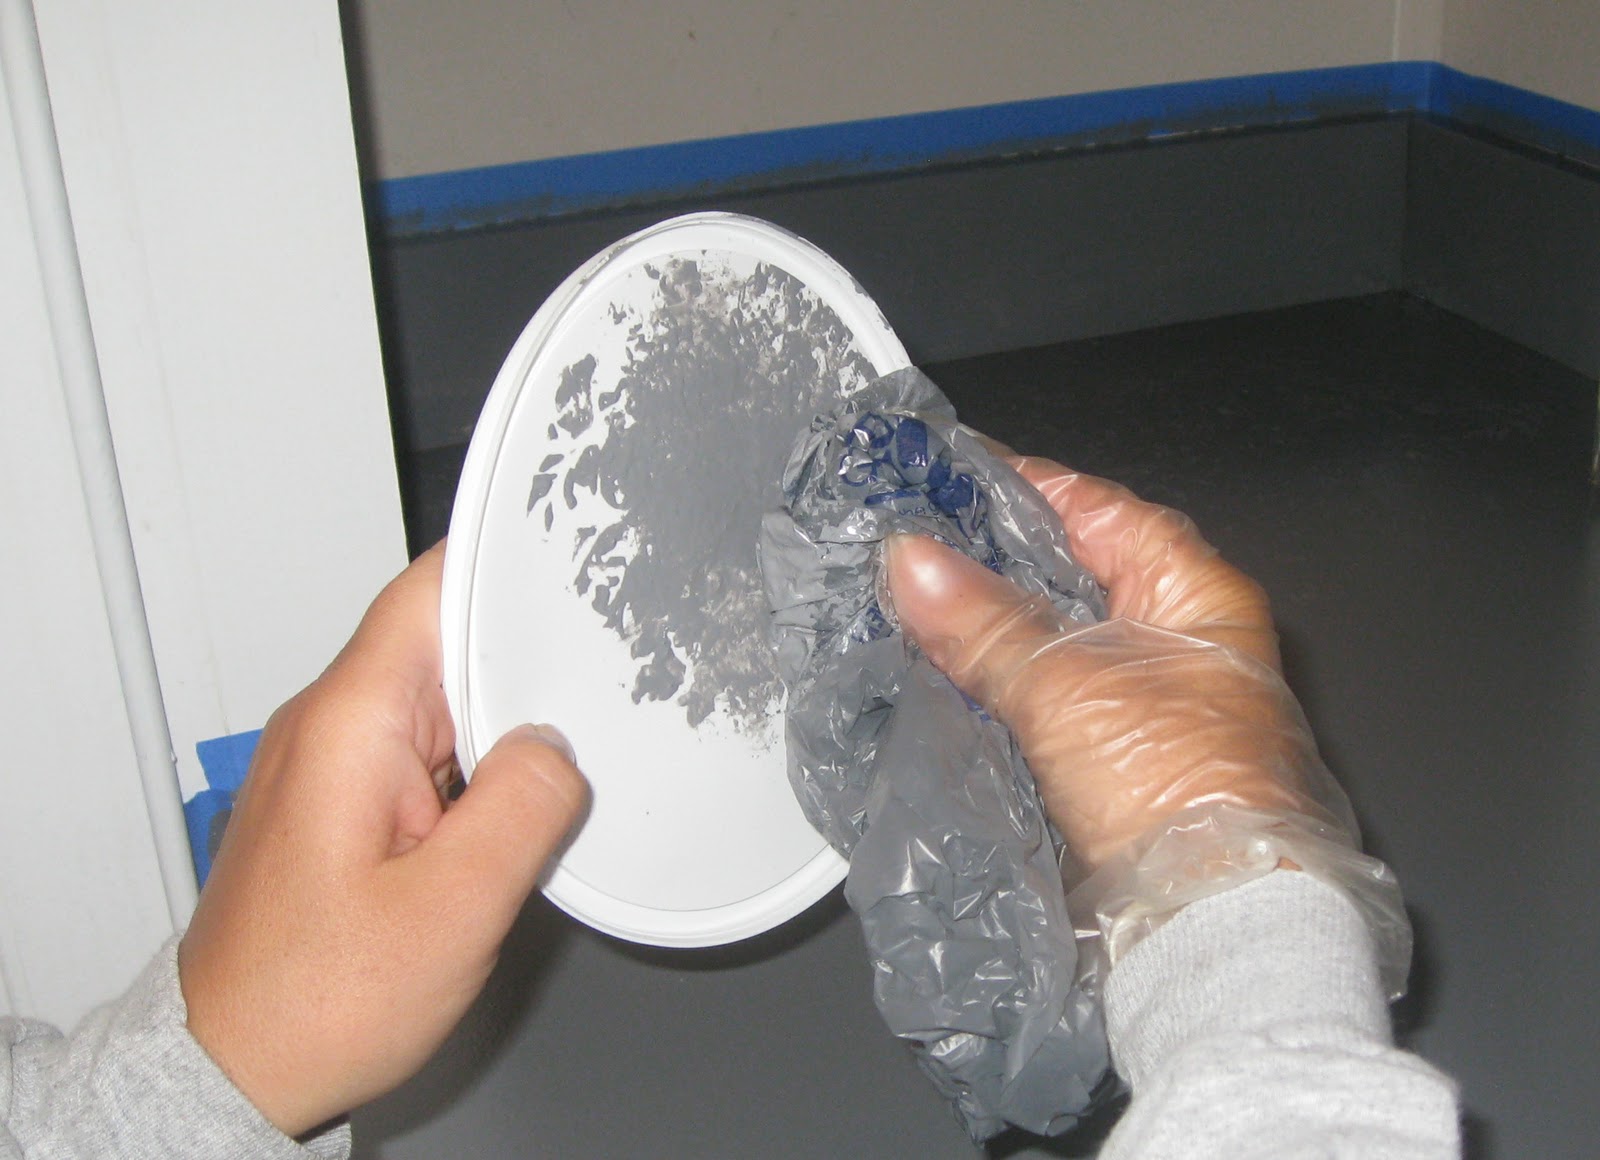
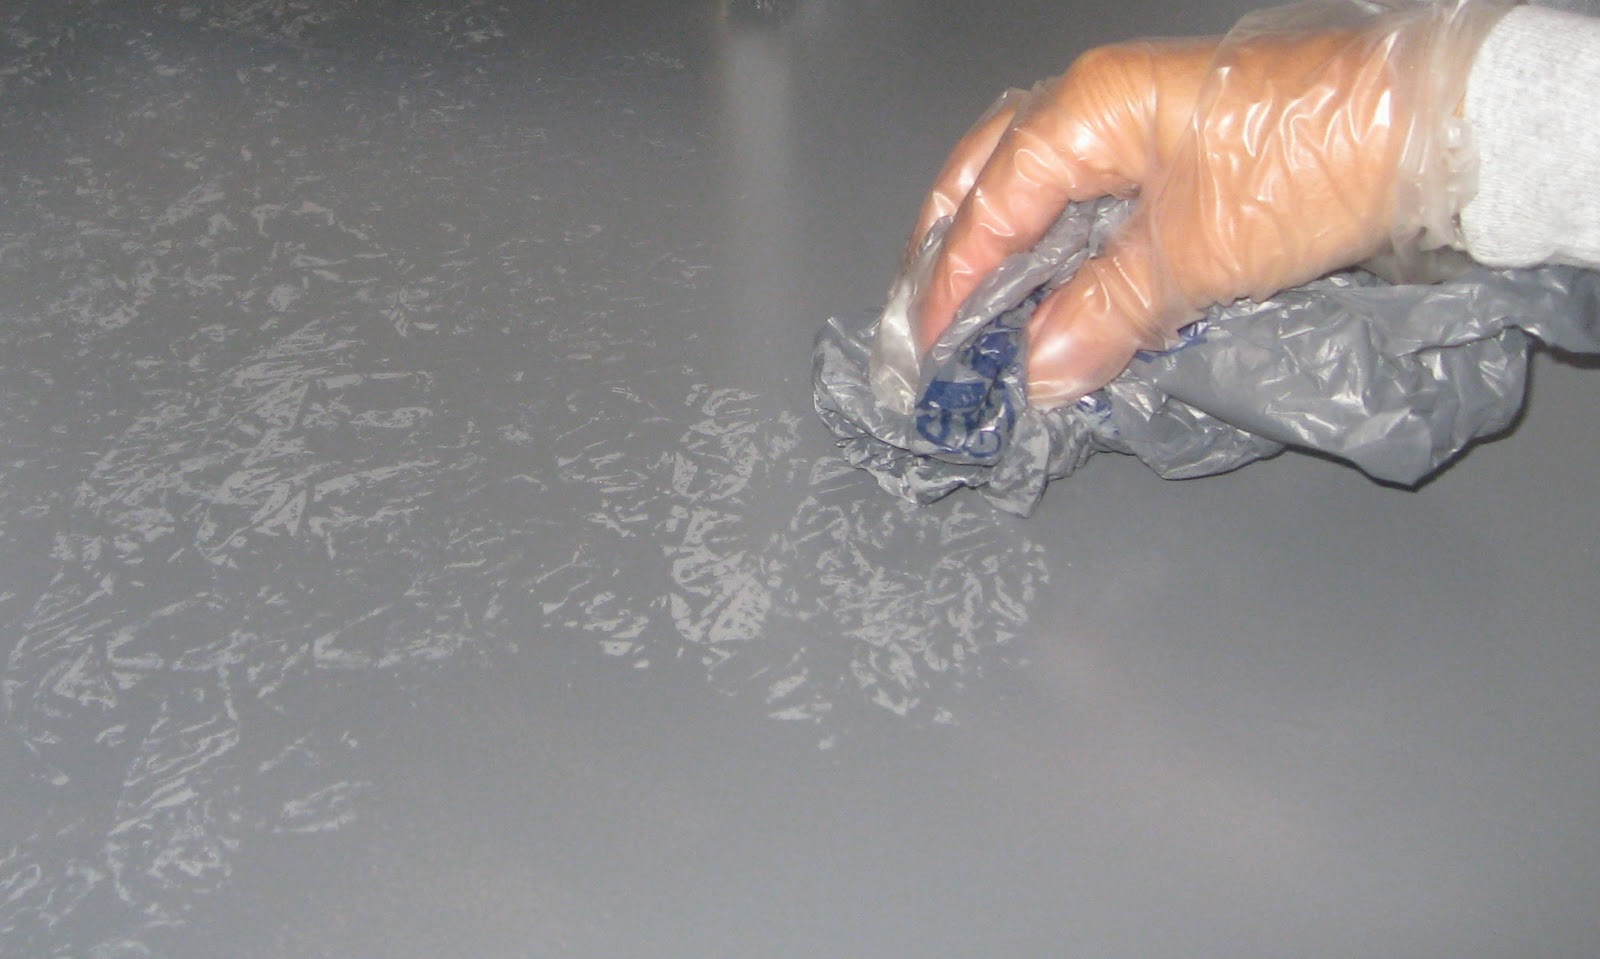
If you recall, about a month or so ago (see posting from September 19th, 2010), my mom and I decided to try something a little crazy and paint my countertops to save vookoo bucks! Ya’ll were quite freaked out about such a wild idea! I LOVED how they turned out, except for my “oops” that I blogged about and that was that I rolled it on with too much pressure and didn’t put the paint on thick enough. It had a couple VERY TINY scratches after a month, and being able to see my roller marks was just driving me bonkers. After being the Guinea pig, my mom now knowing what NOT to do, decided to paint hers. It turned out A-MAZ-ING.
 This project was contributed by one of our fabulous readers! We love to share your projects with this great blogging community. So, if you have projects from kitchen renovation ideas to small bathroom remodels, overhauled and repurposed furniture, spray paint updates you name it please send it in! Thanks for reading Remodelaholic!
Cassity Kmetzsch started Remodelaholic after graduating from Utah State University with a degree in Interior Design. Remodelaholic is the place to share her love for knocking out walls, and building everything back up again to not only add function but beauty to her home. Together with her husband Justin, they have remodeled 6 homes and are working on a seventh. She is a mother of four amazing girls. Making a house a home is her favorite hobby.


You are doing exactly what I have been thinking about – same colors too. I had looked at the paintable wallpaper but I was actually thinking about it also for my ceiling. The ugly popcorn stuff has got to go so I was thinking the bead board look one for it. Back splash not sure about yet though. I too am going to paint my countertops but was thinking about trying the transformations by Rustoleum. Is it on your tutorial how you did them? I might have to do it myself also. Thanks for the inspiration this morning.